Guest Entrance Hall Remodel

It's done! It's finally done! Sort of…
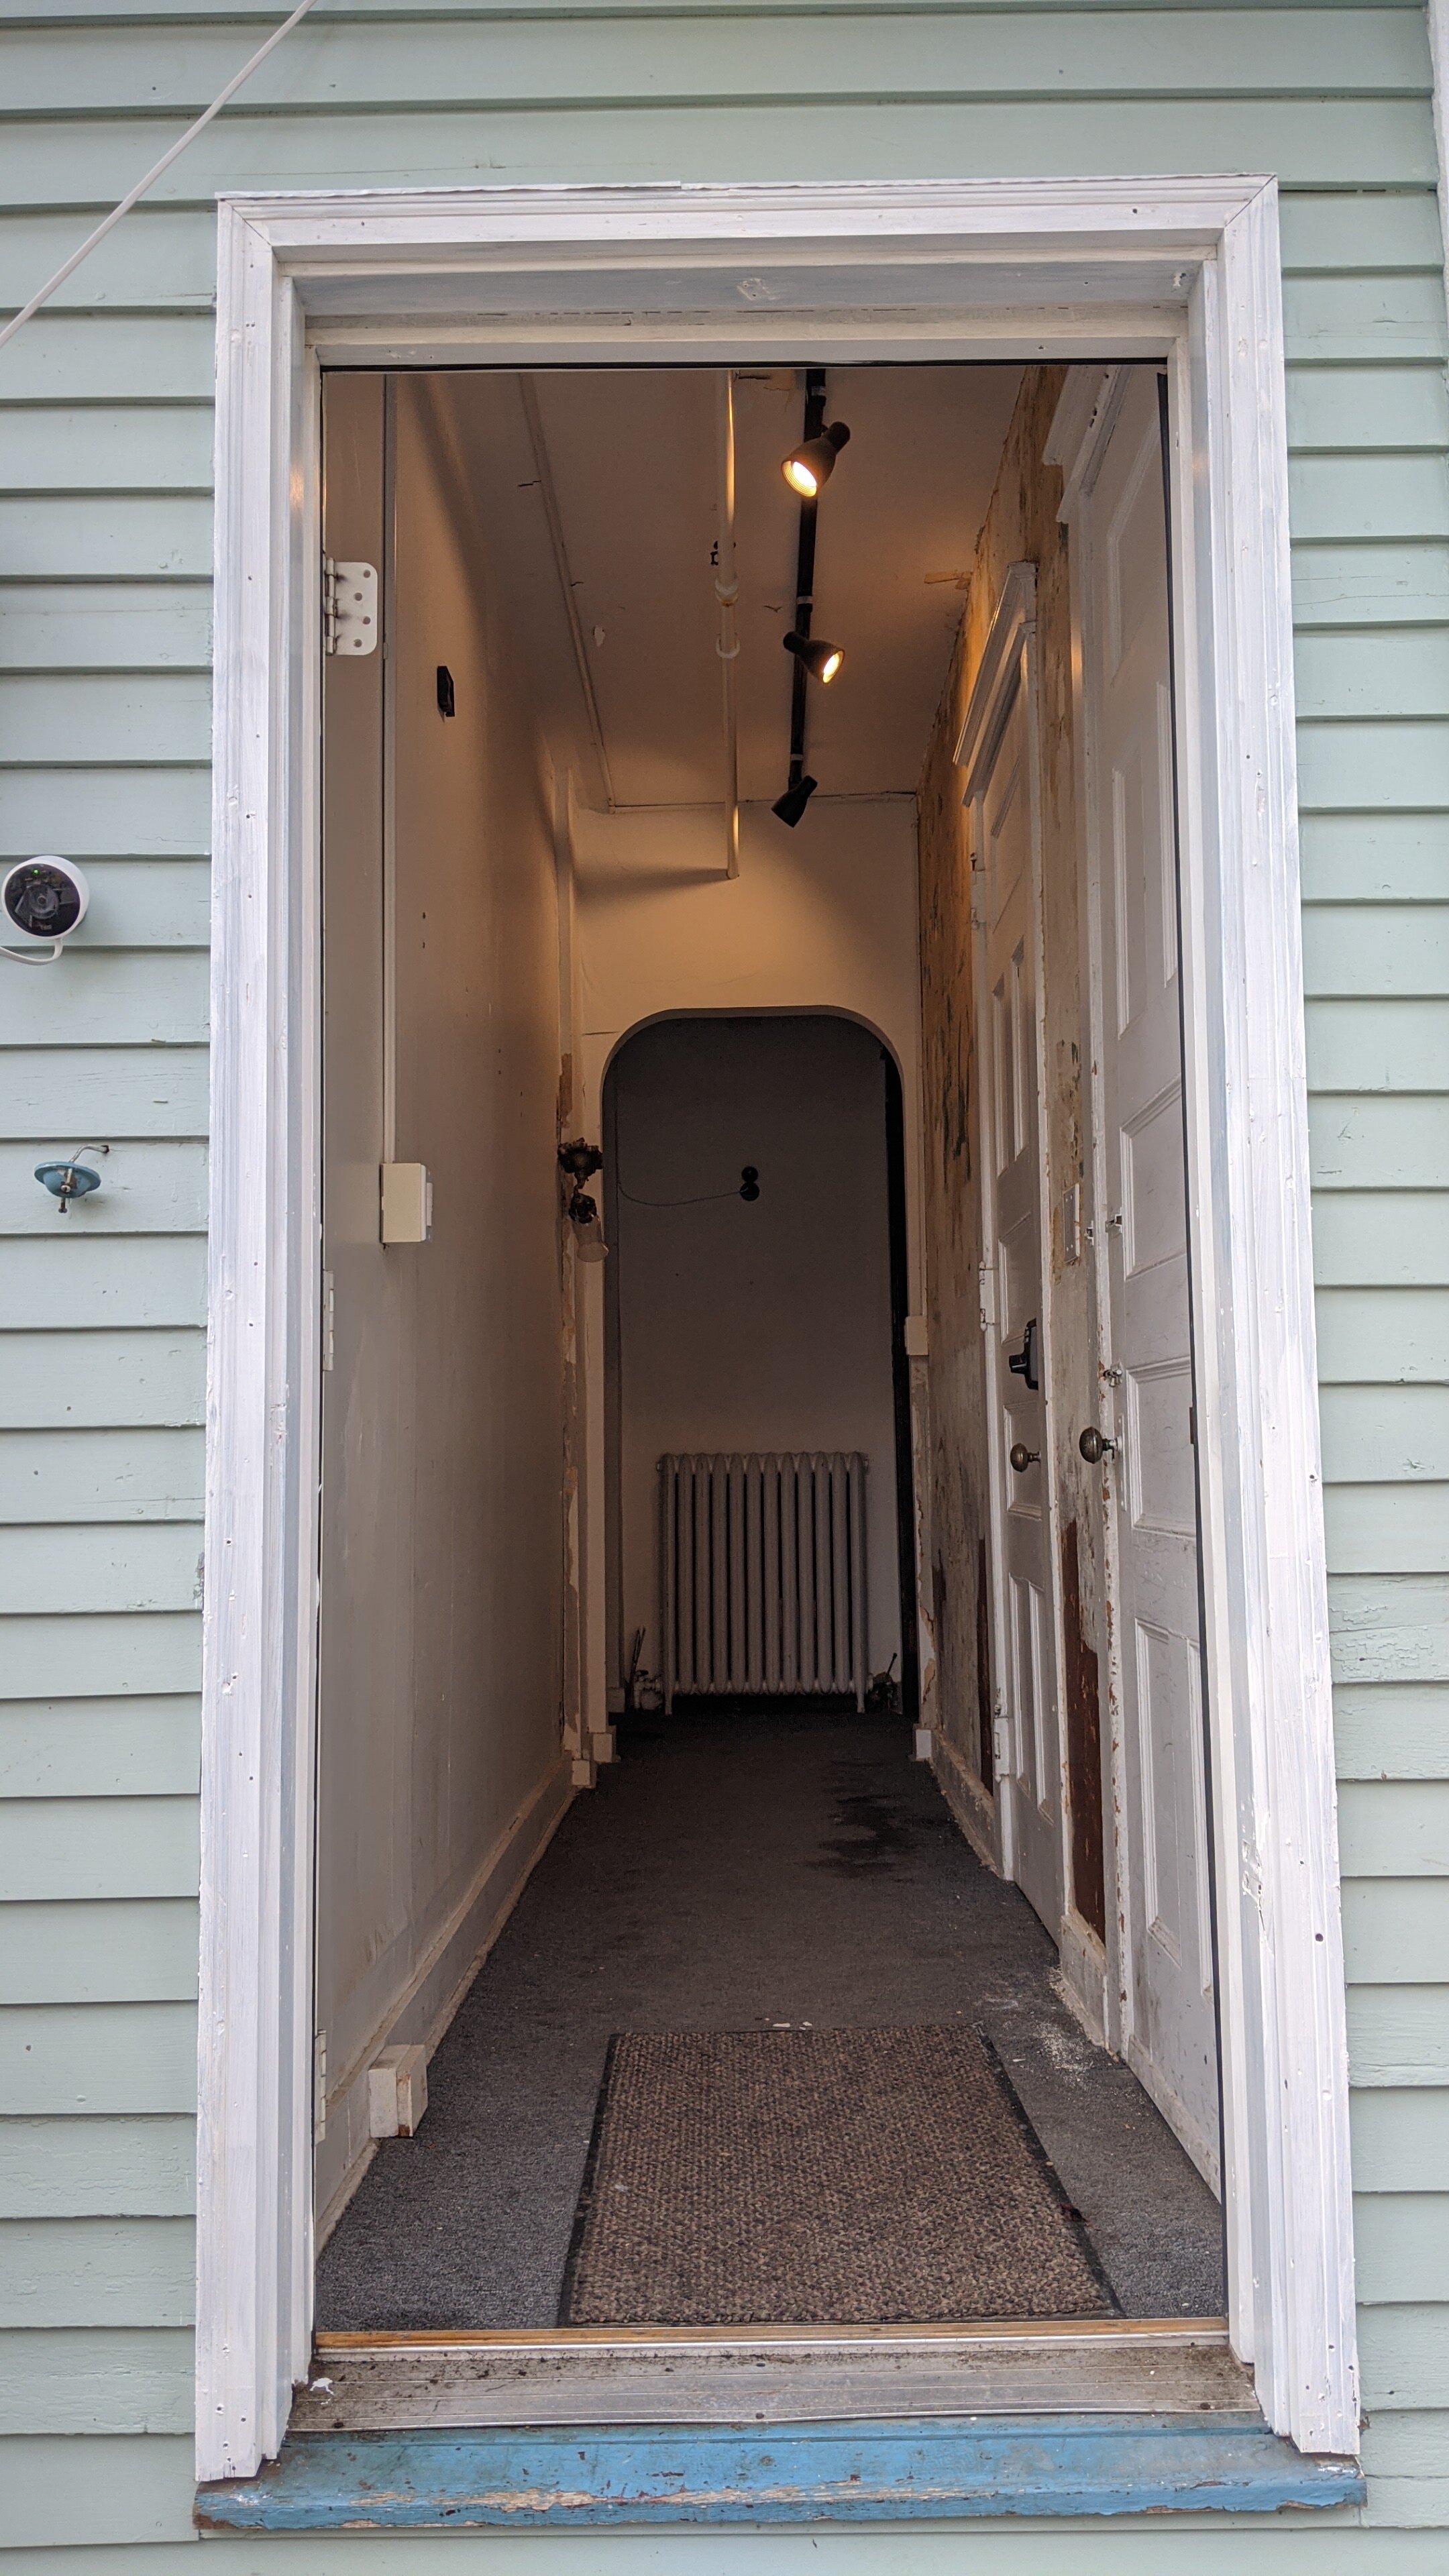
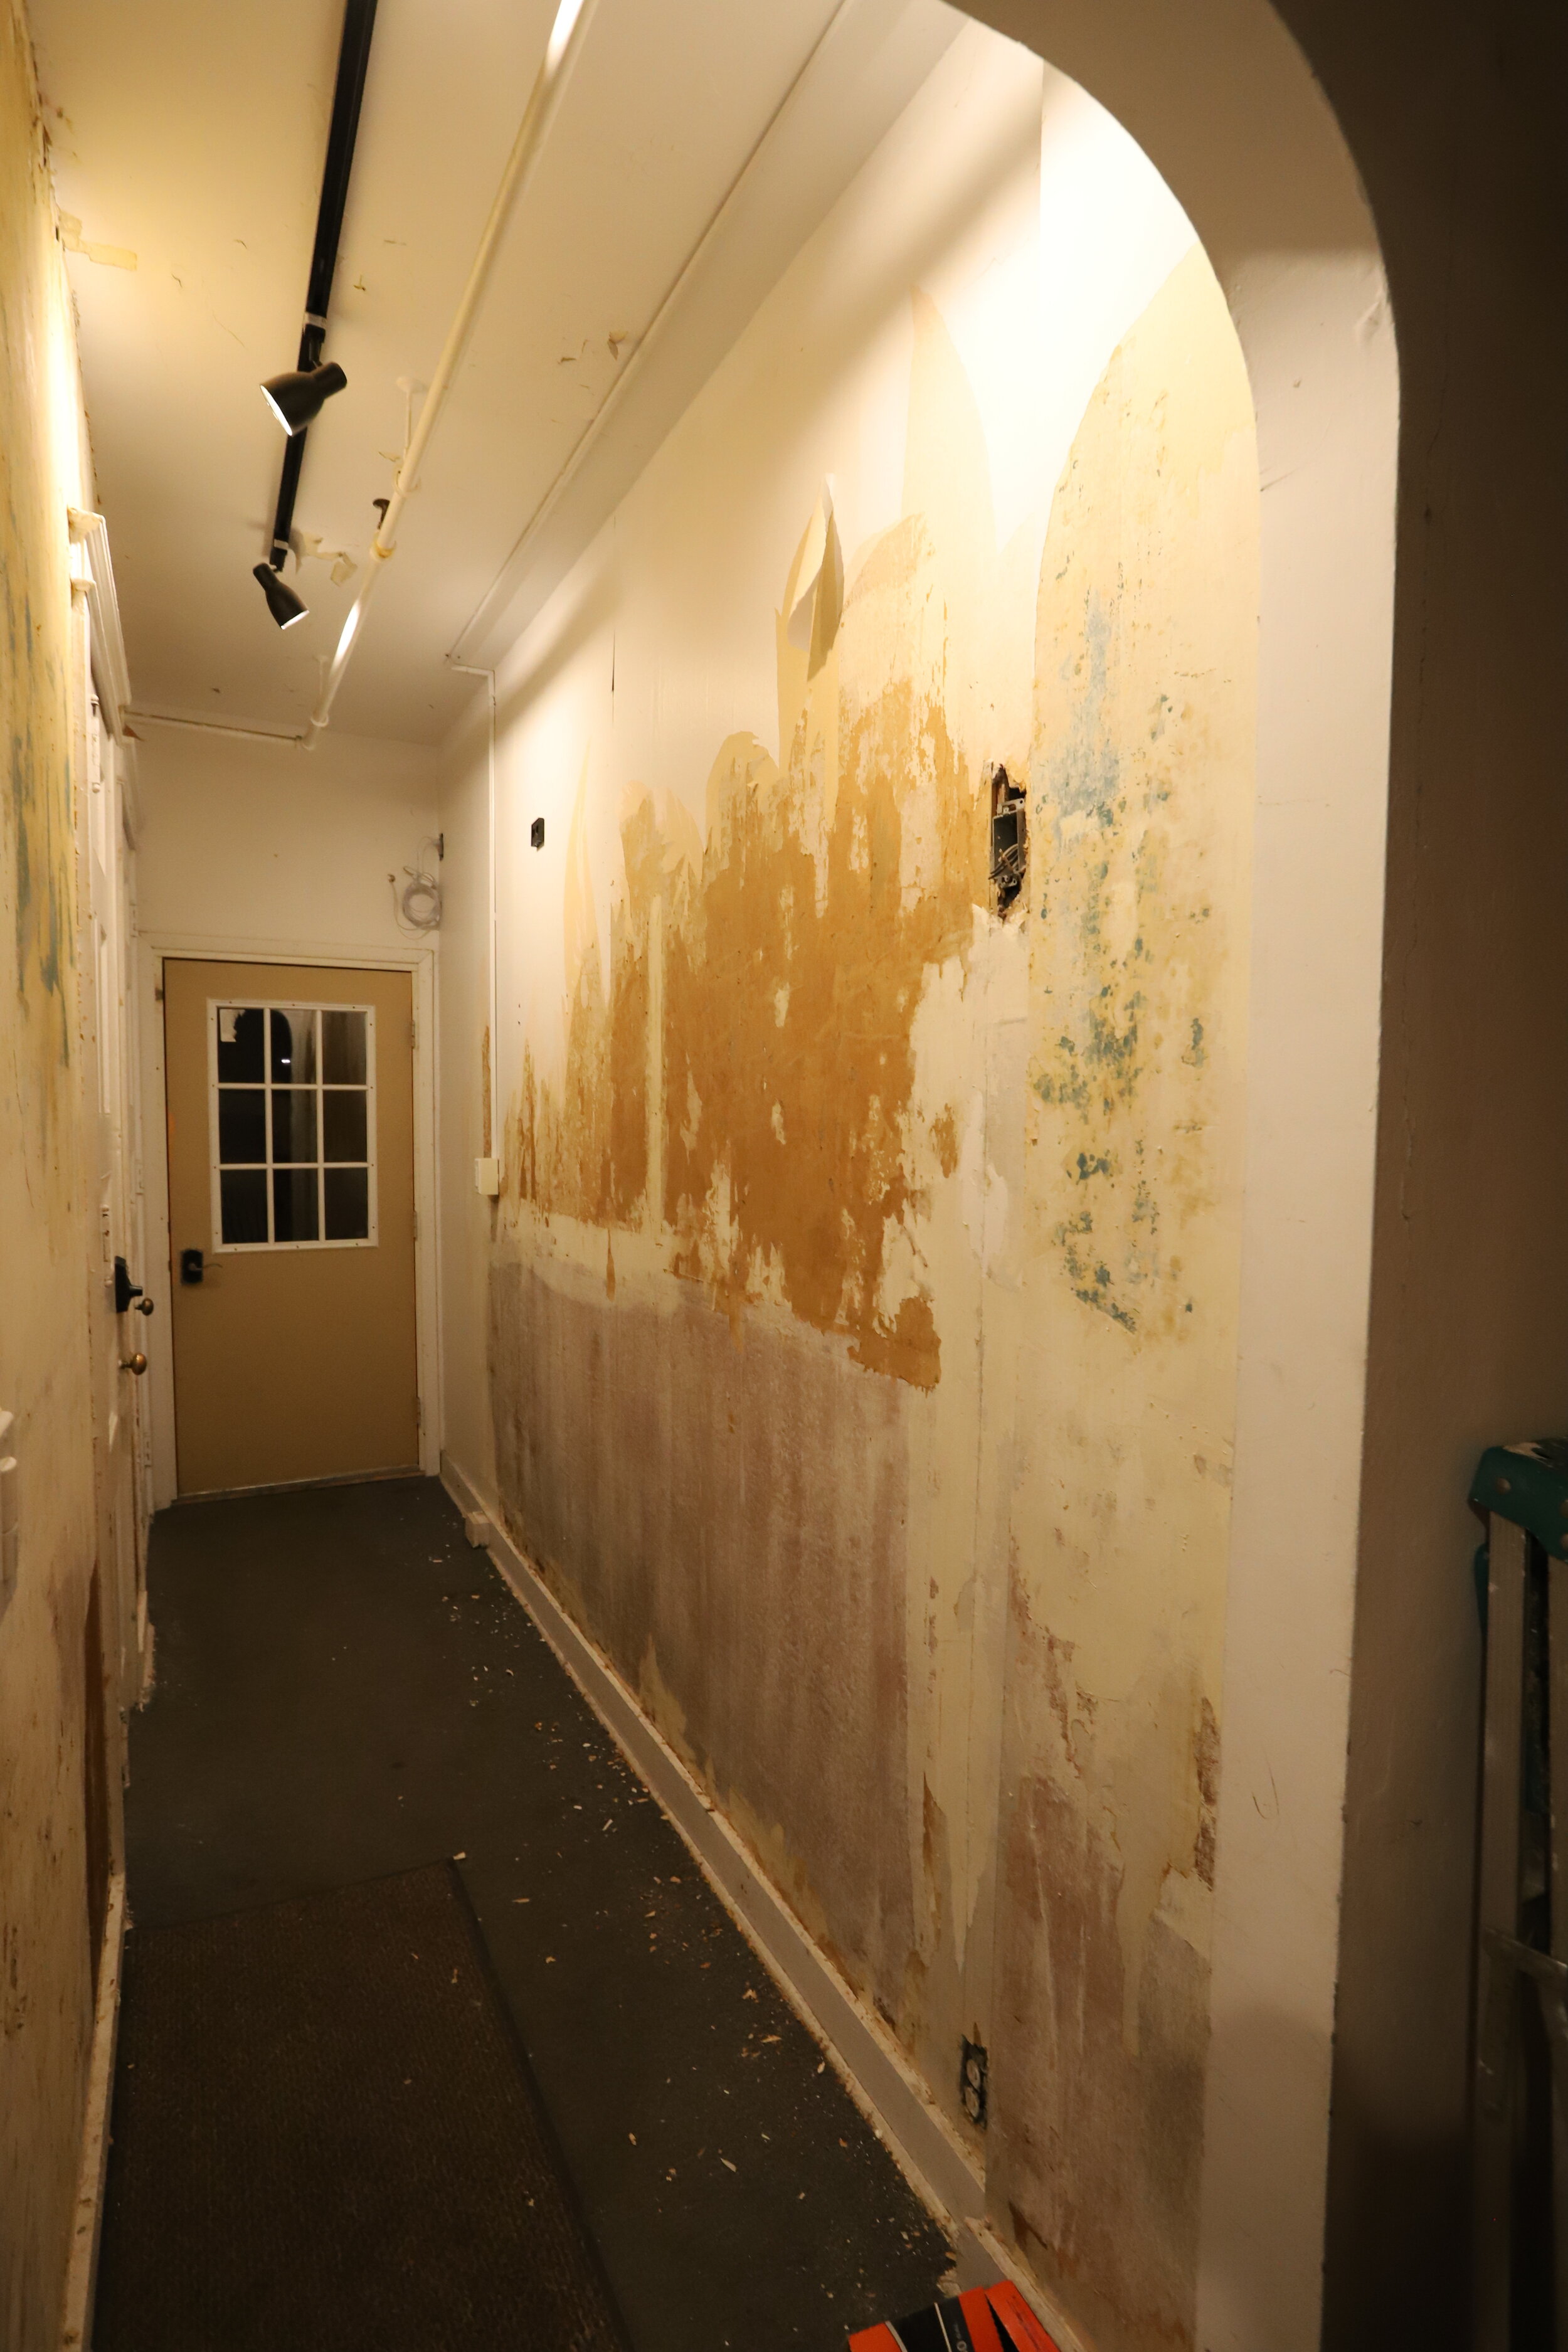
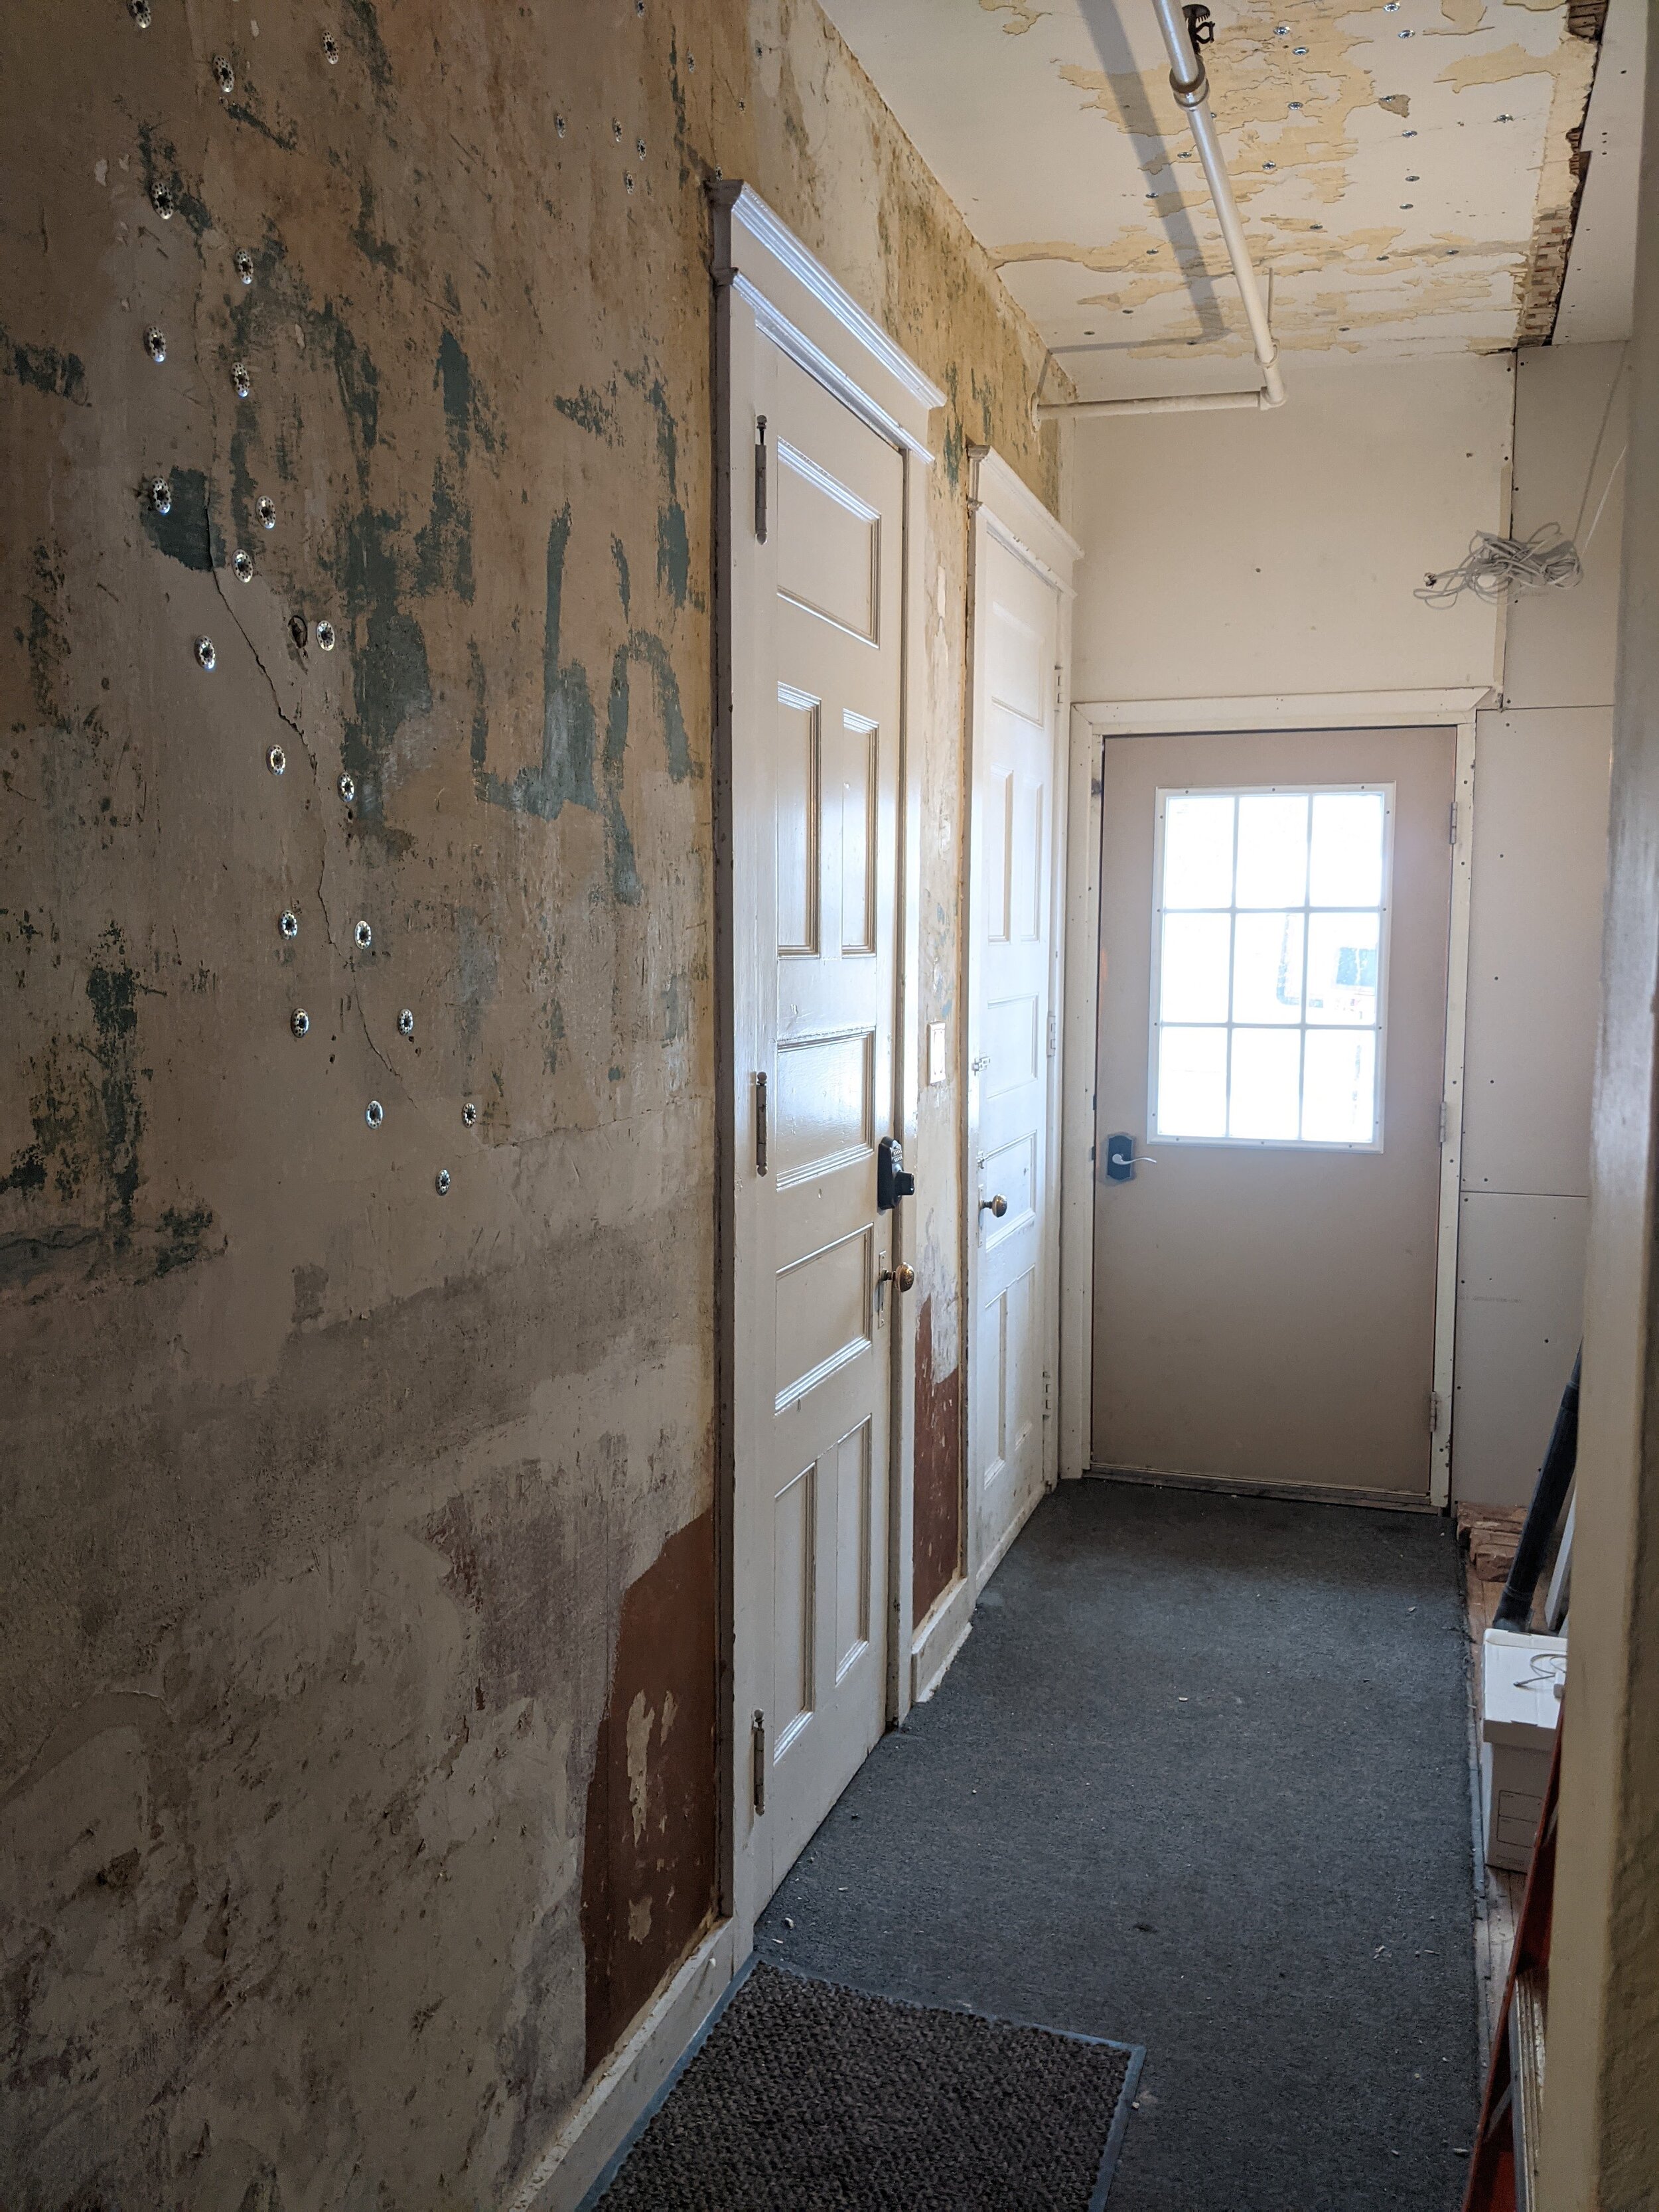
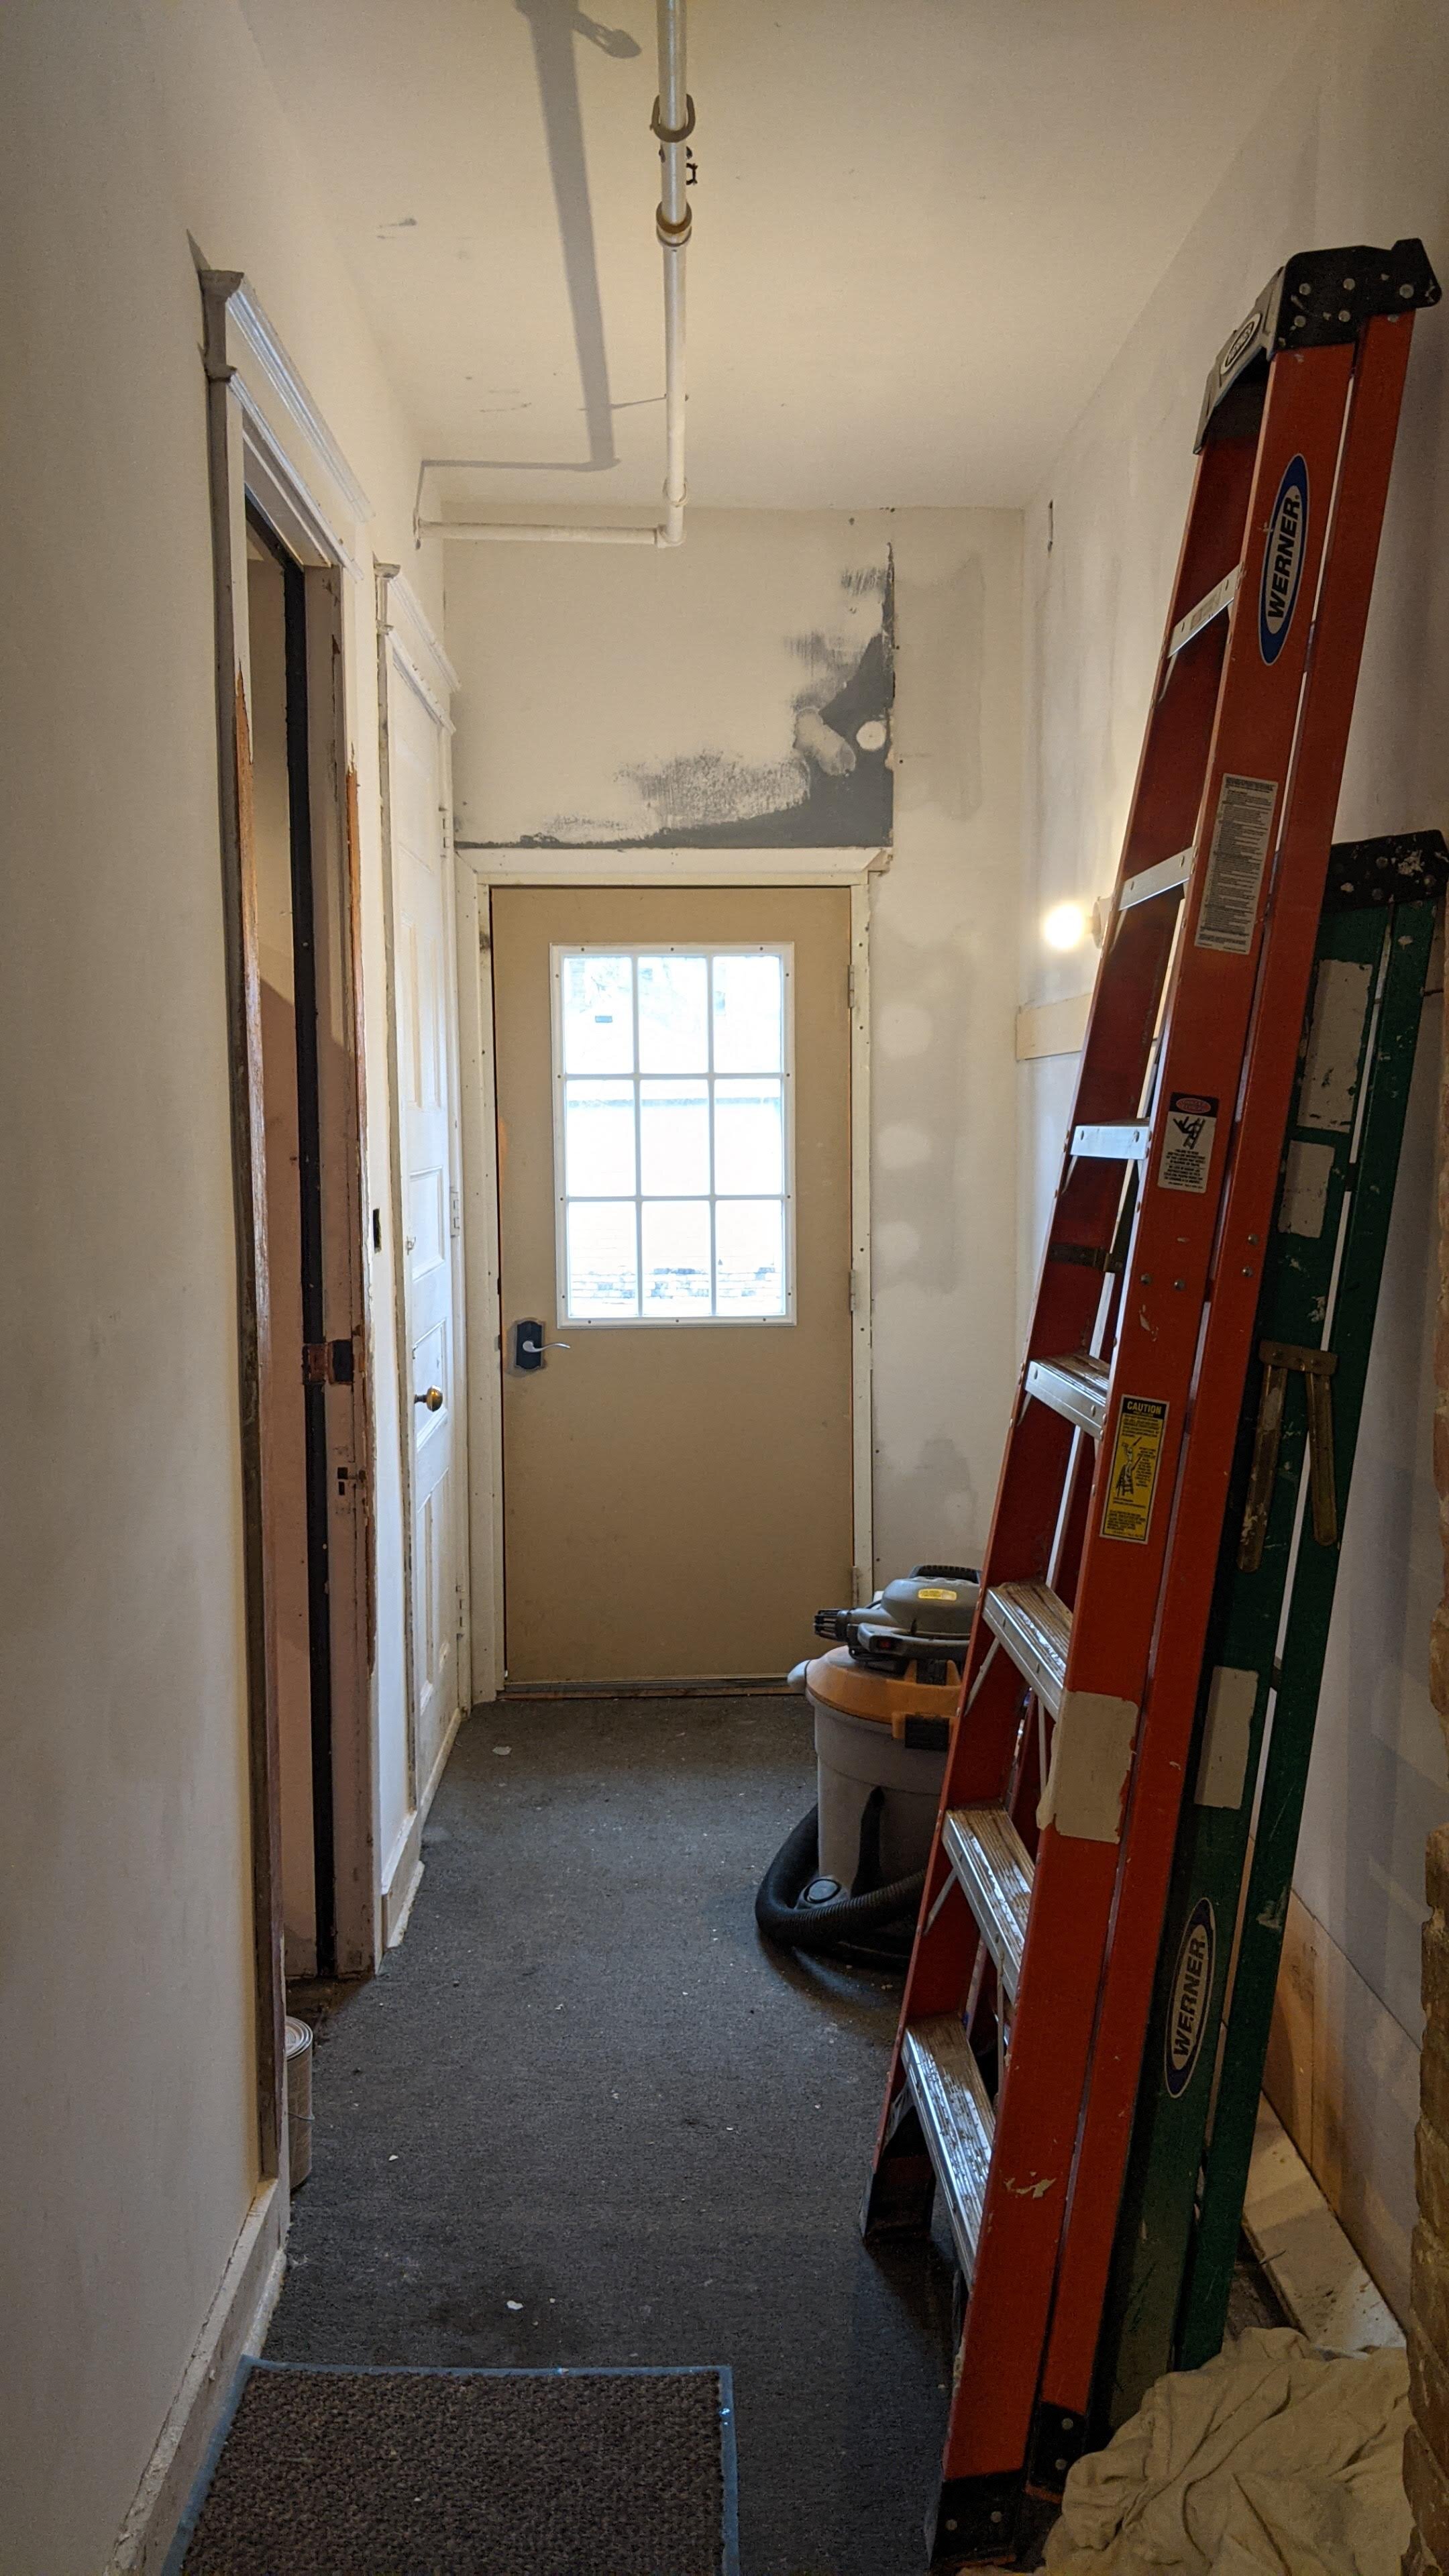
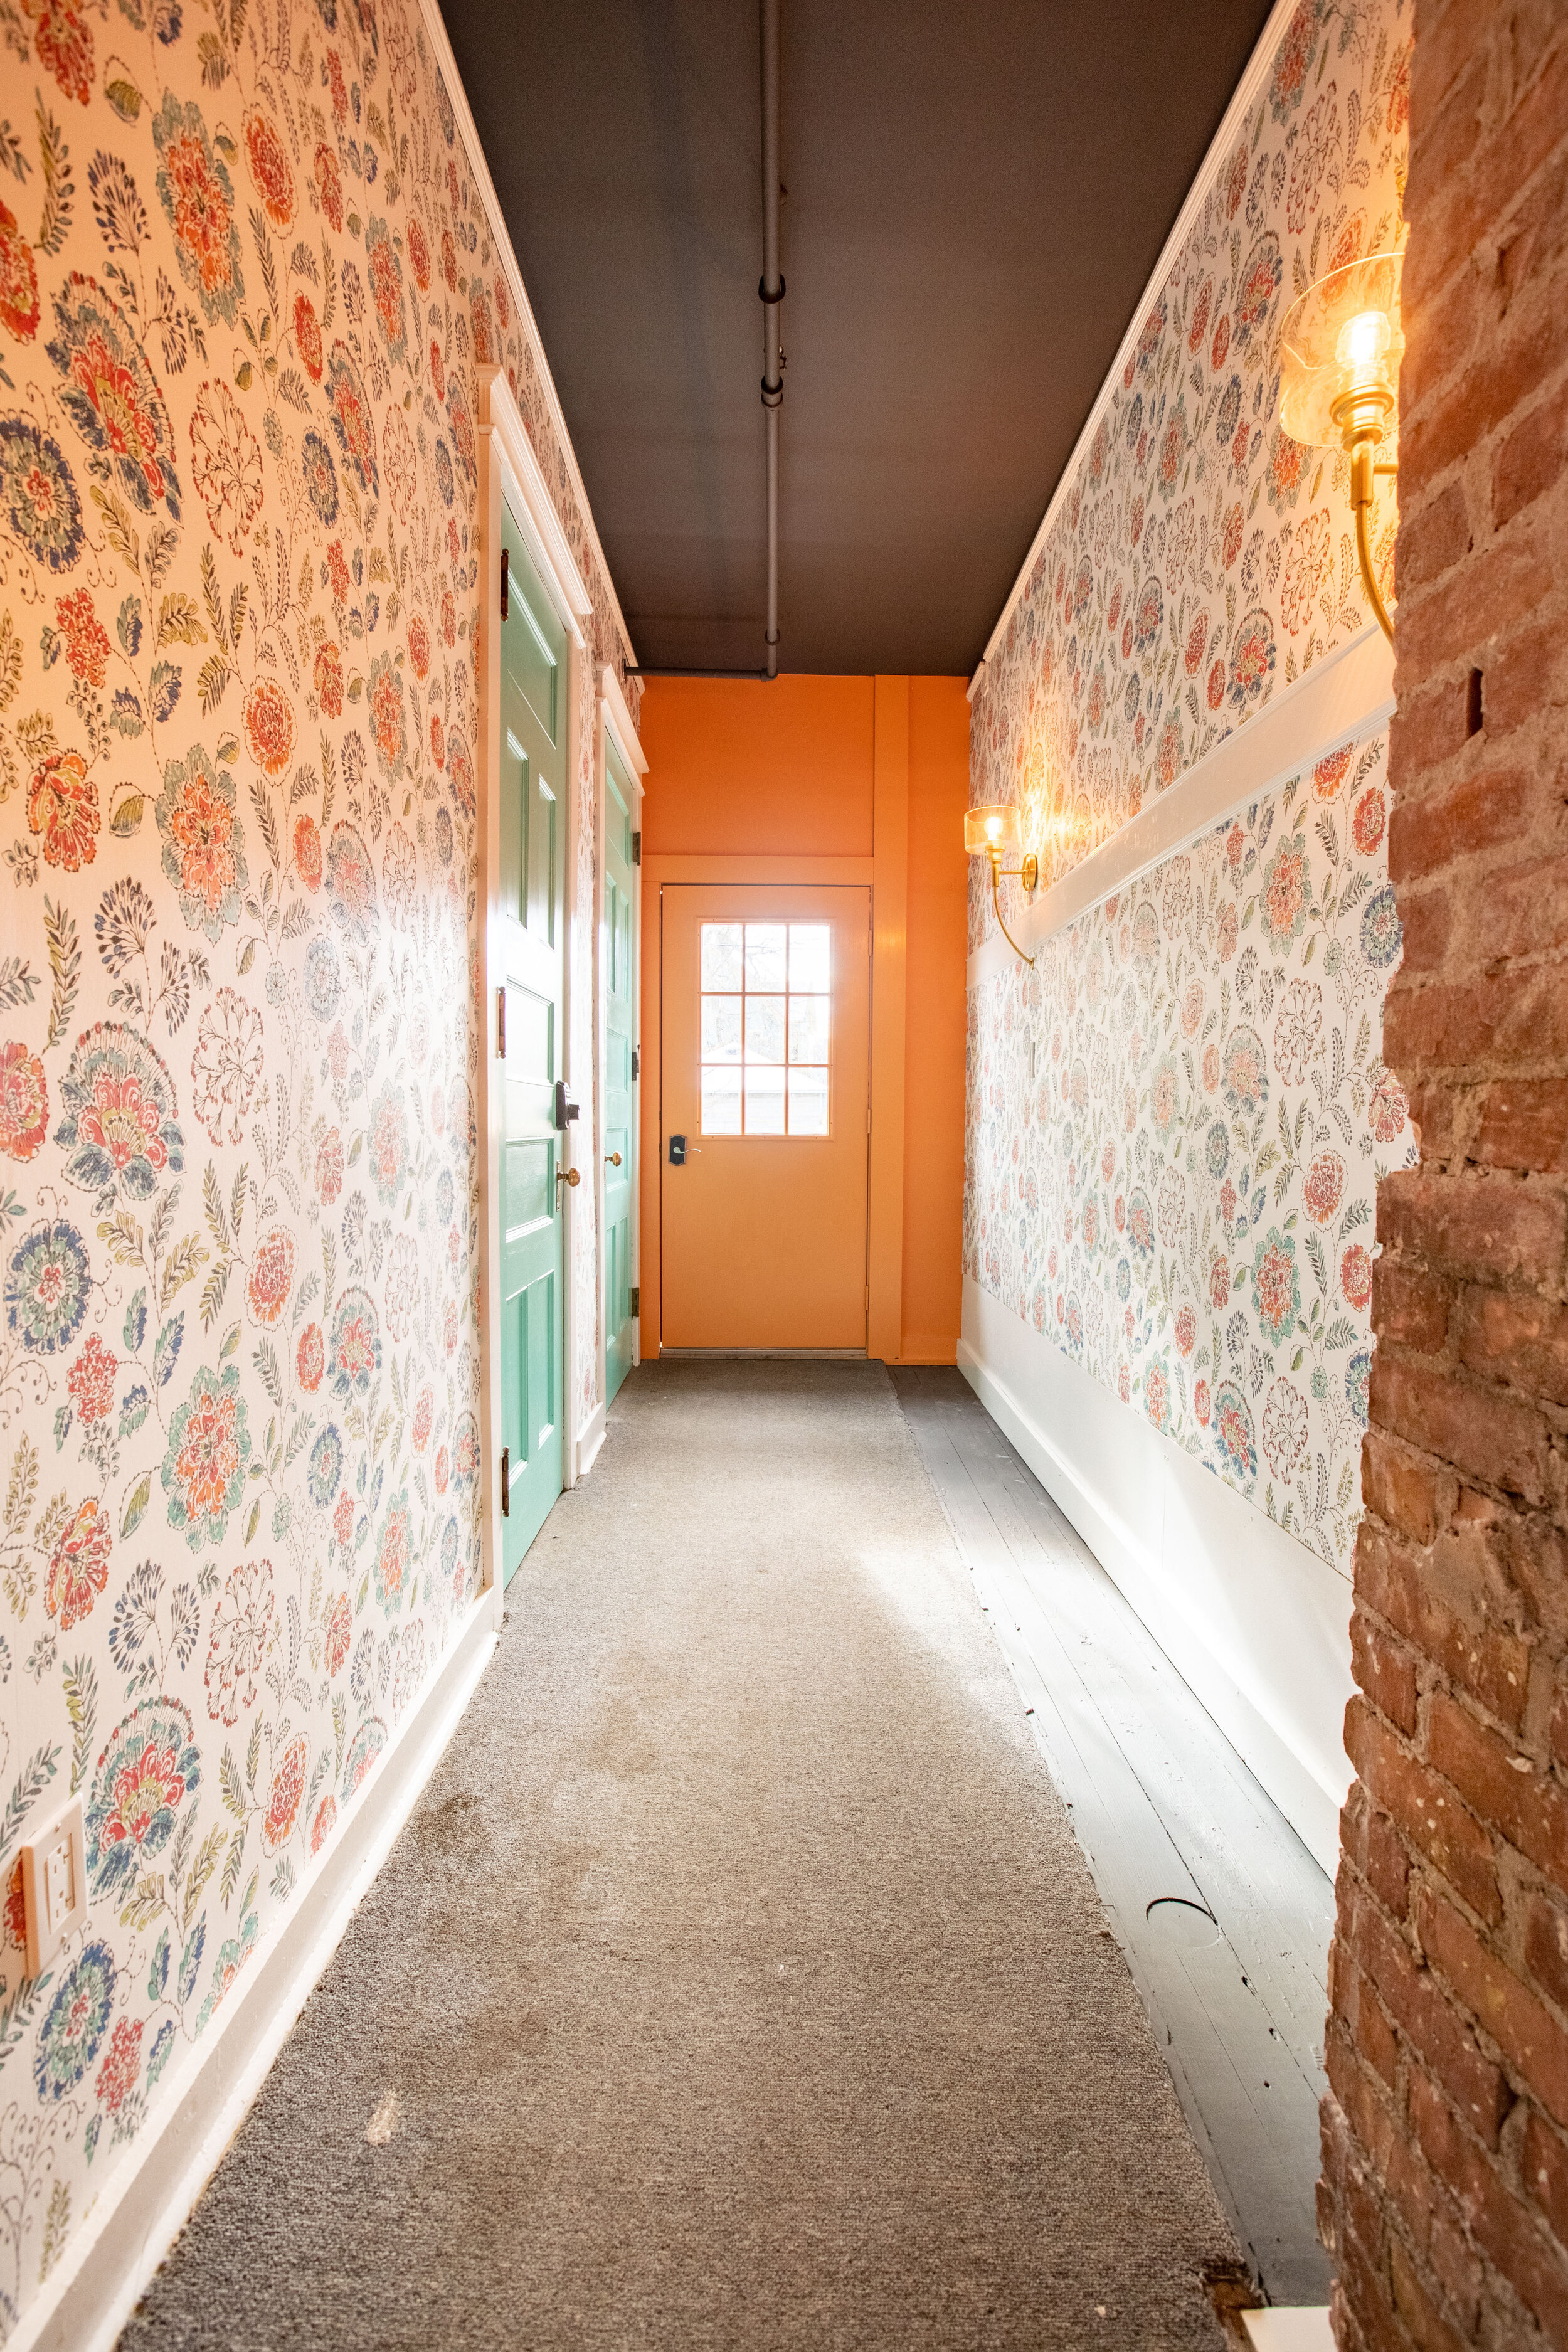
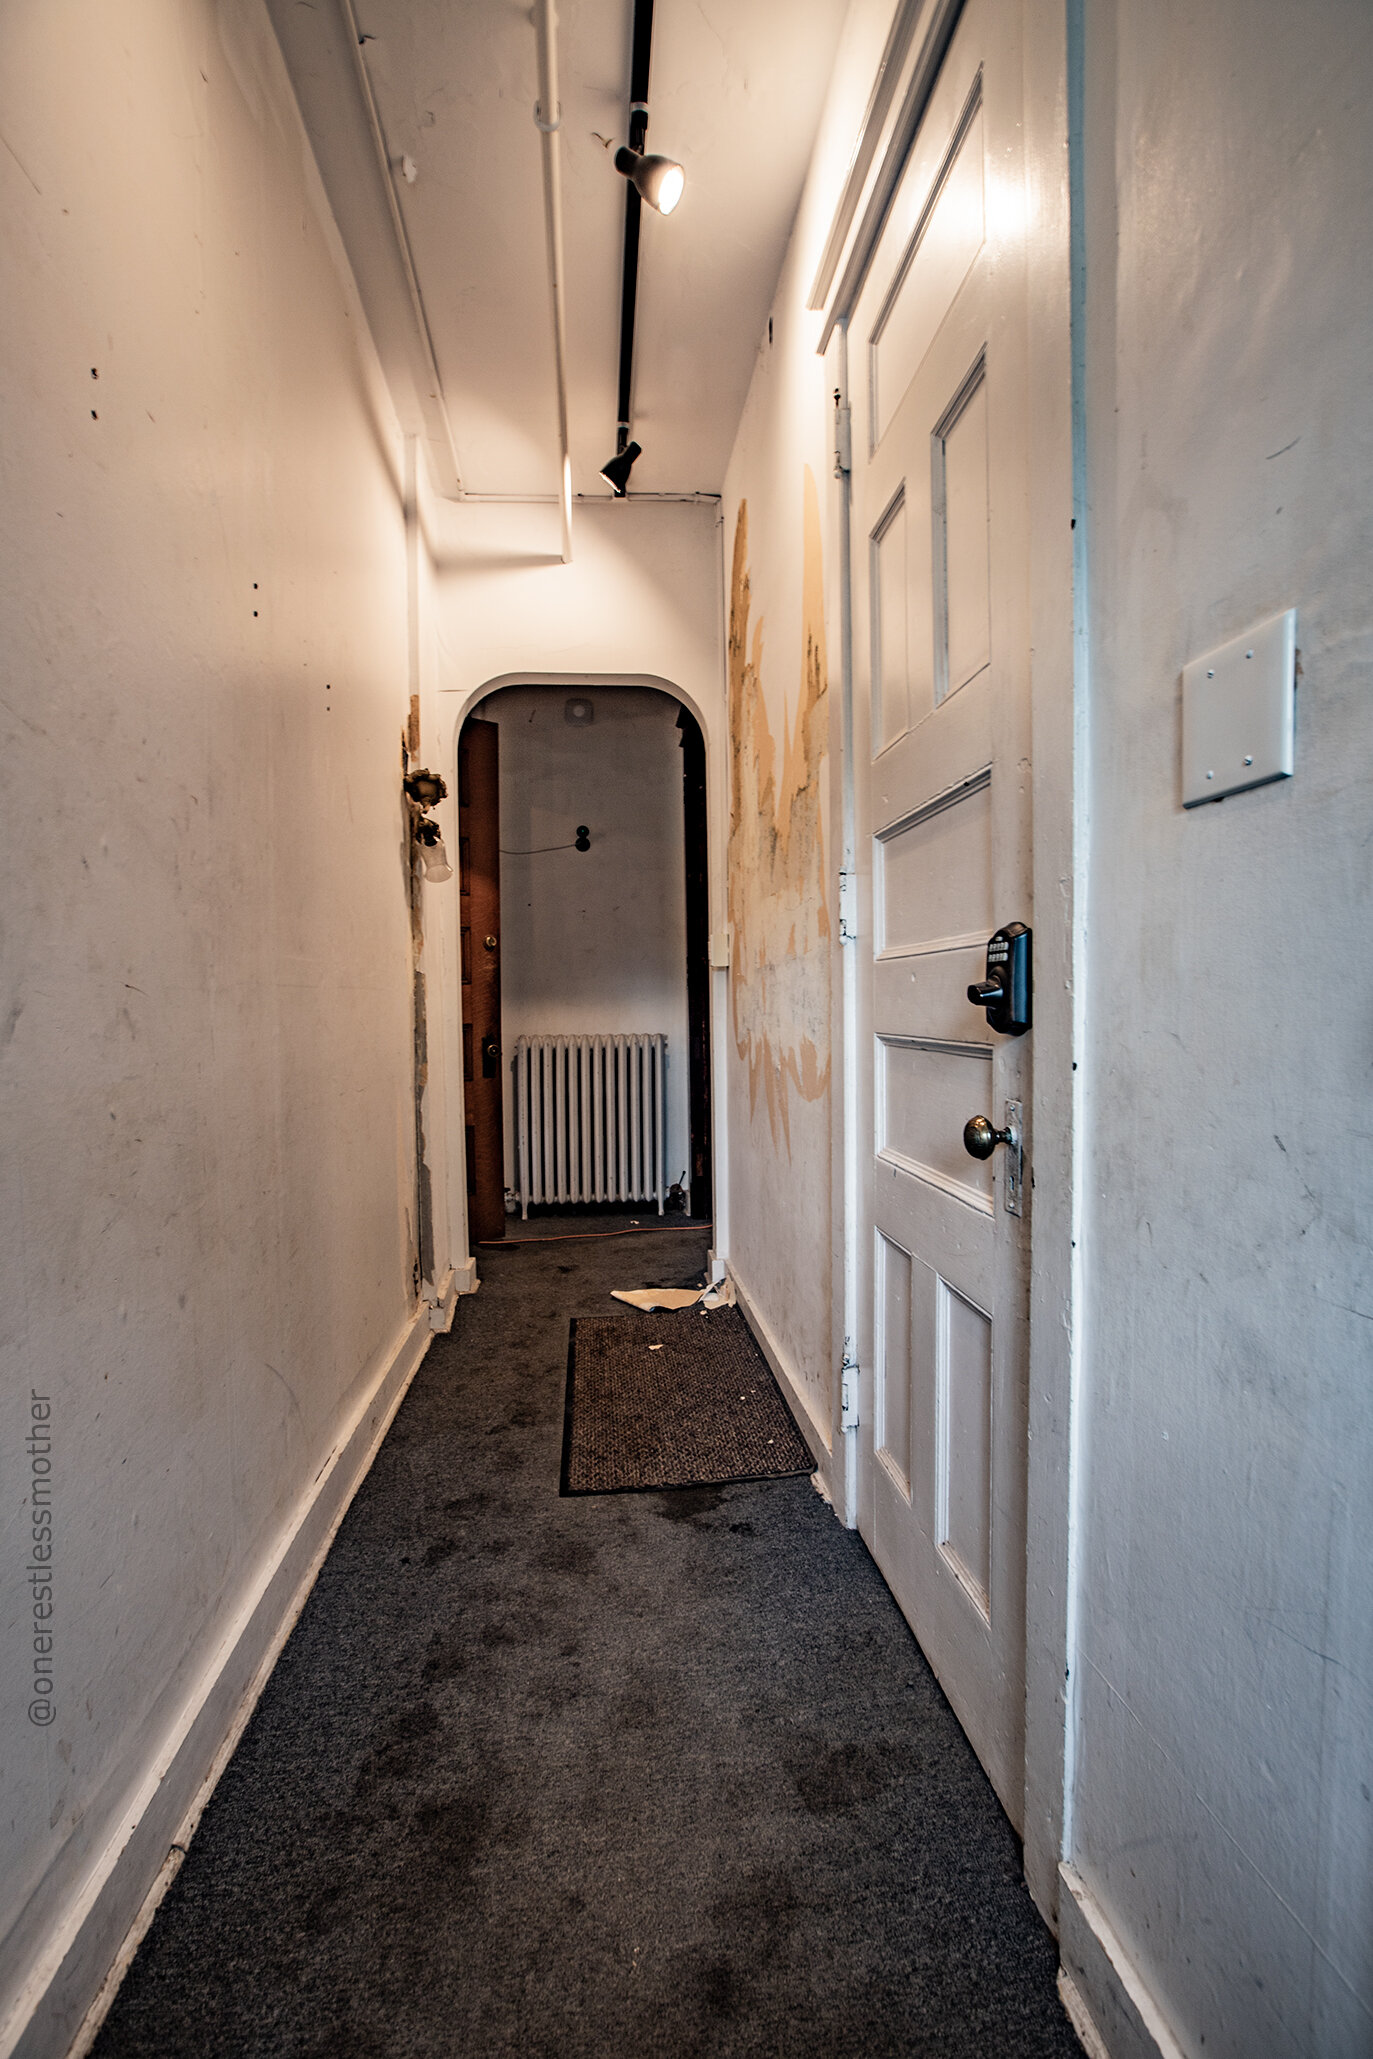
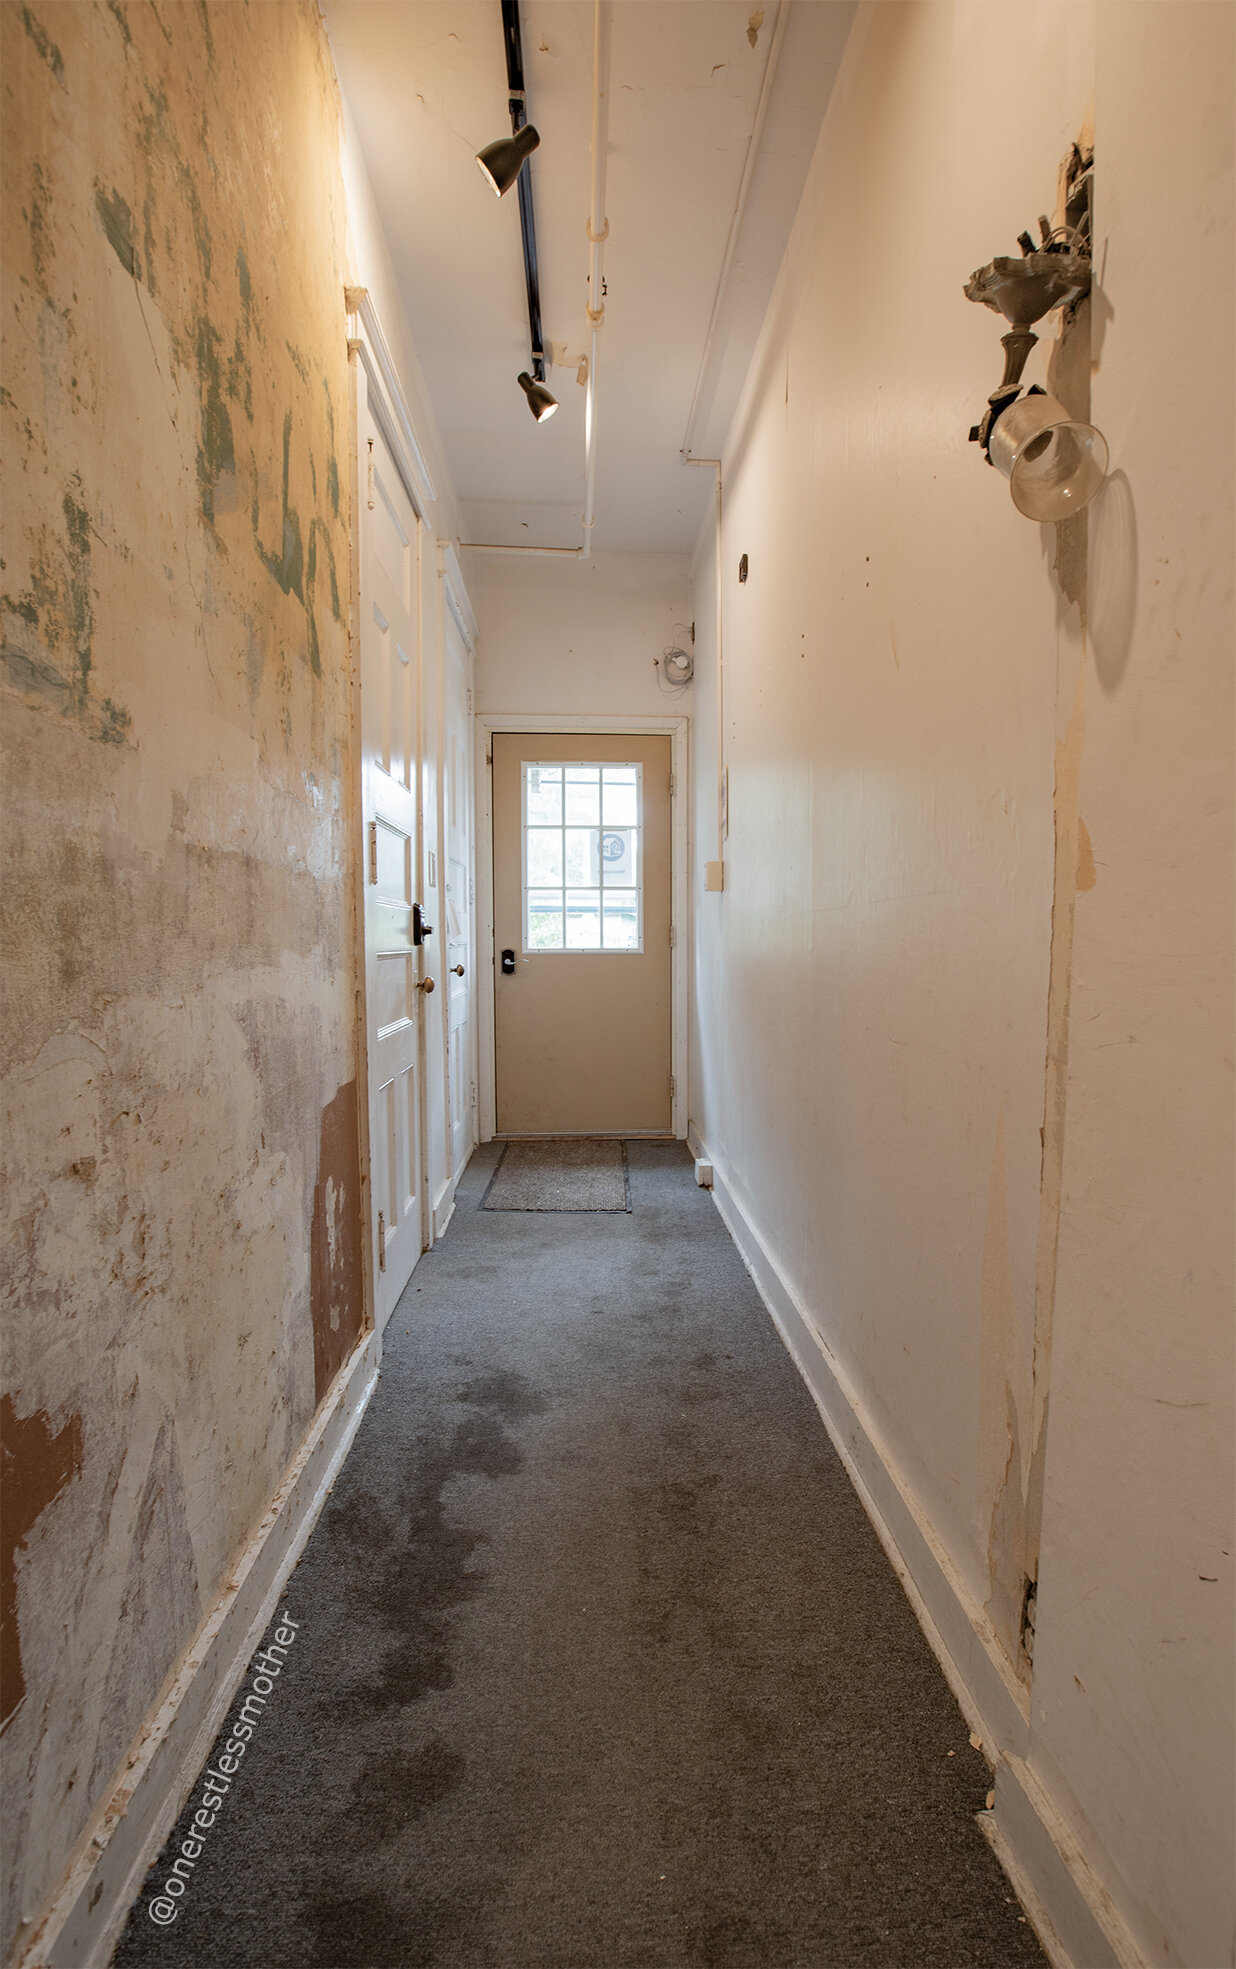
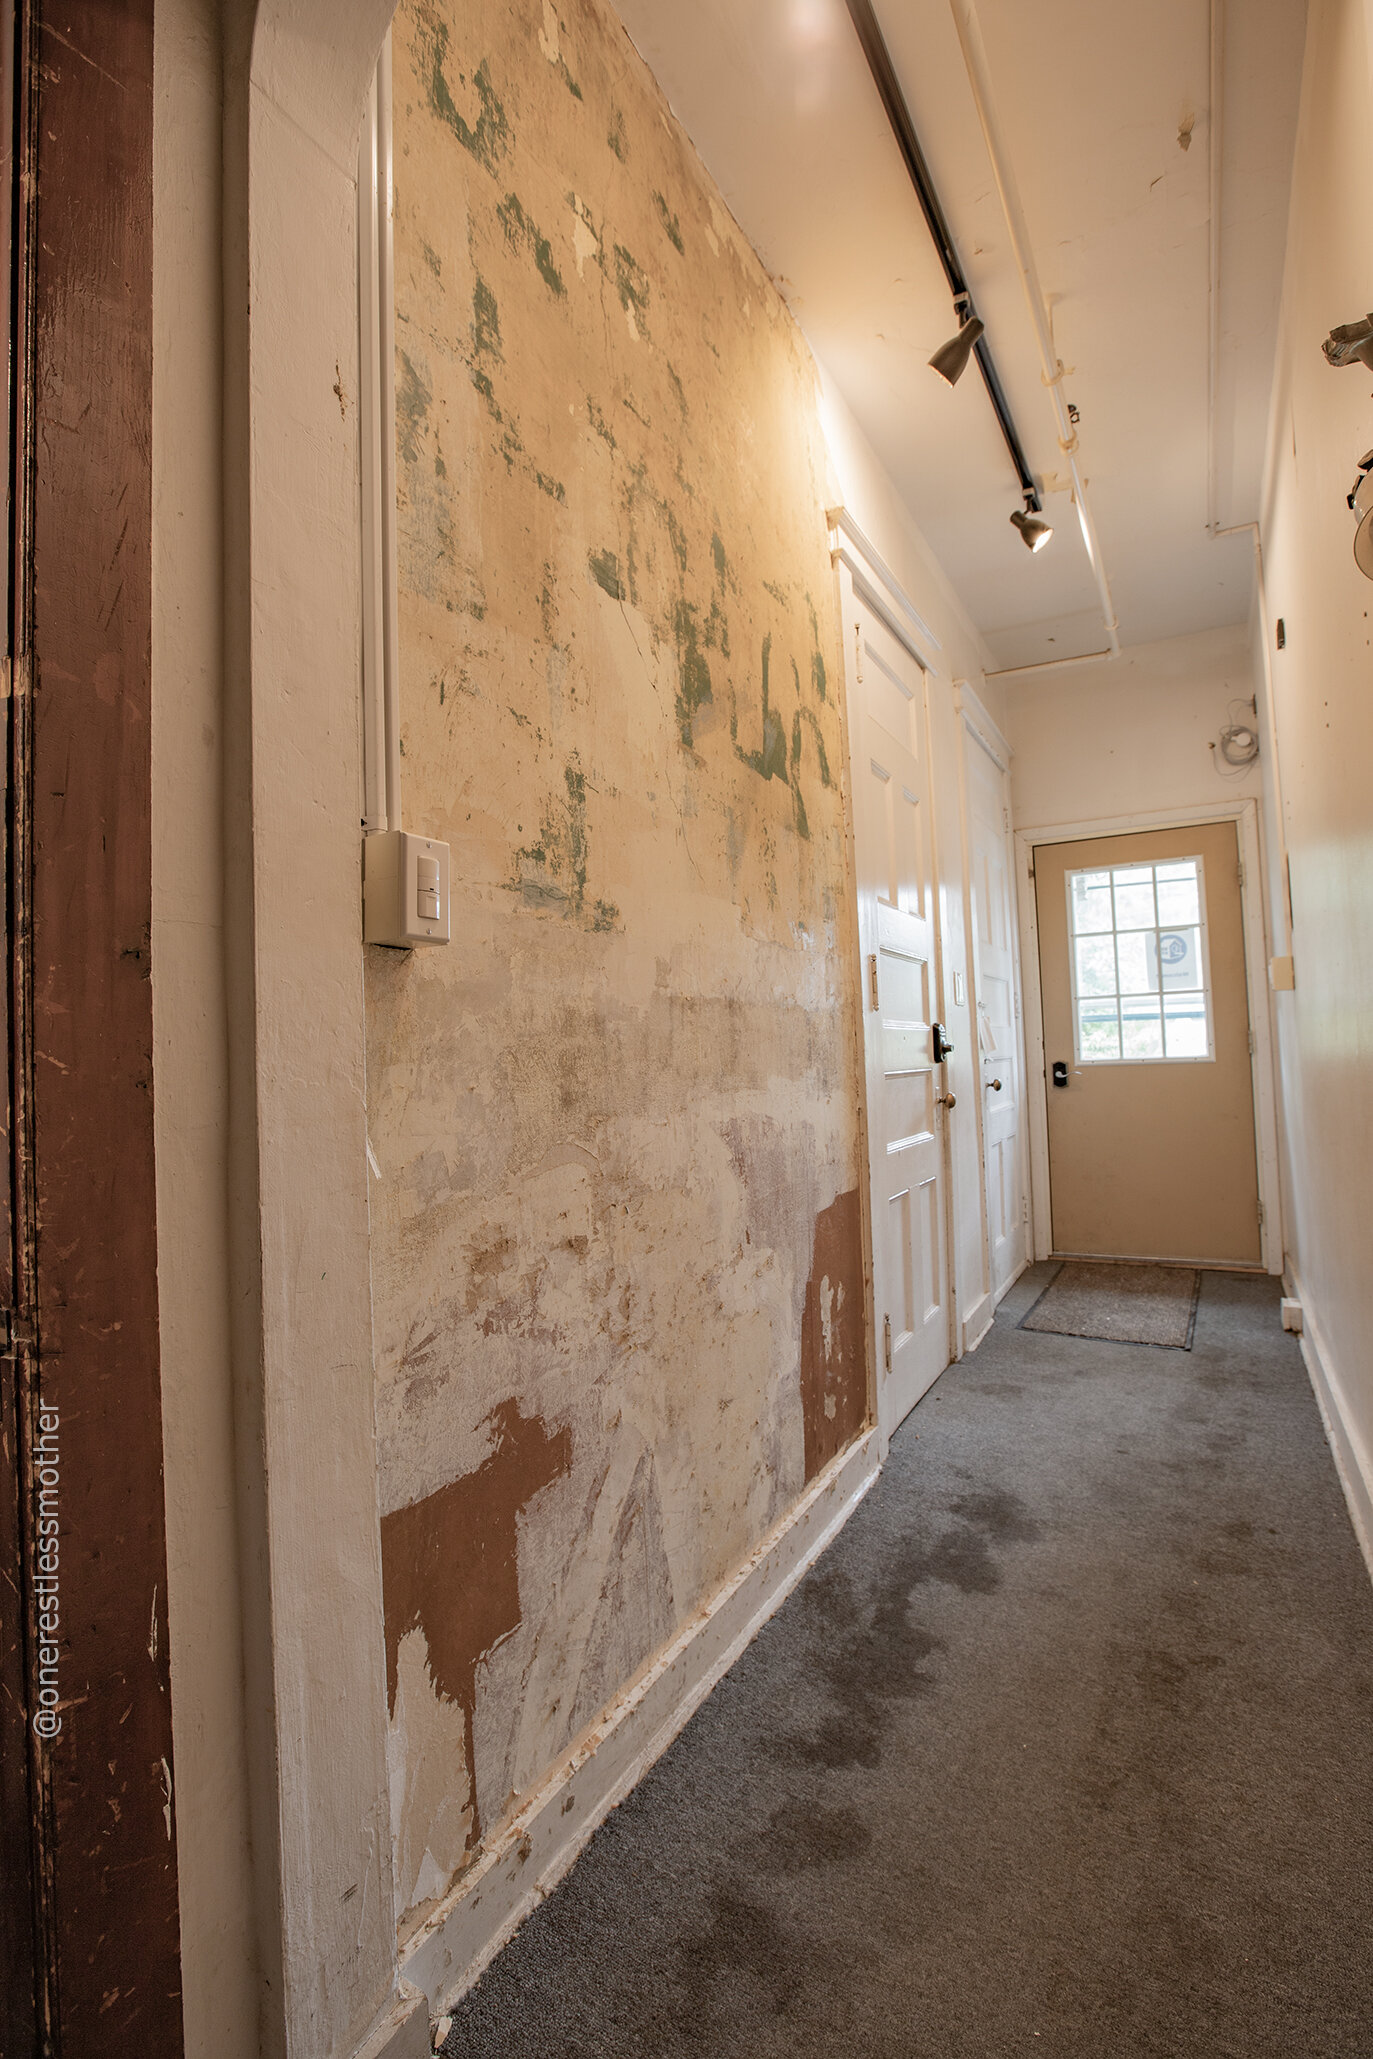
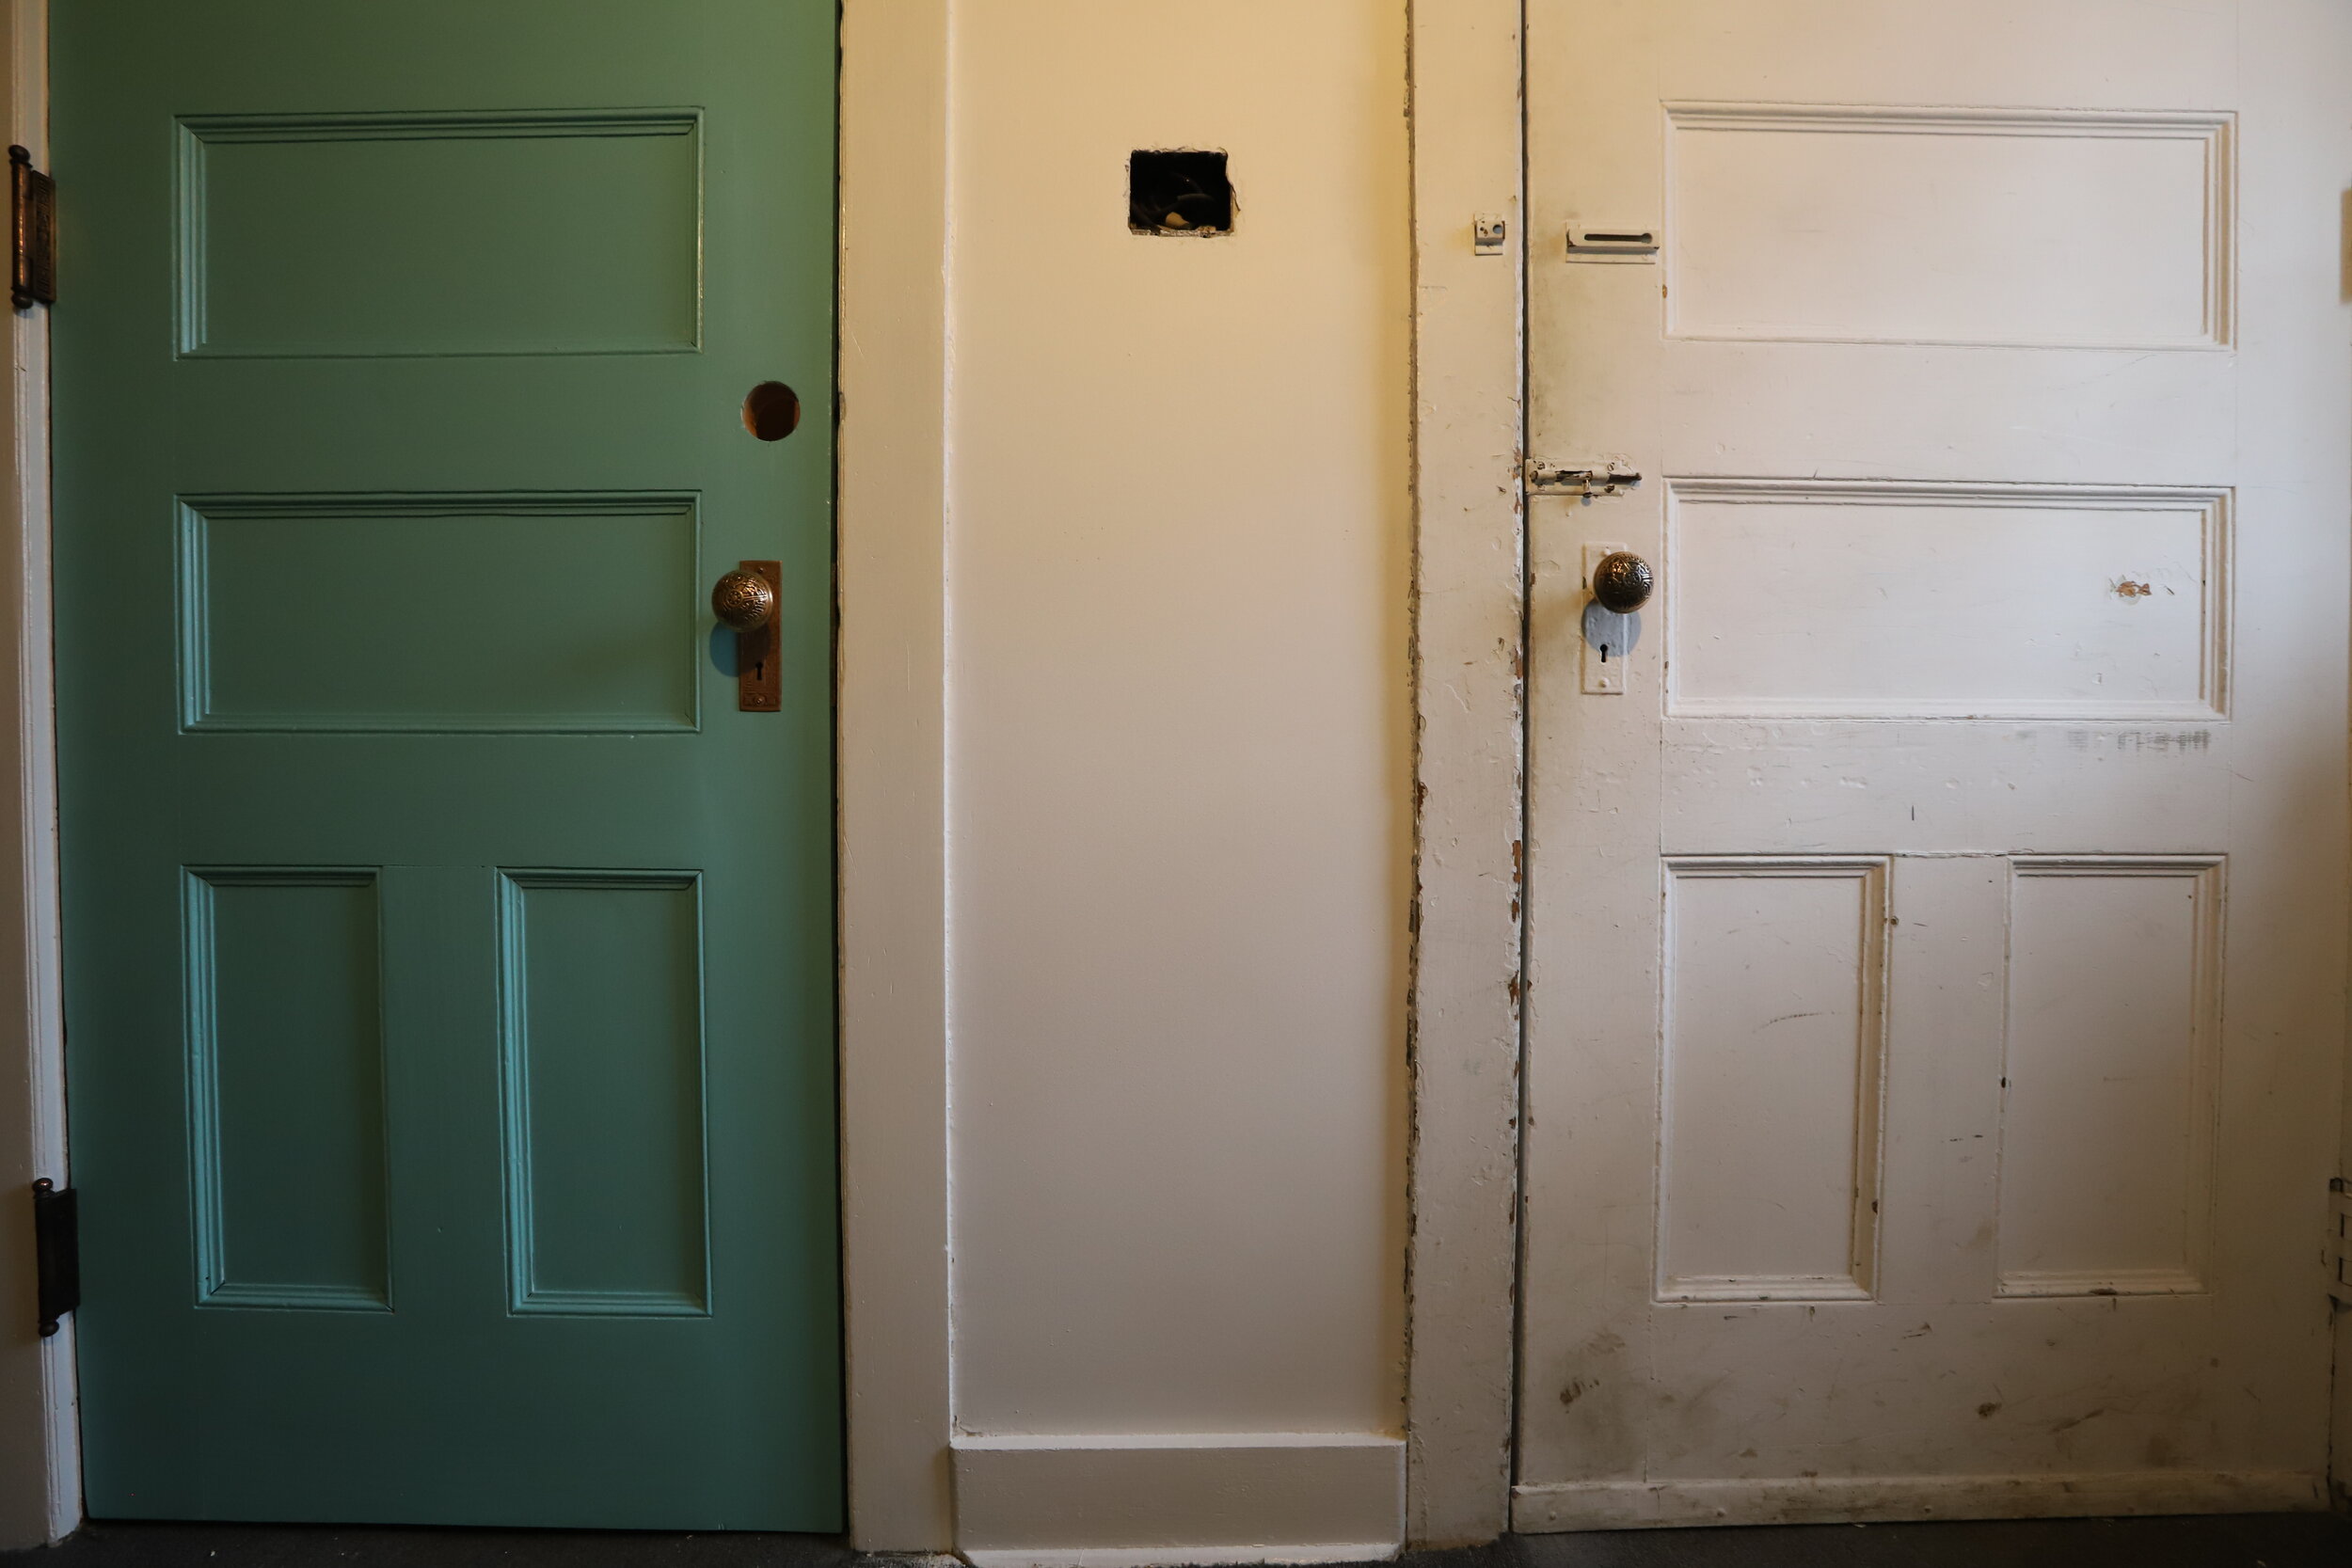
This space made the worst first impression any house could possibly make. Peeling wallpaper, banged up trim, doors under several layers of old paint and all of that stained with the kids’ muddy handprints. It's taken me about 6 months to complete it. If I had a full 8 hrs to work on it daily, uninterrupted, it would've taken me a month at most, but alas, this was the job that was last on the priority list of life. Having said that, I'm happy to announce I no longer have to start my guest interactions with “Trust me! The space you’ll be staying in is several levels of awesomeness above what you're seeing here”.
In this post I'm aiming to give an overview of the work done, how much it cost, materials and colors used, what’s left to do, and some before and after eye candy.
Work done
Electrical
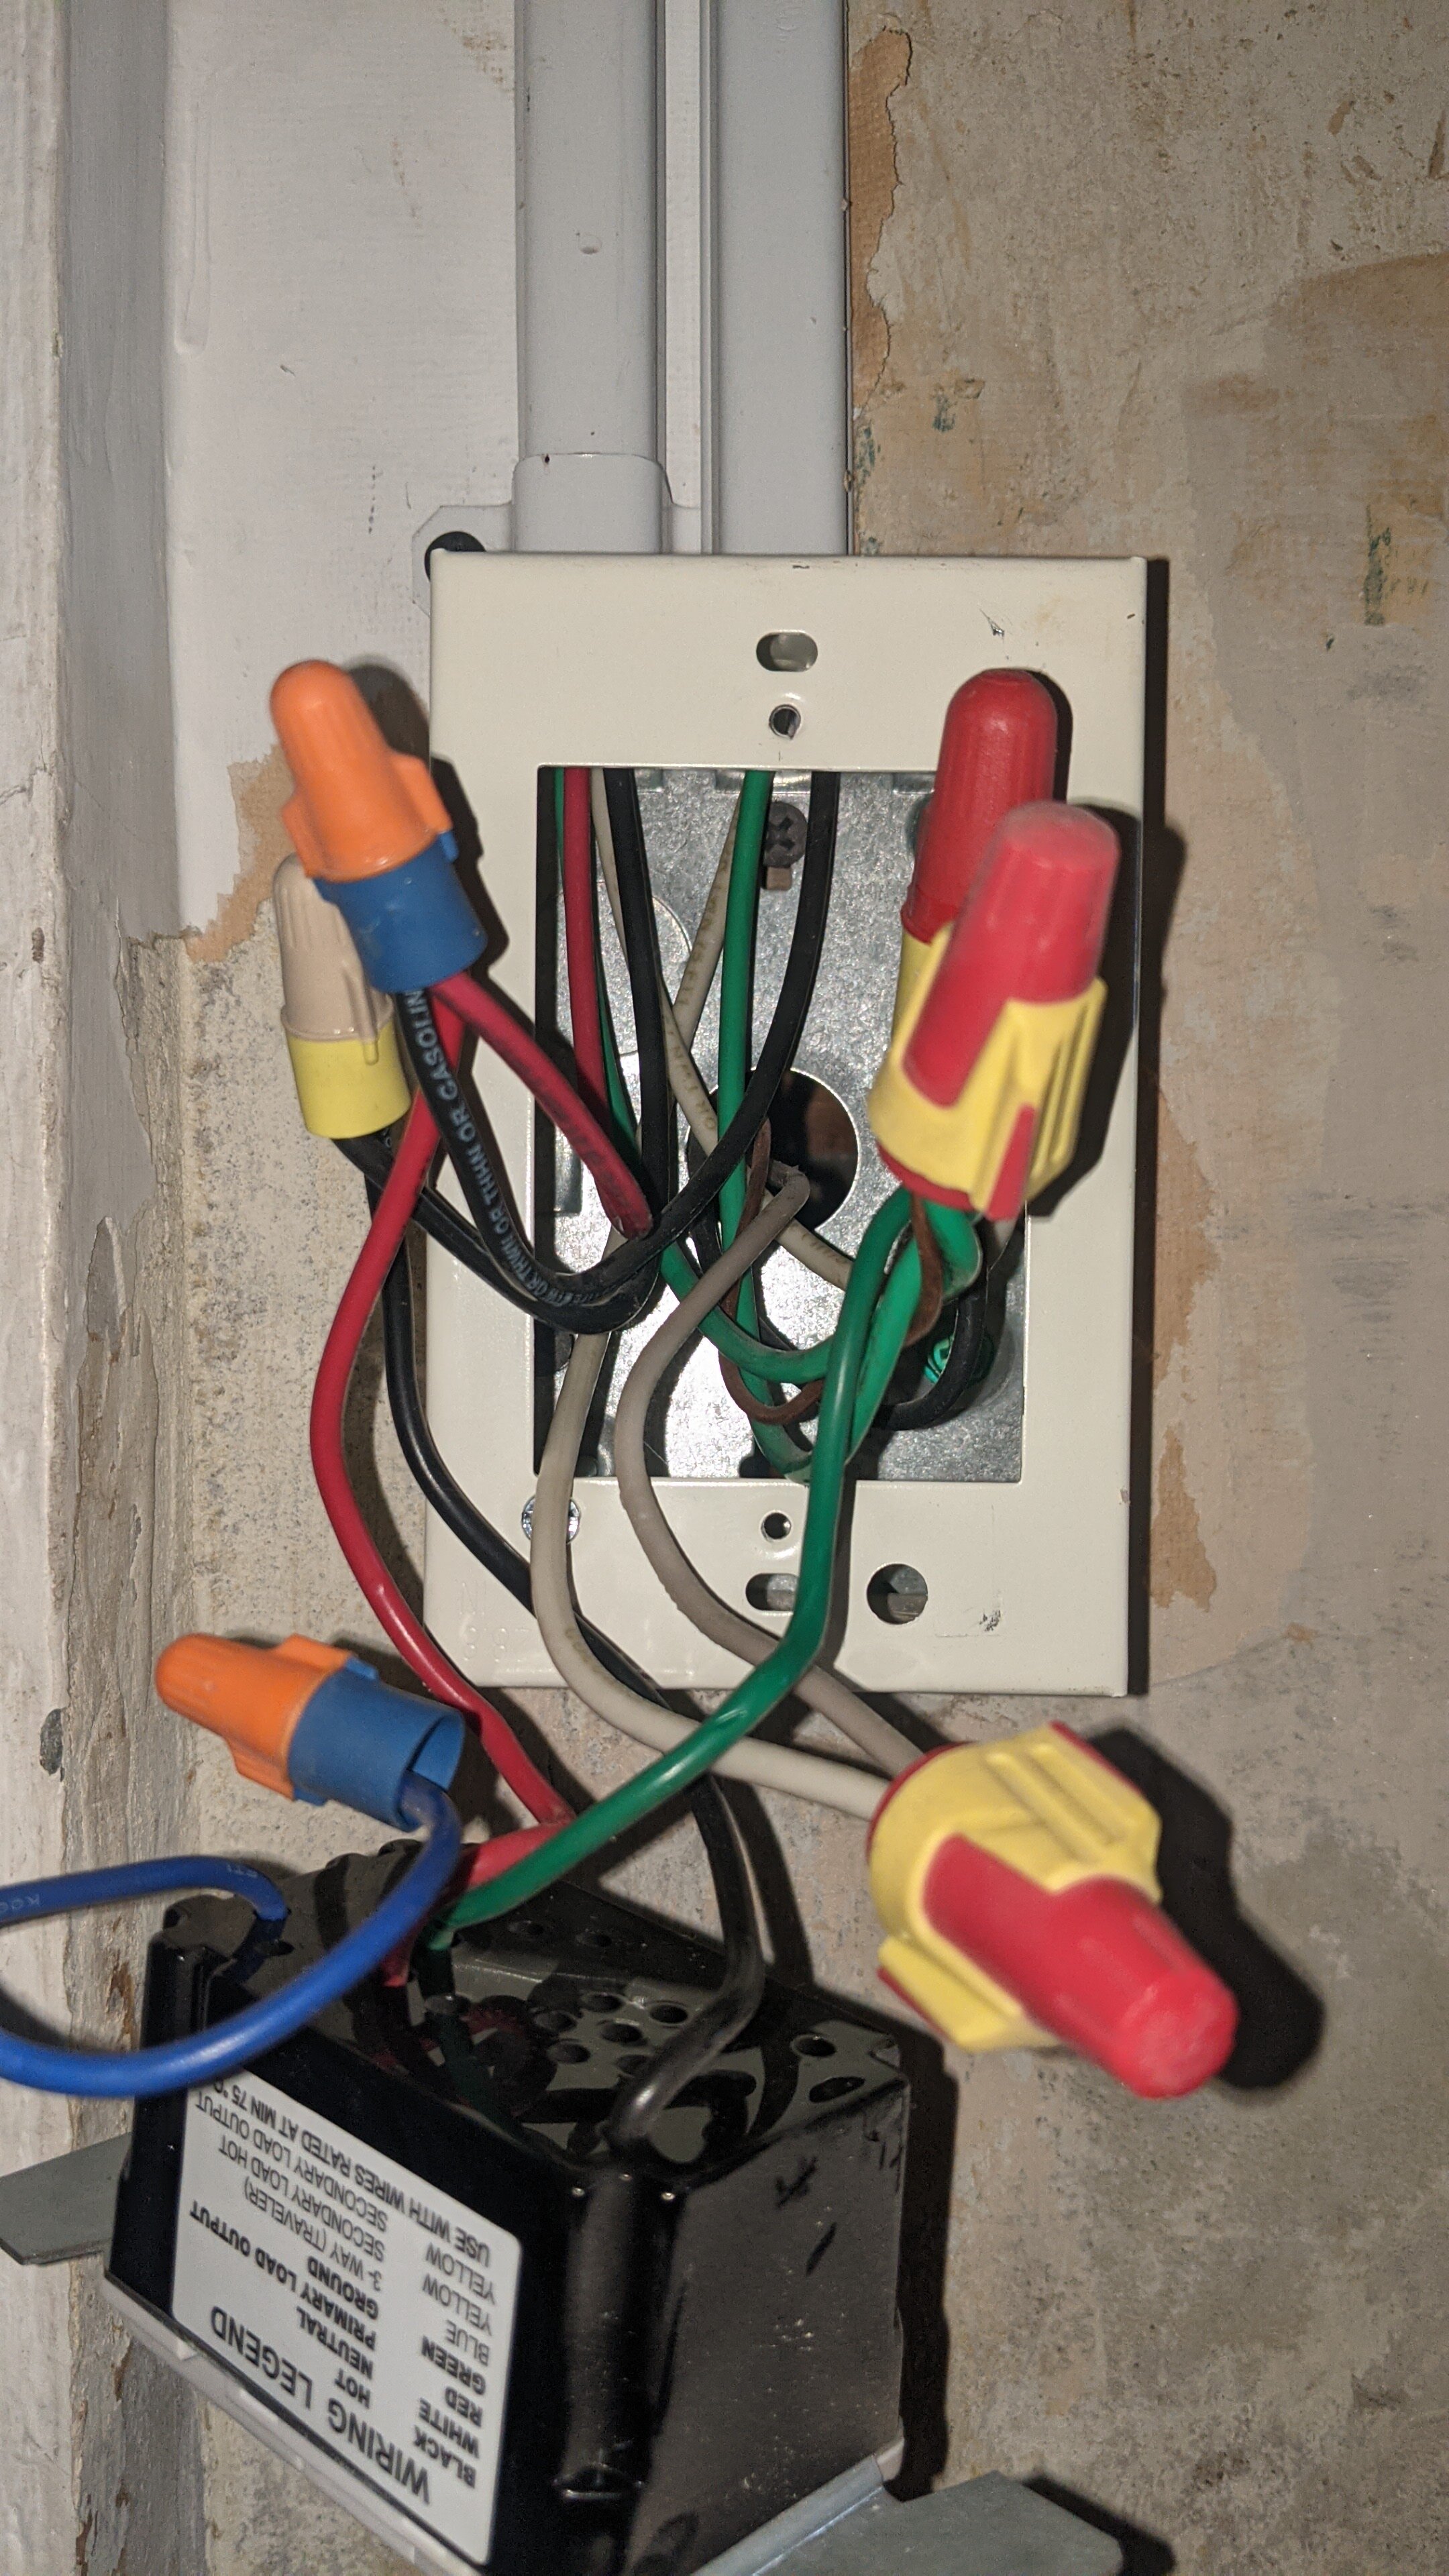
Outlet added
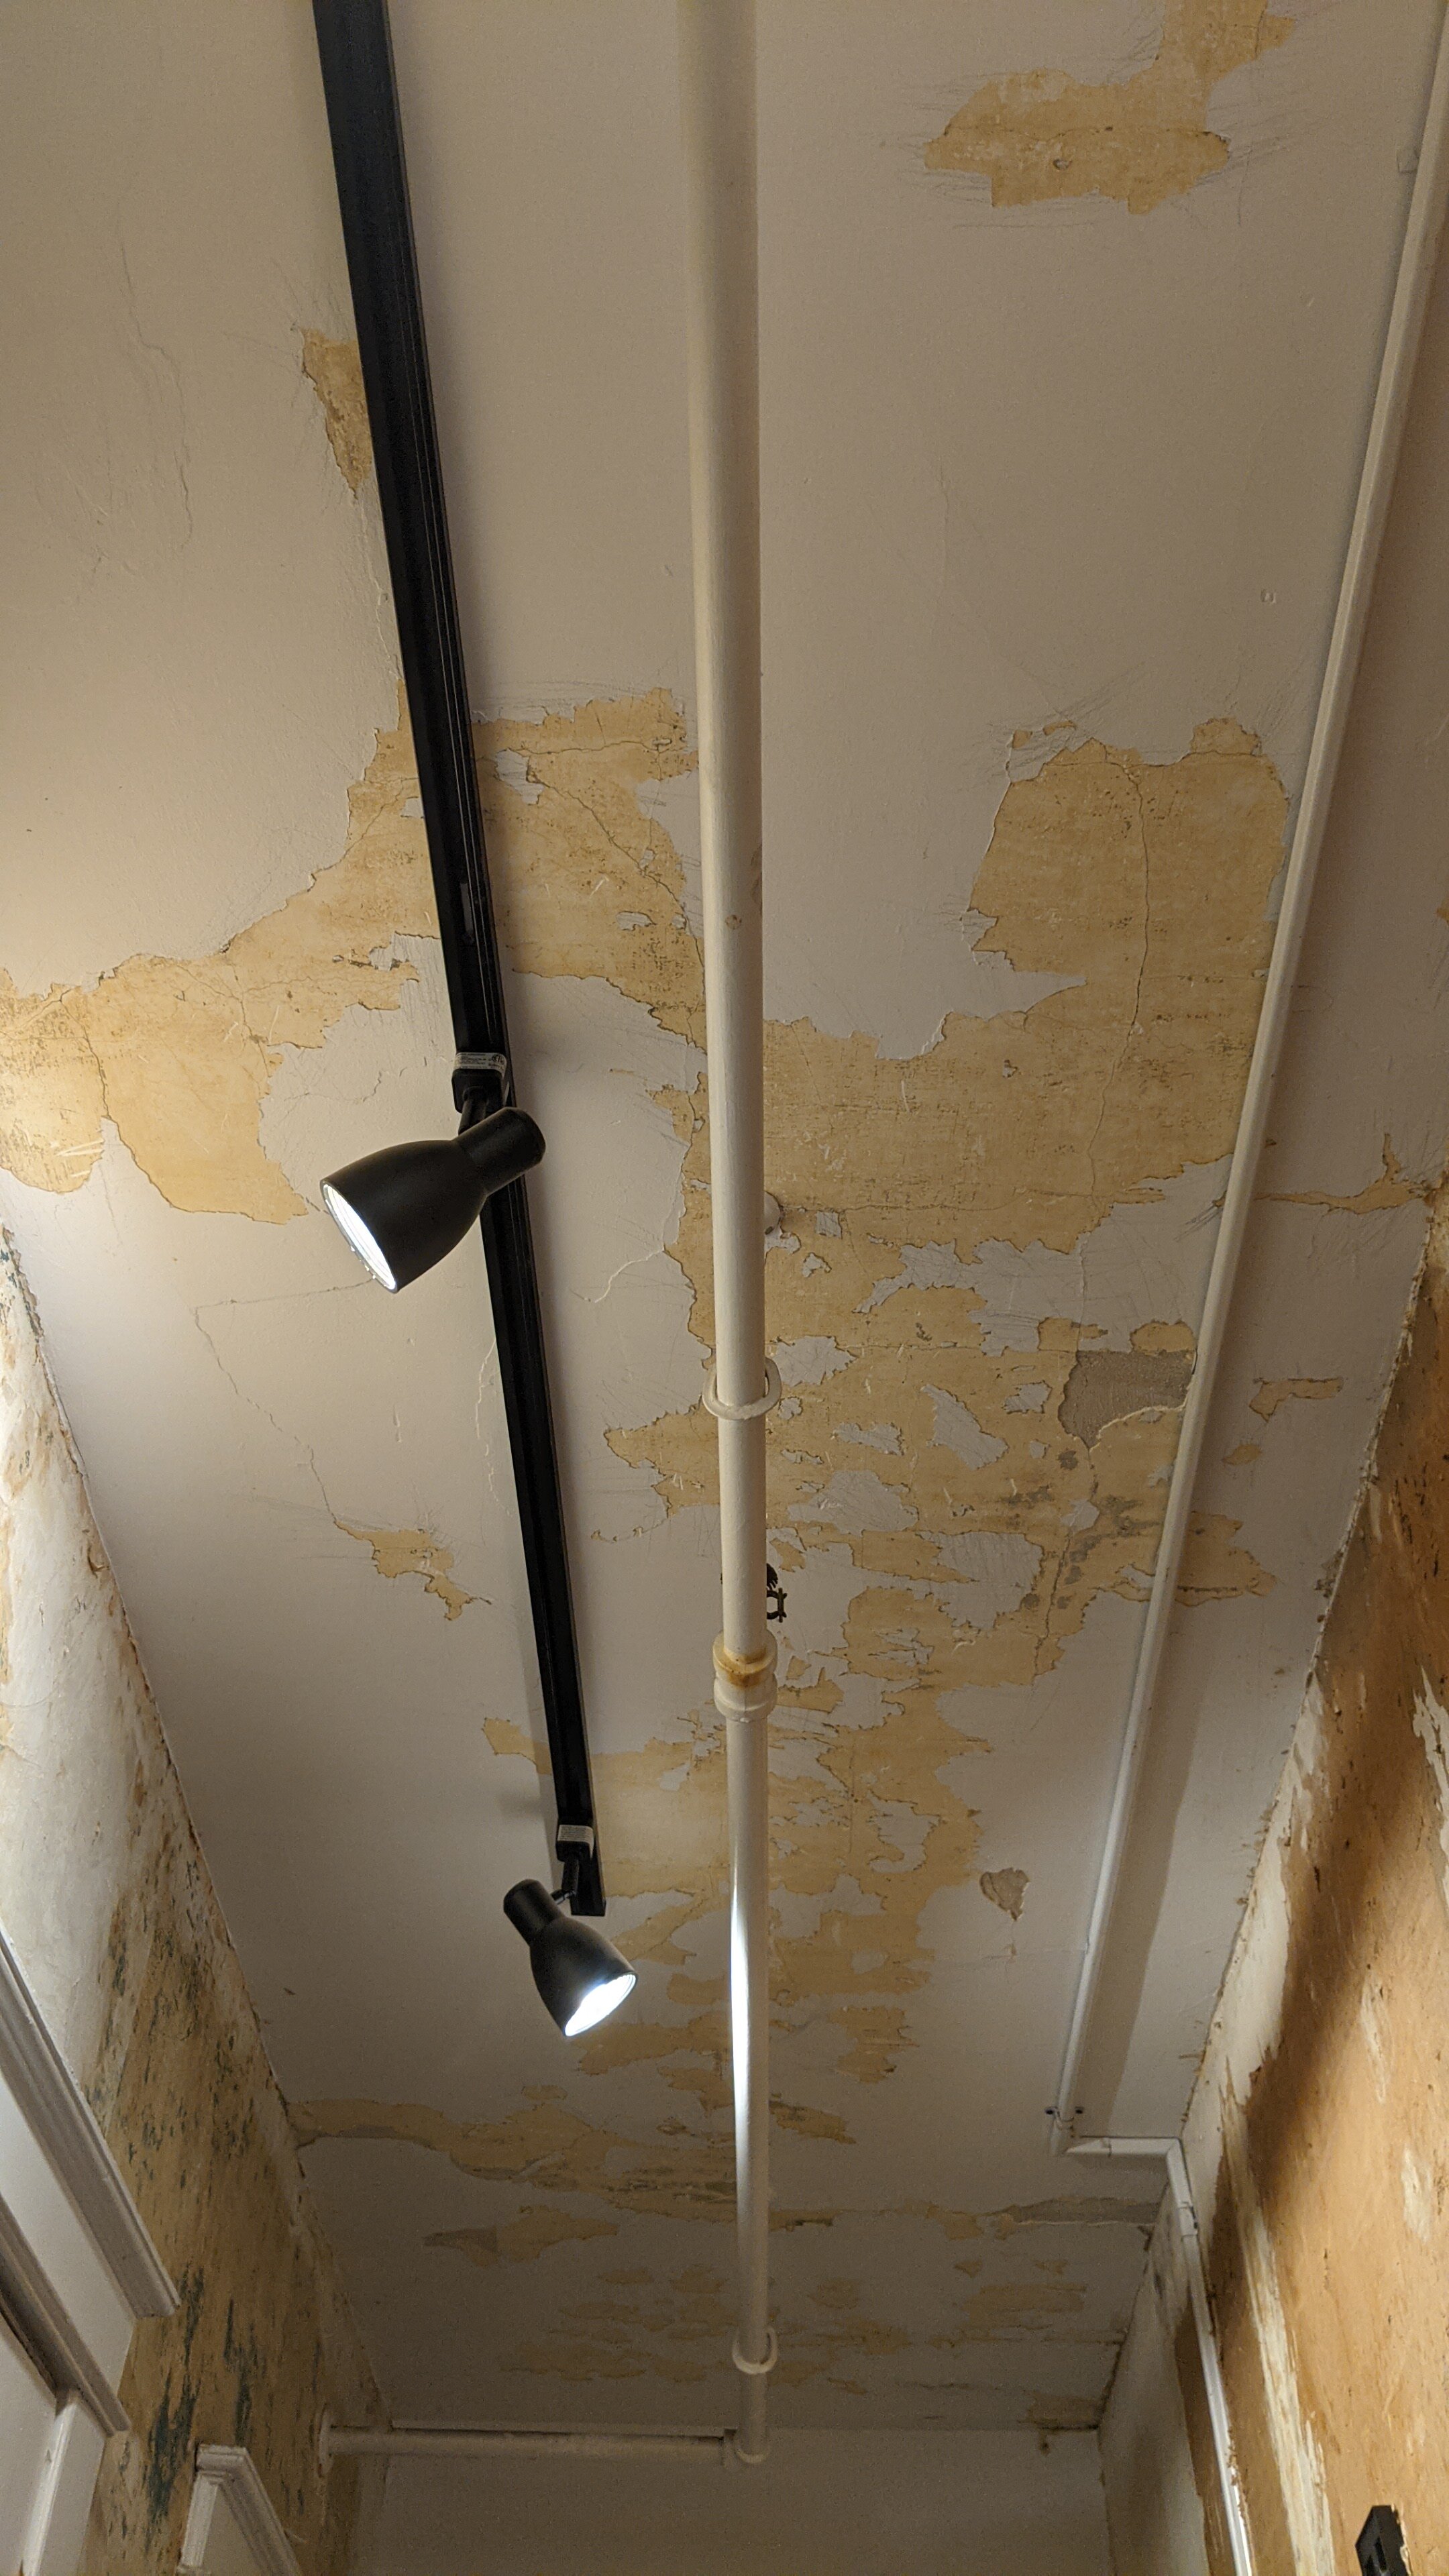
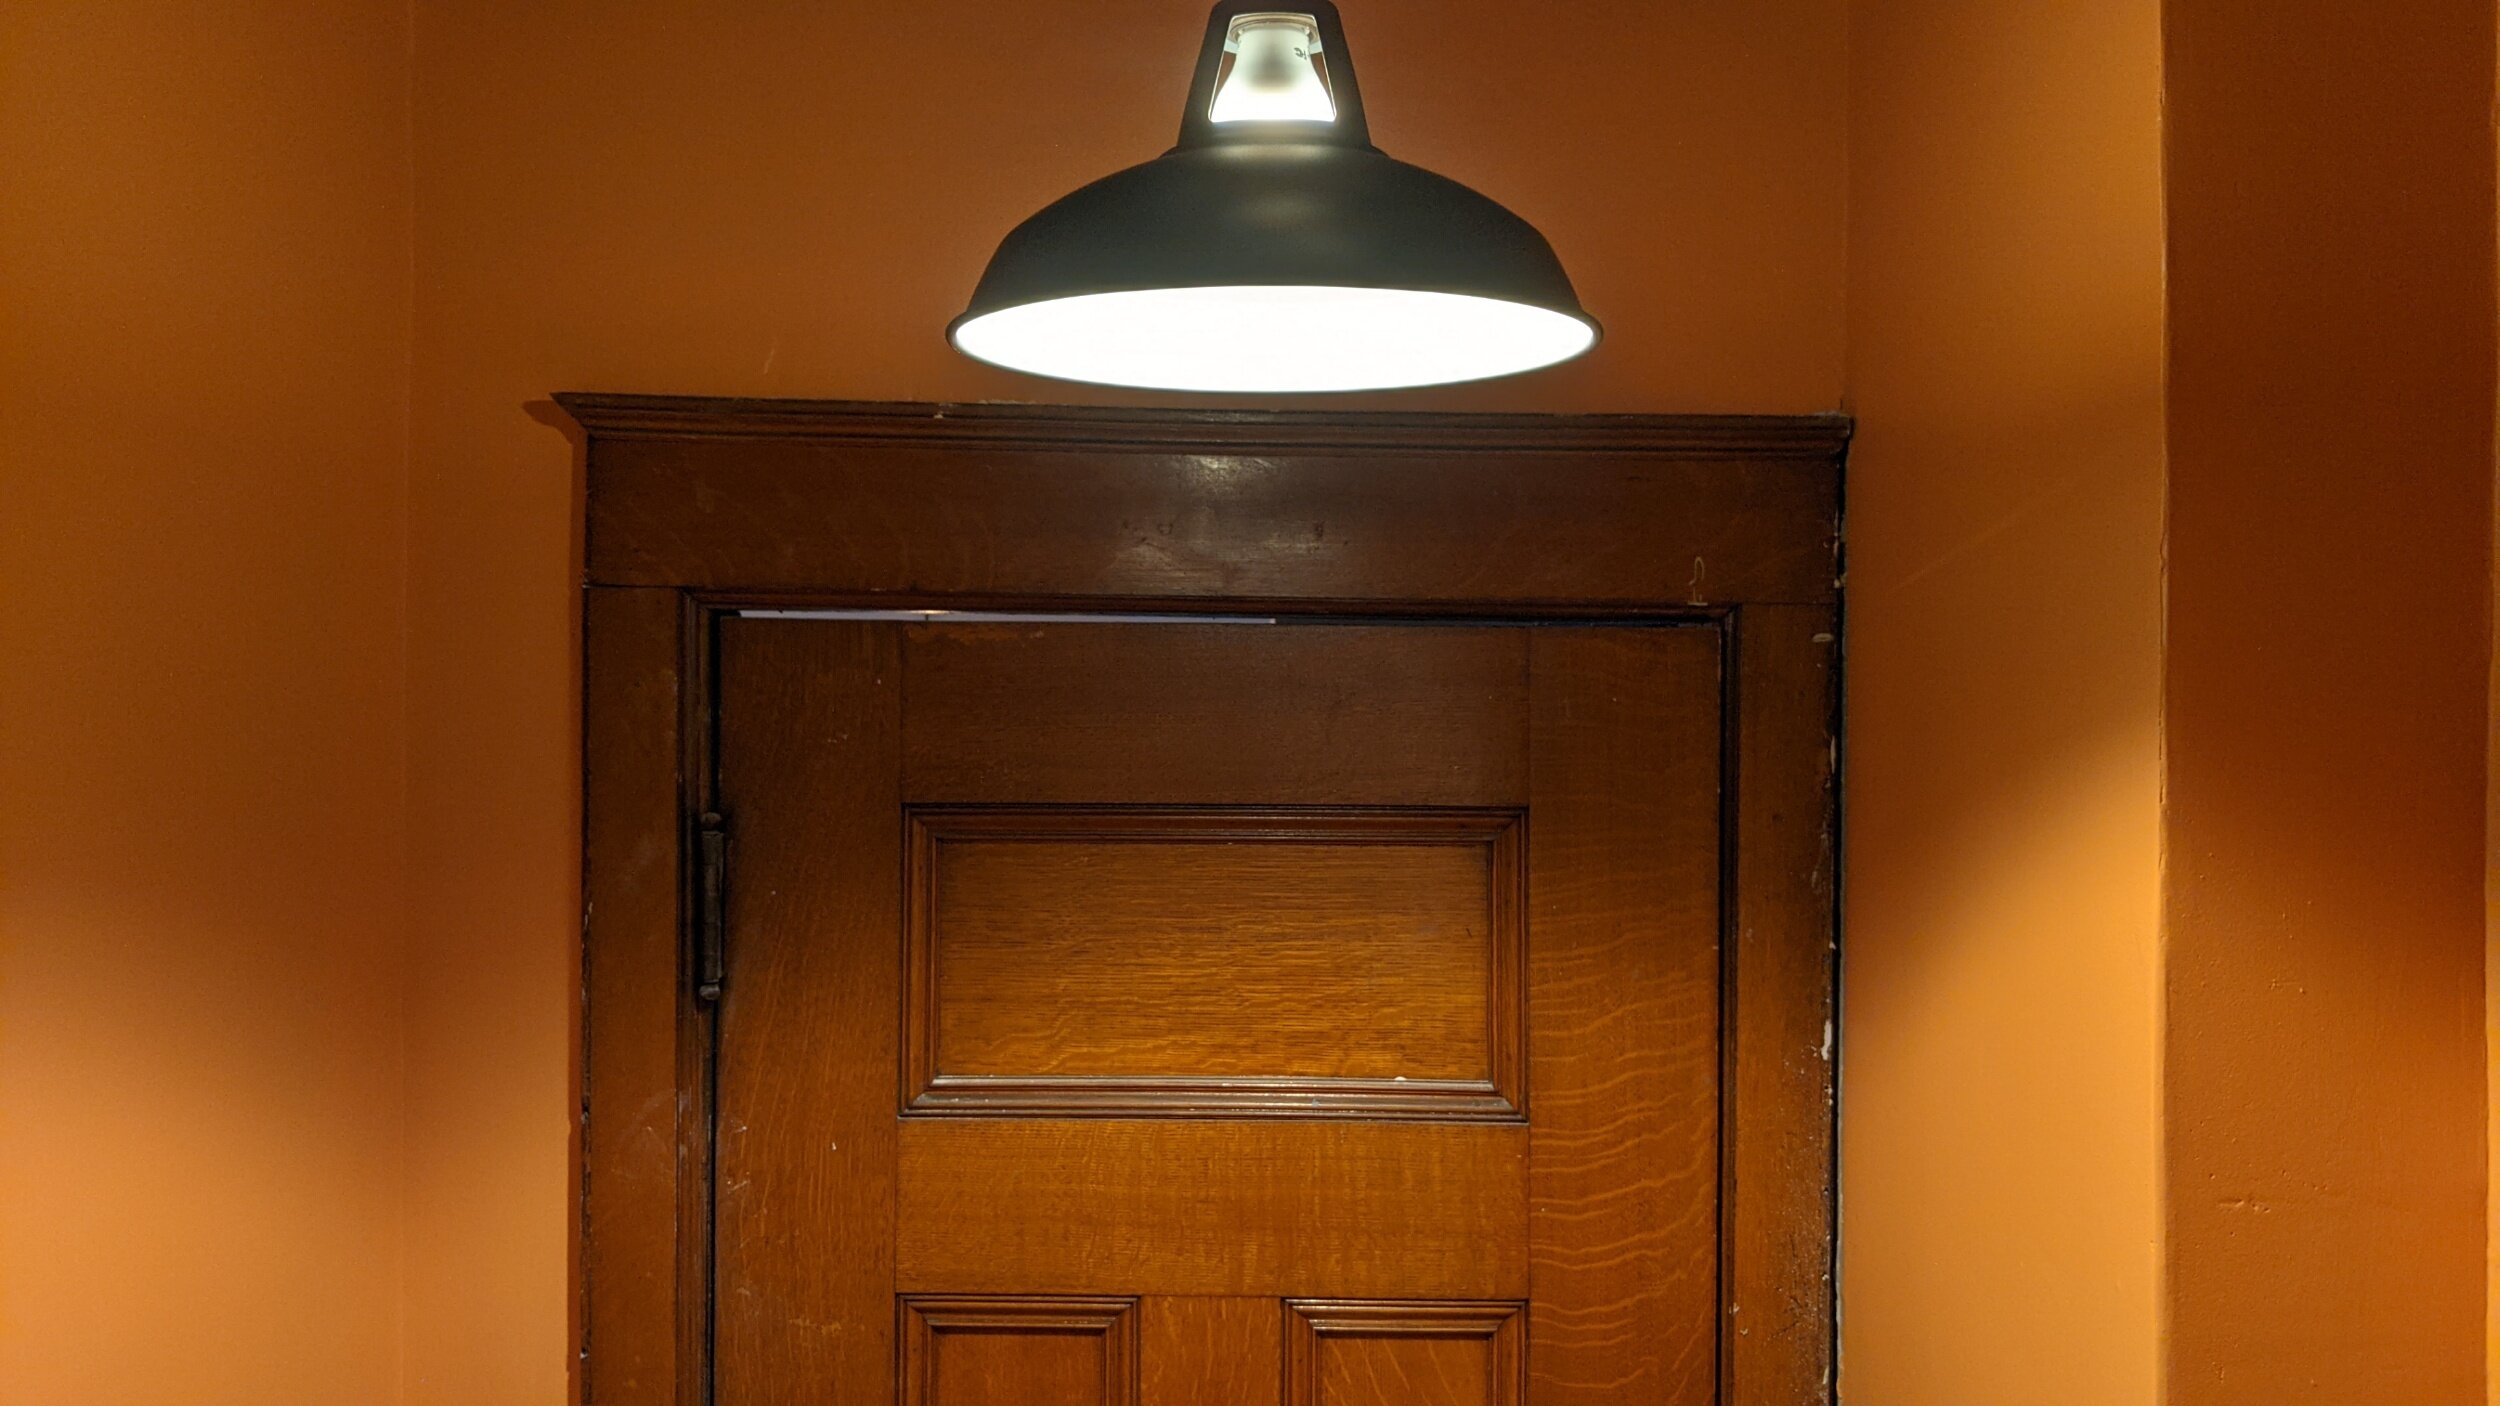
Two additional light fixtures added
Ceiling mounted track lighting removed
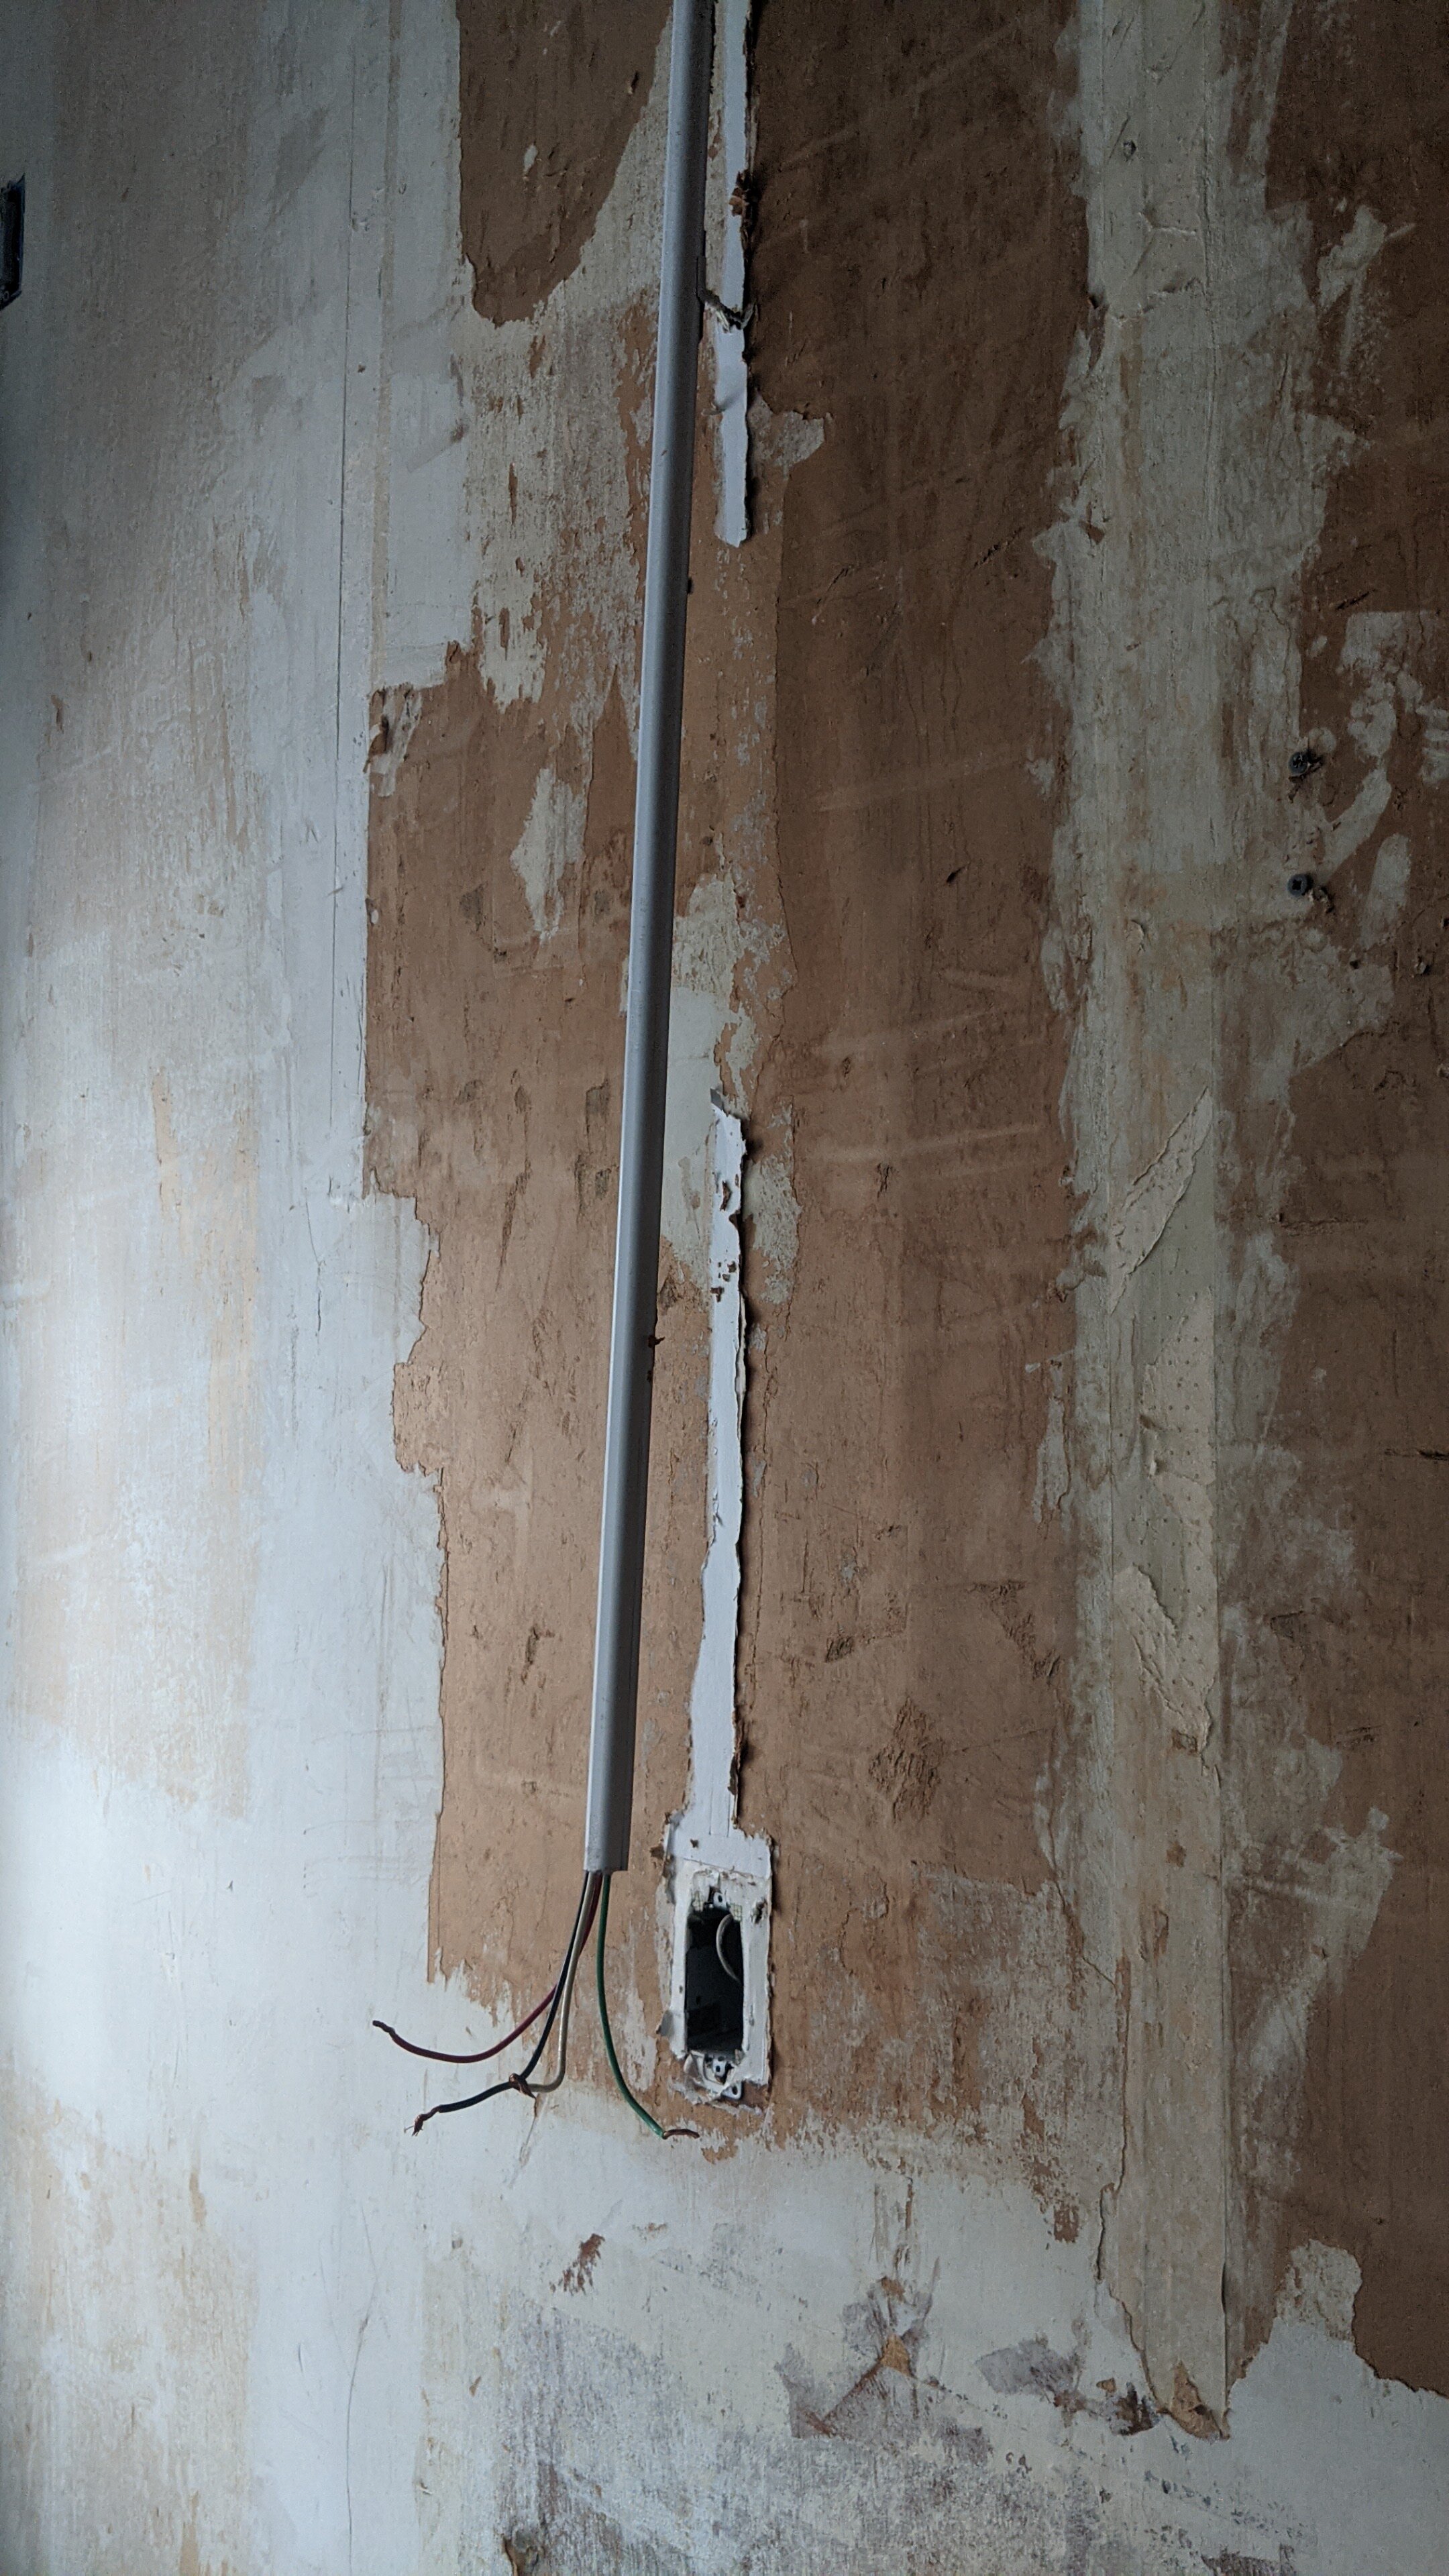
Surface mounted switches and conduit removed and replaced with flush mounted switches.
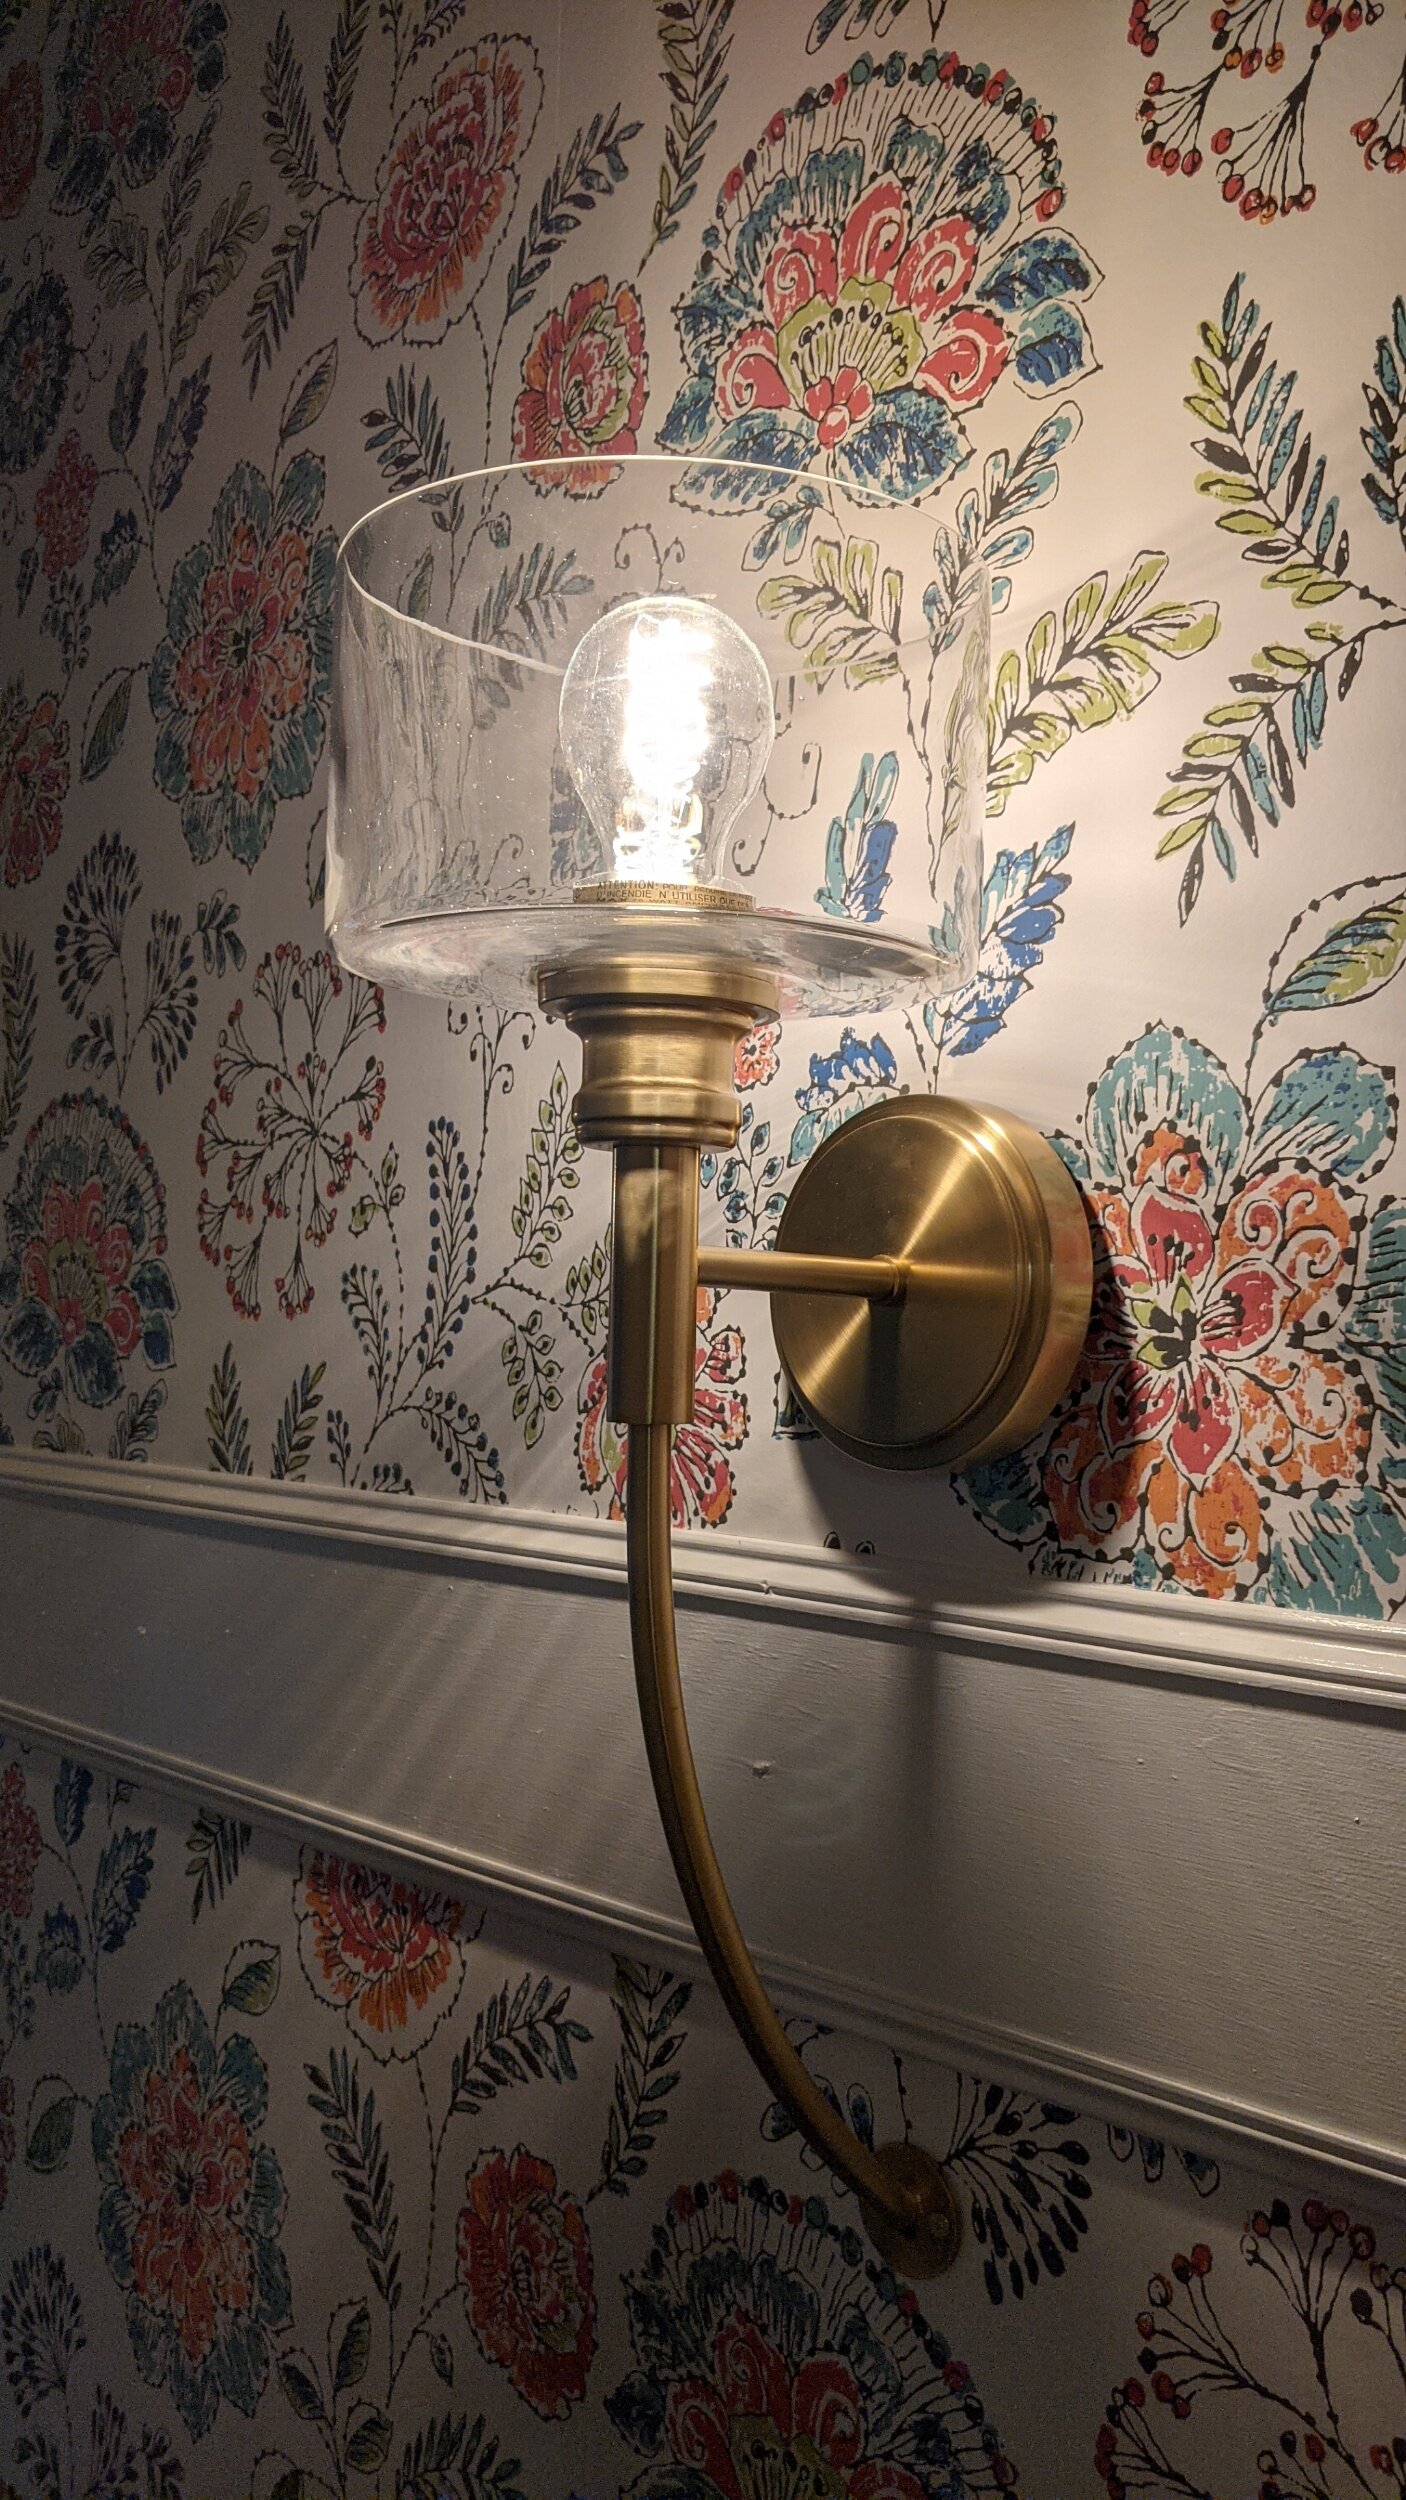
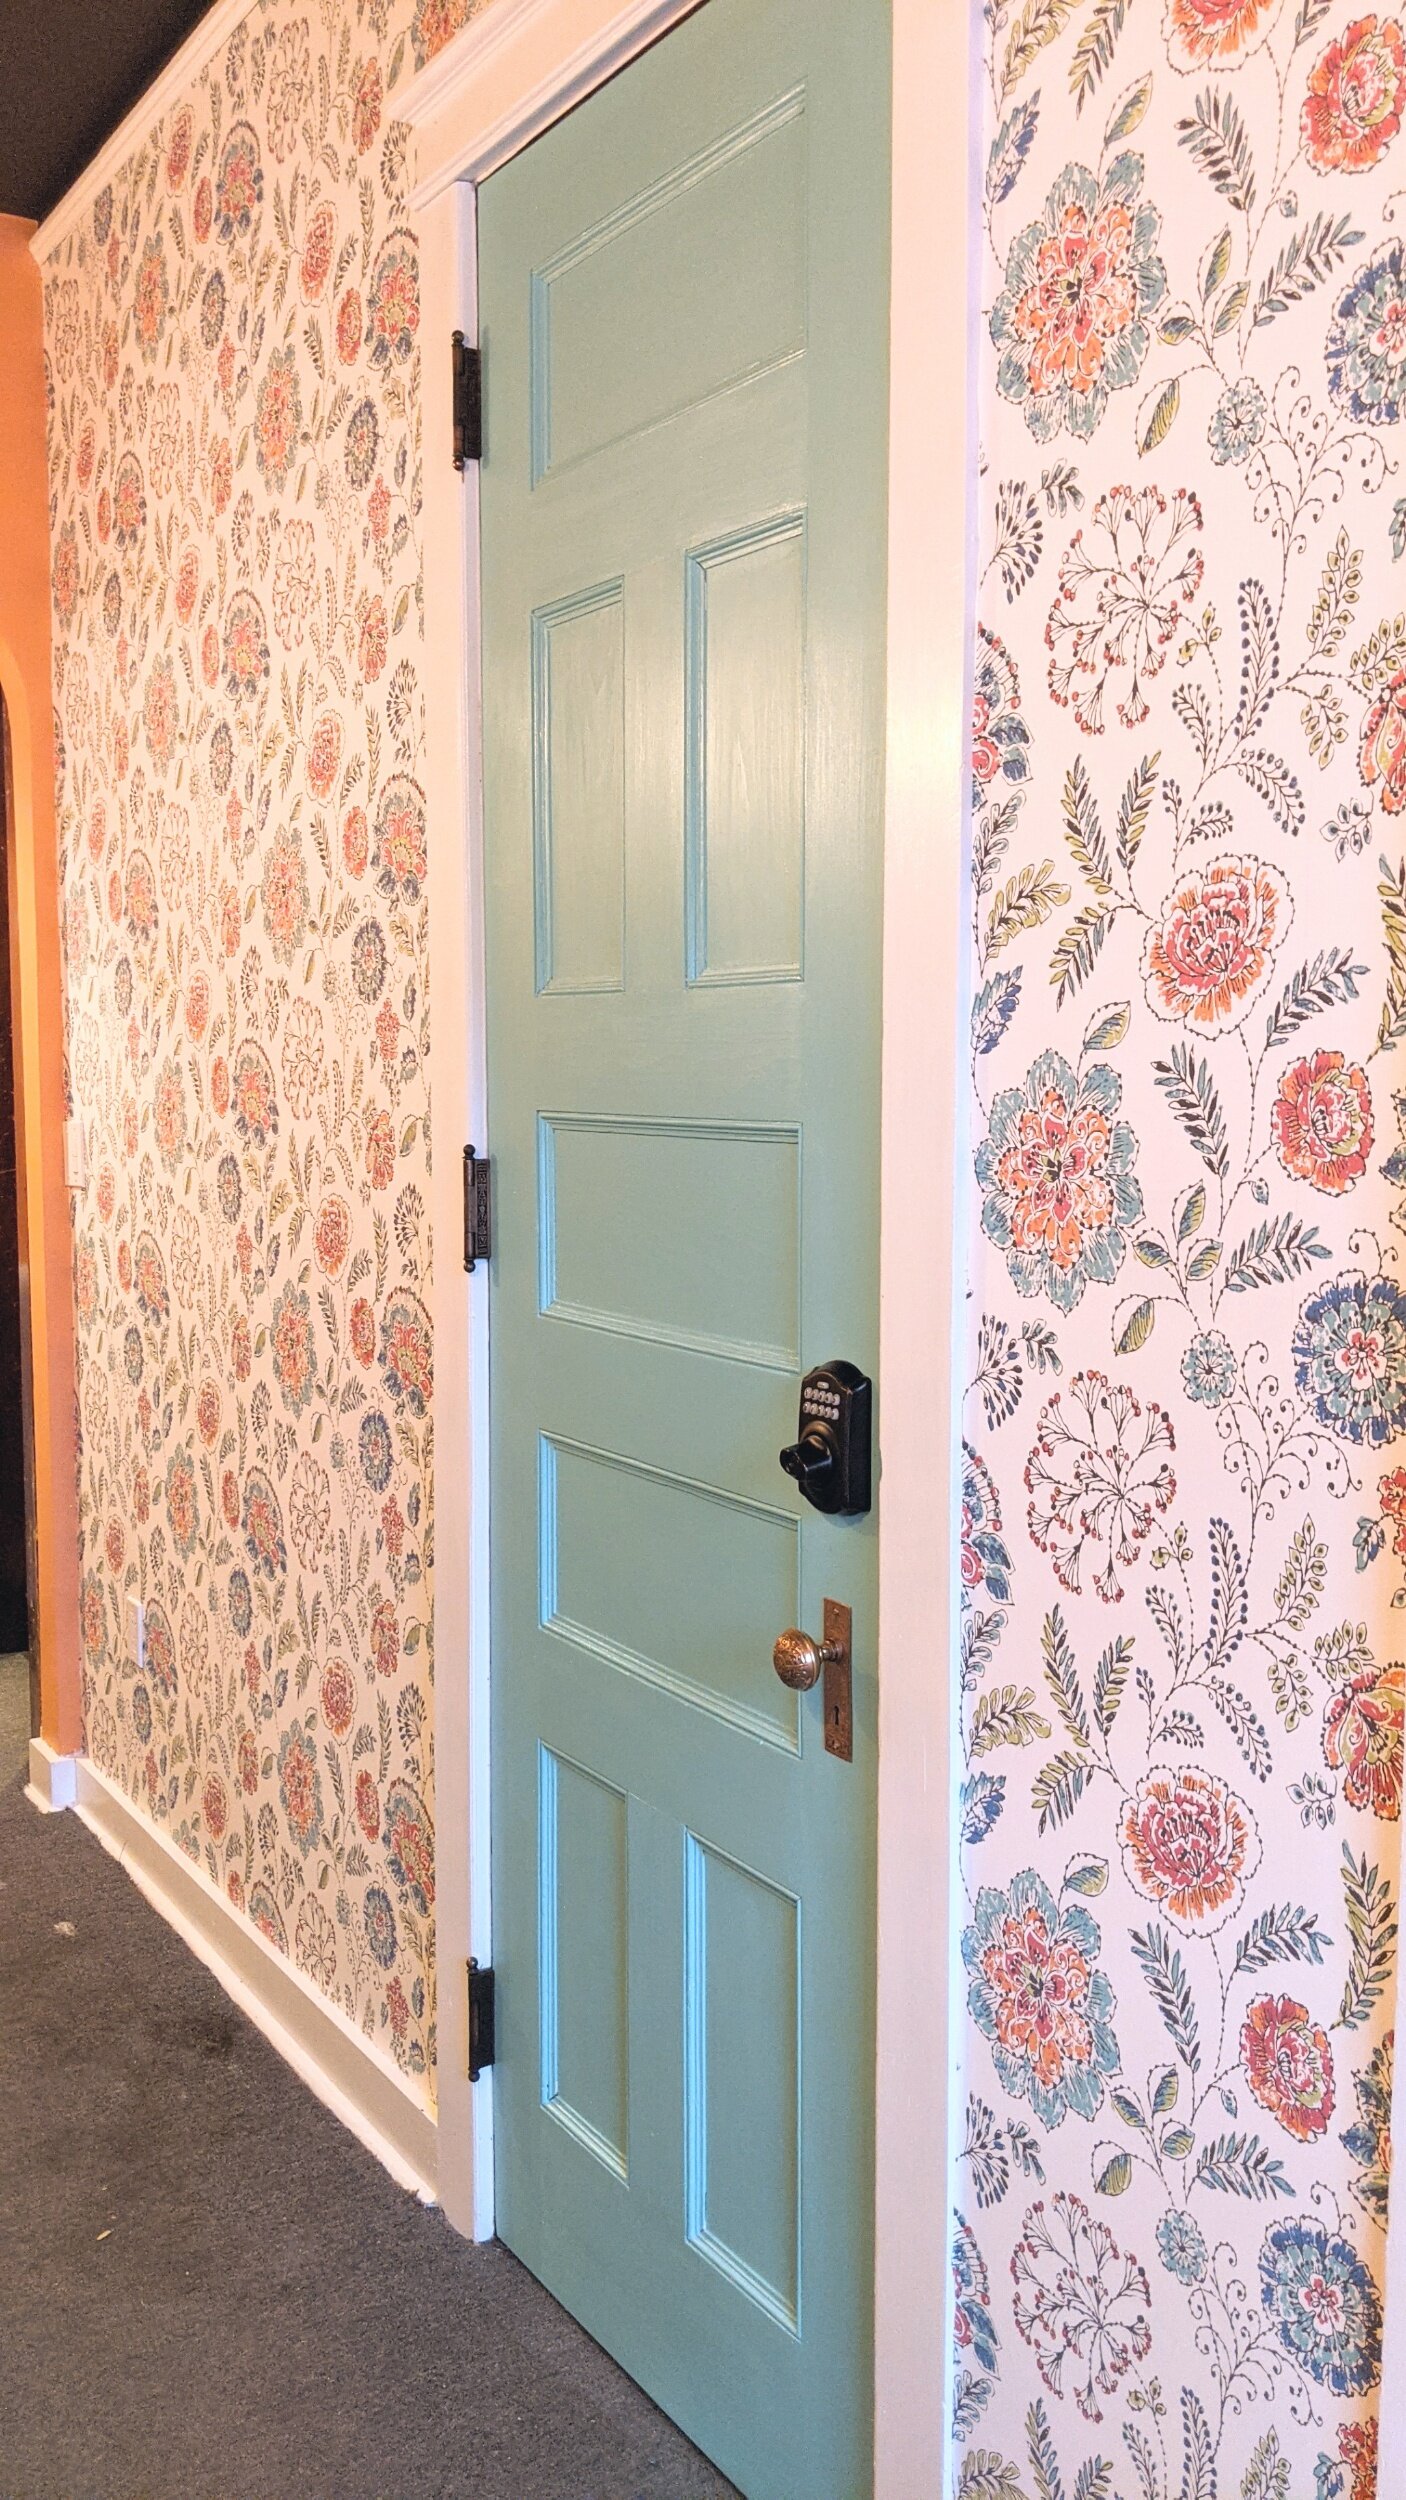
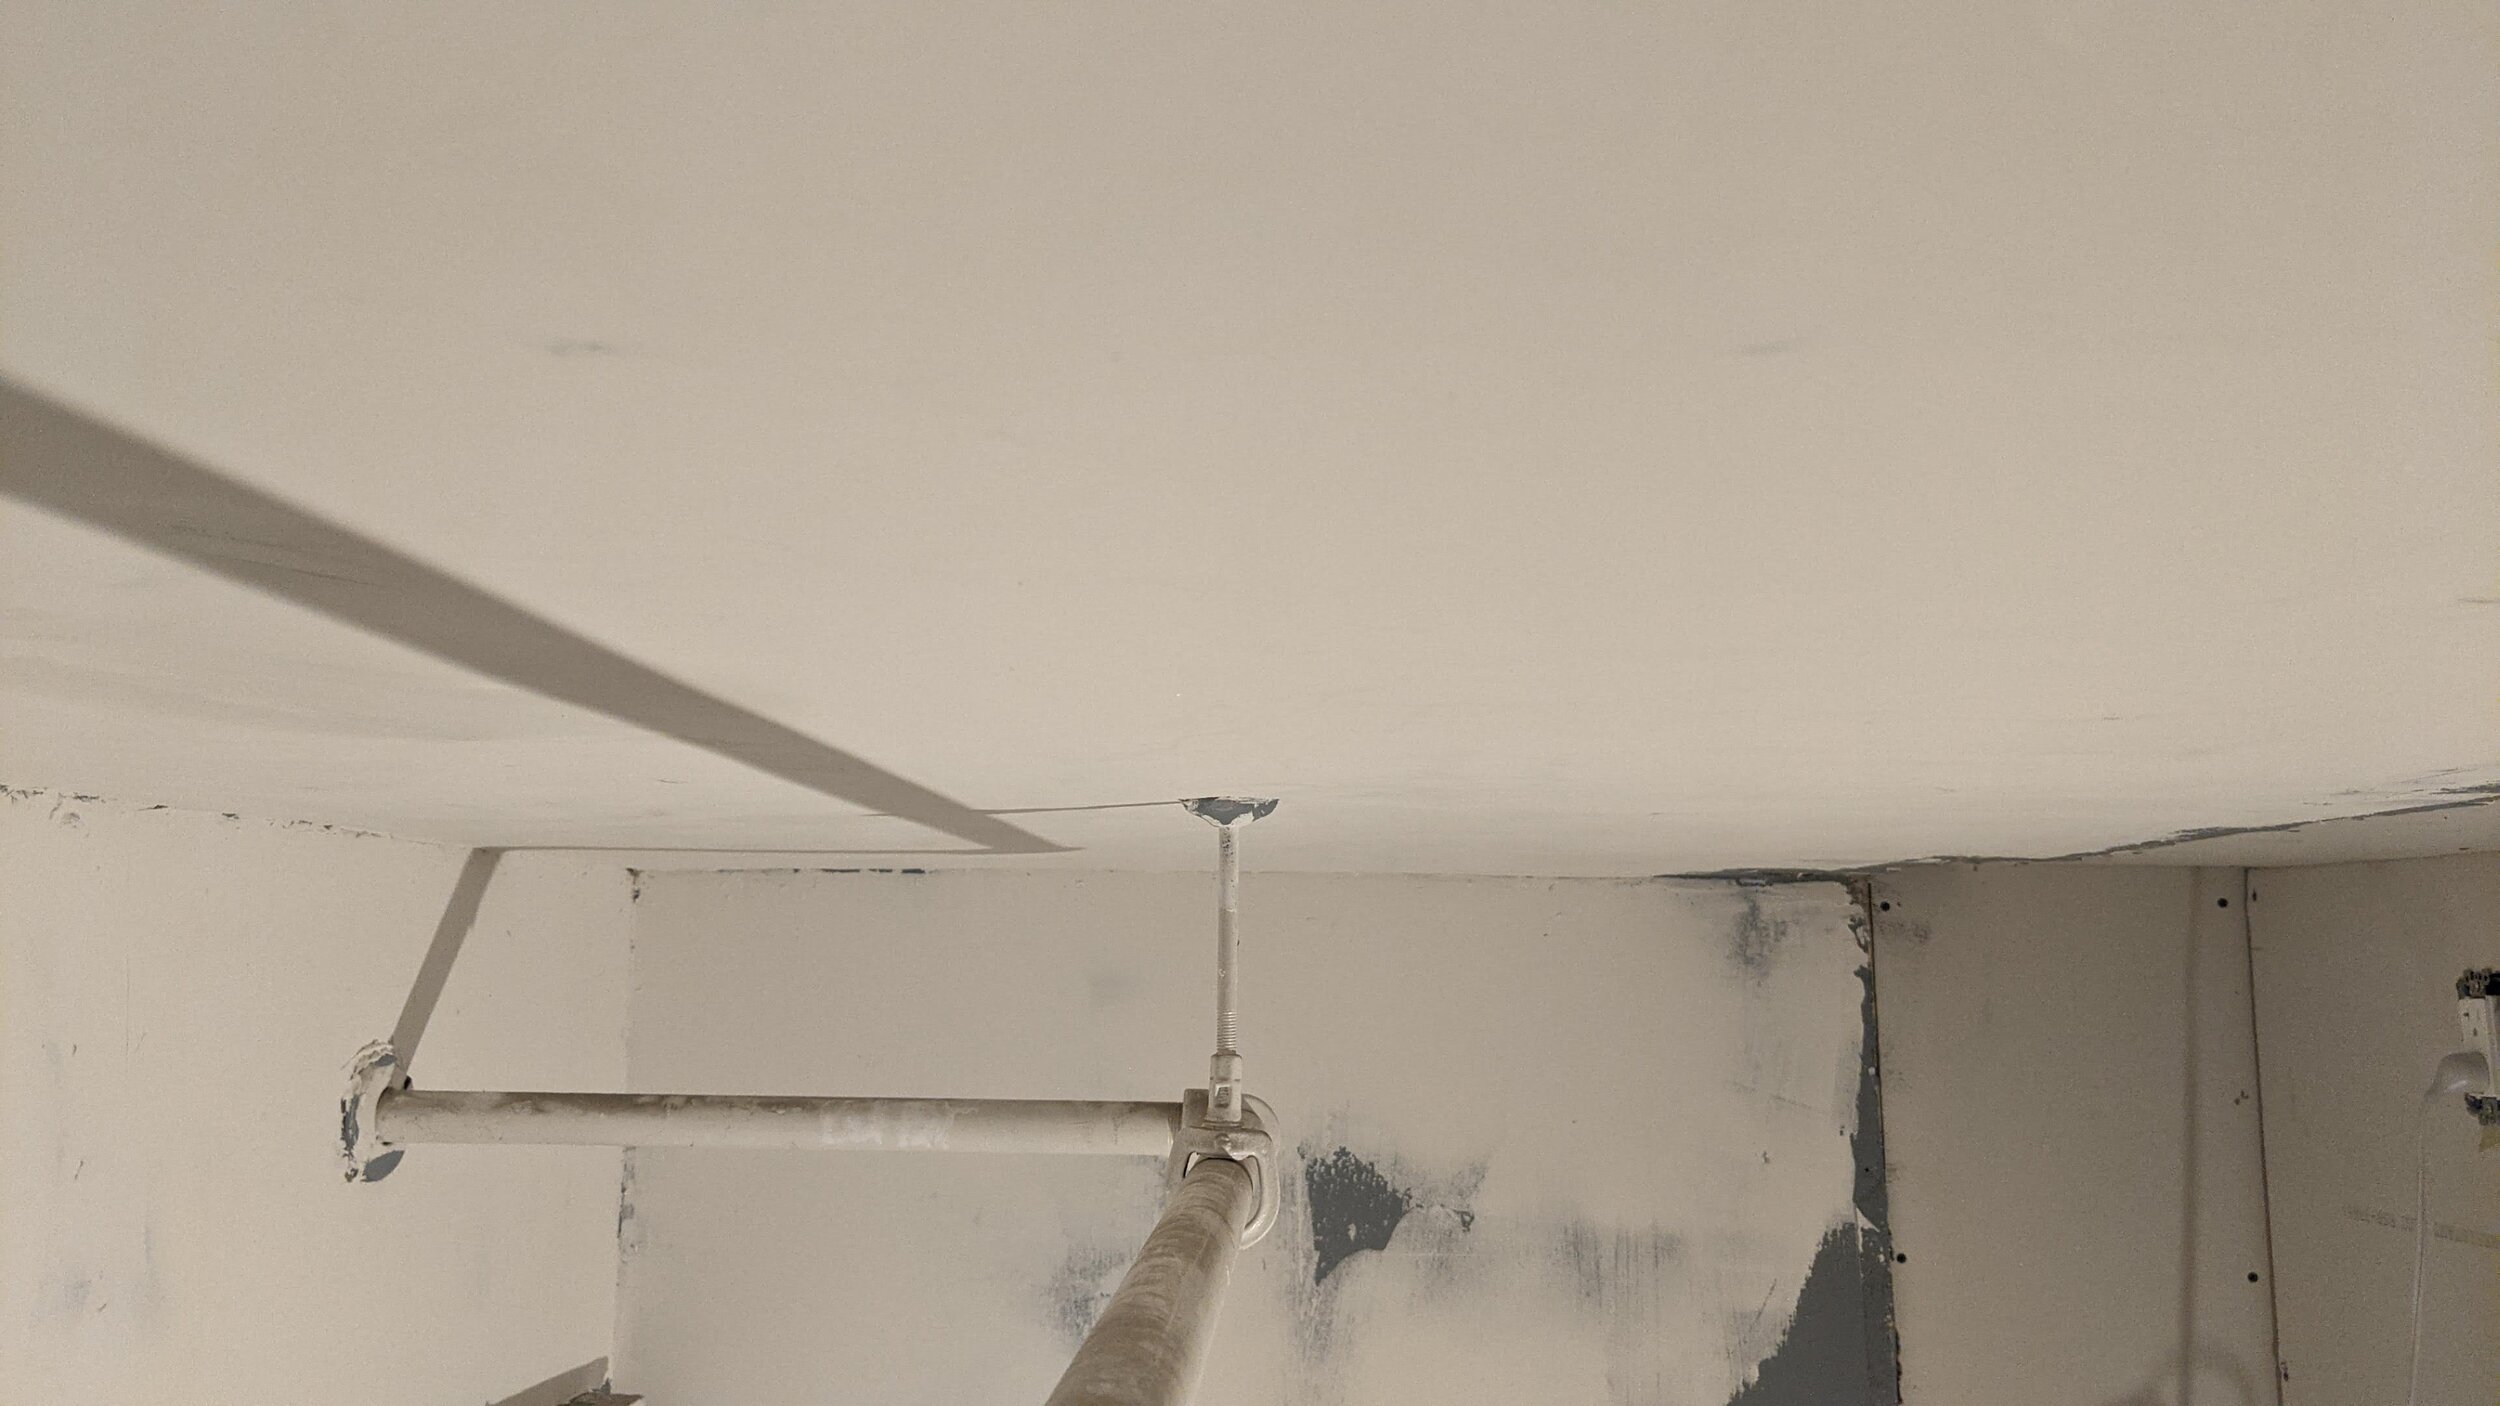
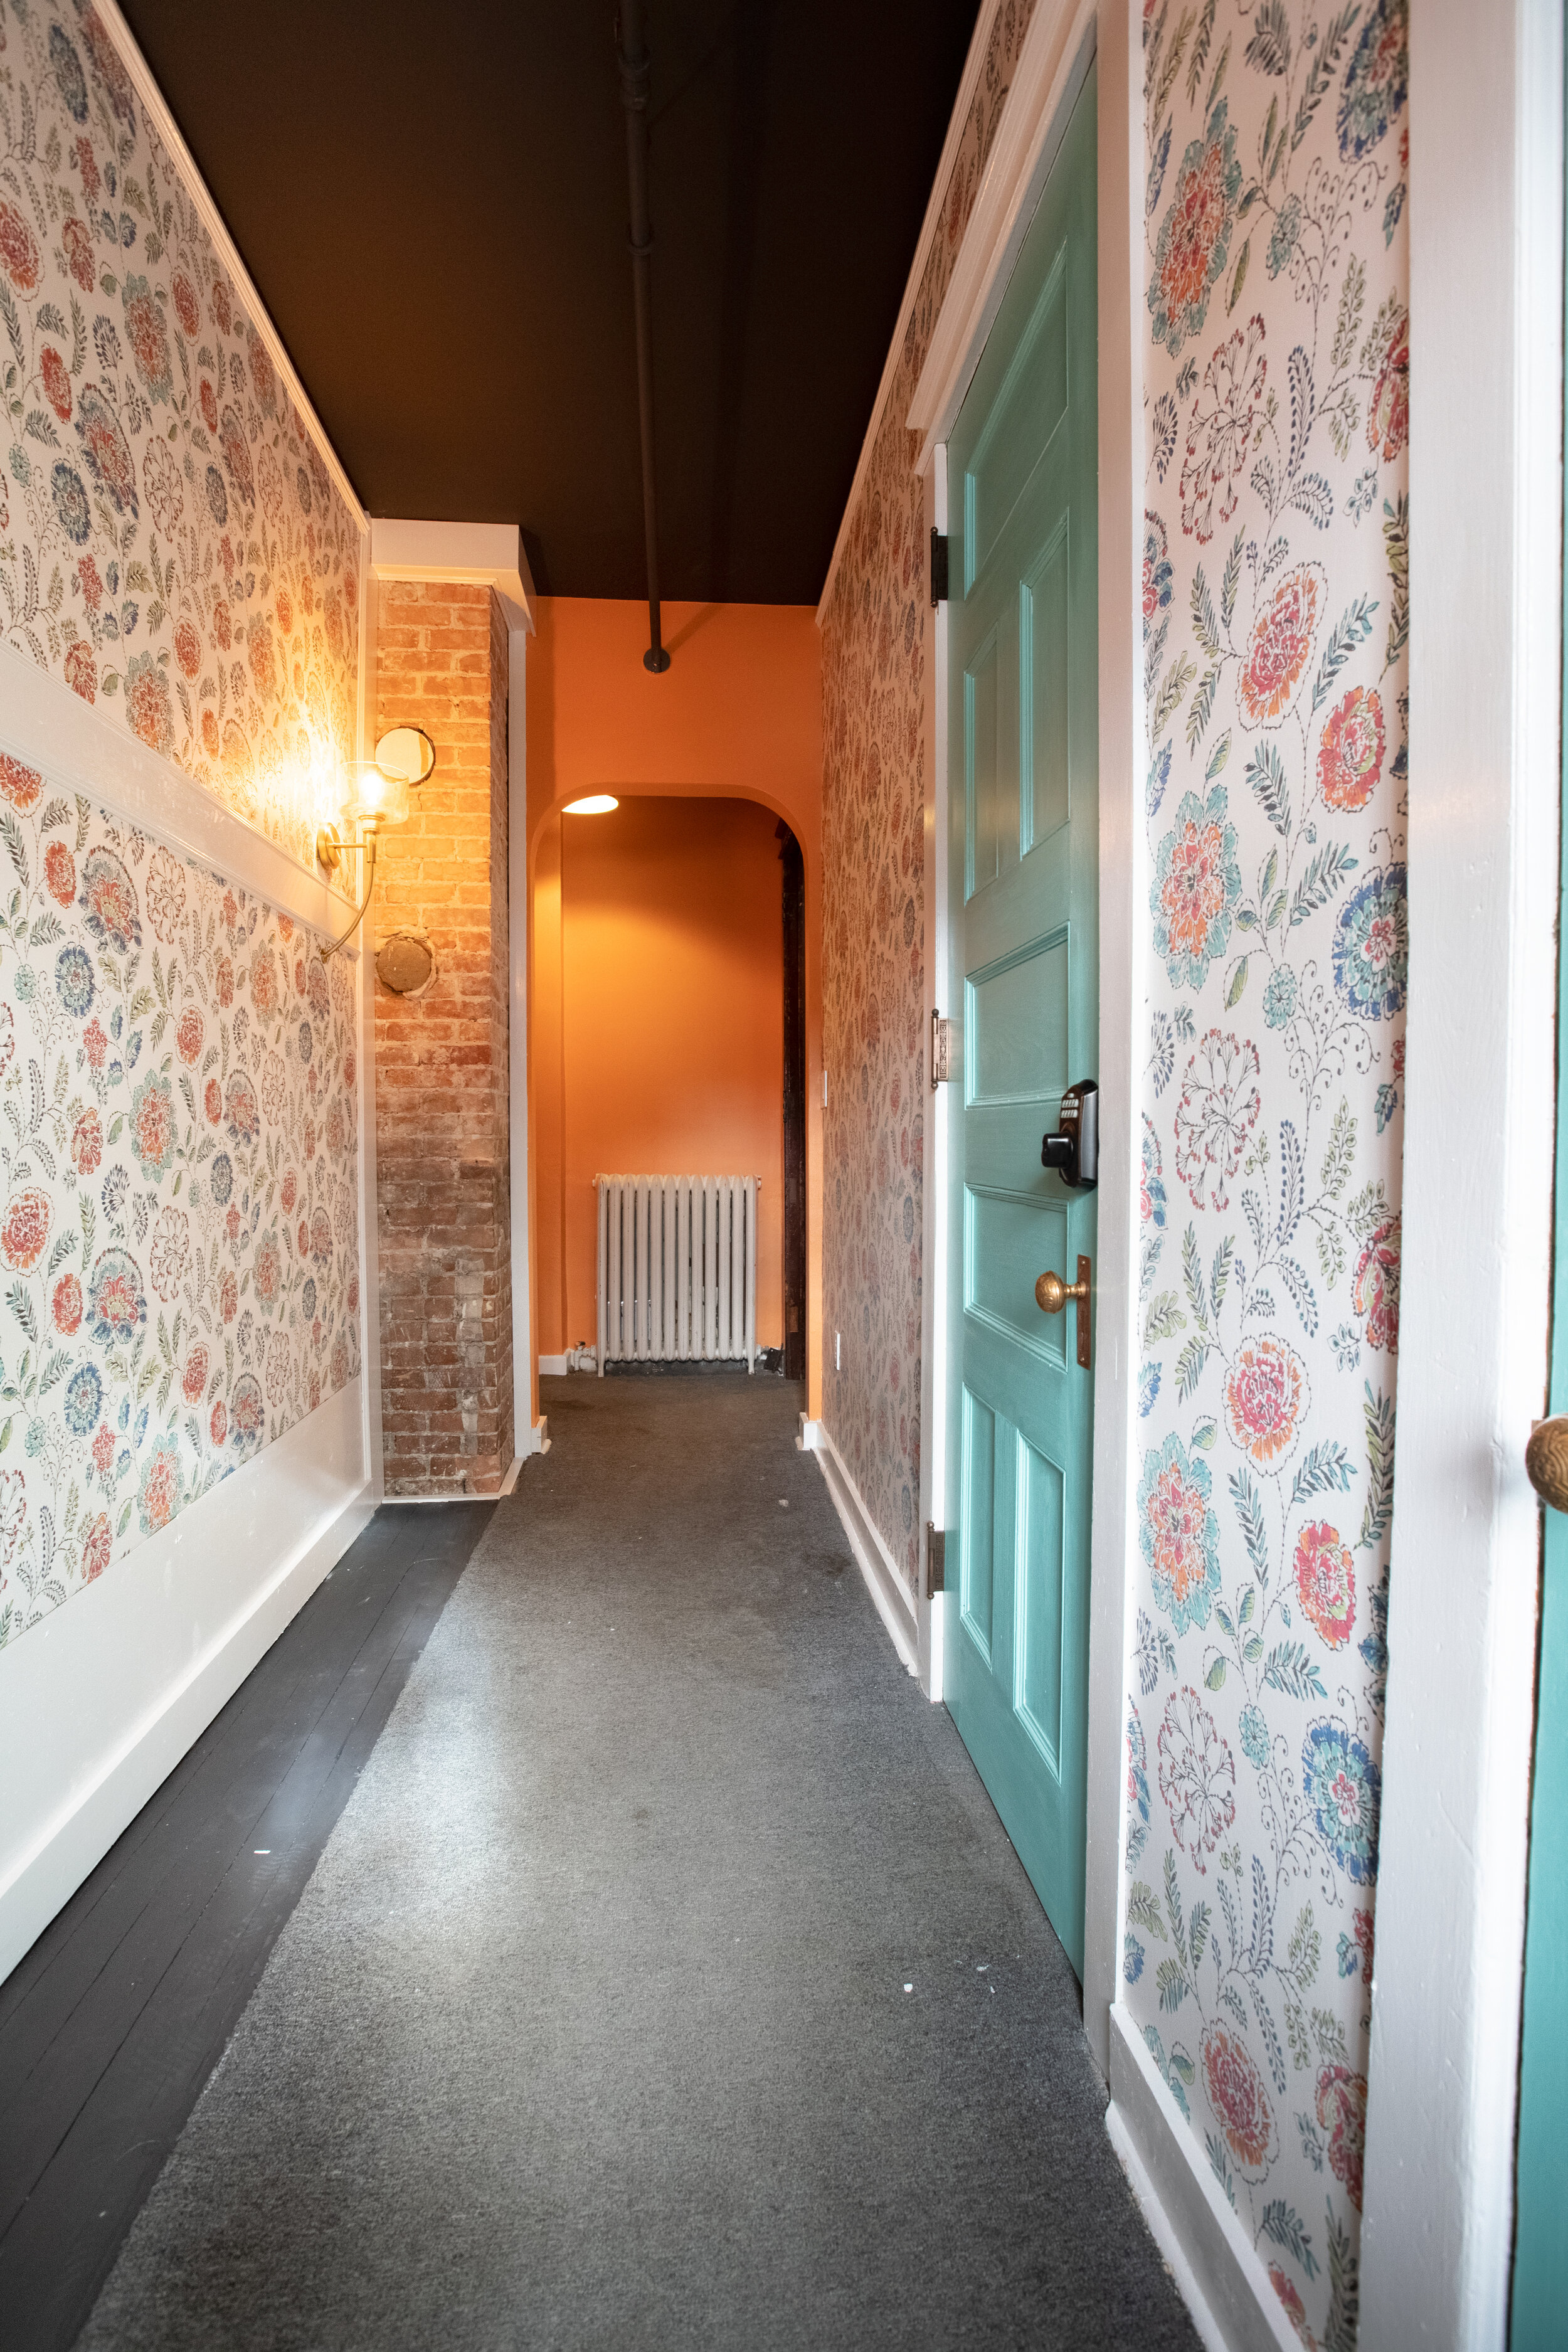
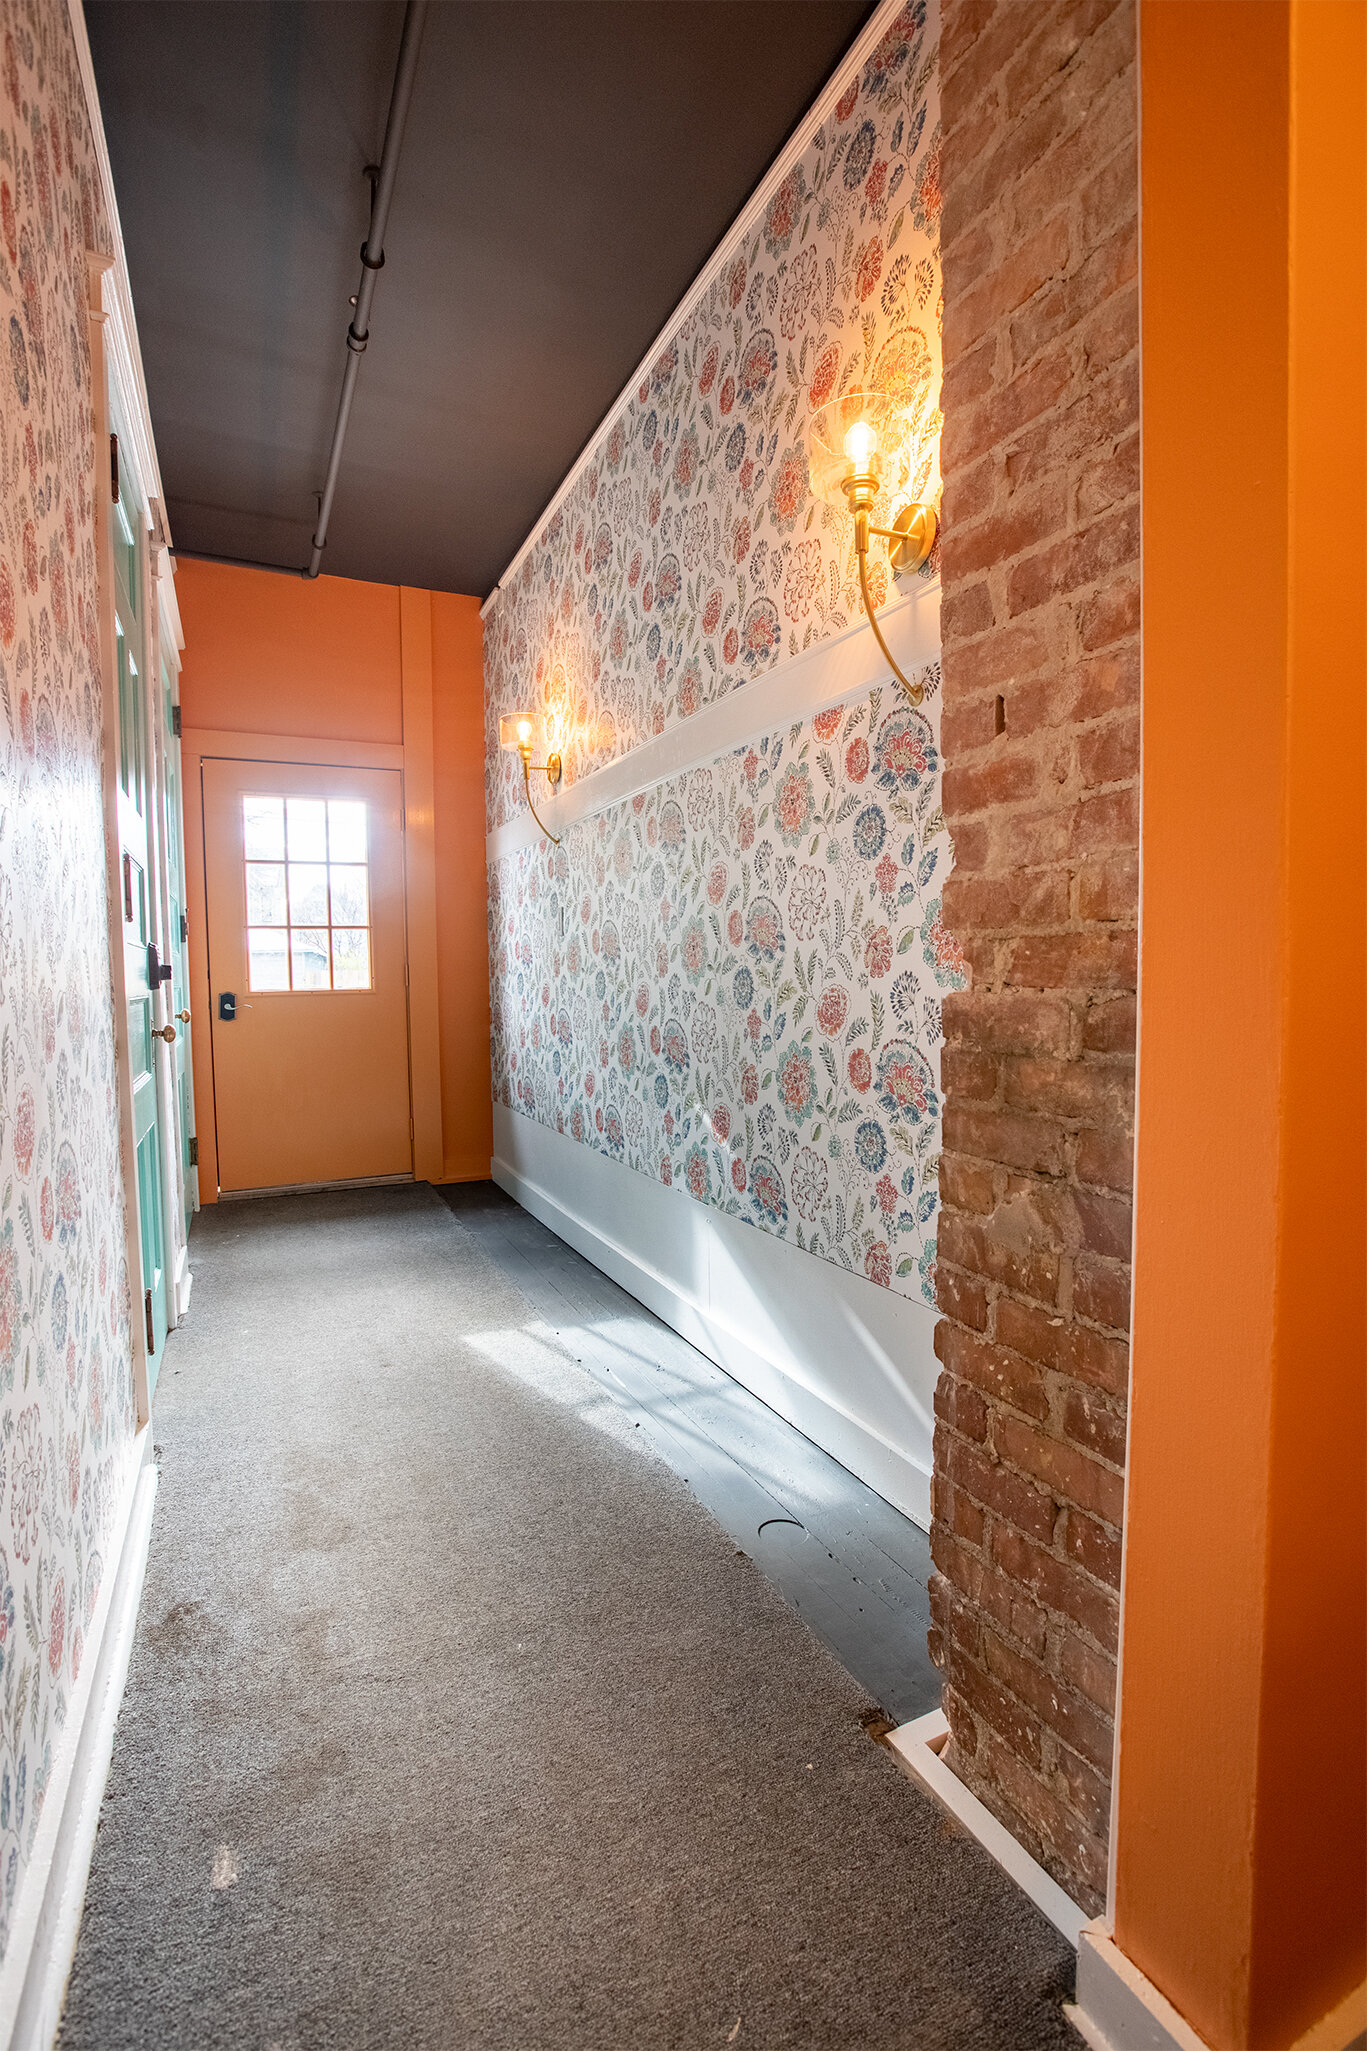
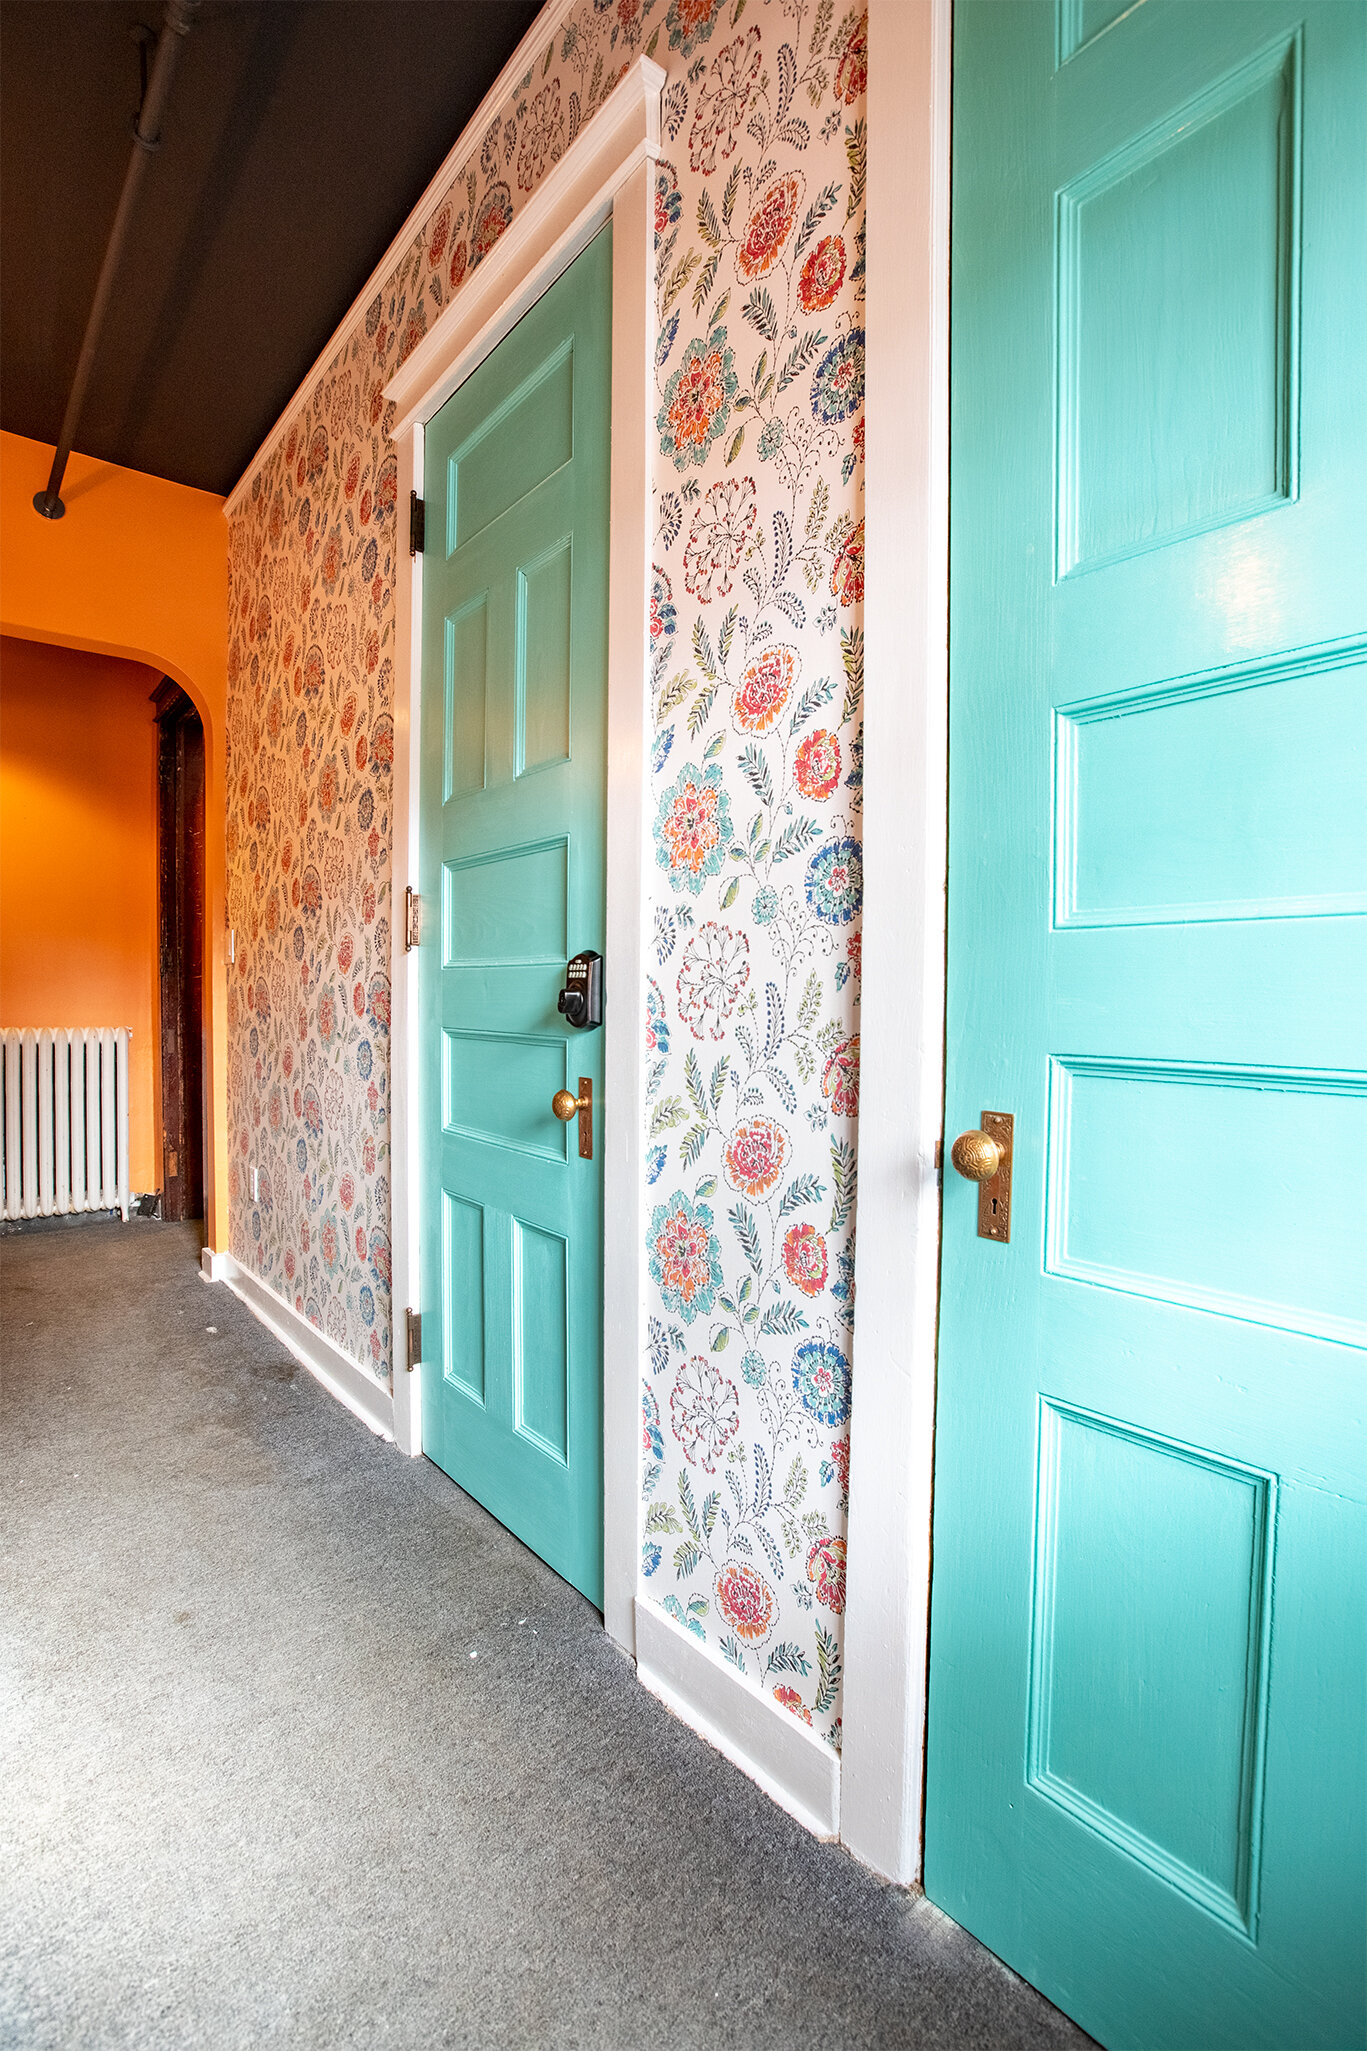
There was a reasonable amount of rewiring to be done in this space. Since the walls needed repair (one eventually being removed completely), it was worth spending the time to get outlets and lighting where they needed to be. For one, there was no outlet down here which made vacuuming an awkward mess of extension chords through open doors. Then, there was only one non-functional and disconnected sconce hanging by a thread, literally. The track lighting and surface mounted conduit was put up as a temporary measure when we first had the electrical done in the house. The alcove at the bottom of the stairs had little light, even during daylight hours. For the sconces, I decided to step away from the antique fixtures and went with more modern options that still respected the vintage of the house. Their scale and is perfect for the space and the arch over the coat hook rail perfectly. In the alcove, I hung an industrial pendant that’s plugged into a switched outlet near the ceiling. The switches are all motion activated so lights only turn on when needed.
Woodwork & Doors
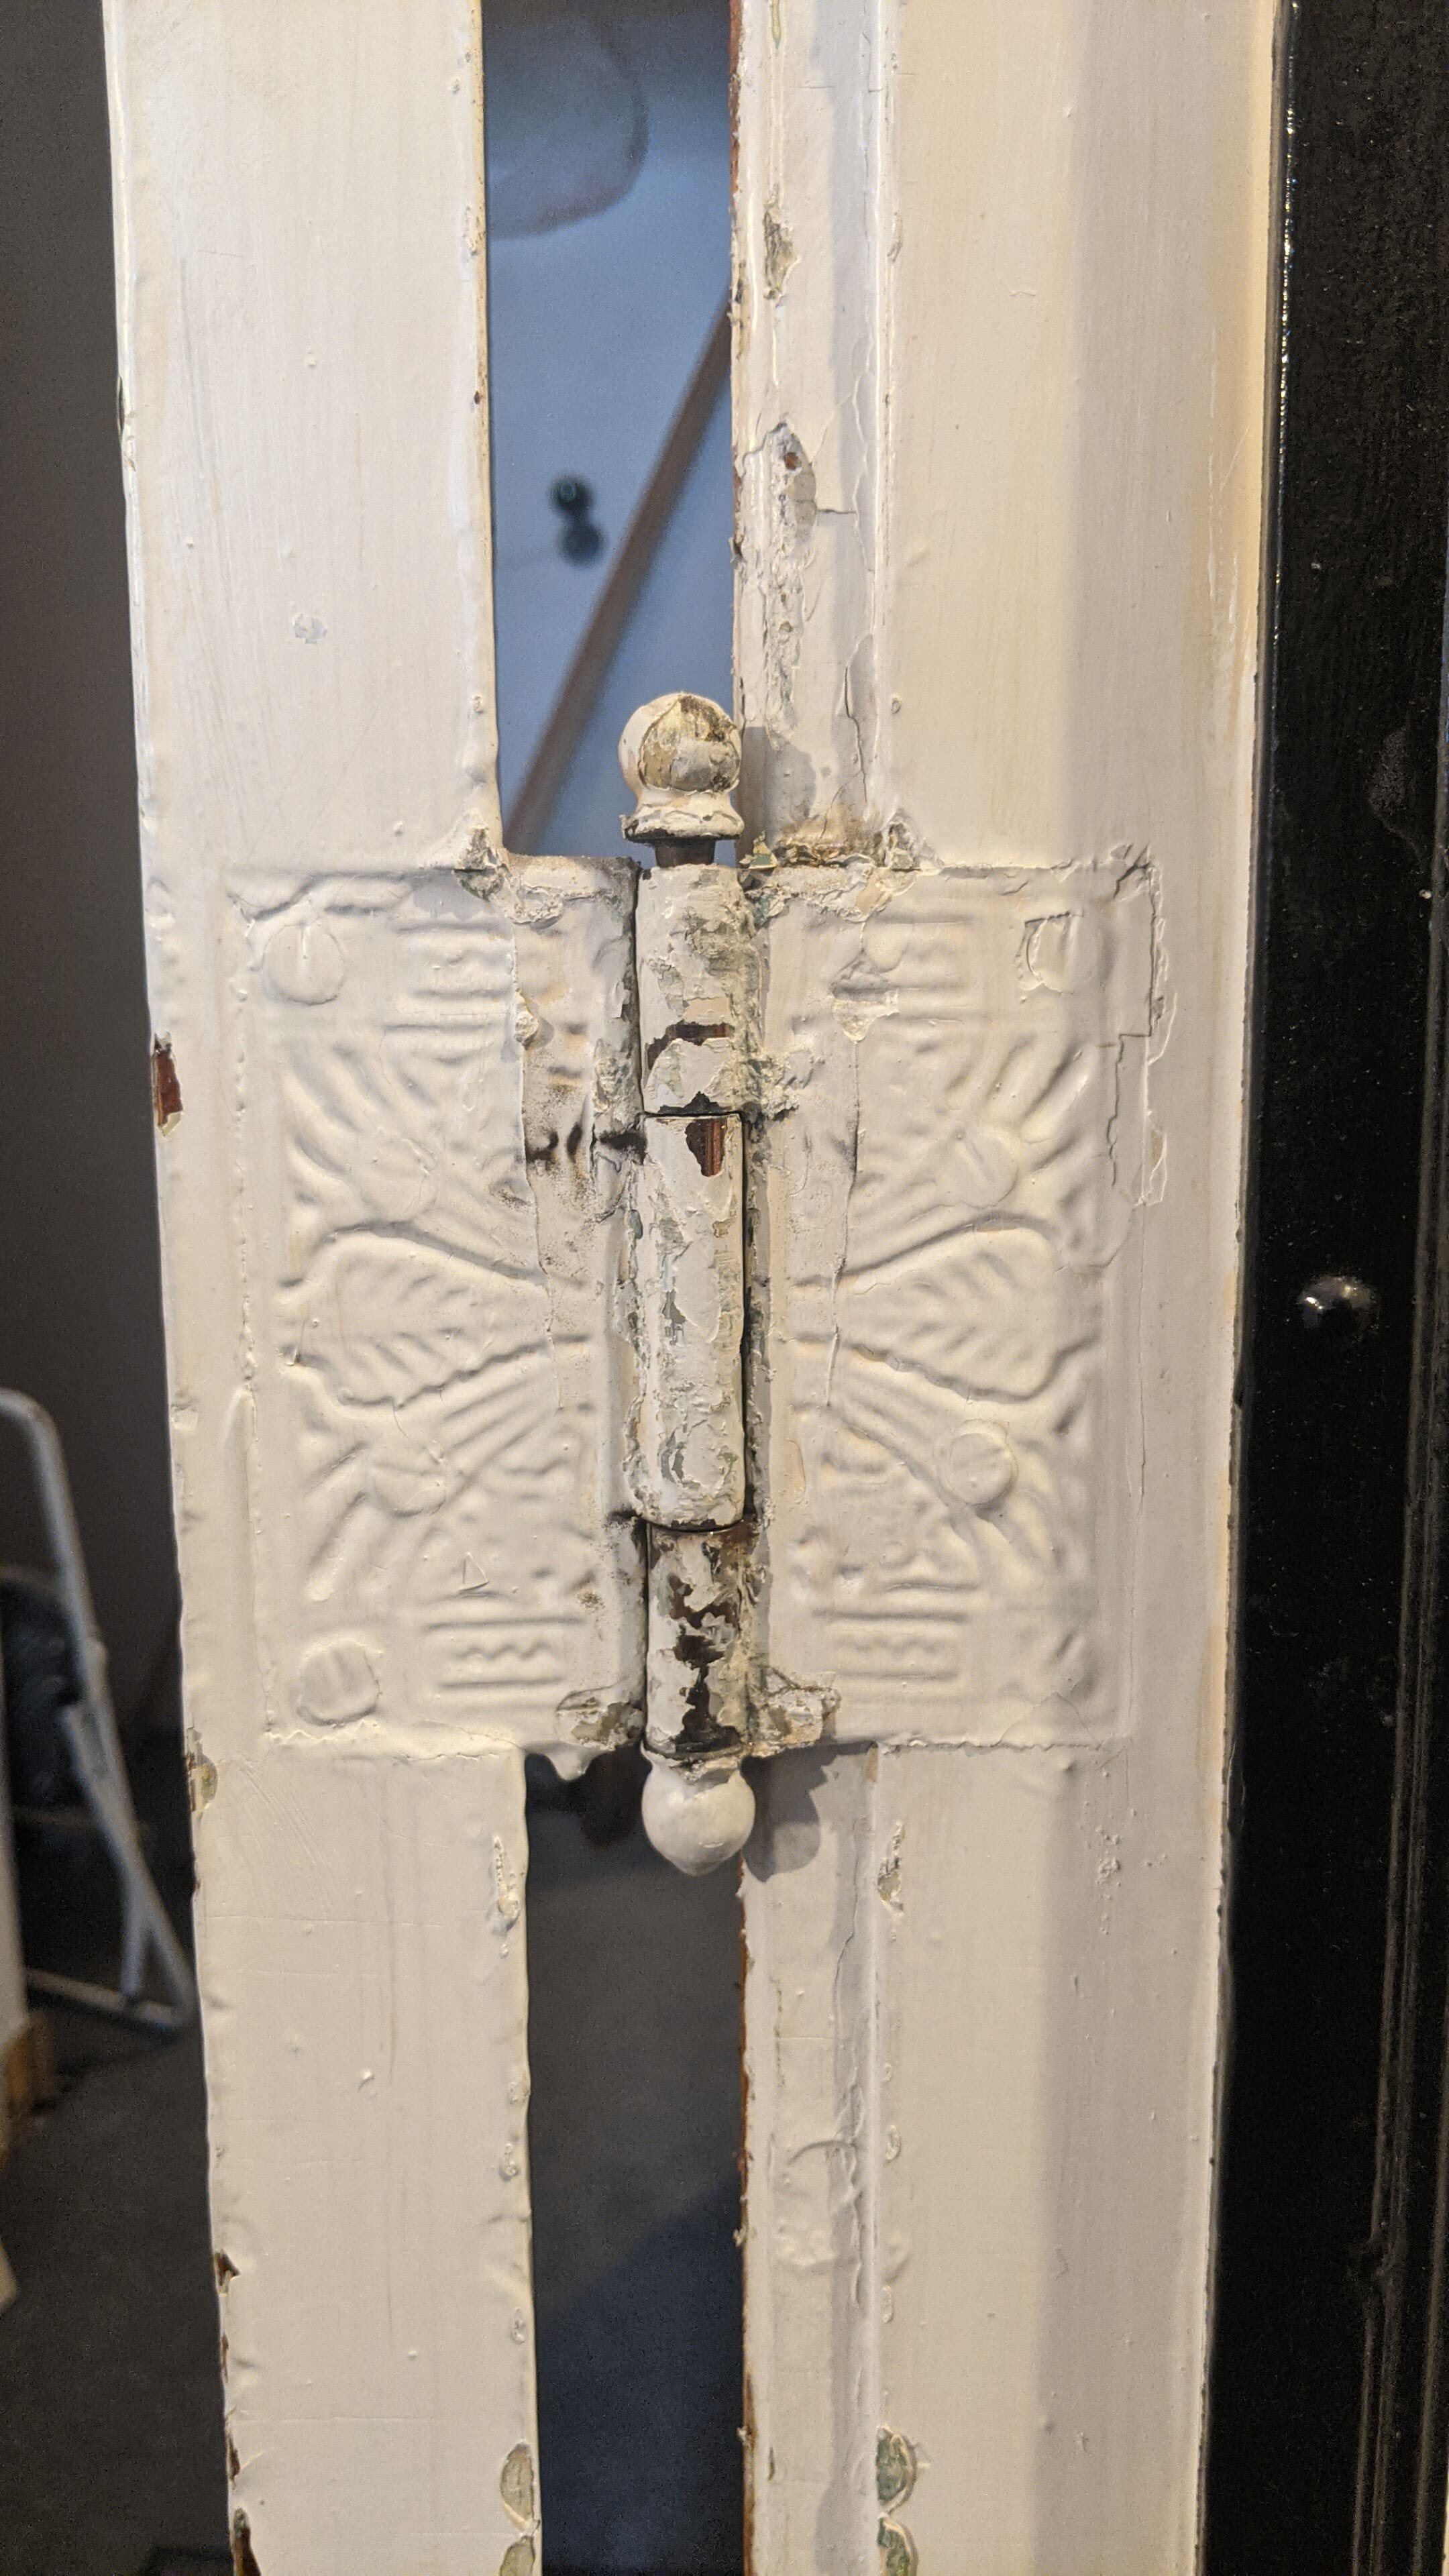
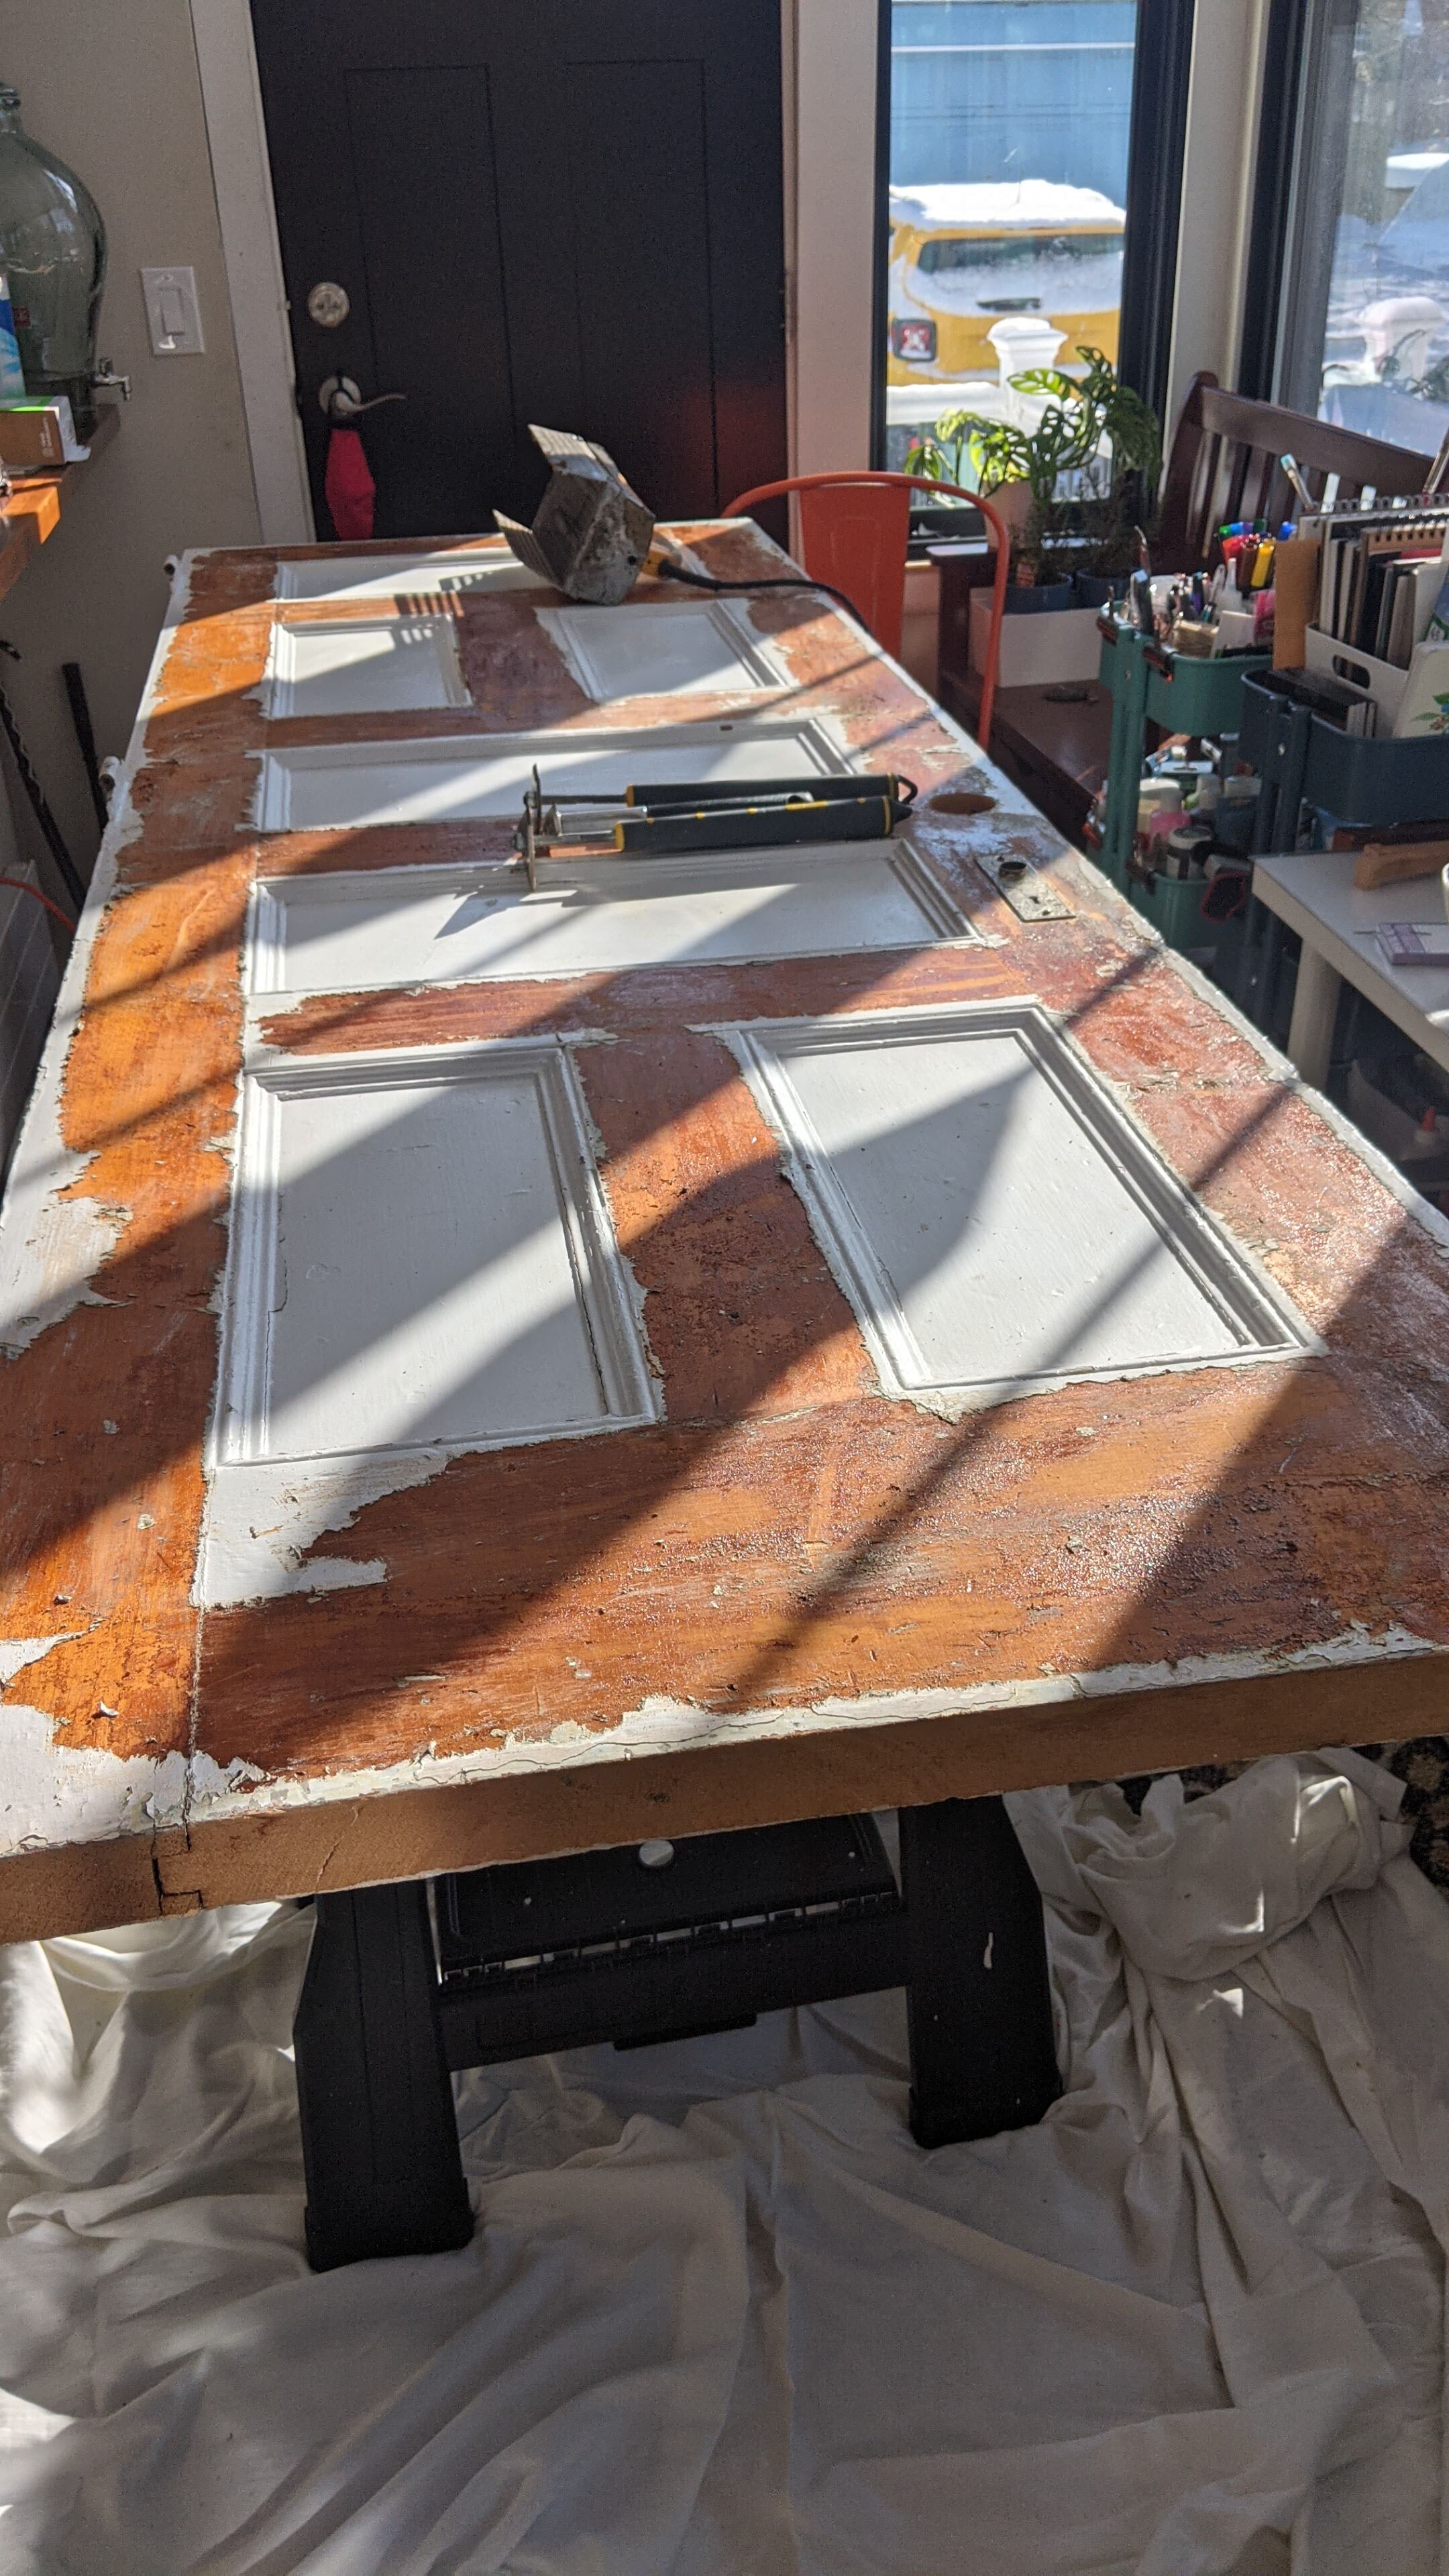
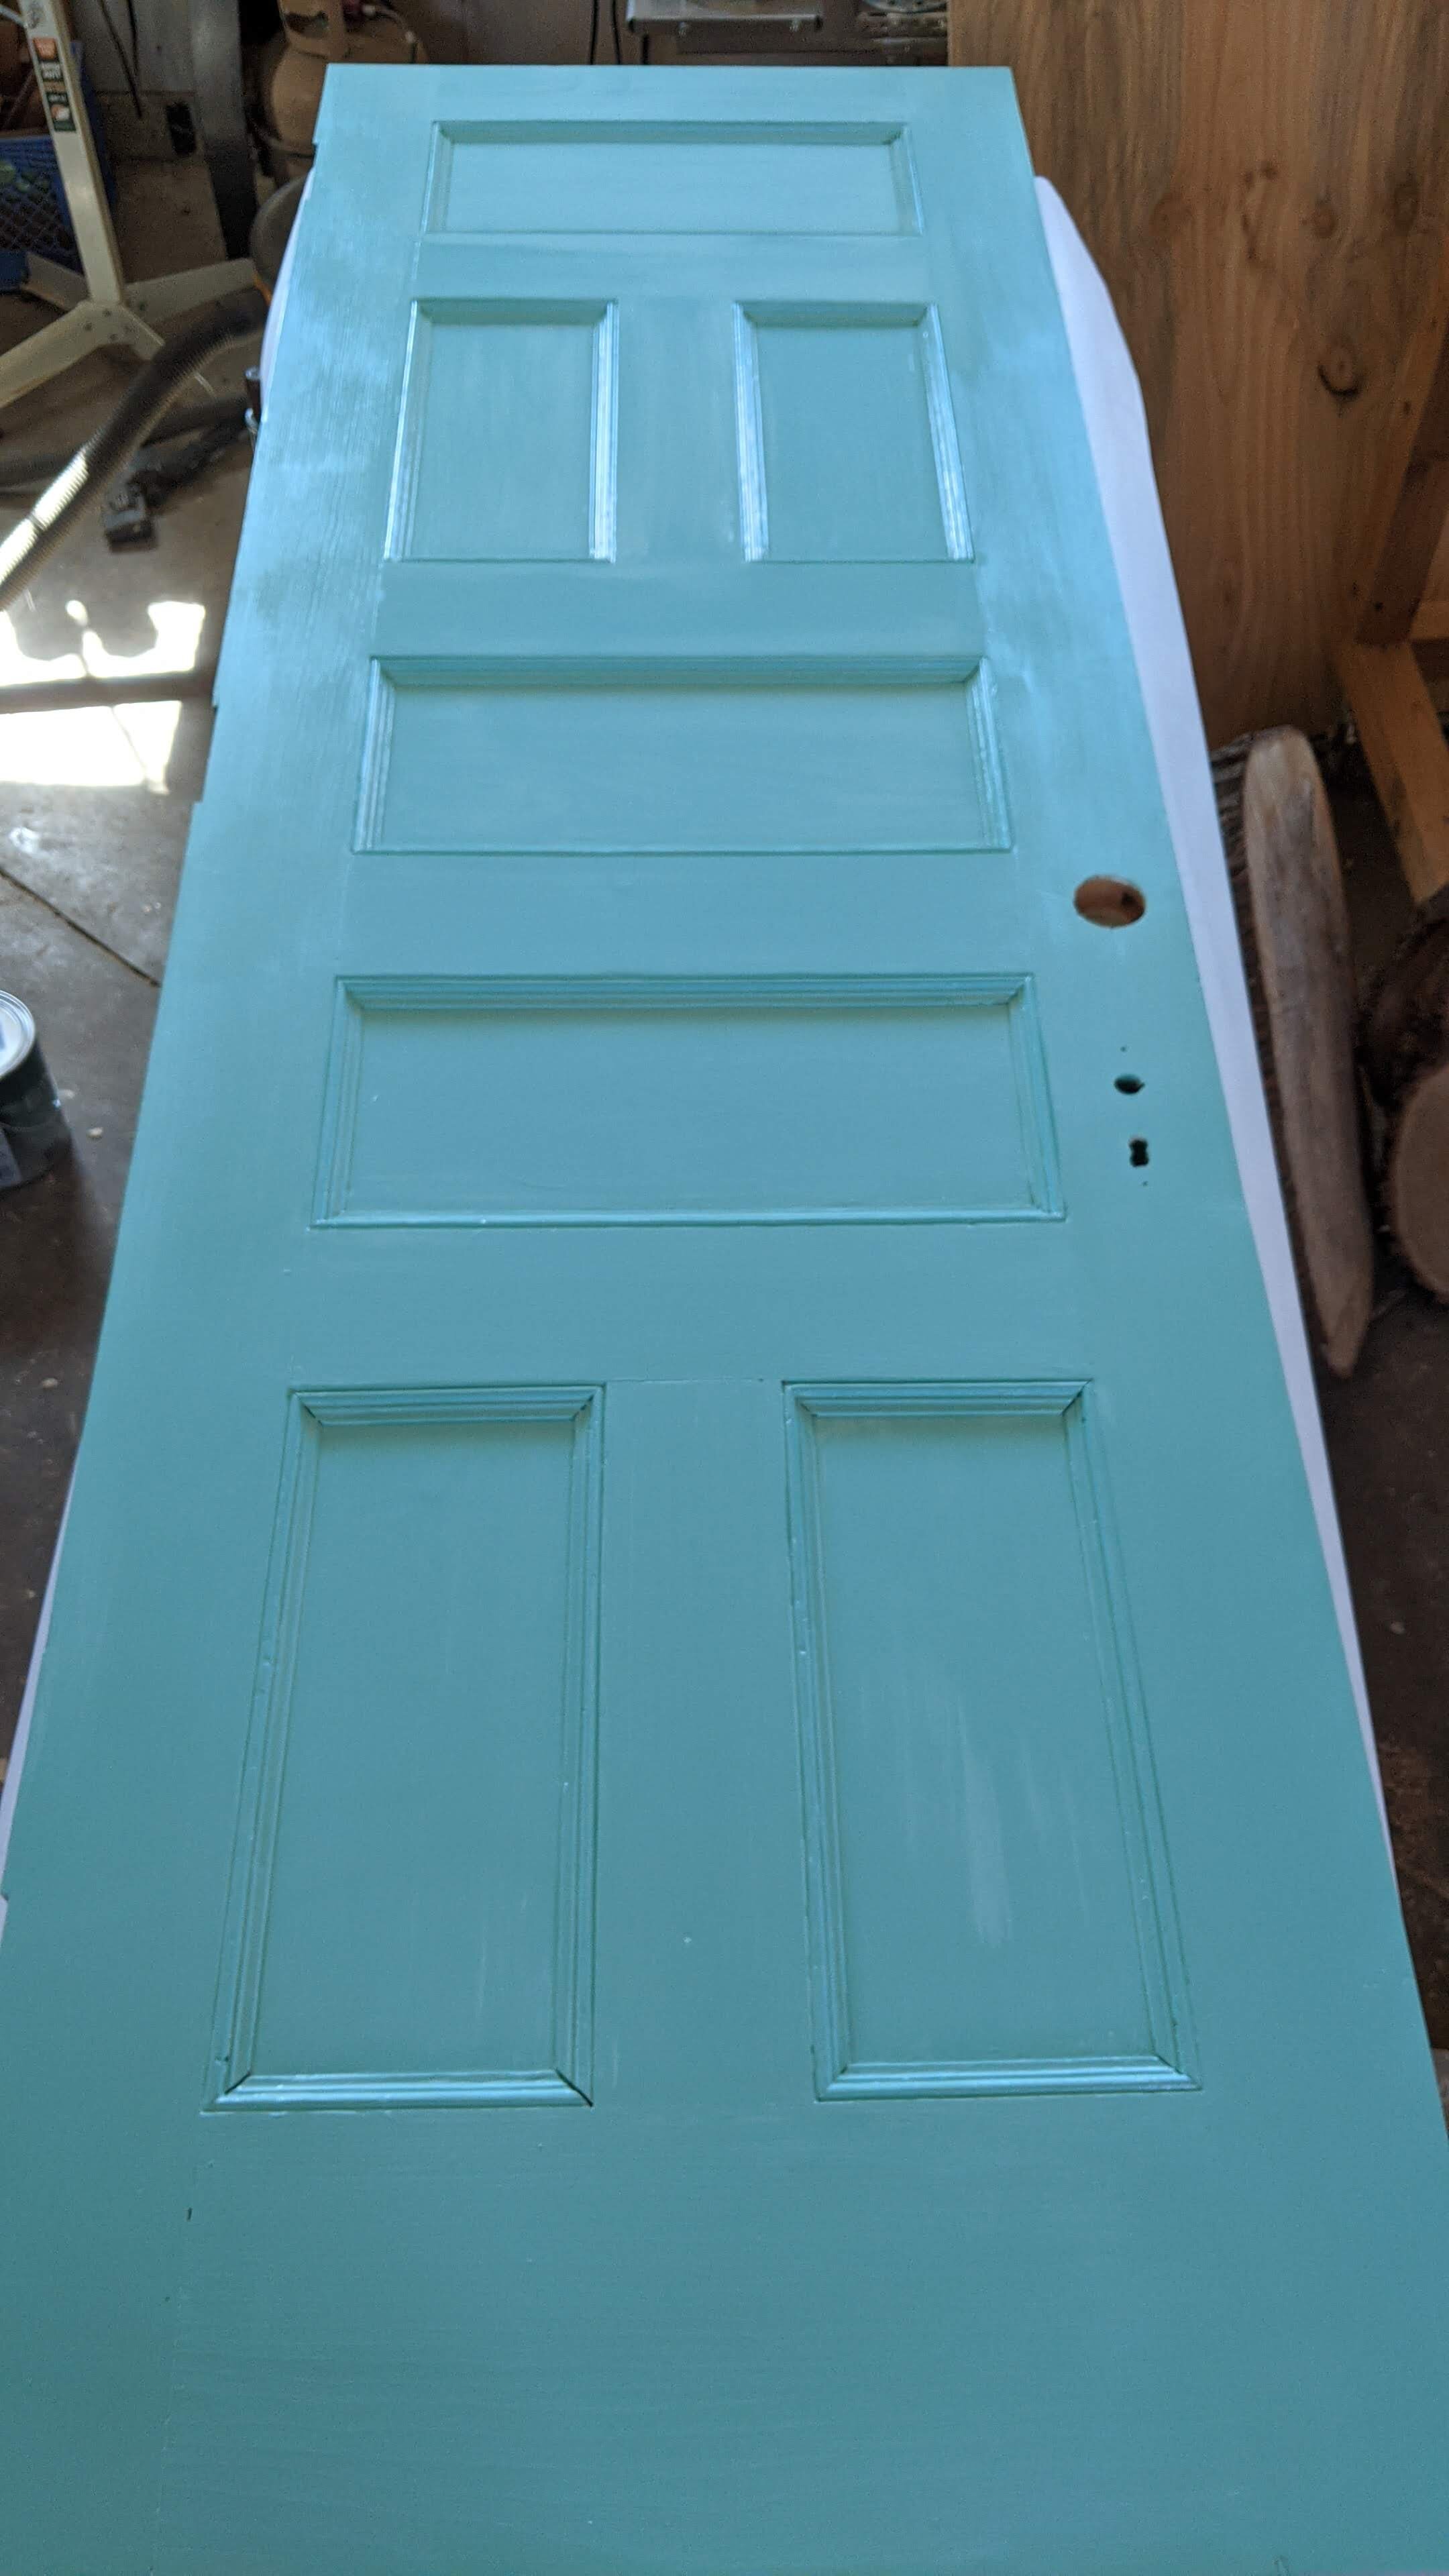
Stripped, sanded,and re-primed & painted both doors
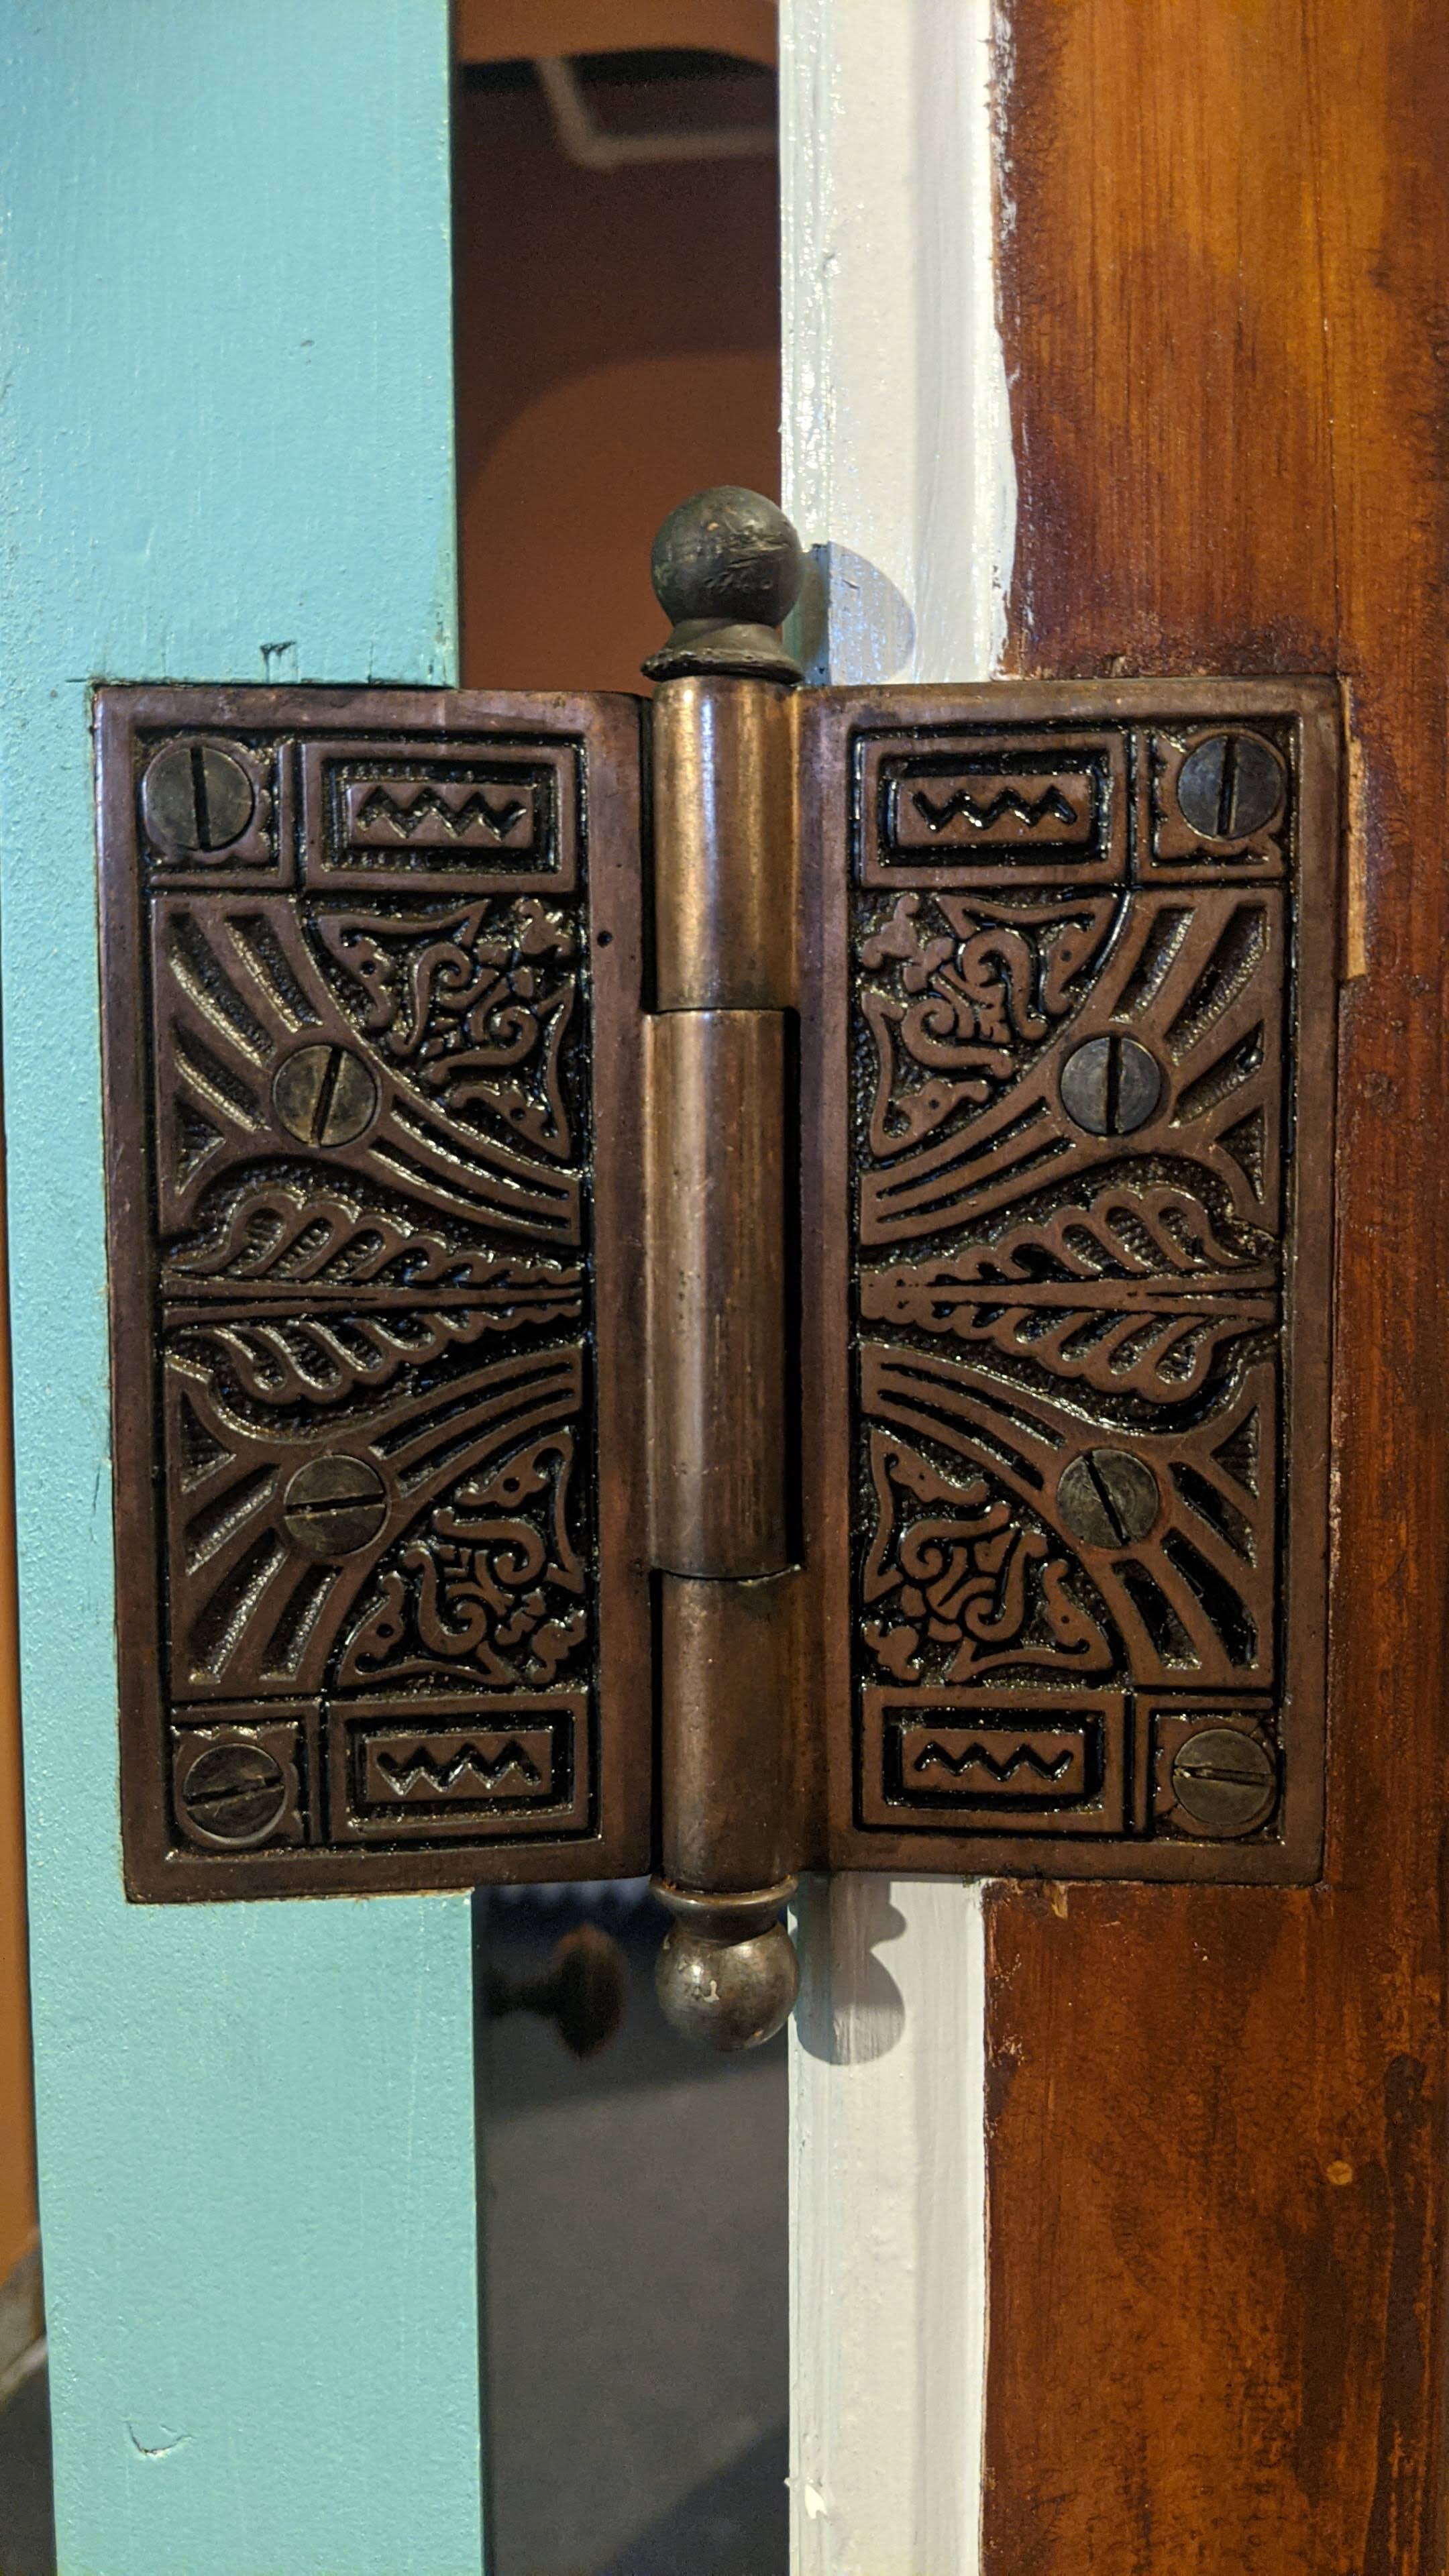
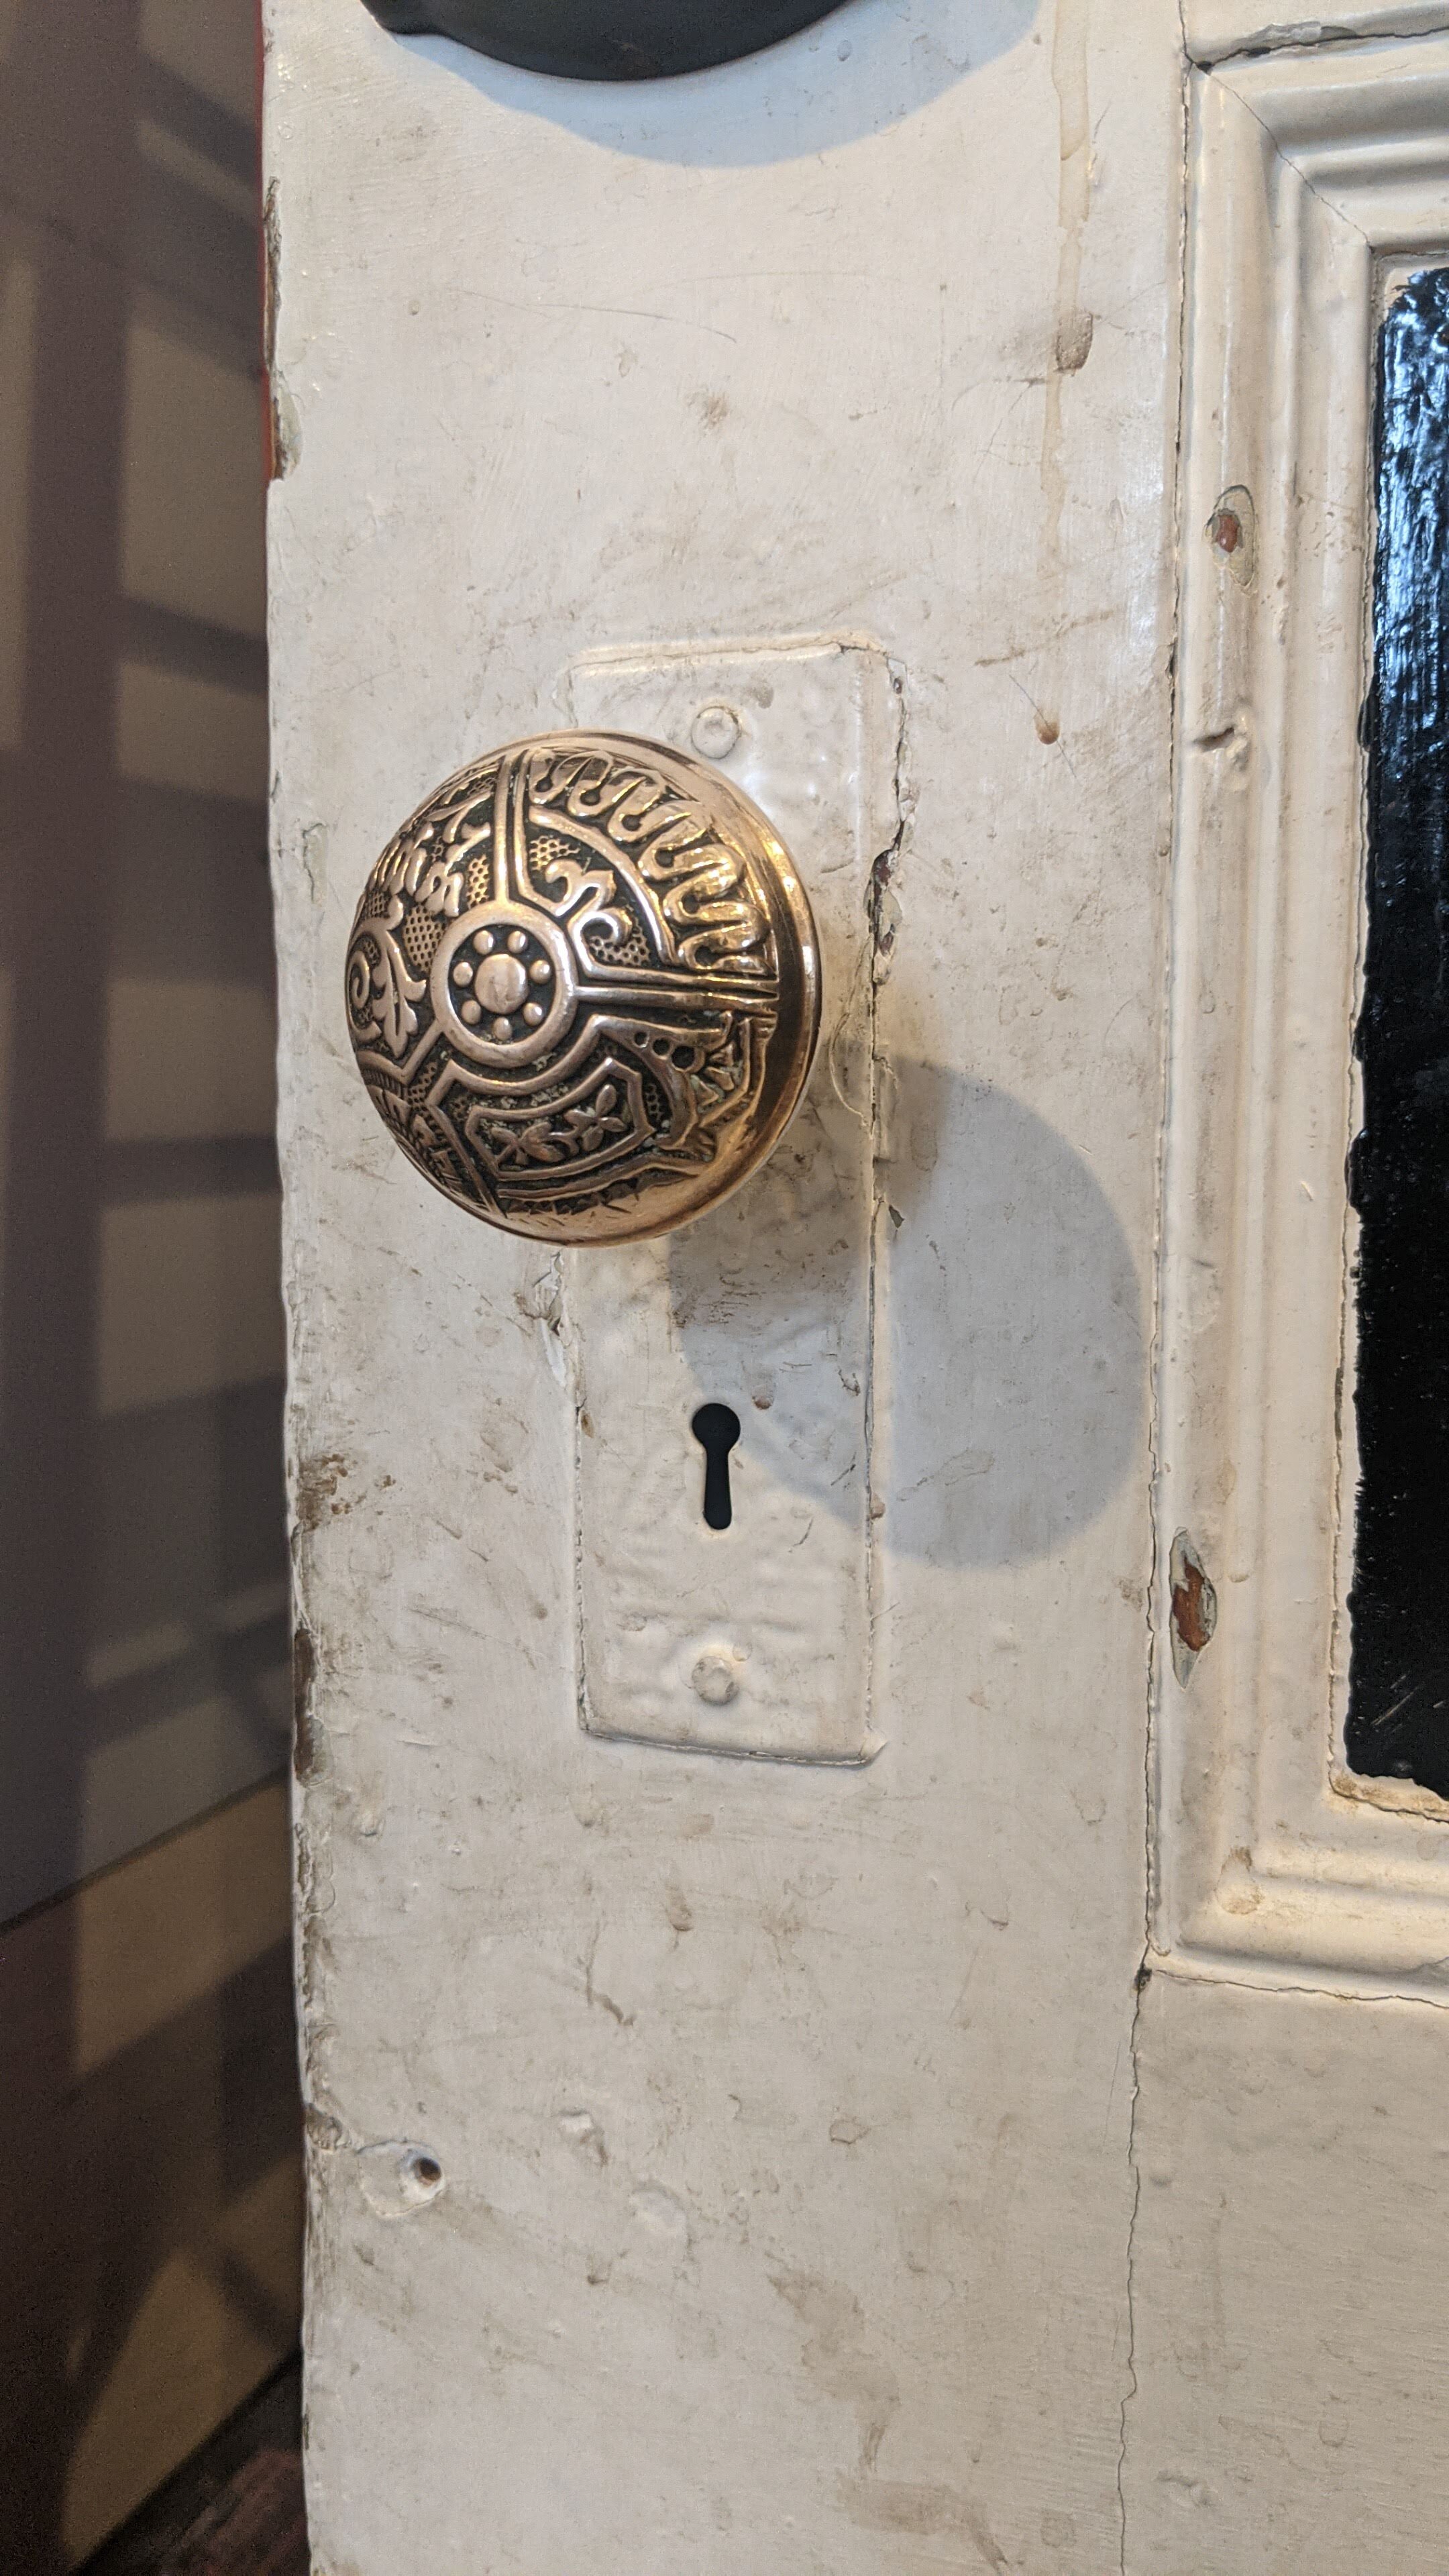
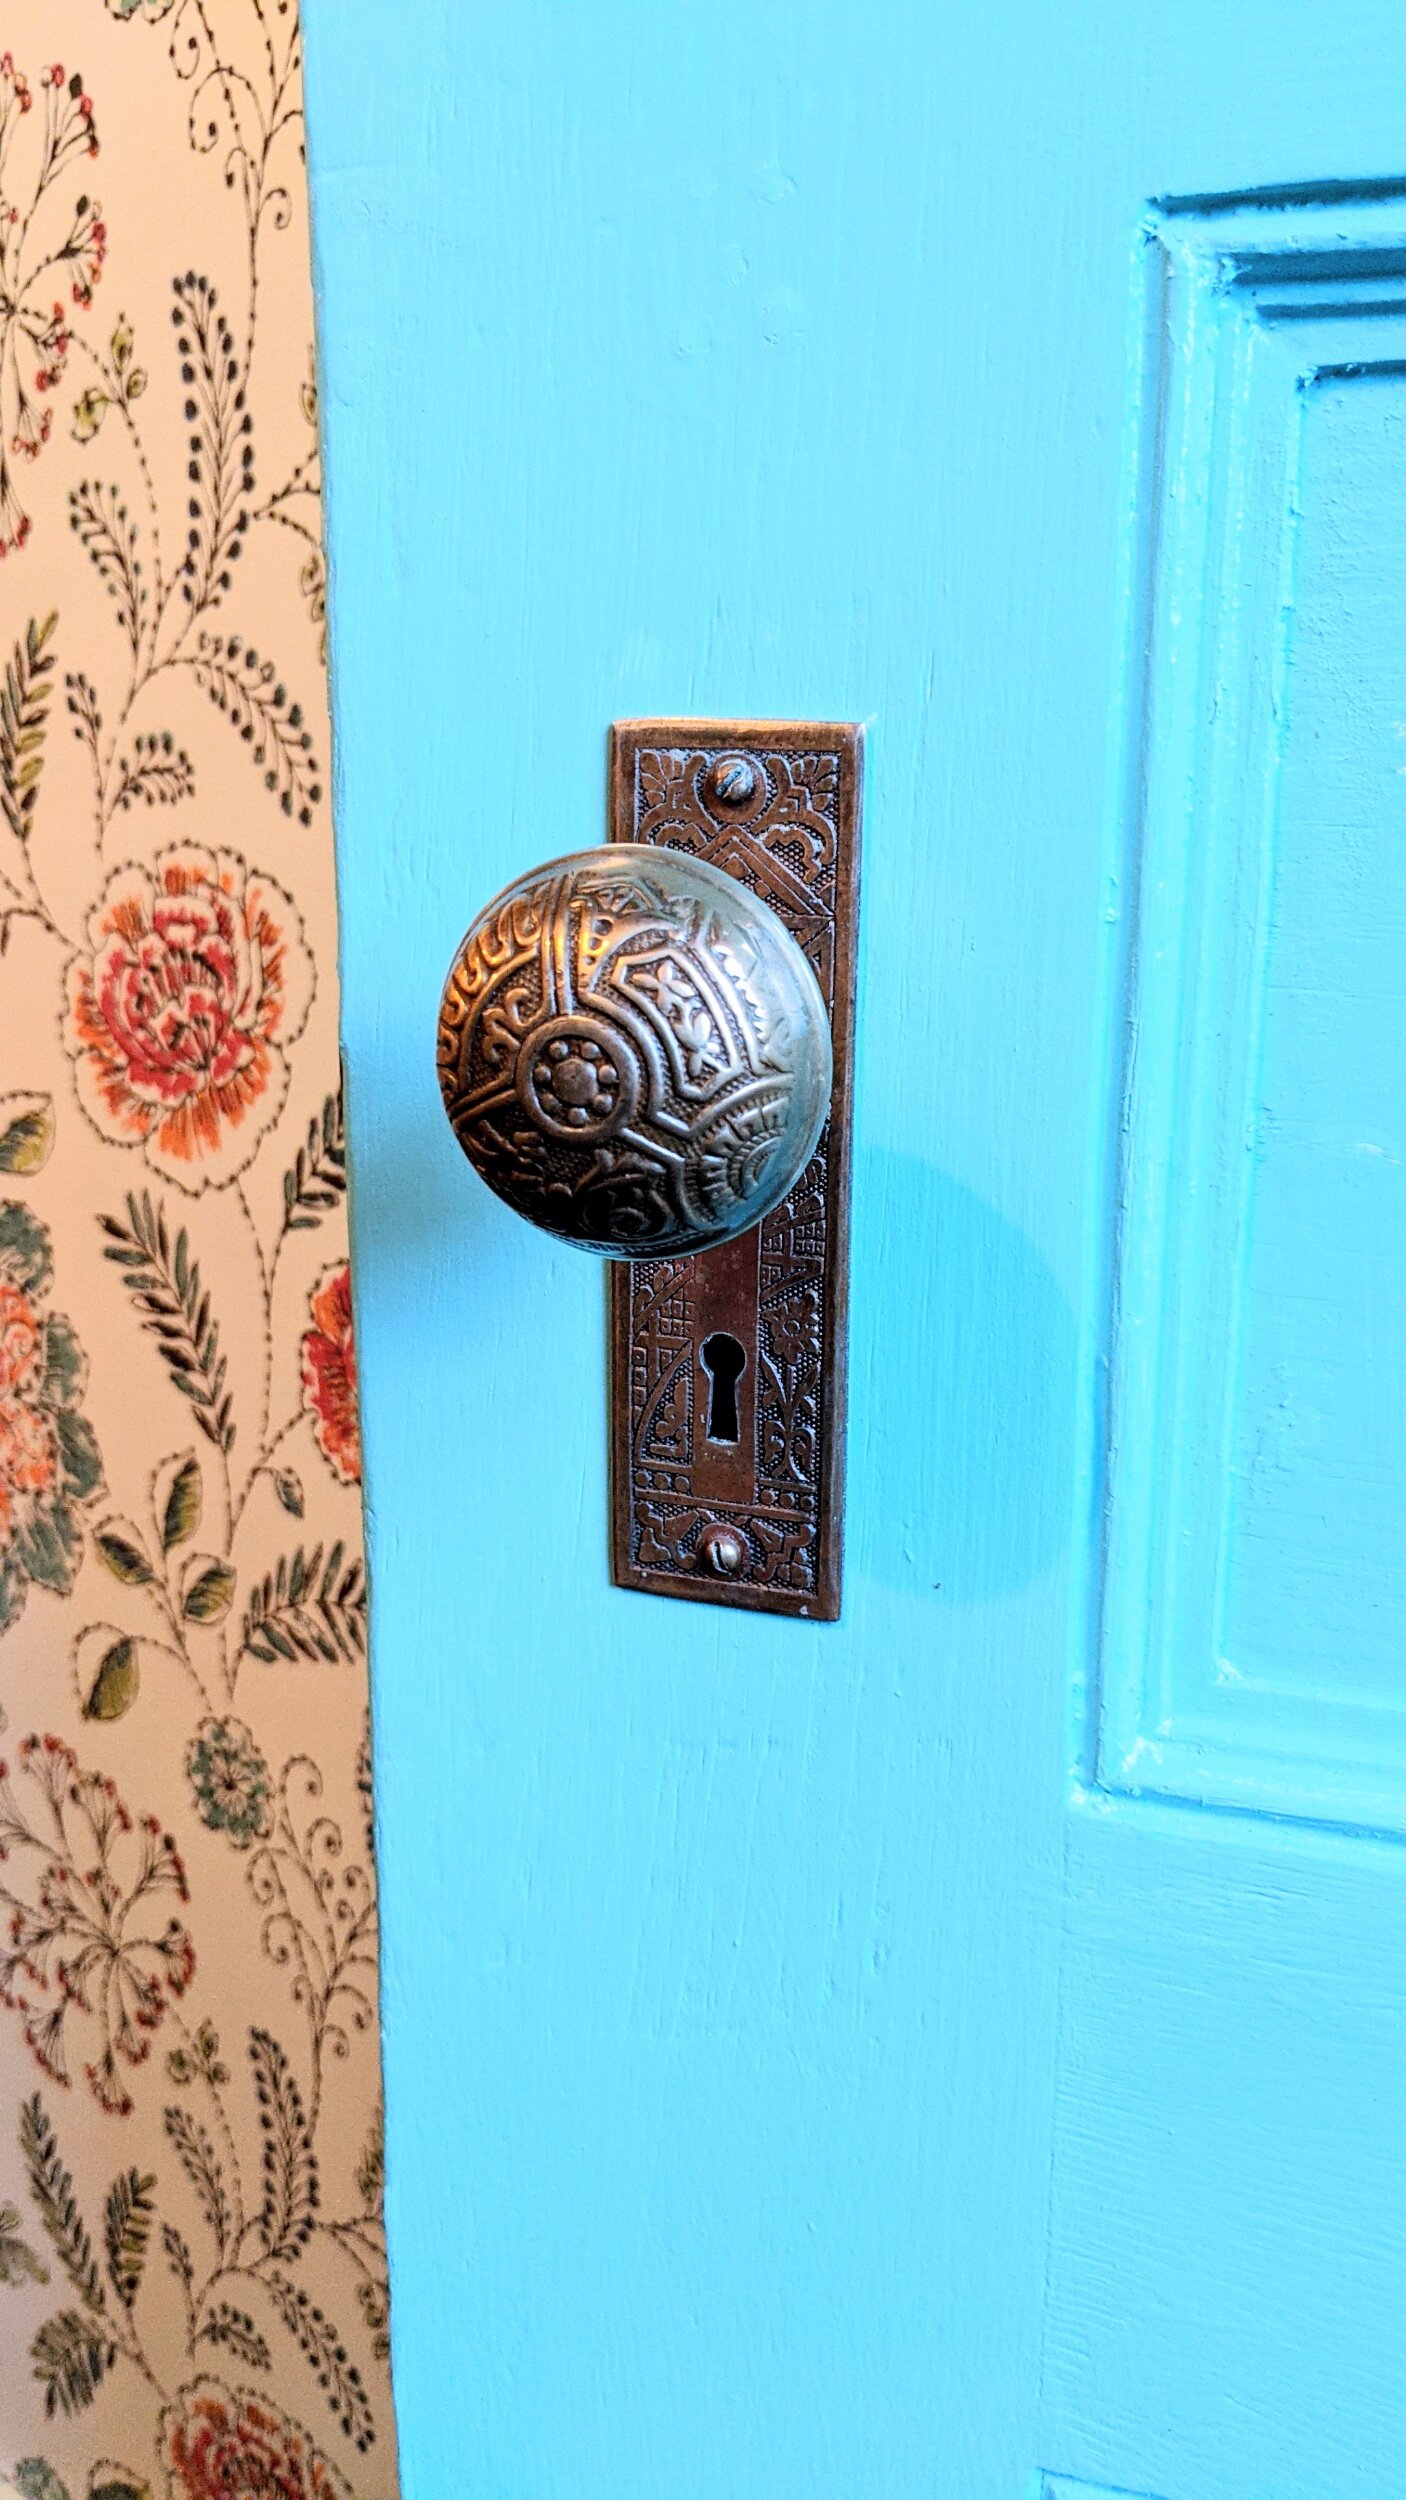
Stripped original antique hardware of several layers of paint
Stripped door jambs and frames of multiple layers of paint and re-primed & painted
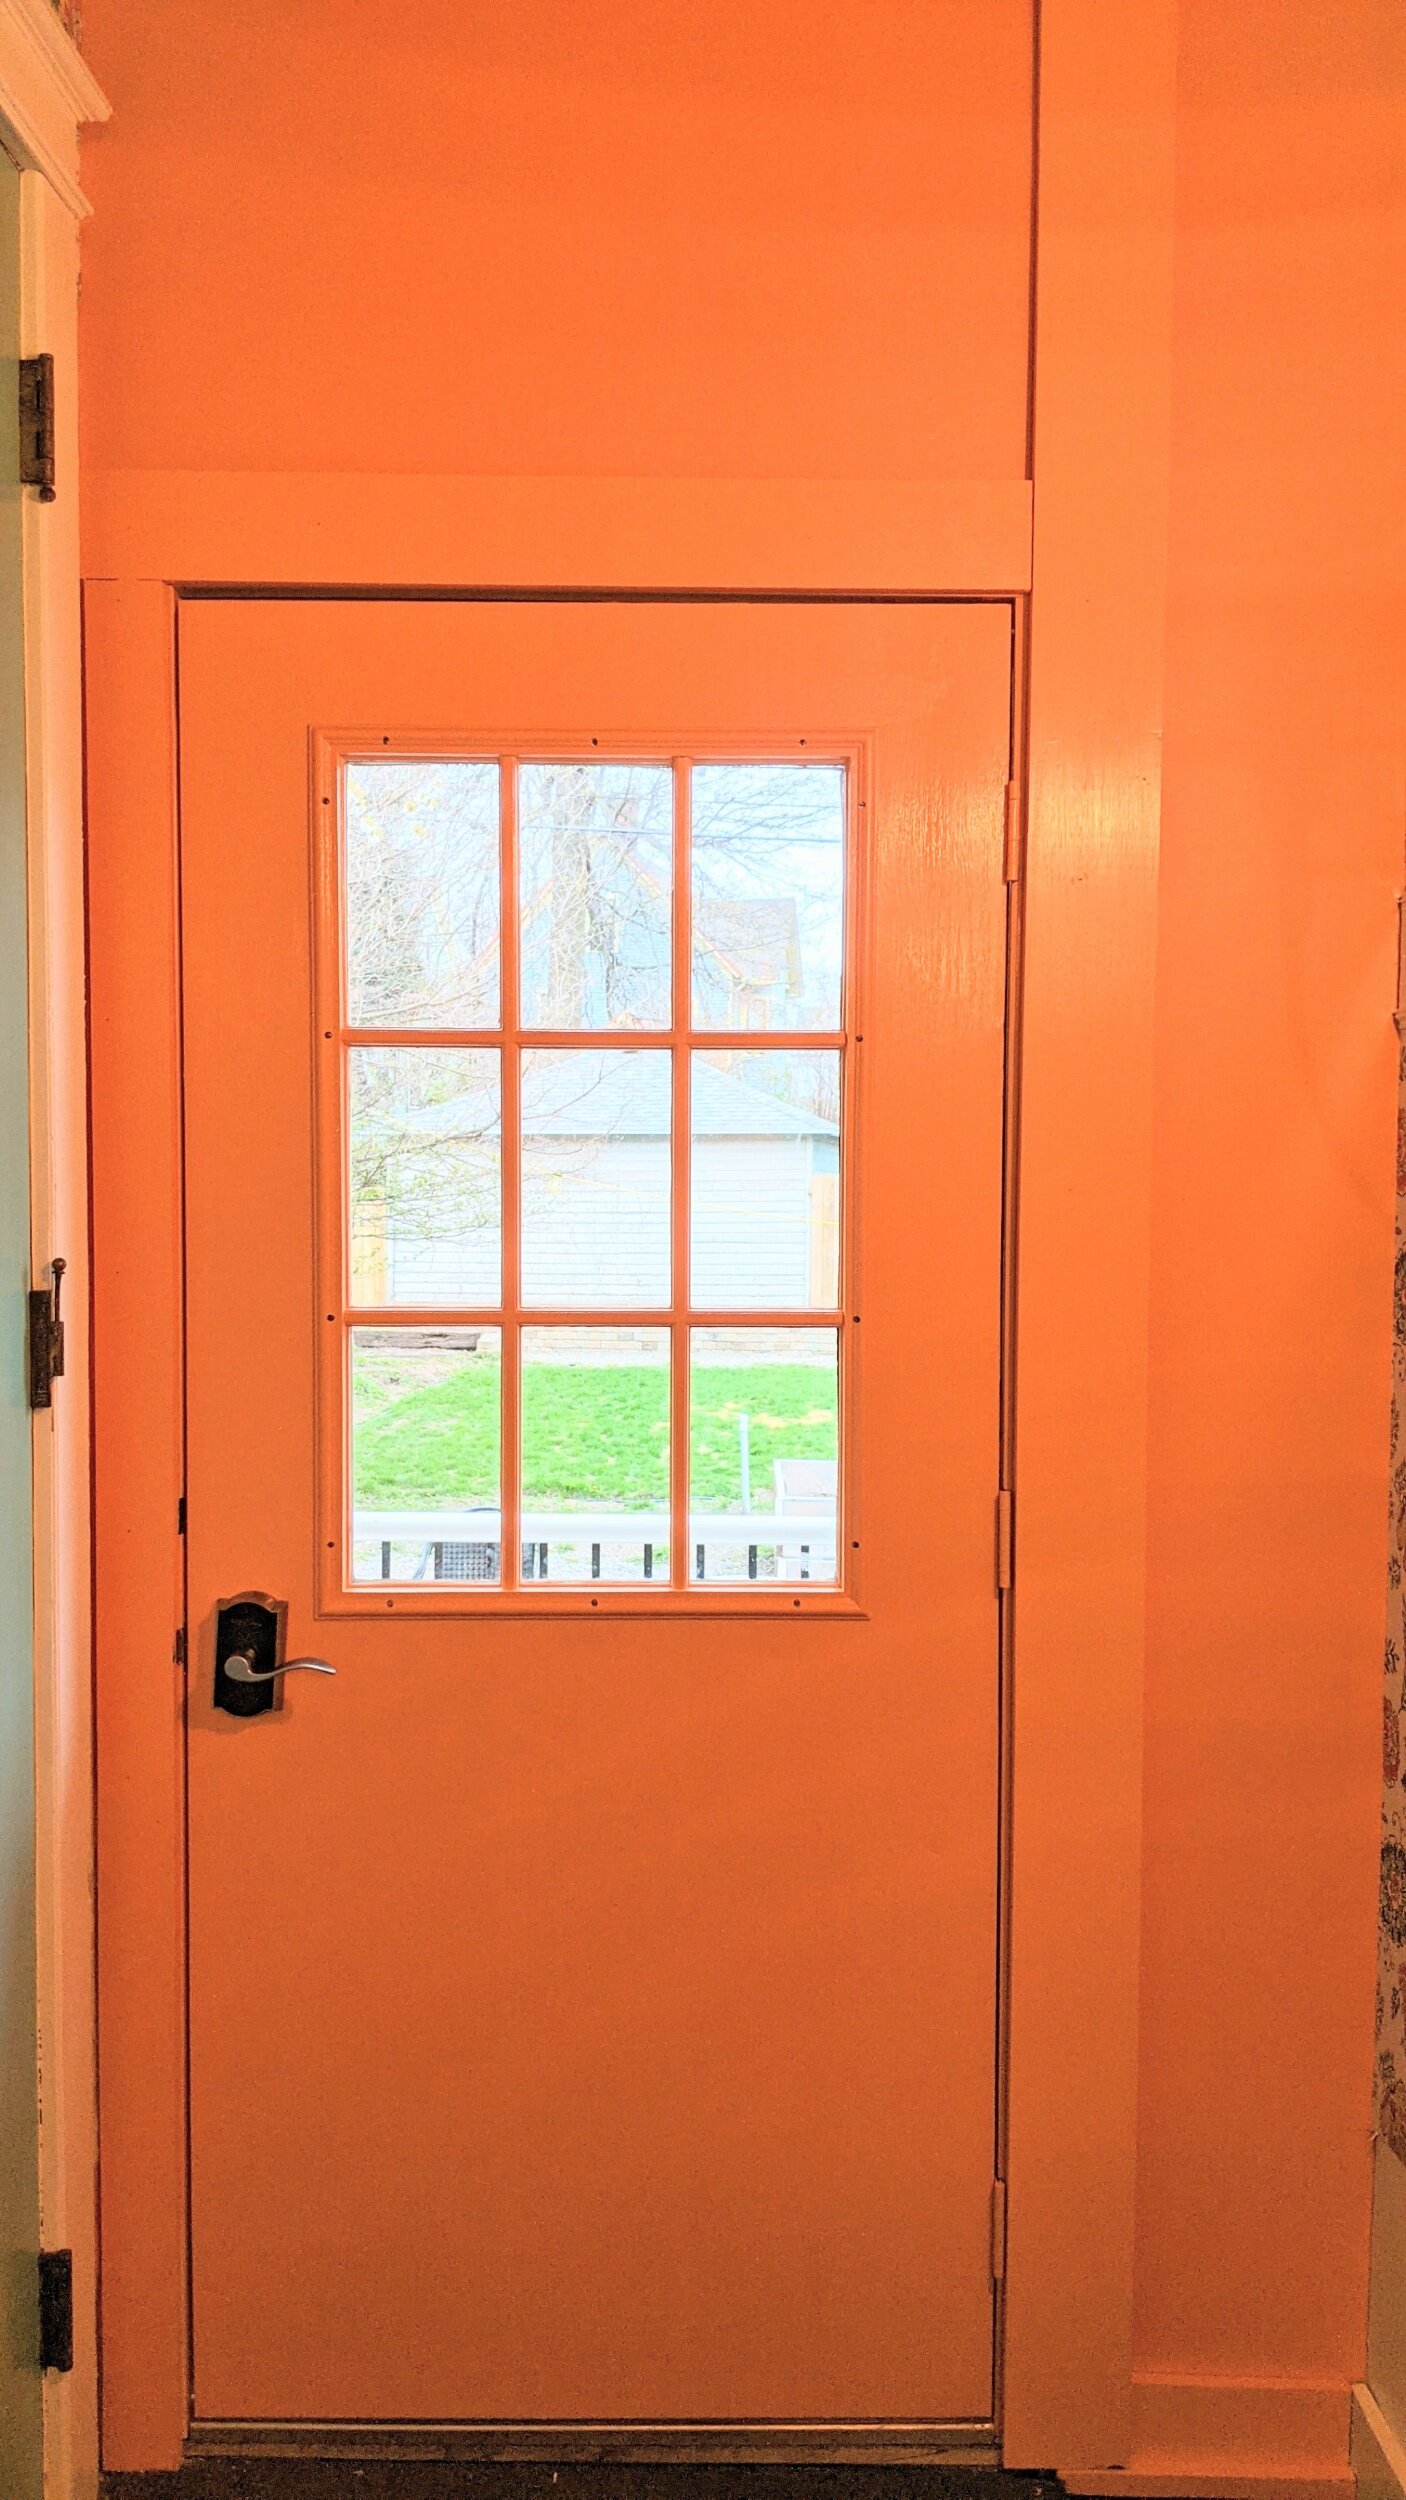
Primed and painted the insulated exterior door
Installed trim wherever needed
Added a picture molding
Adding a rail for coat hooks

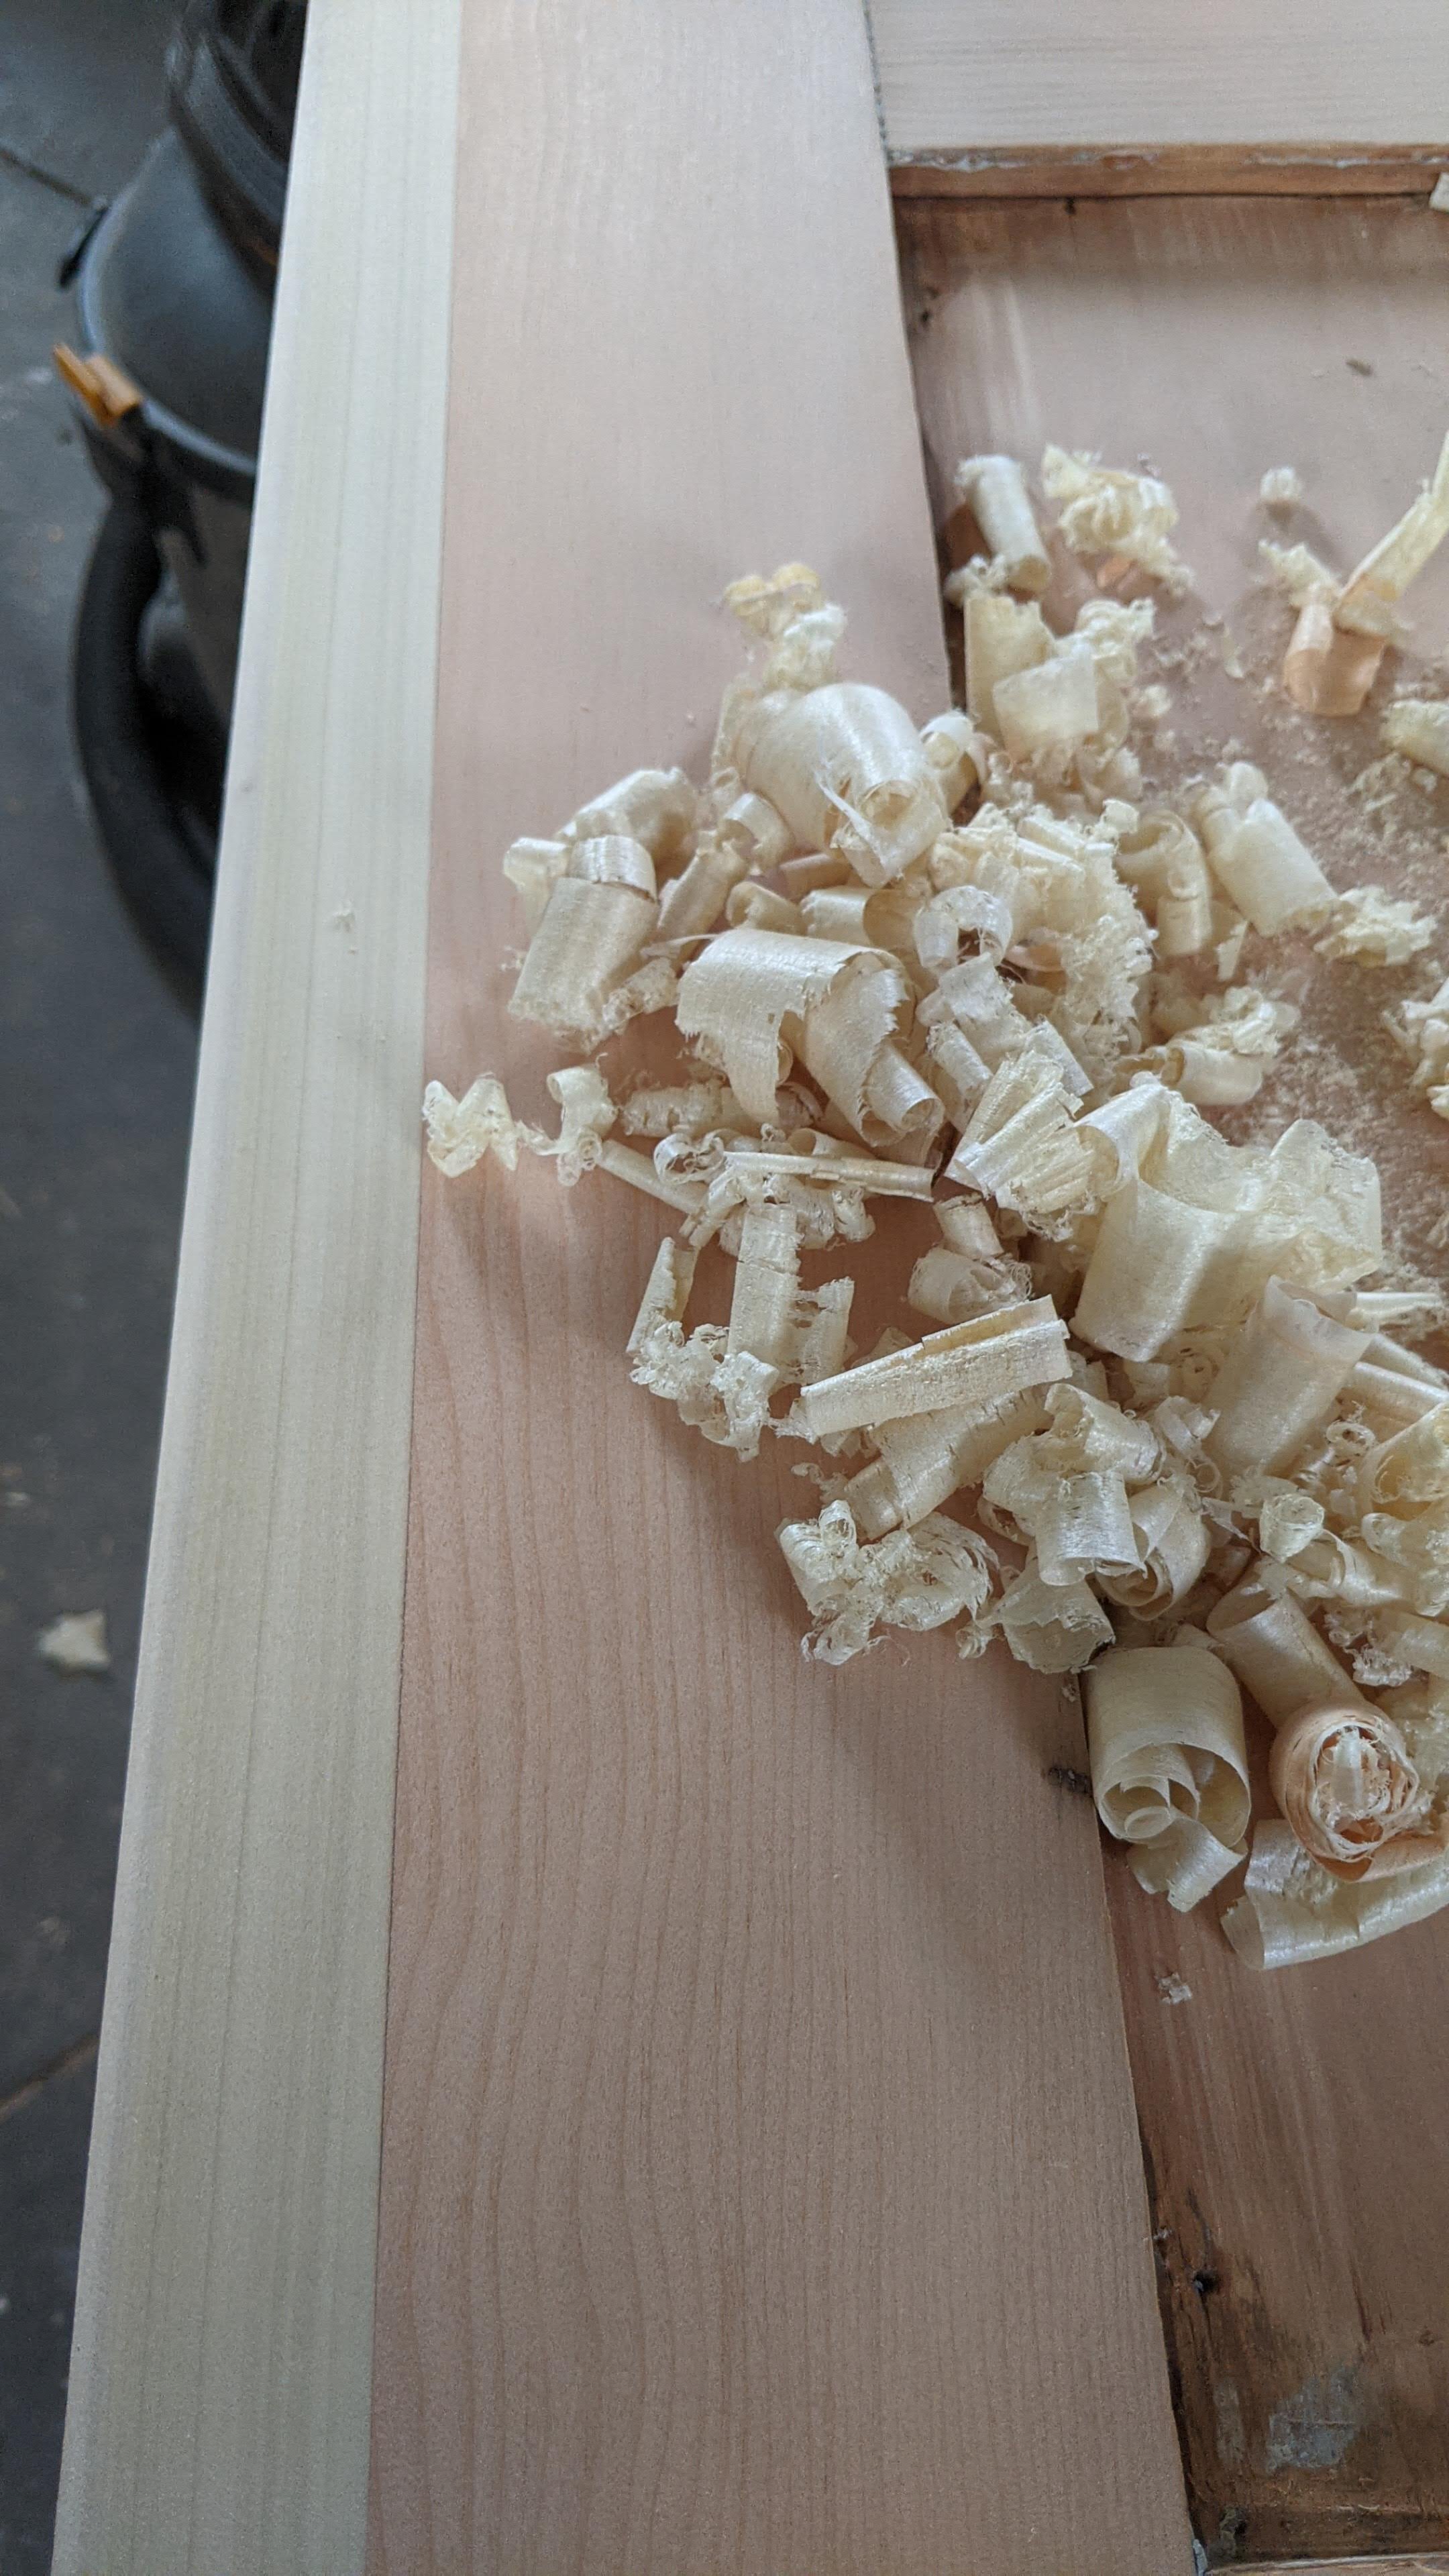
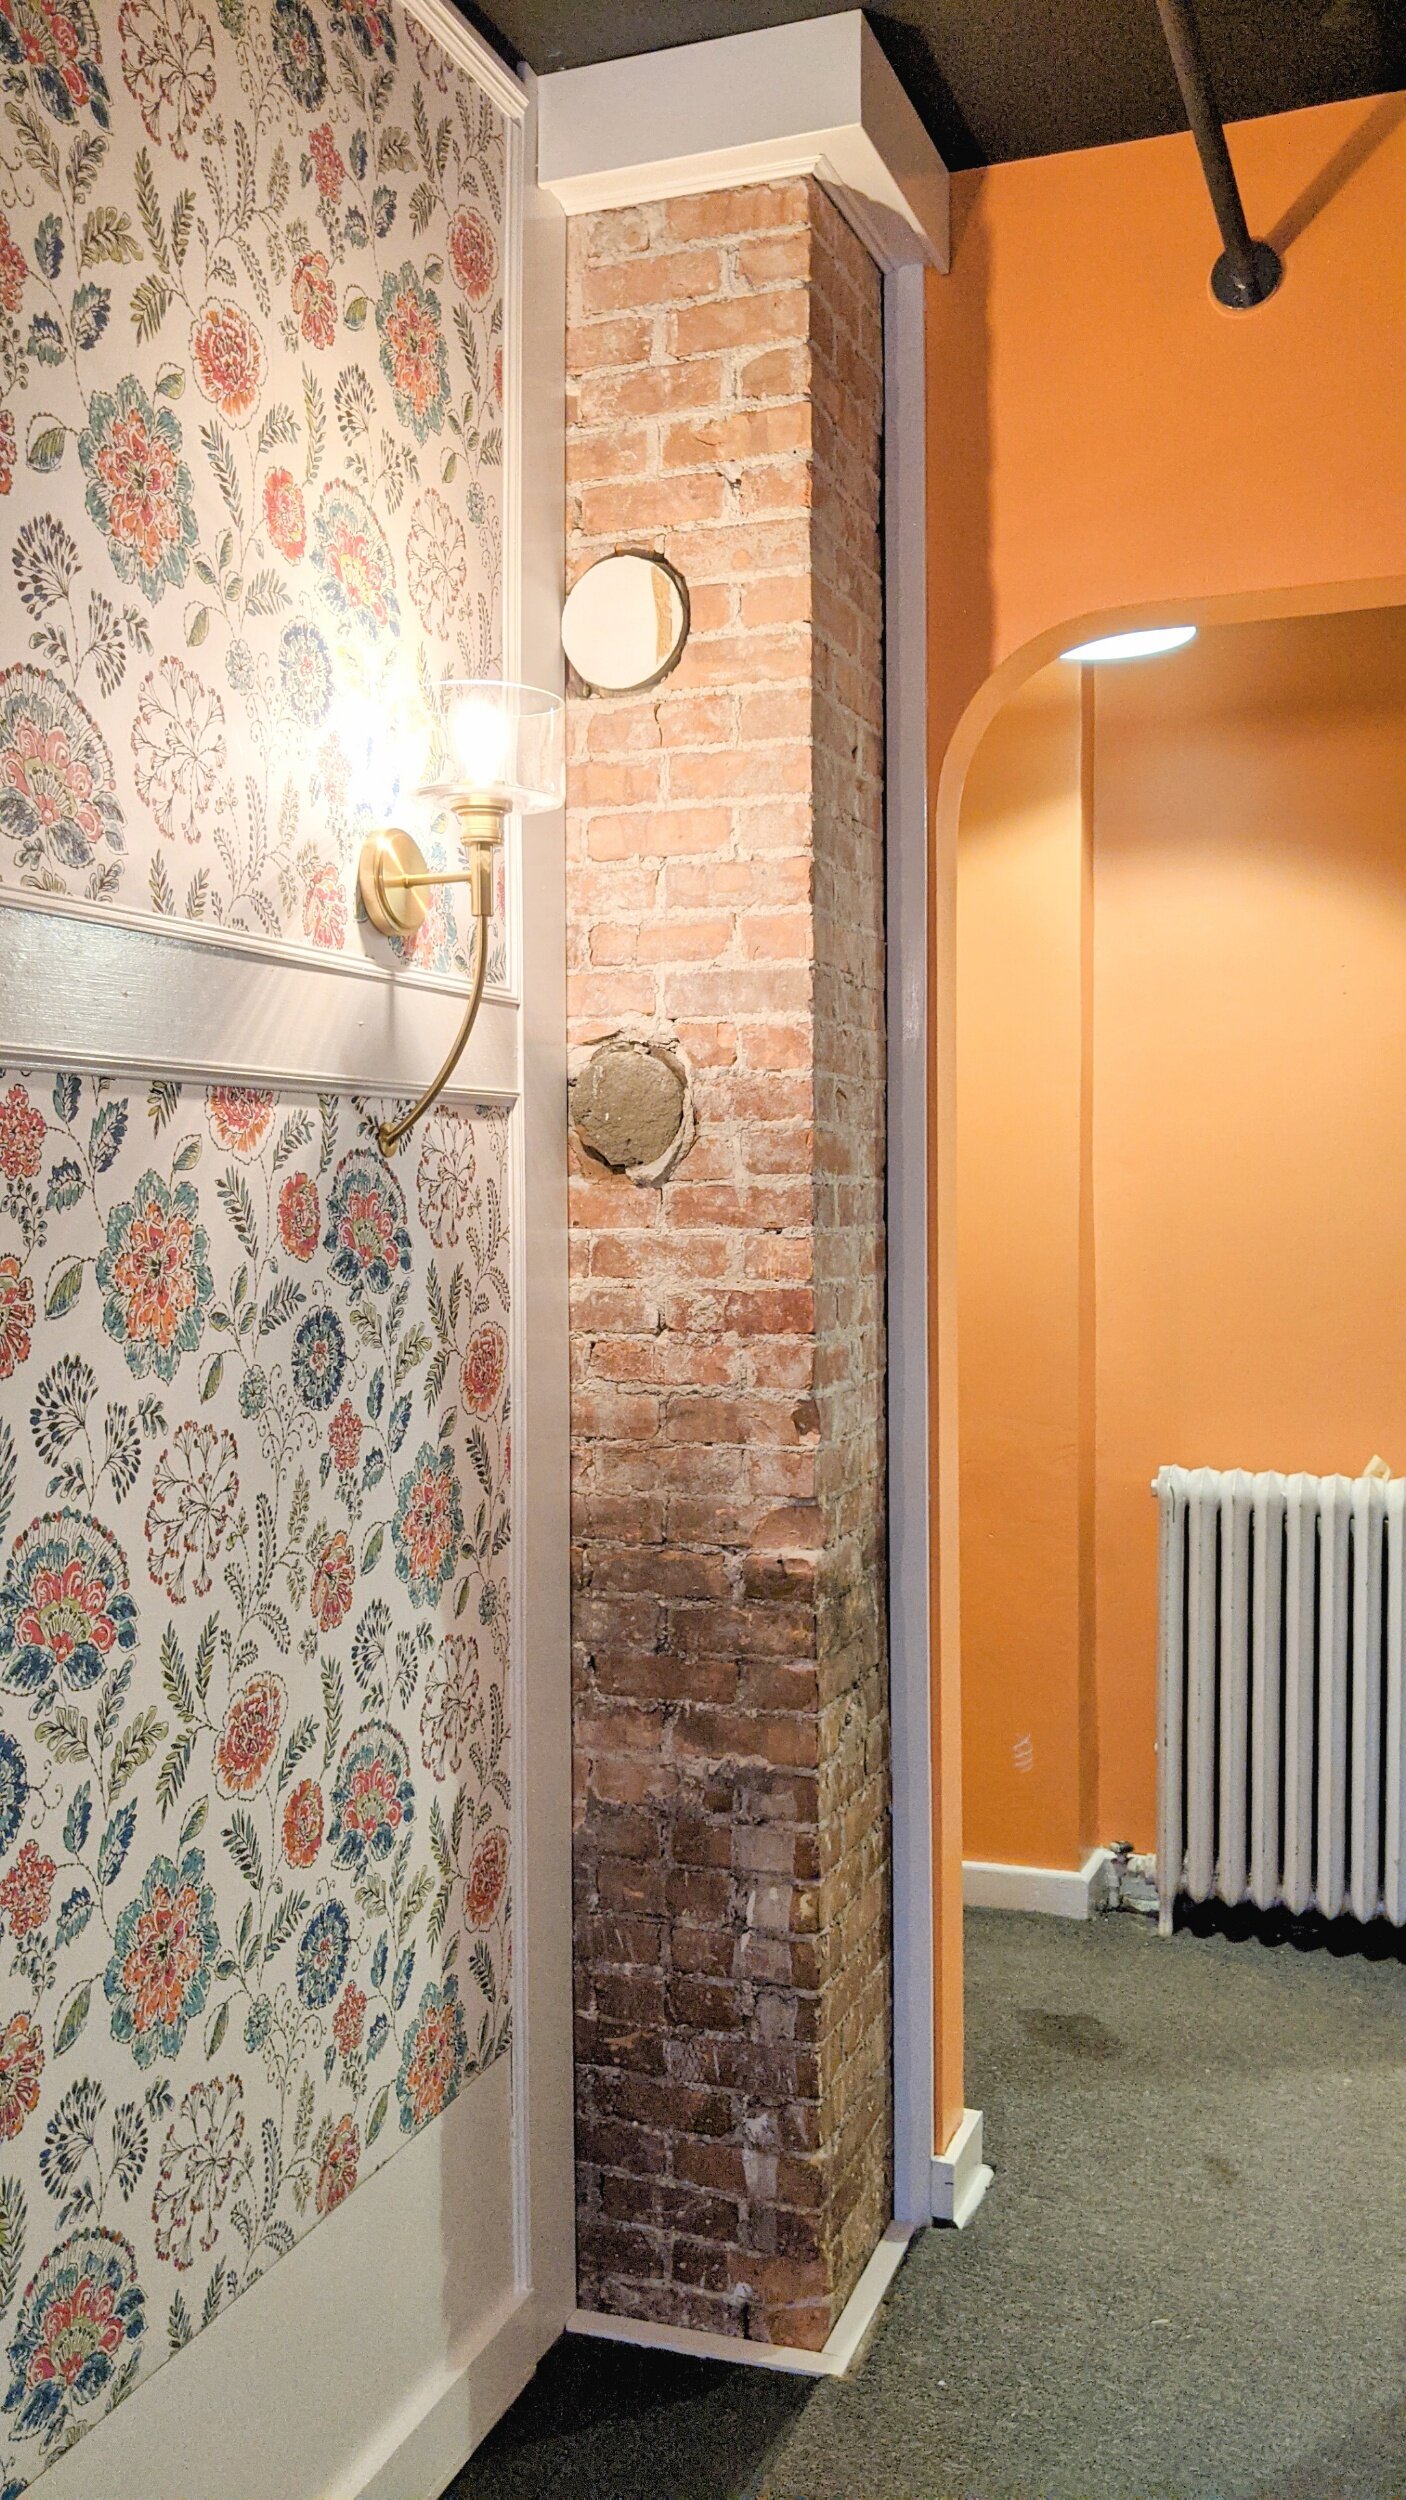

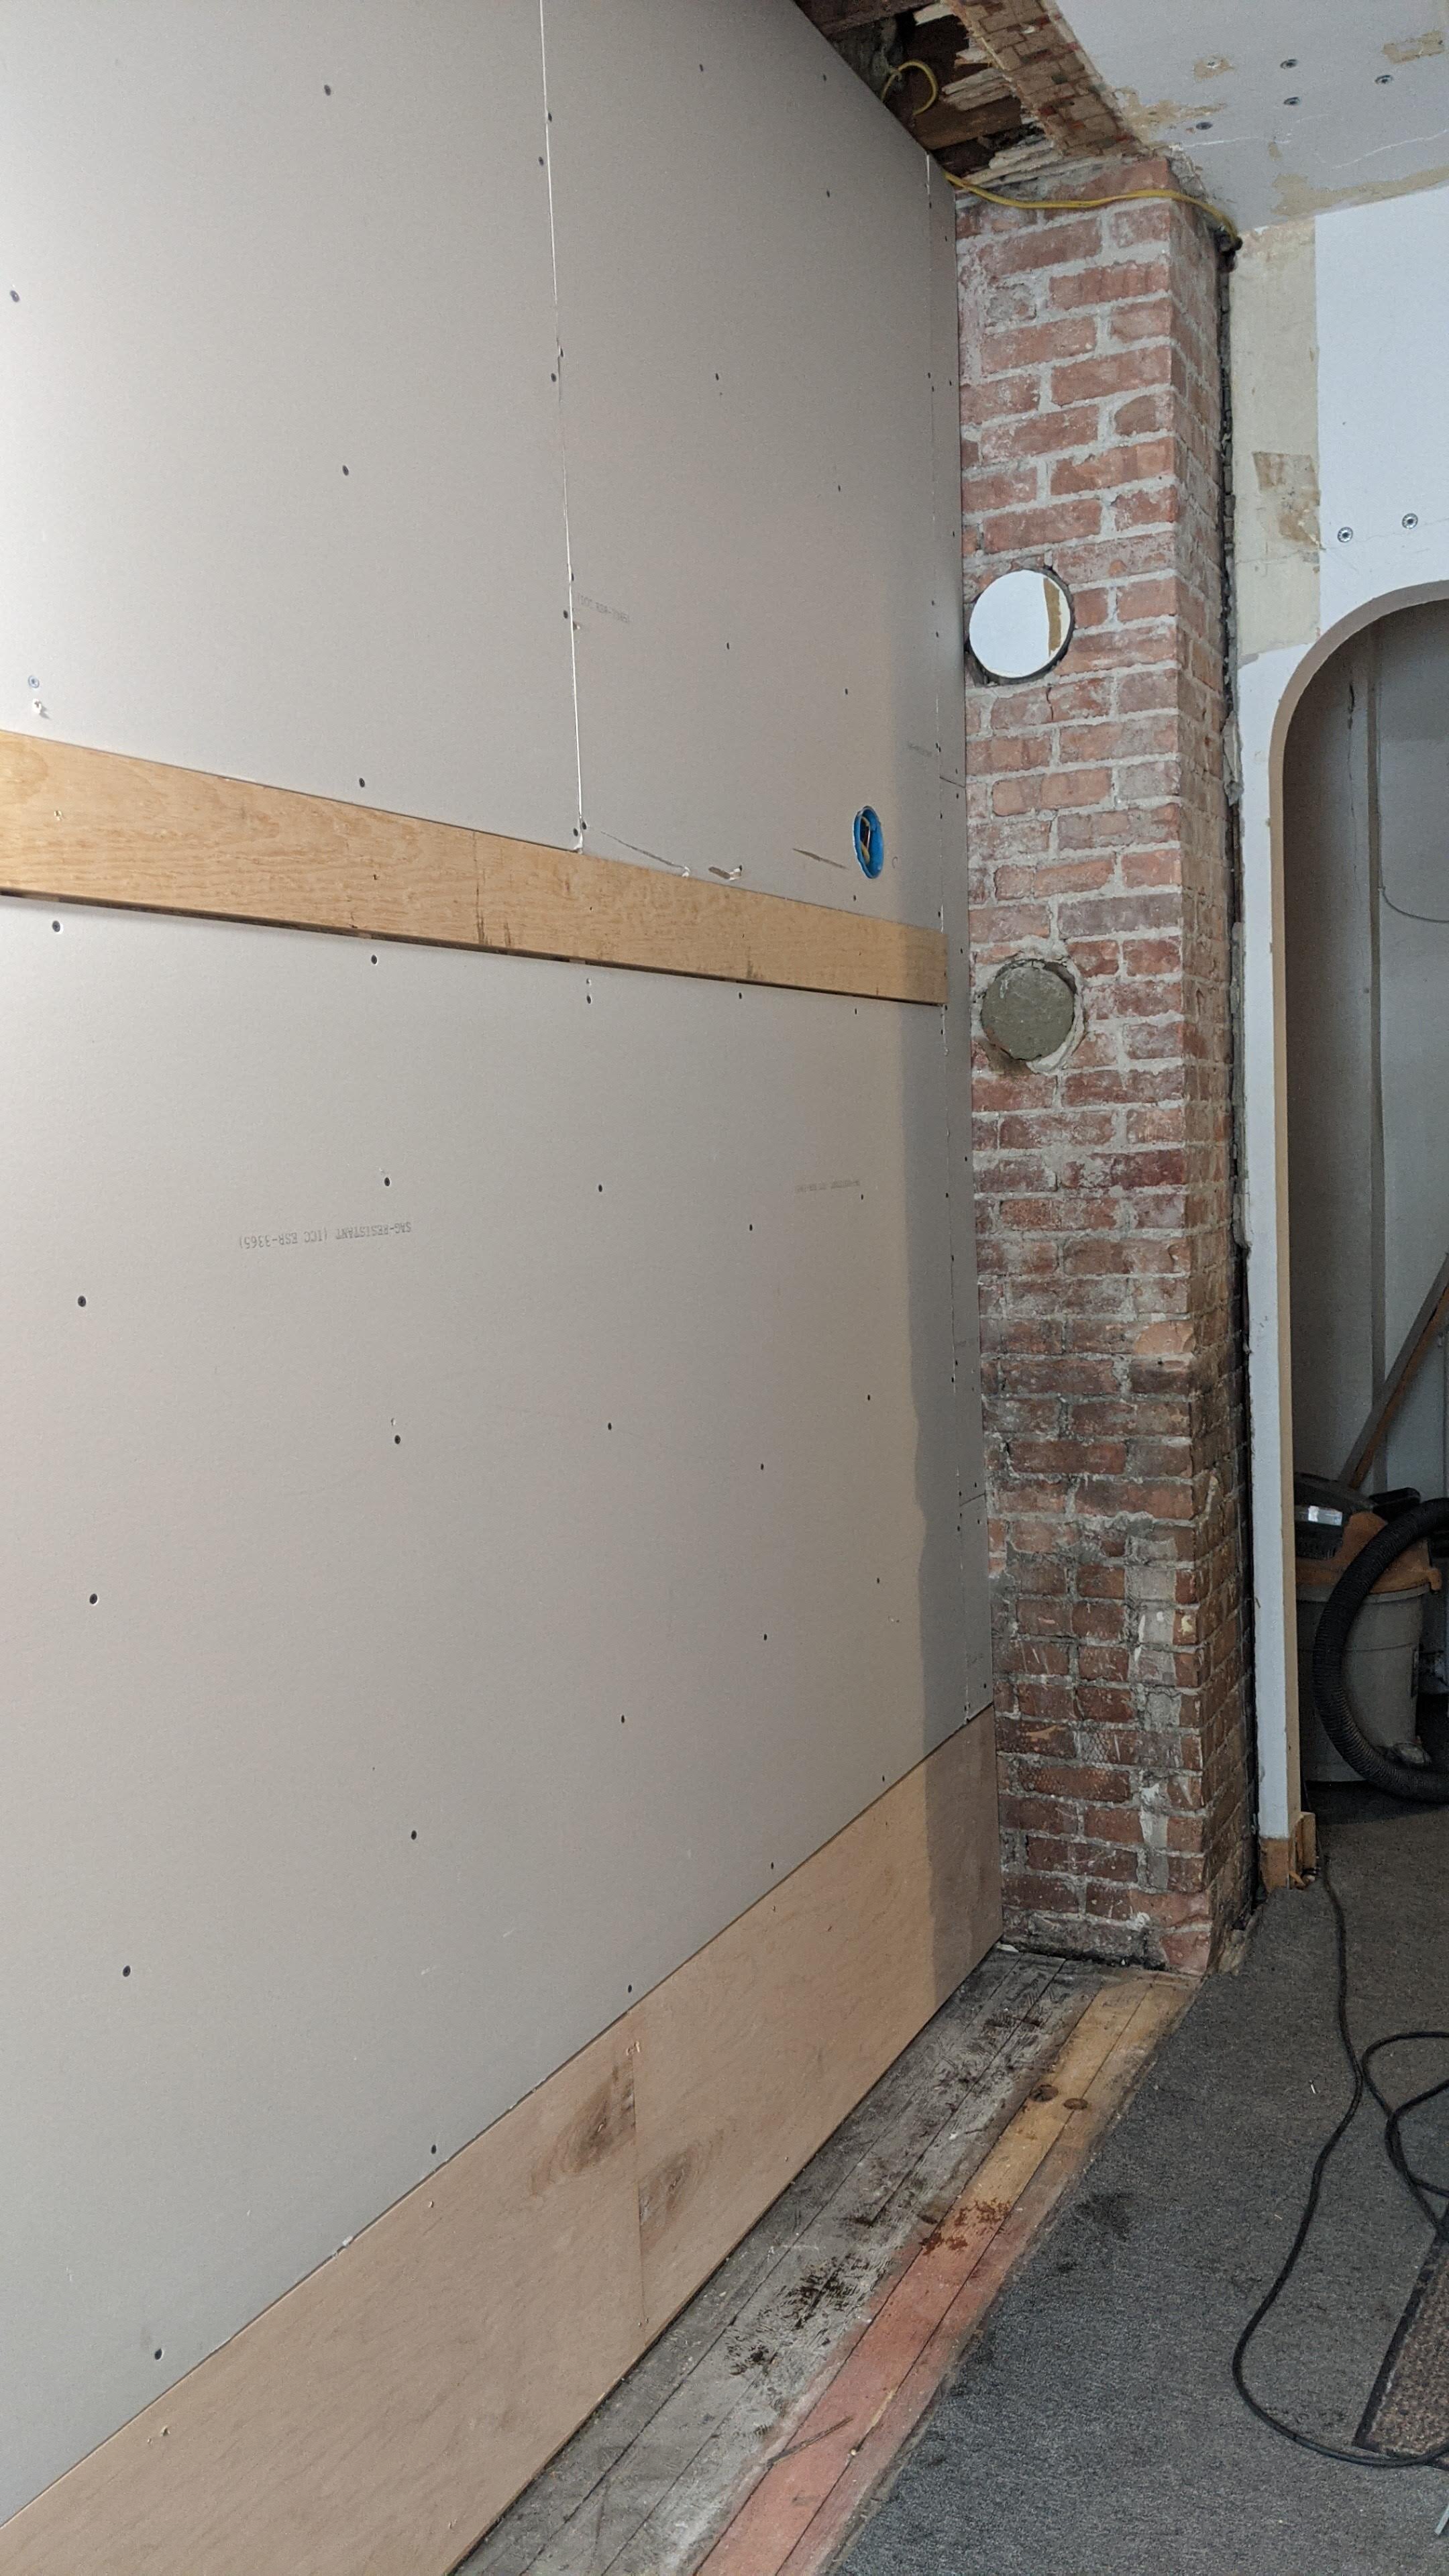
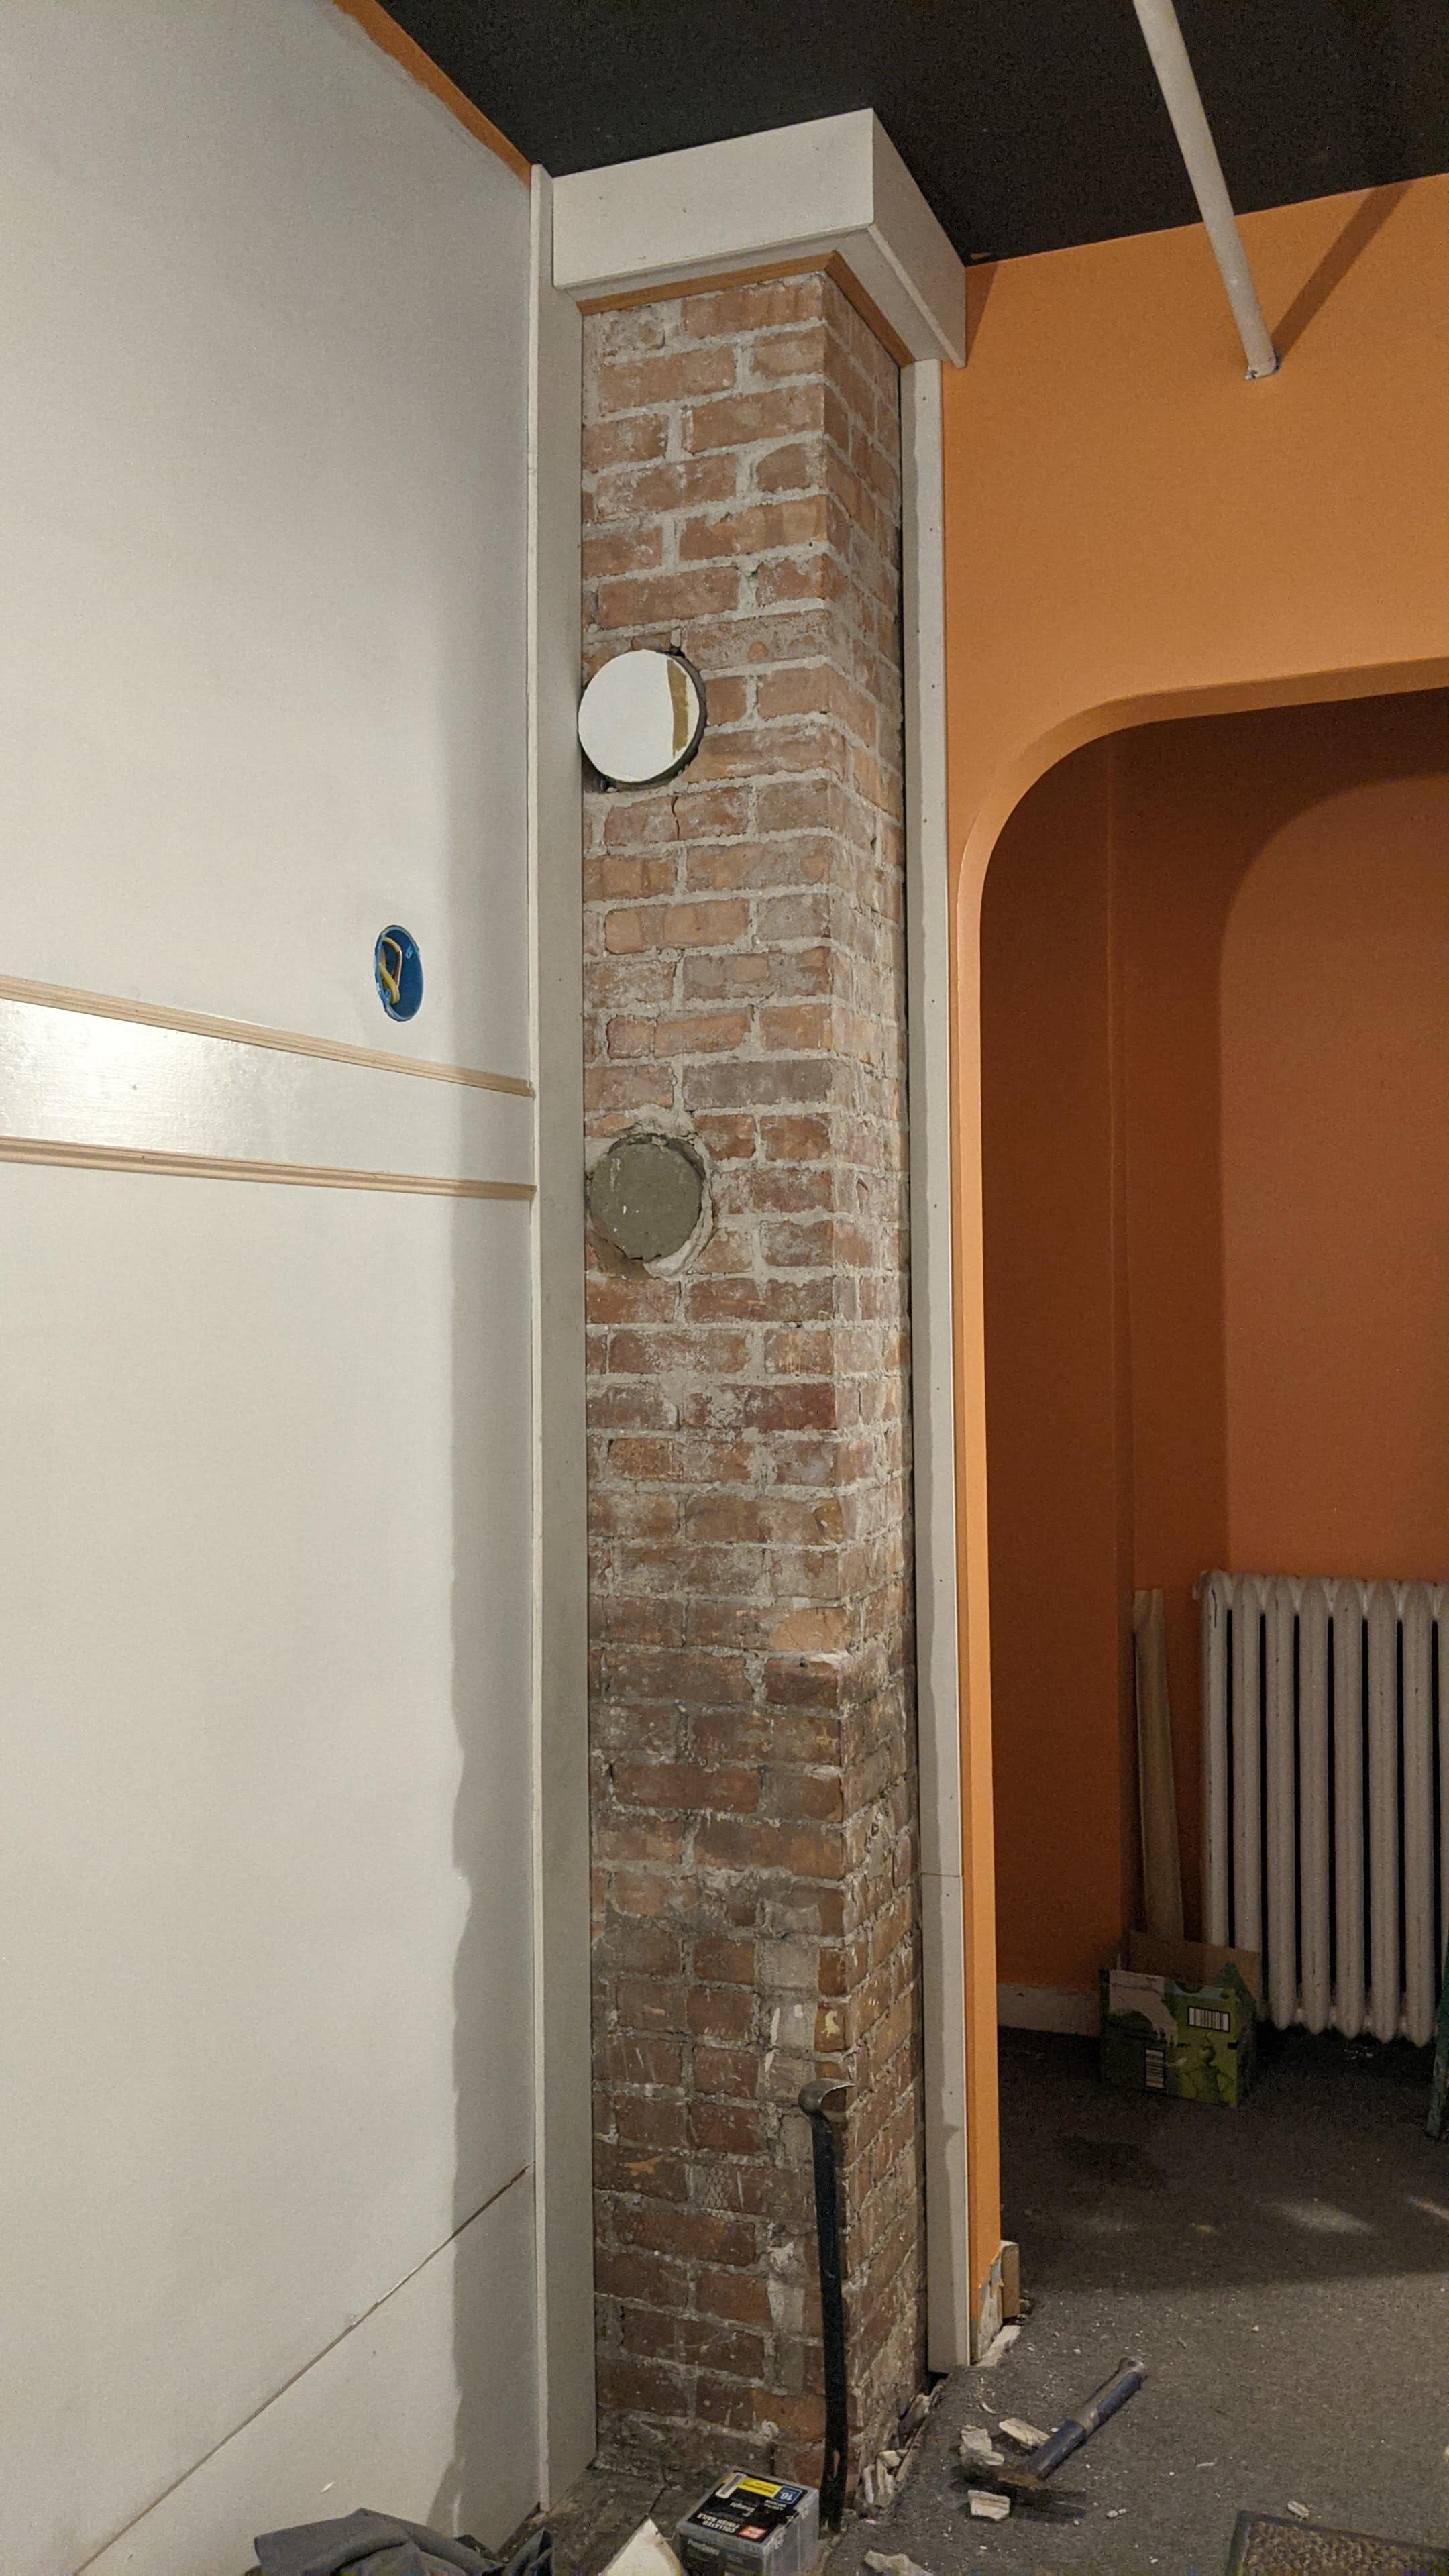
Most of the original woodwork was kept. Replaced was what was installed at the time of previous remuddles. Additional trim was needed only for the gaps created due to the widening of the hallway and the exposing of the brick chimney (which needed to be framed out). Most of the added woodwork and molding was made from material I already had on hand or was salvaged from other parts of the house.
I decided to include a picture rail in the update because I didn't want to poke holes through wallpaper should I want to put up artwork. Regardless of the era of any house, picture rails are a practical and stylish addition IMHO. Also included is a rail attached directly to the studs (before drywall was out up) to accommodate hooks. I didn't want to be hunting for studs after drywall installation or deal with drywall anchors. This way, I can add hooks anywhere I please and I know they're attached to a sturdy base. Same logic applies to the ½” plywood install at the base of the wall. I want to eventually install a built in bench along the length of this wall using heavy duty wall brackets with the space left open to put shoes. Again, didn’t want to be limited to installing the brackets only where there are studs.
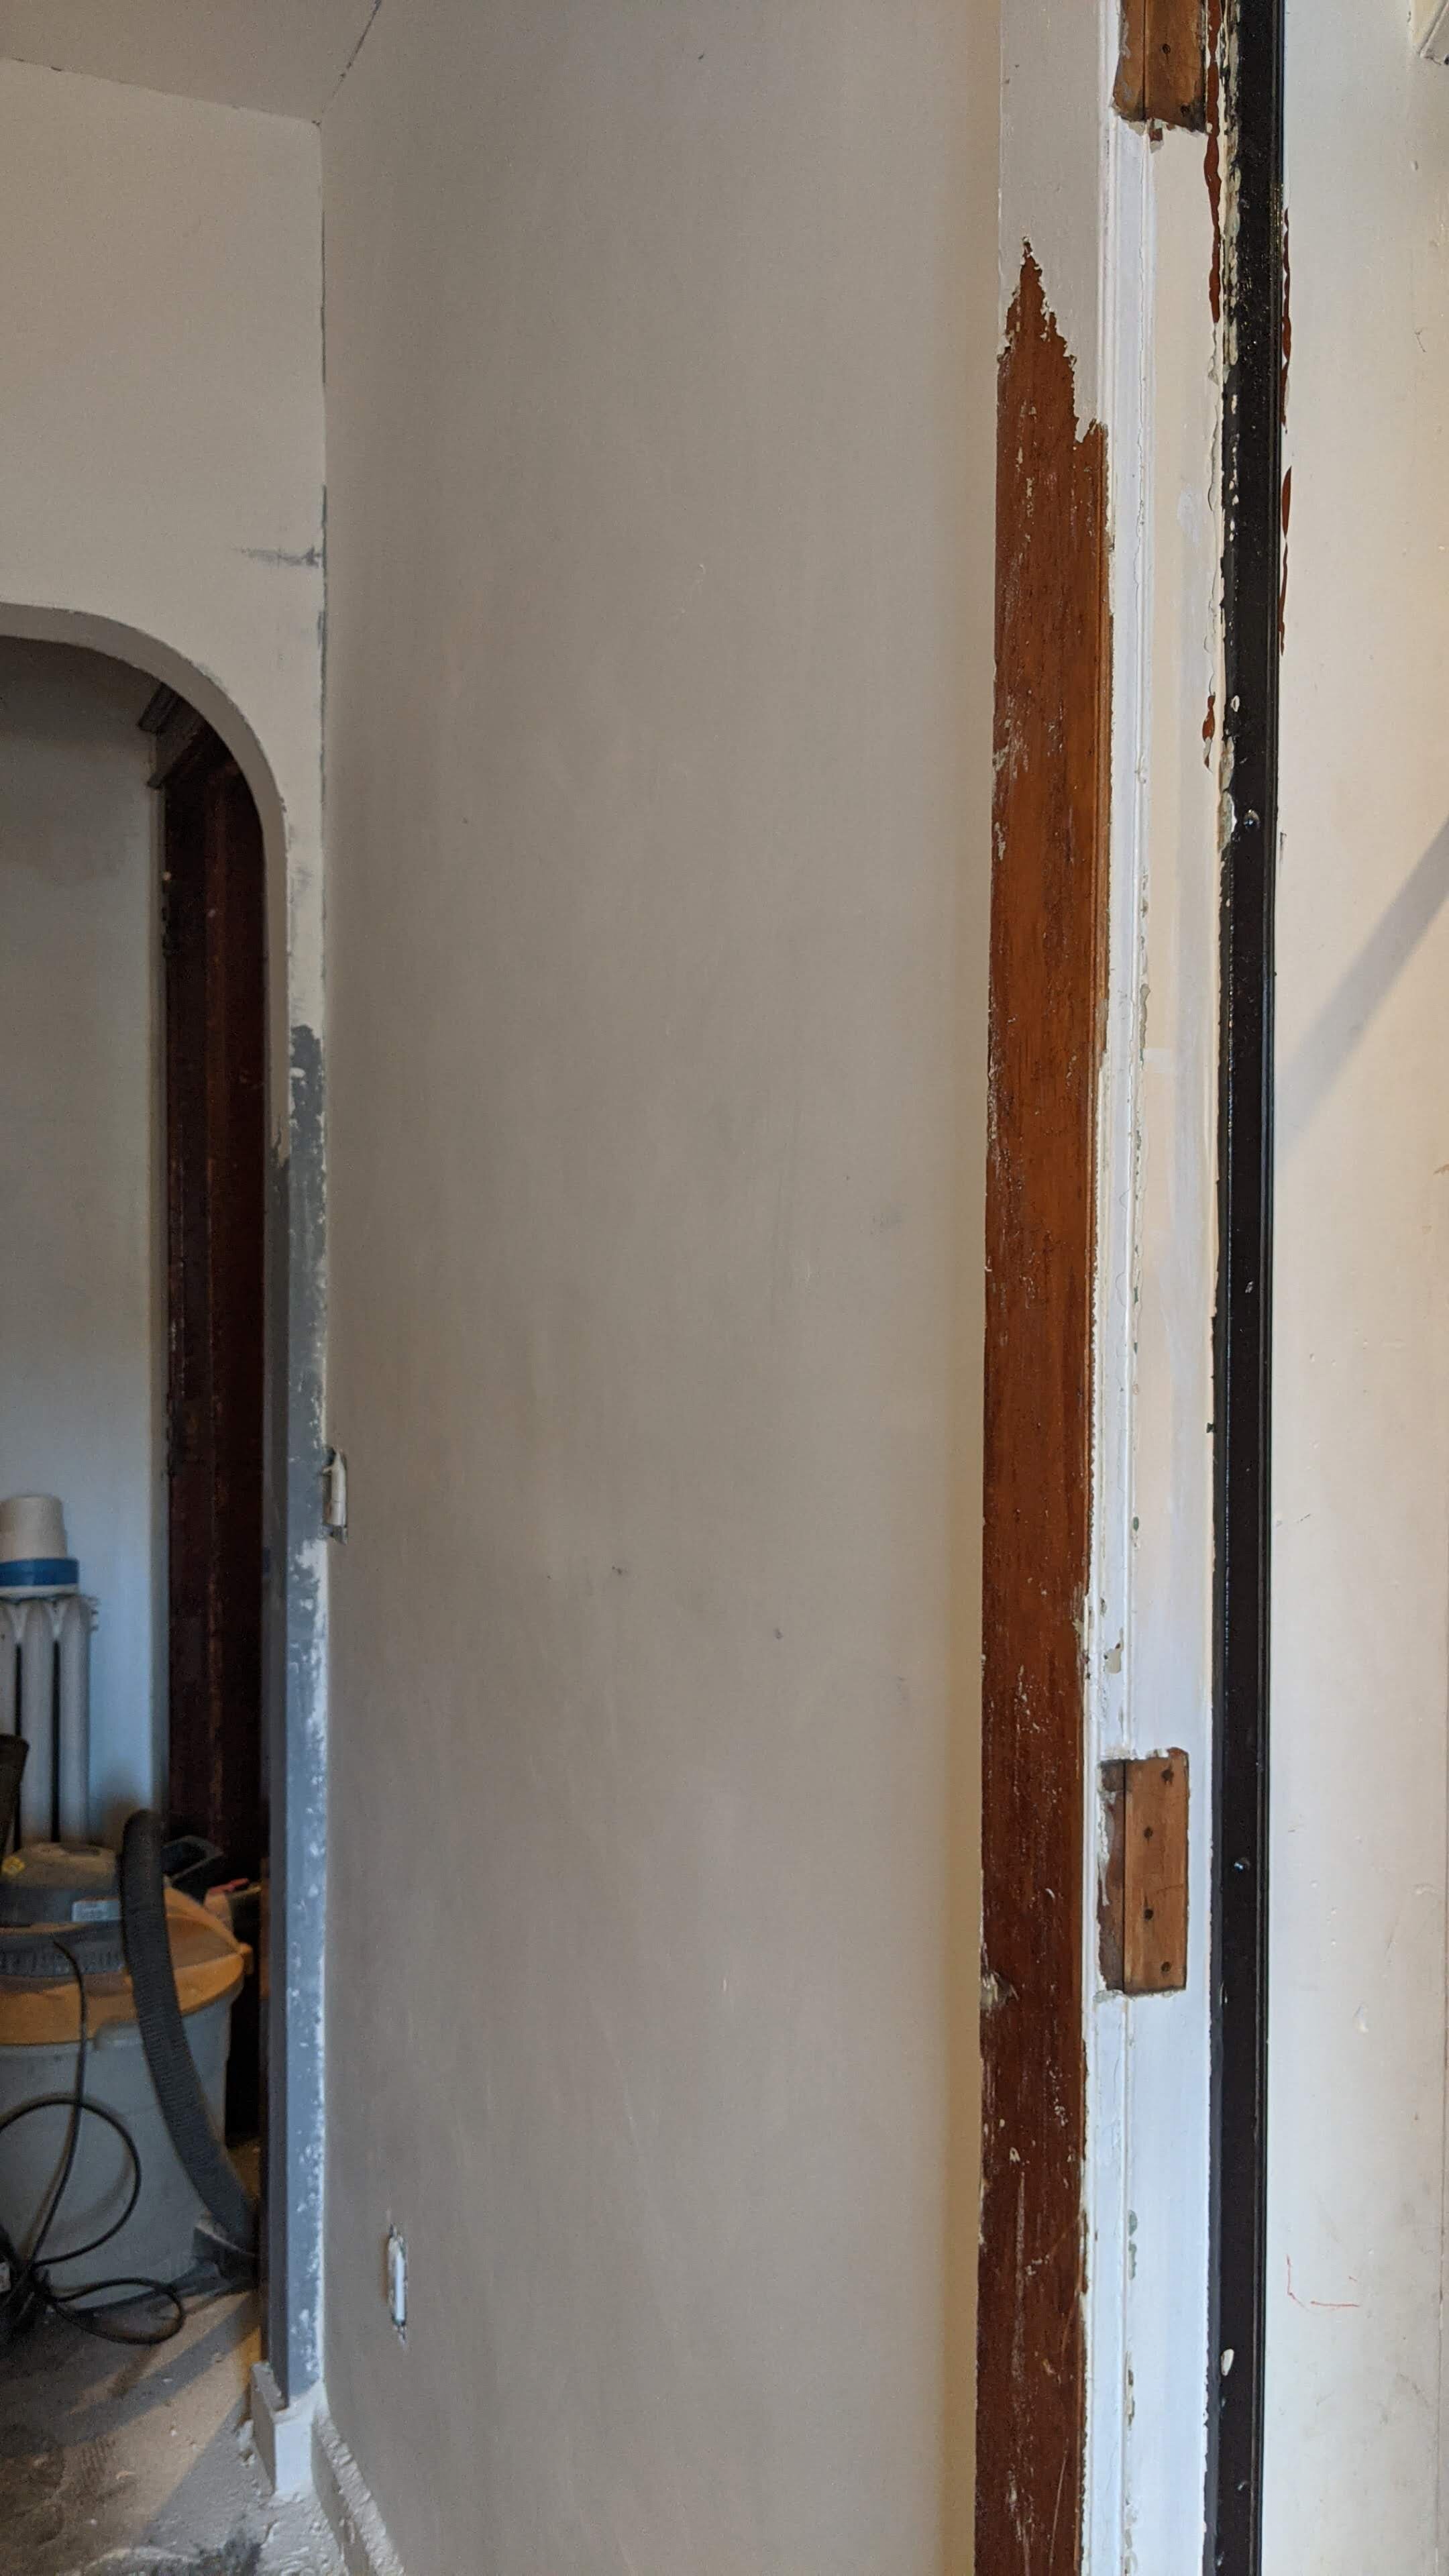
Also, I'm sure you'll have noticed the wood trim configuration around the exterior door. Eventually, maybe, this door will be replaced. The way the drywall had been done previously, it sat farther out from the studs than what I installed next to it so there’s a seam that can't be hidden by any other means than trim. It's not ideal, but I didn't want to spend time perfecting something that I'll probably have to take apart at the time I deal with this door.
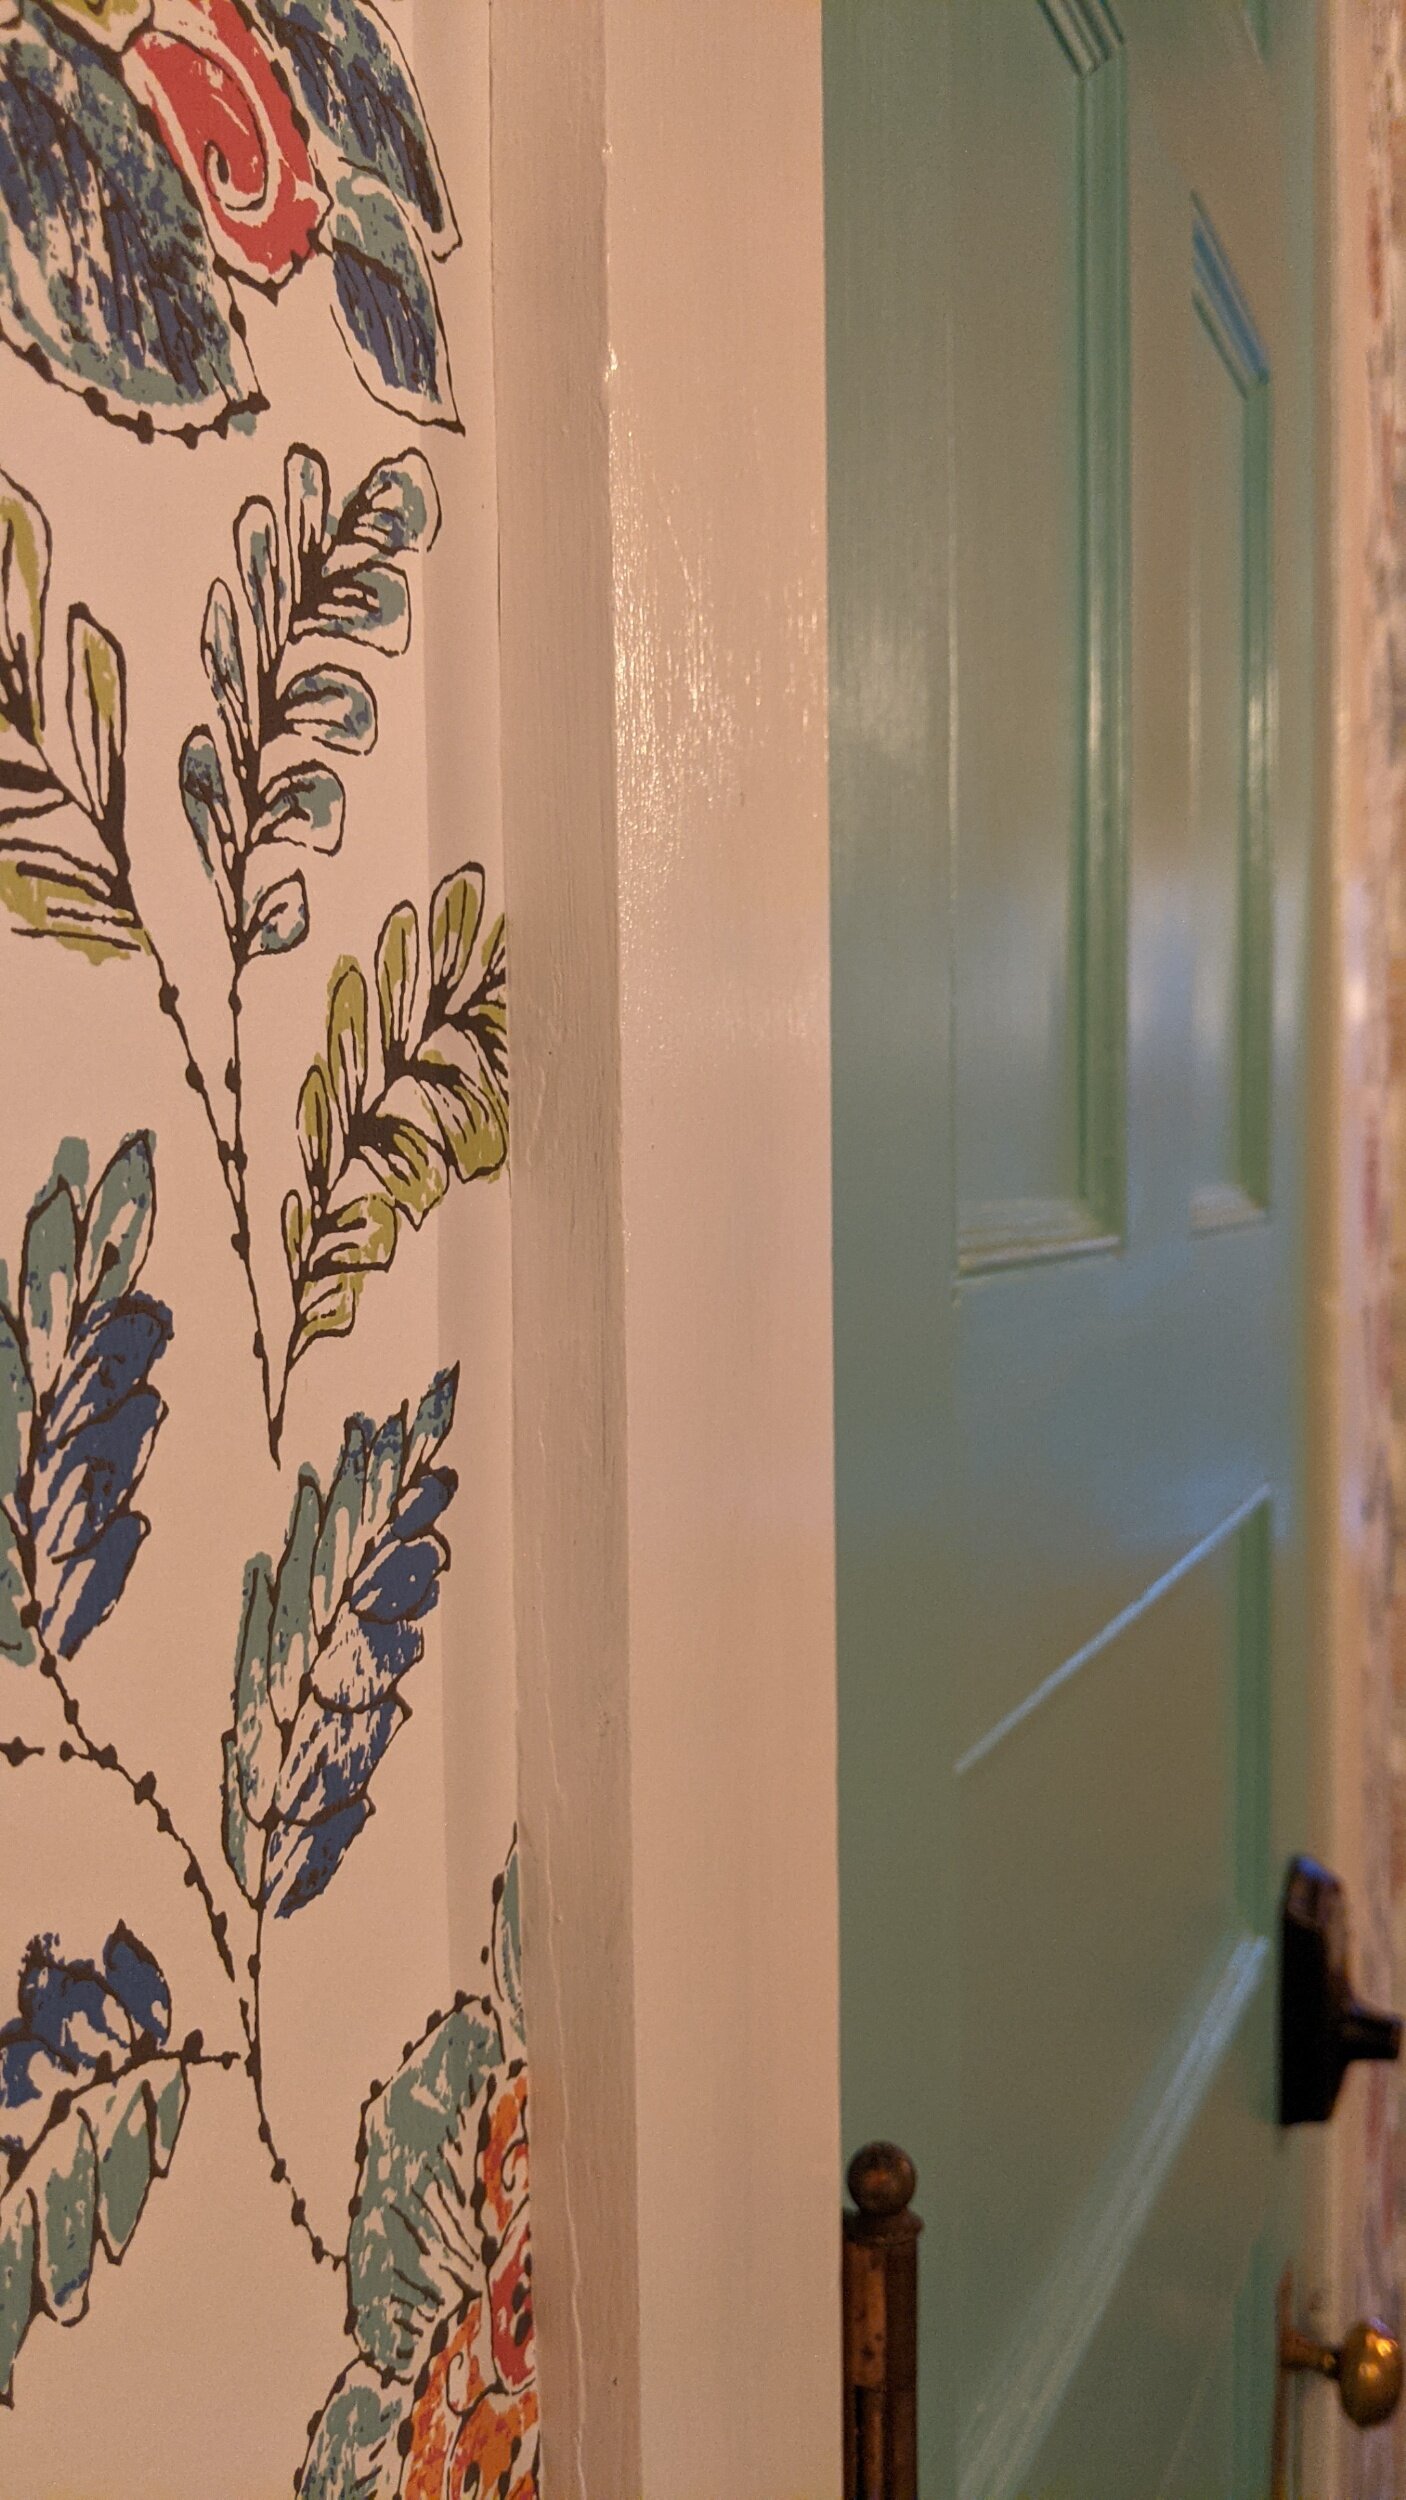
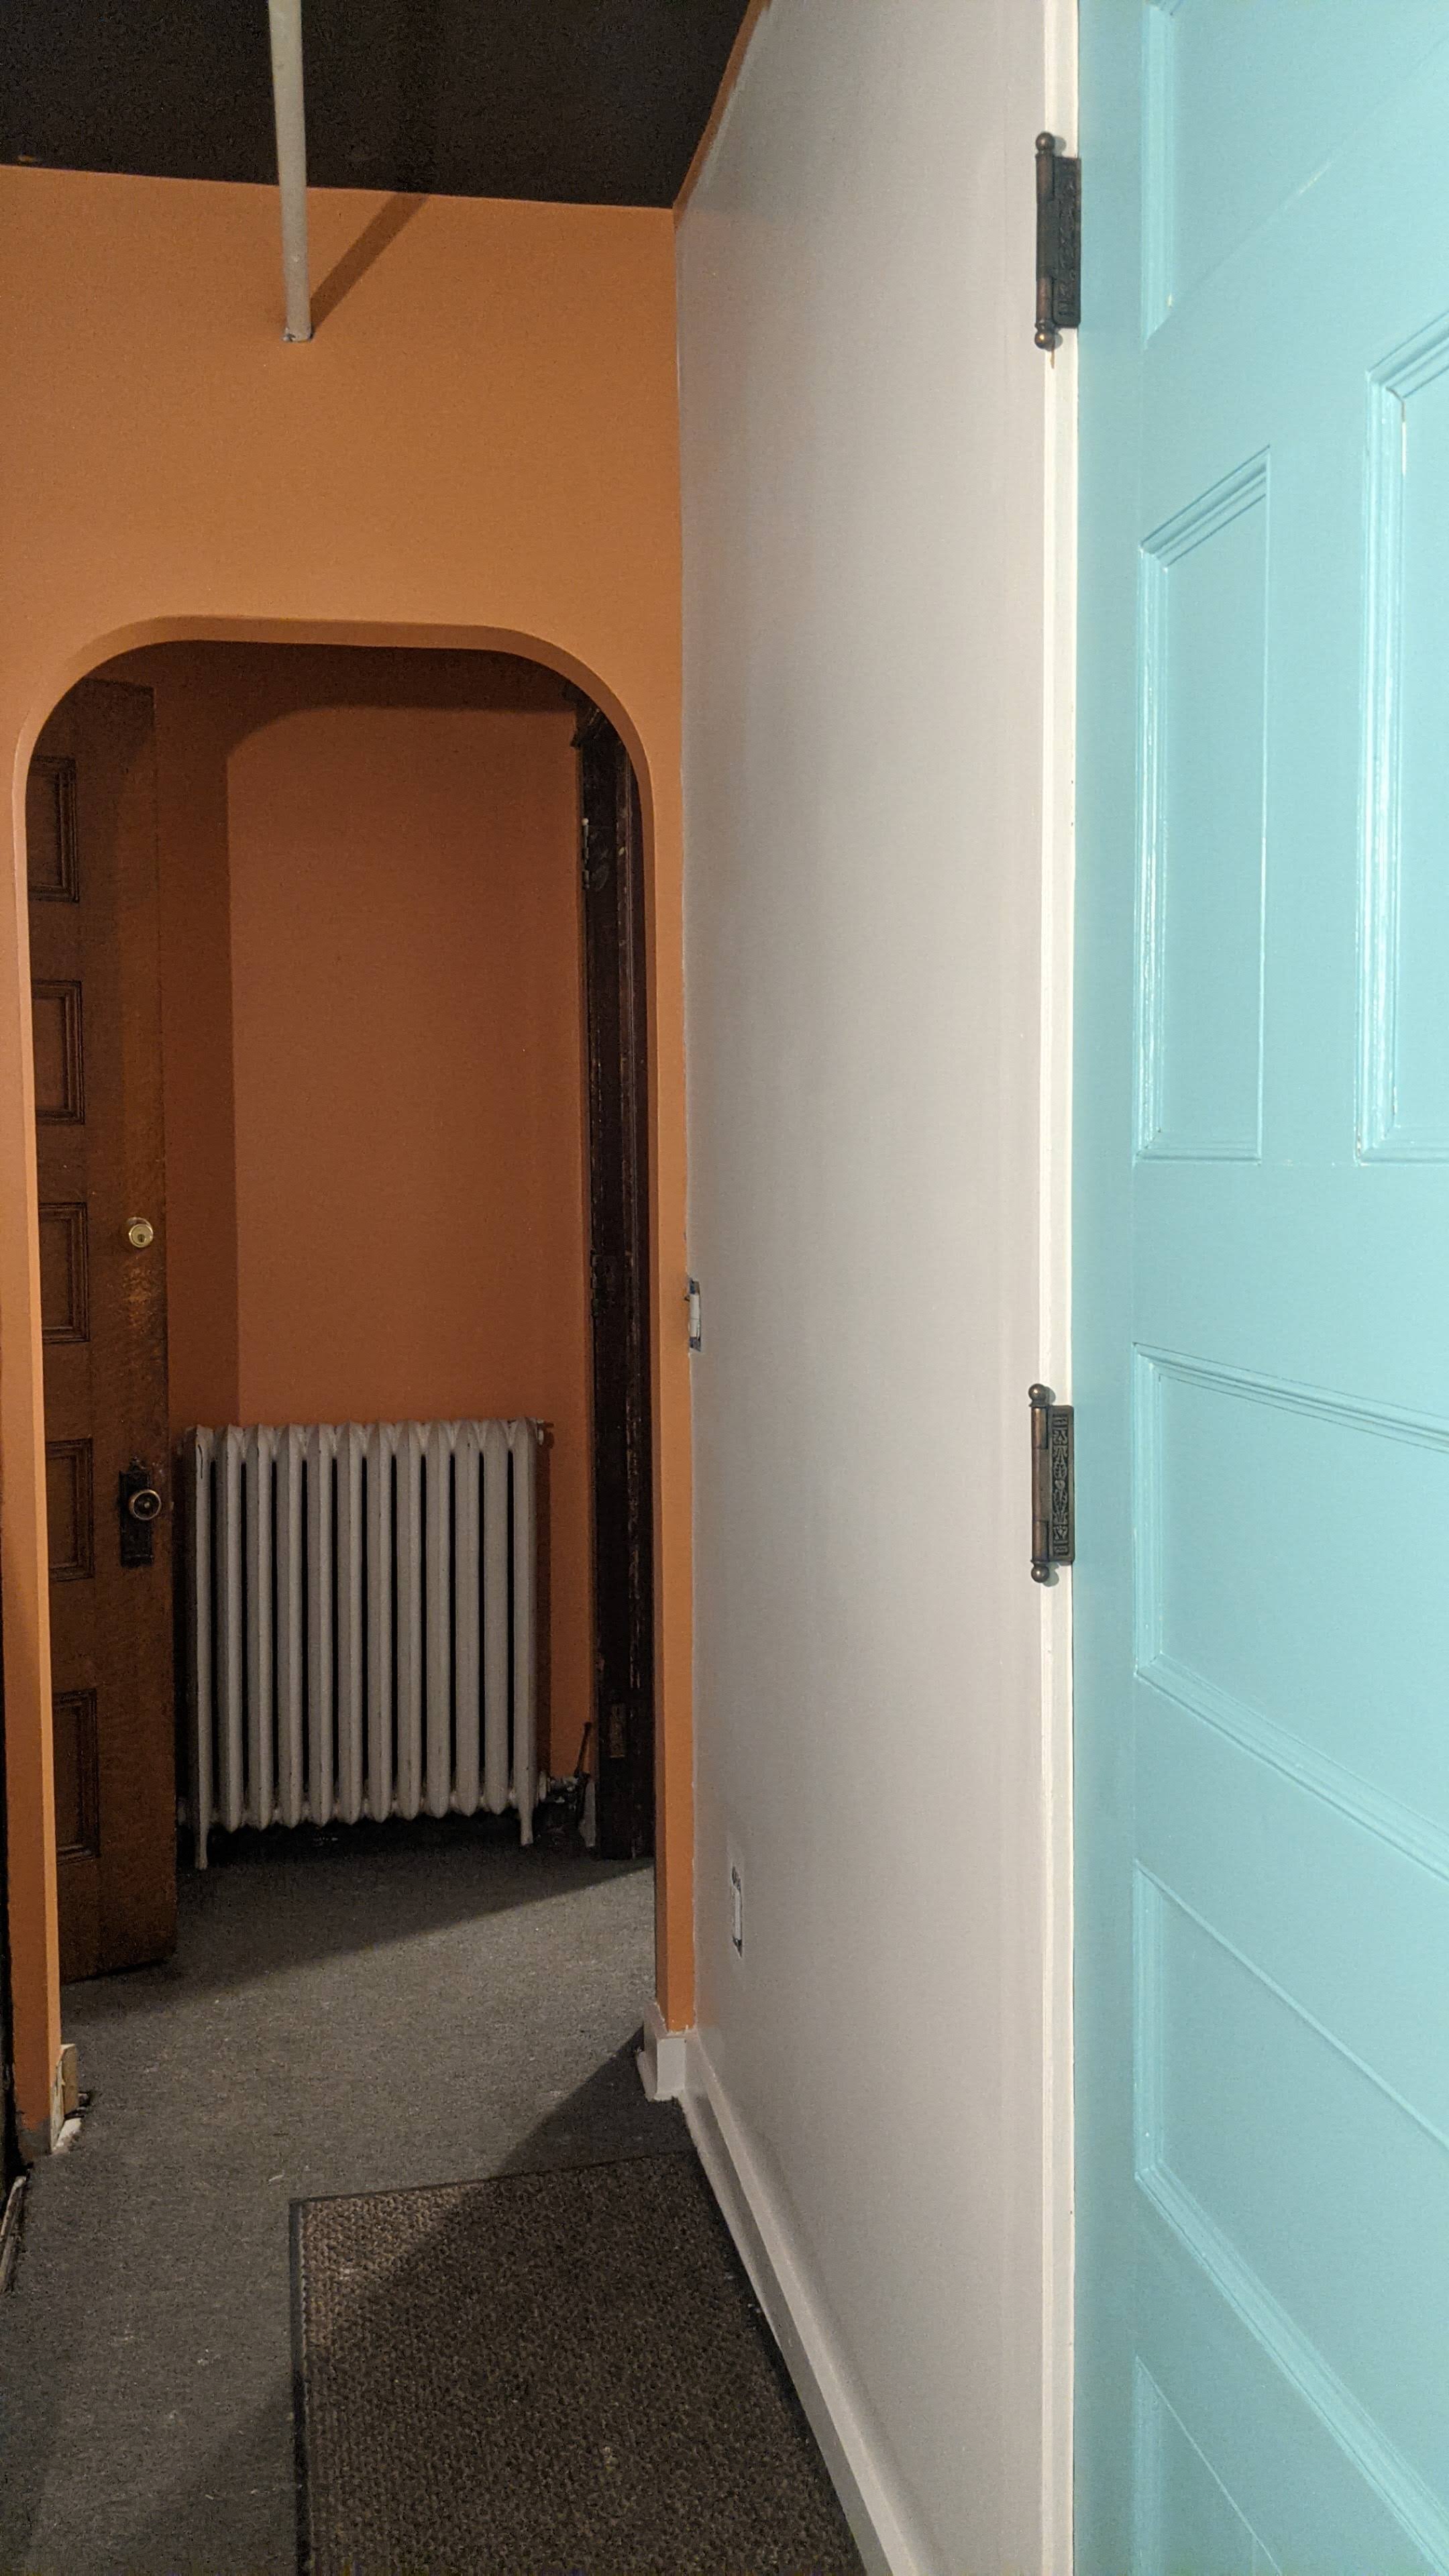
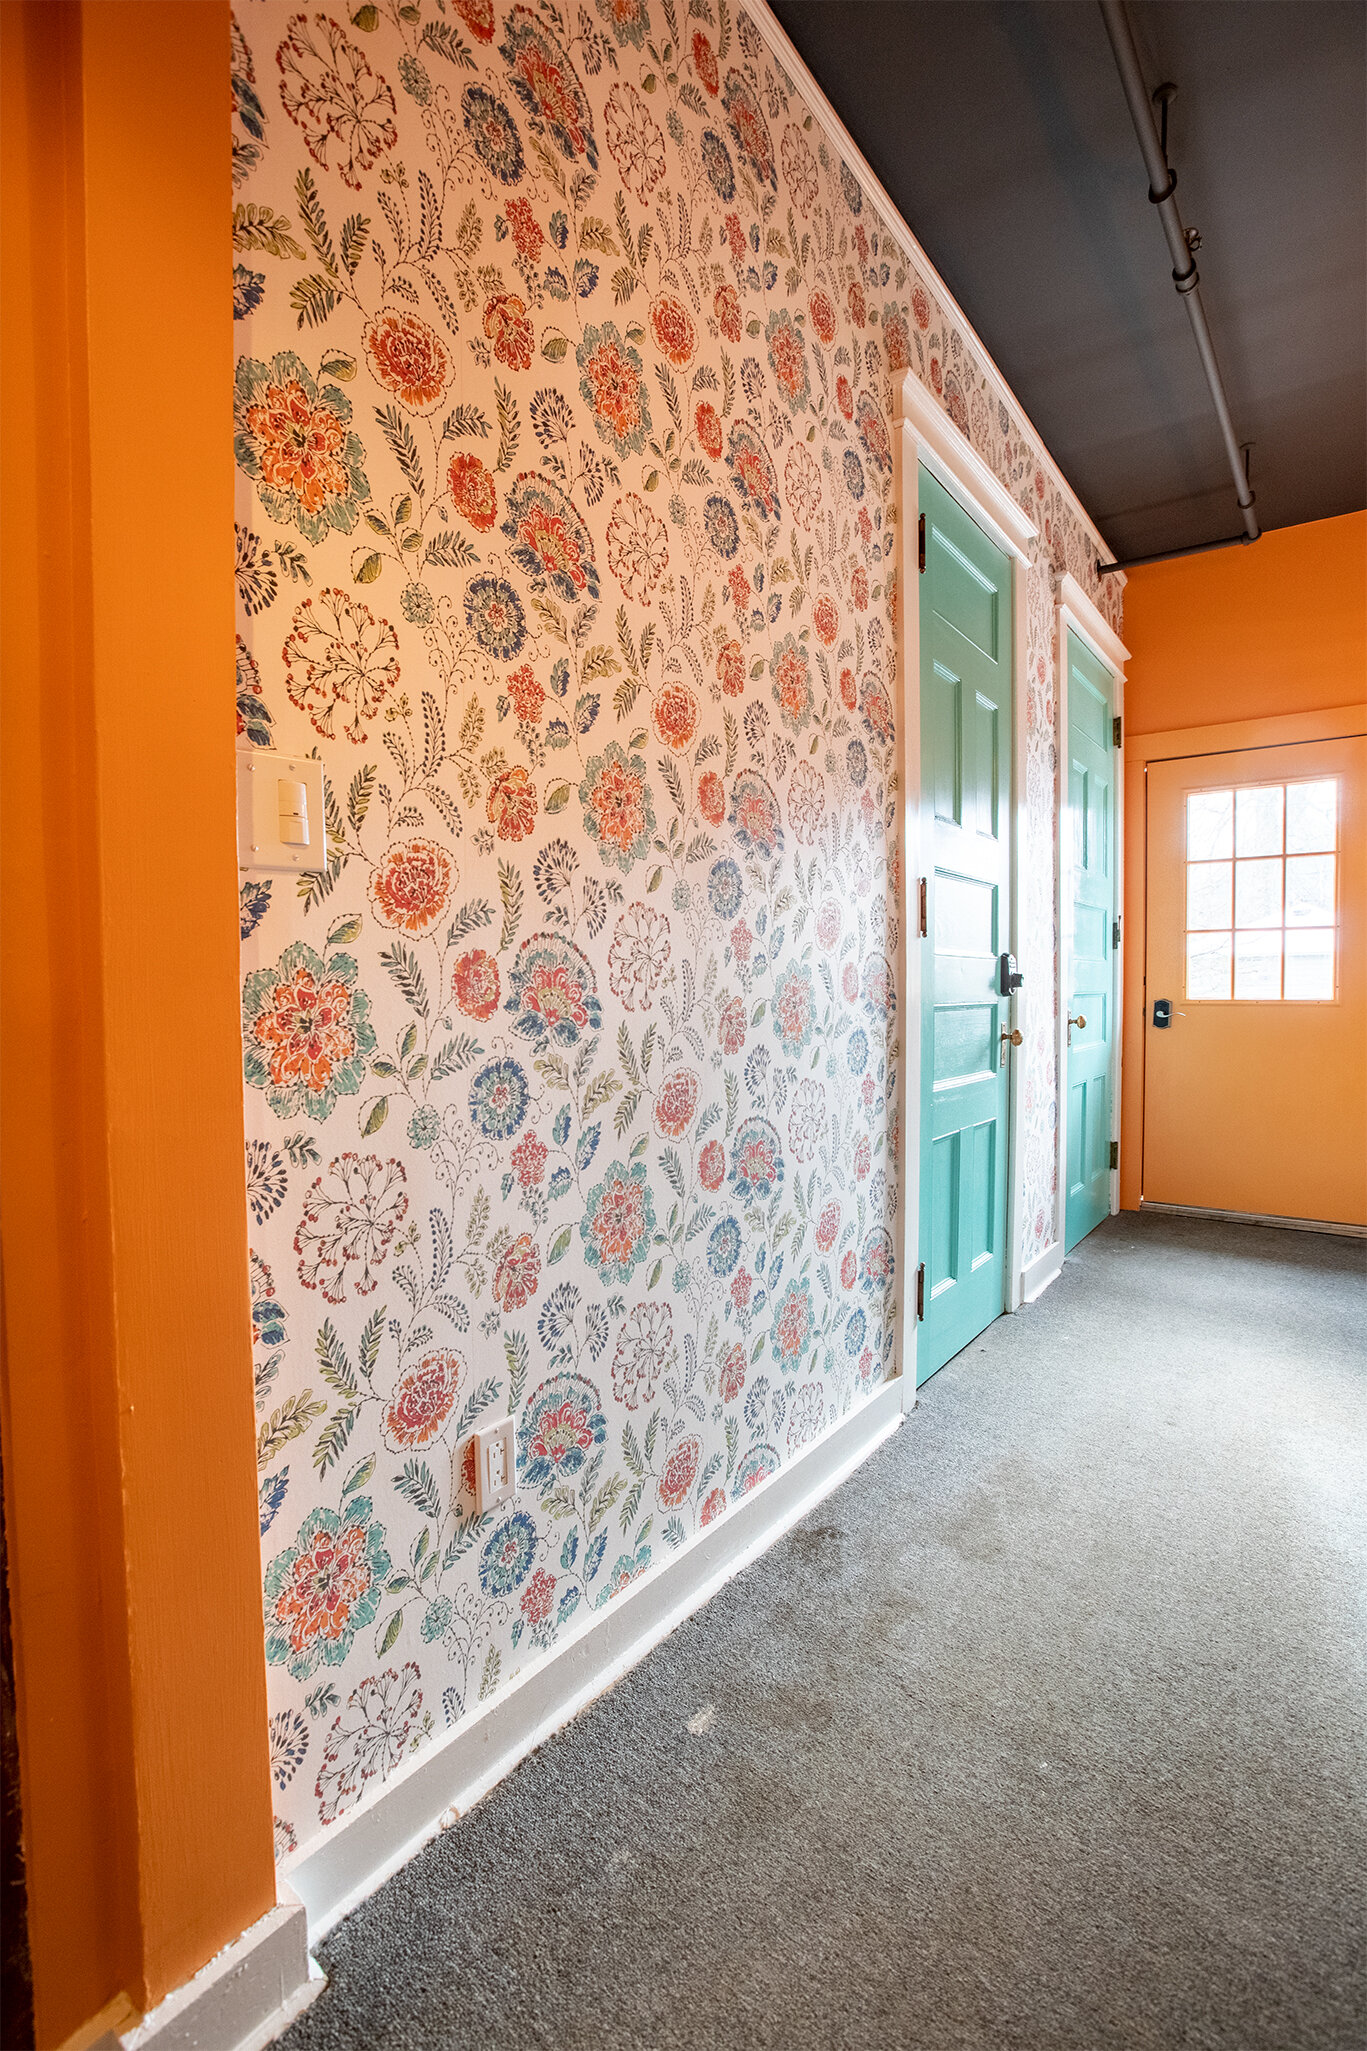
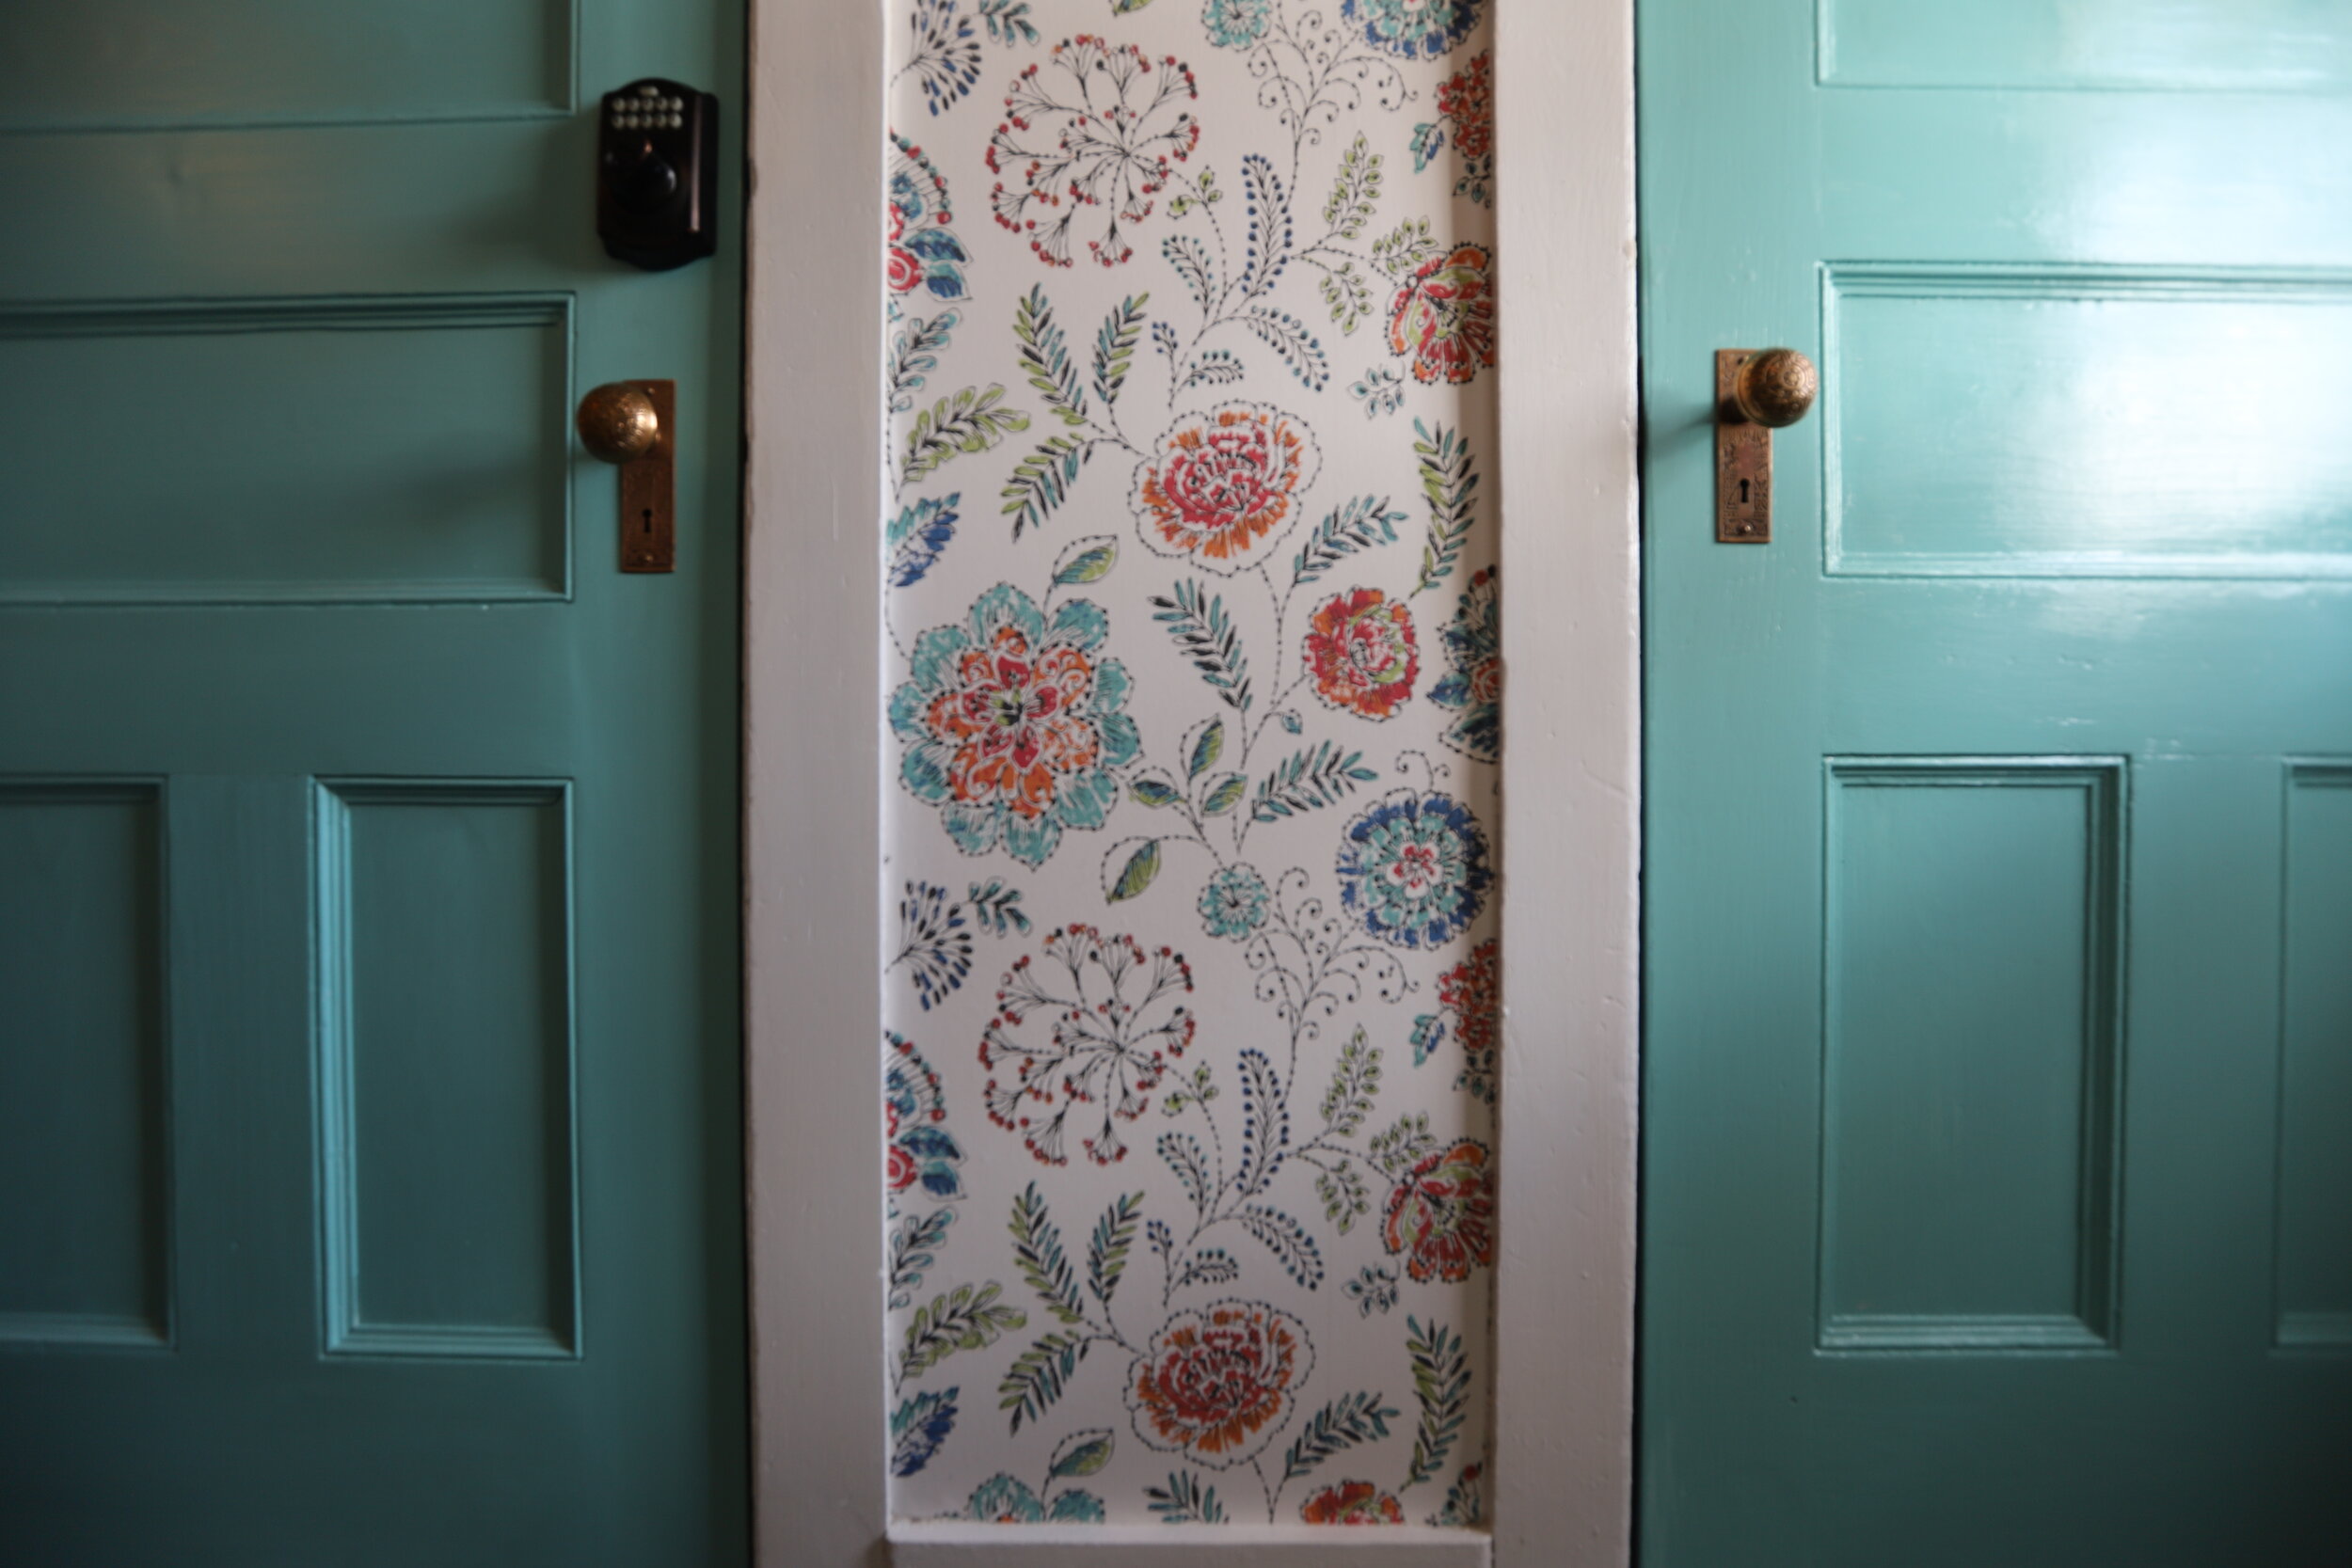
I had initially planned to bring the doors back to bare wood, but after stripping them, I realized they were not going to stain well so decided to paint. These doors are also made of alder which was traditionally painted. Stripping the hardware revealed copper finishes and I knew the doors needed to be painted in some shade of blue or teal to highlight this antique hardware. The trim throughout would be kept white.
Walls & Ceiling
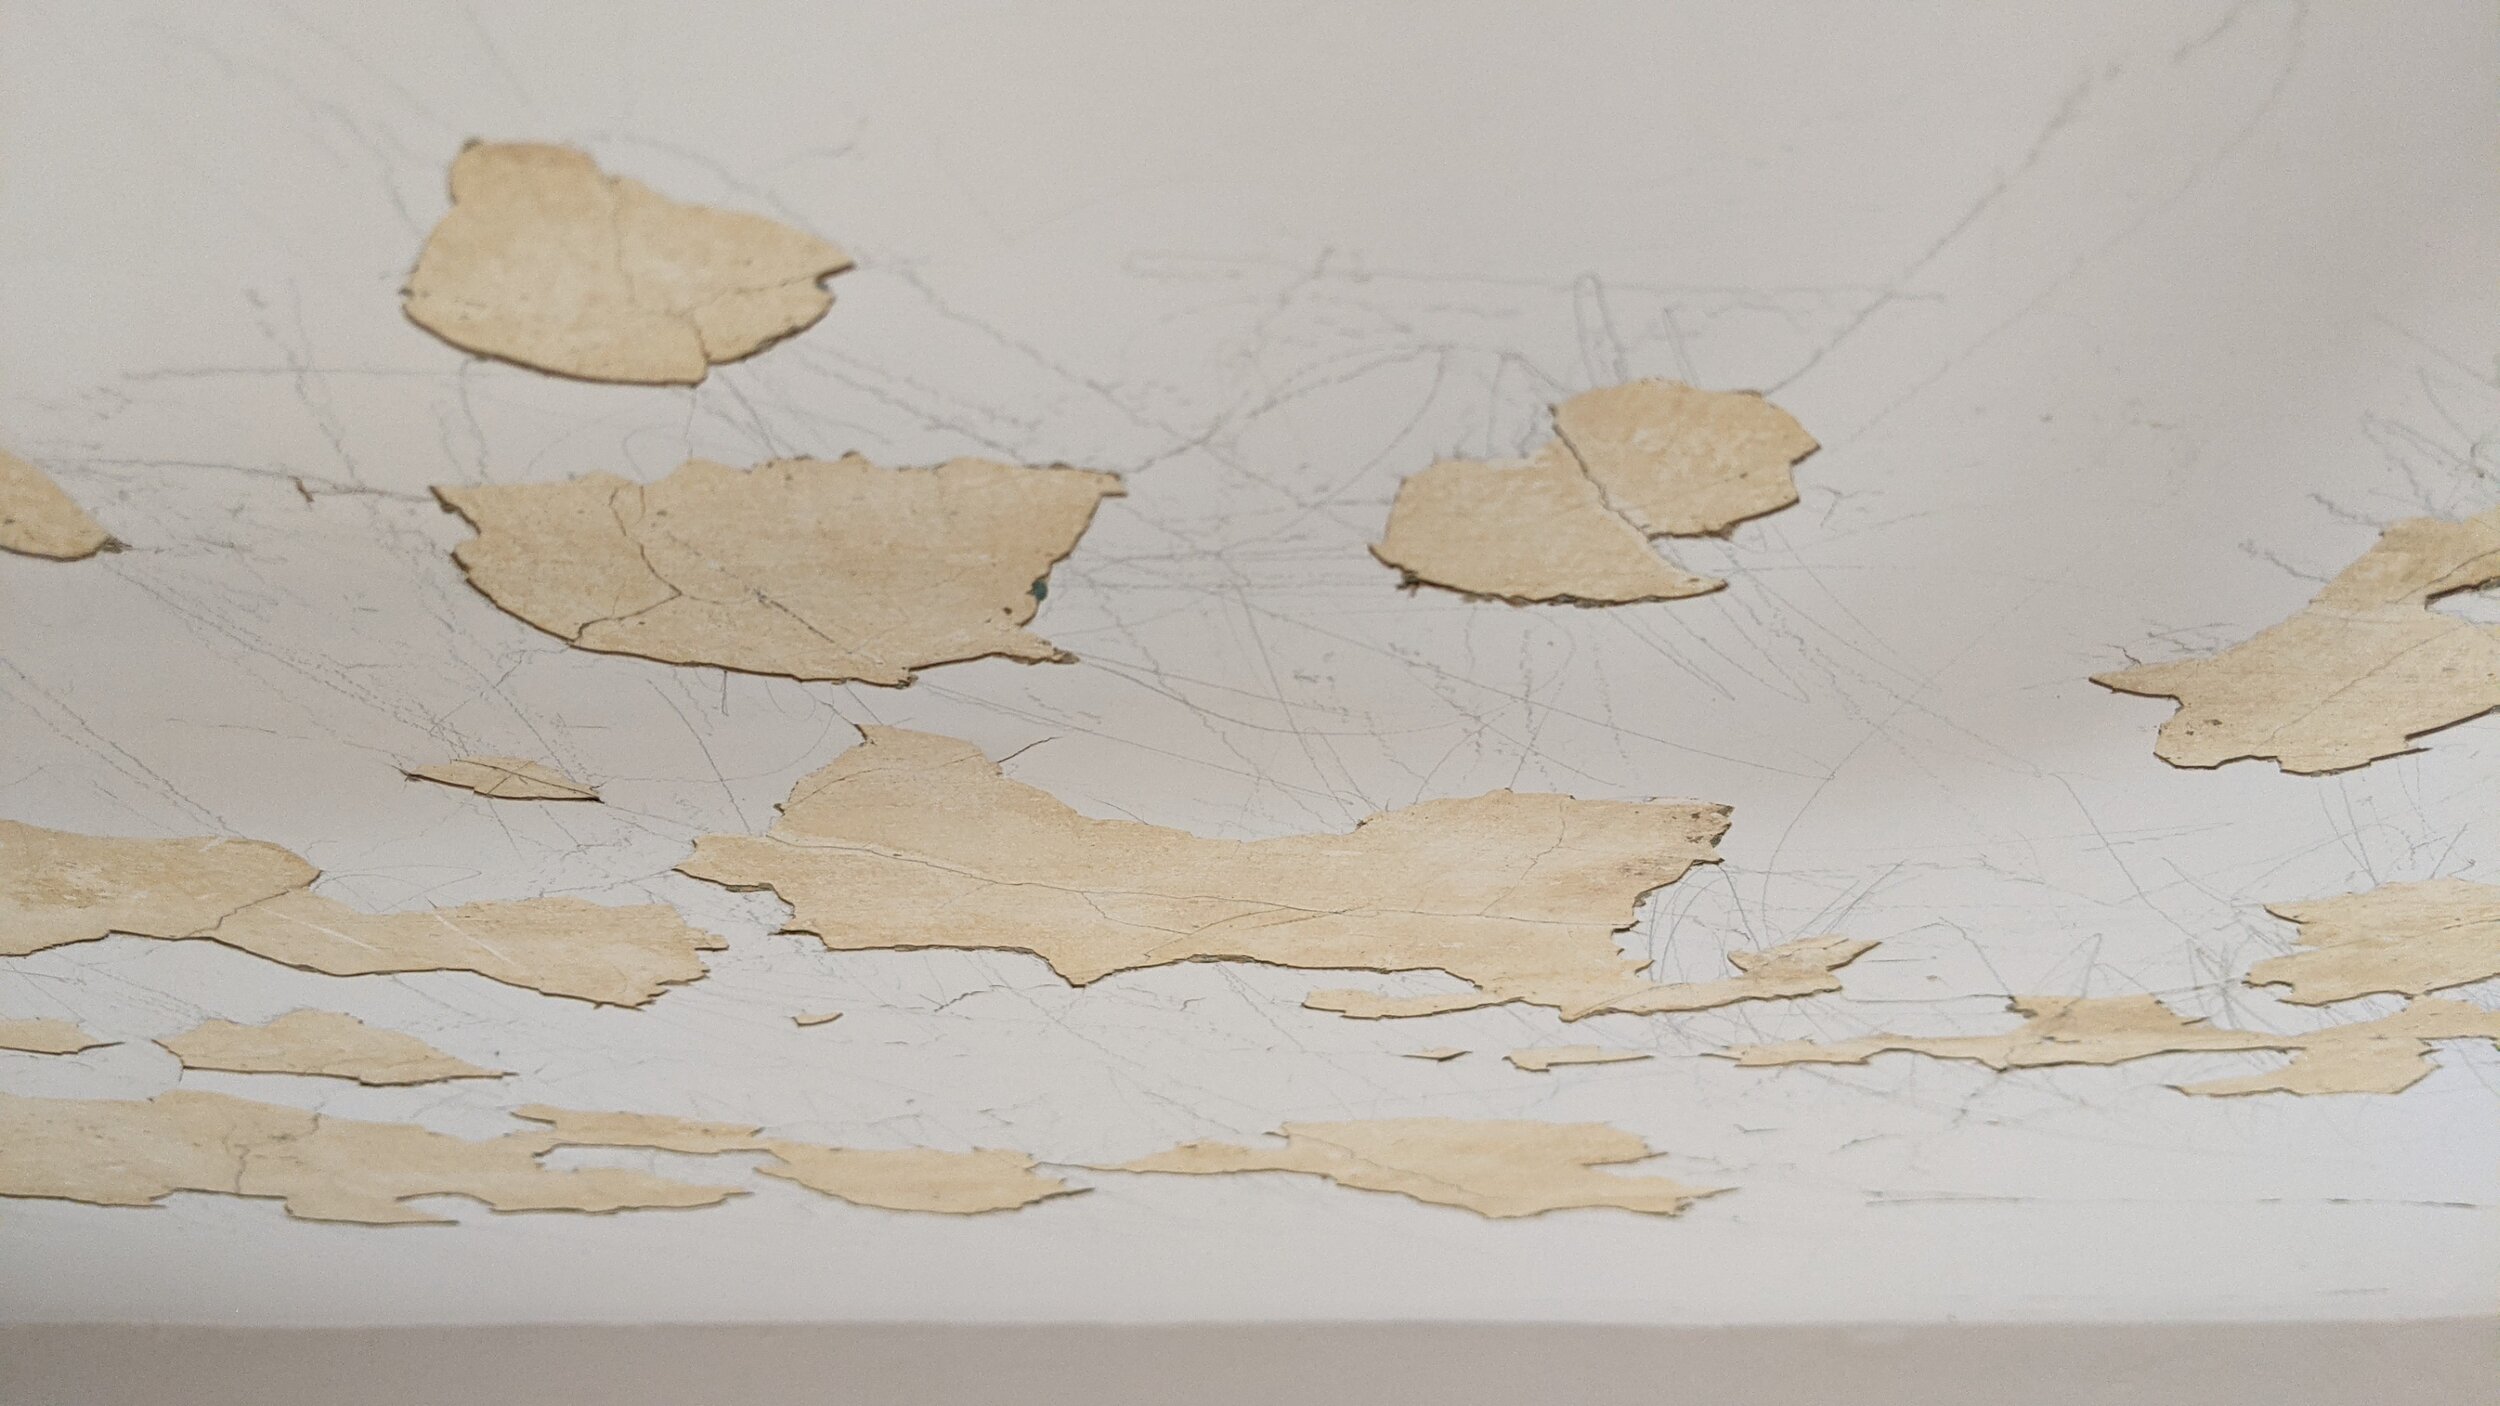
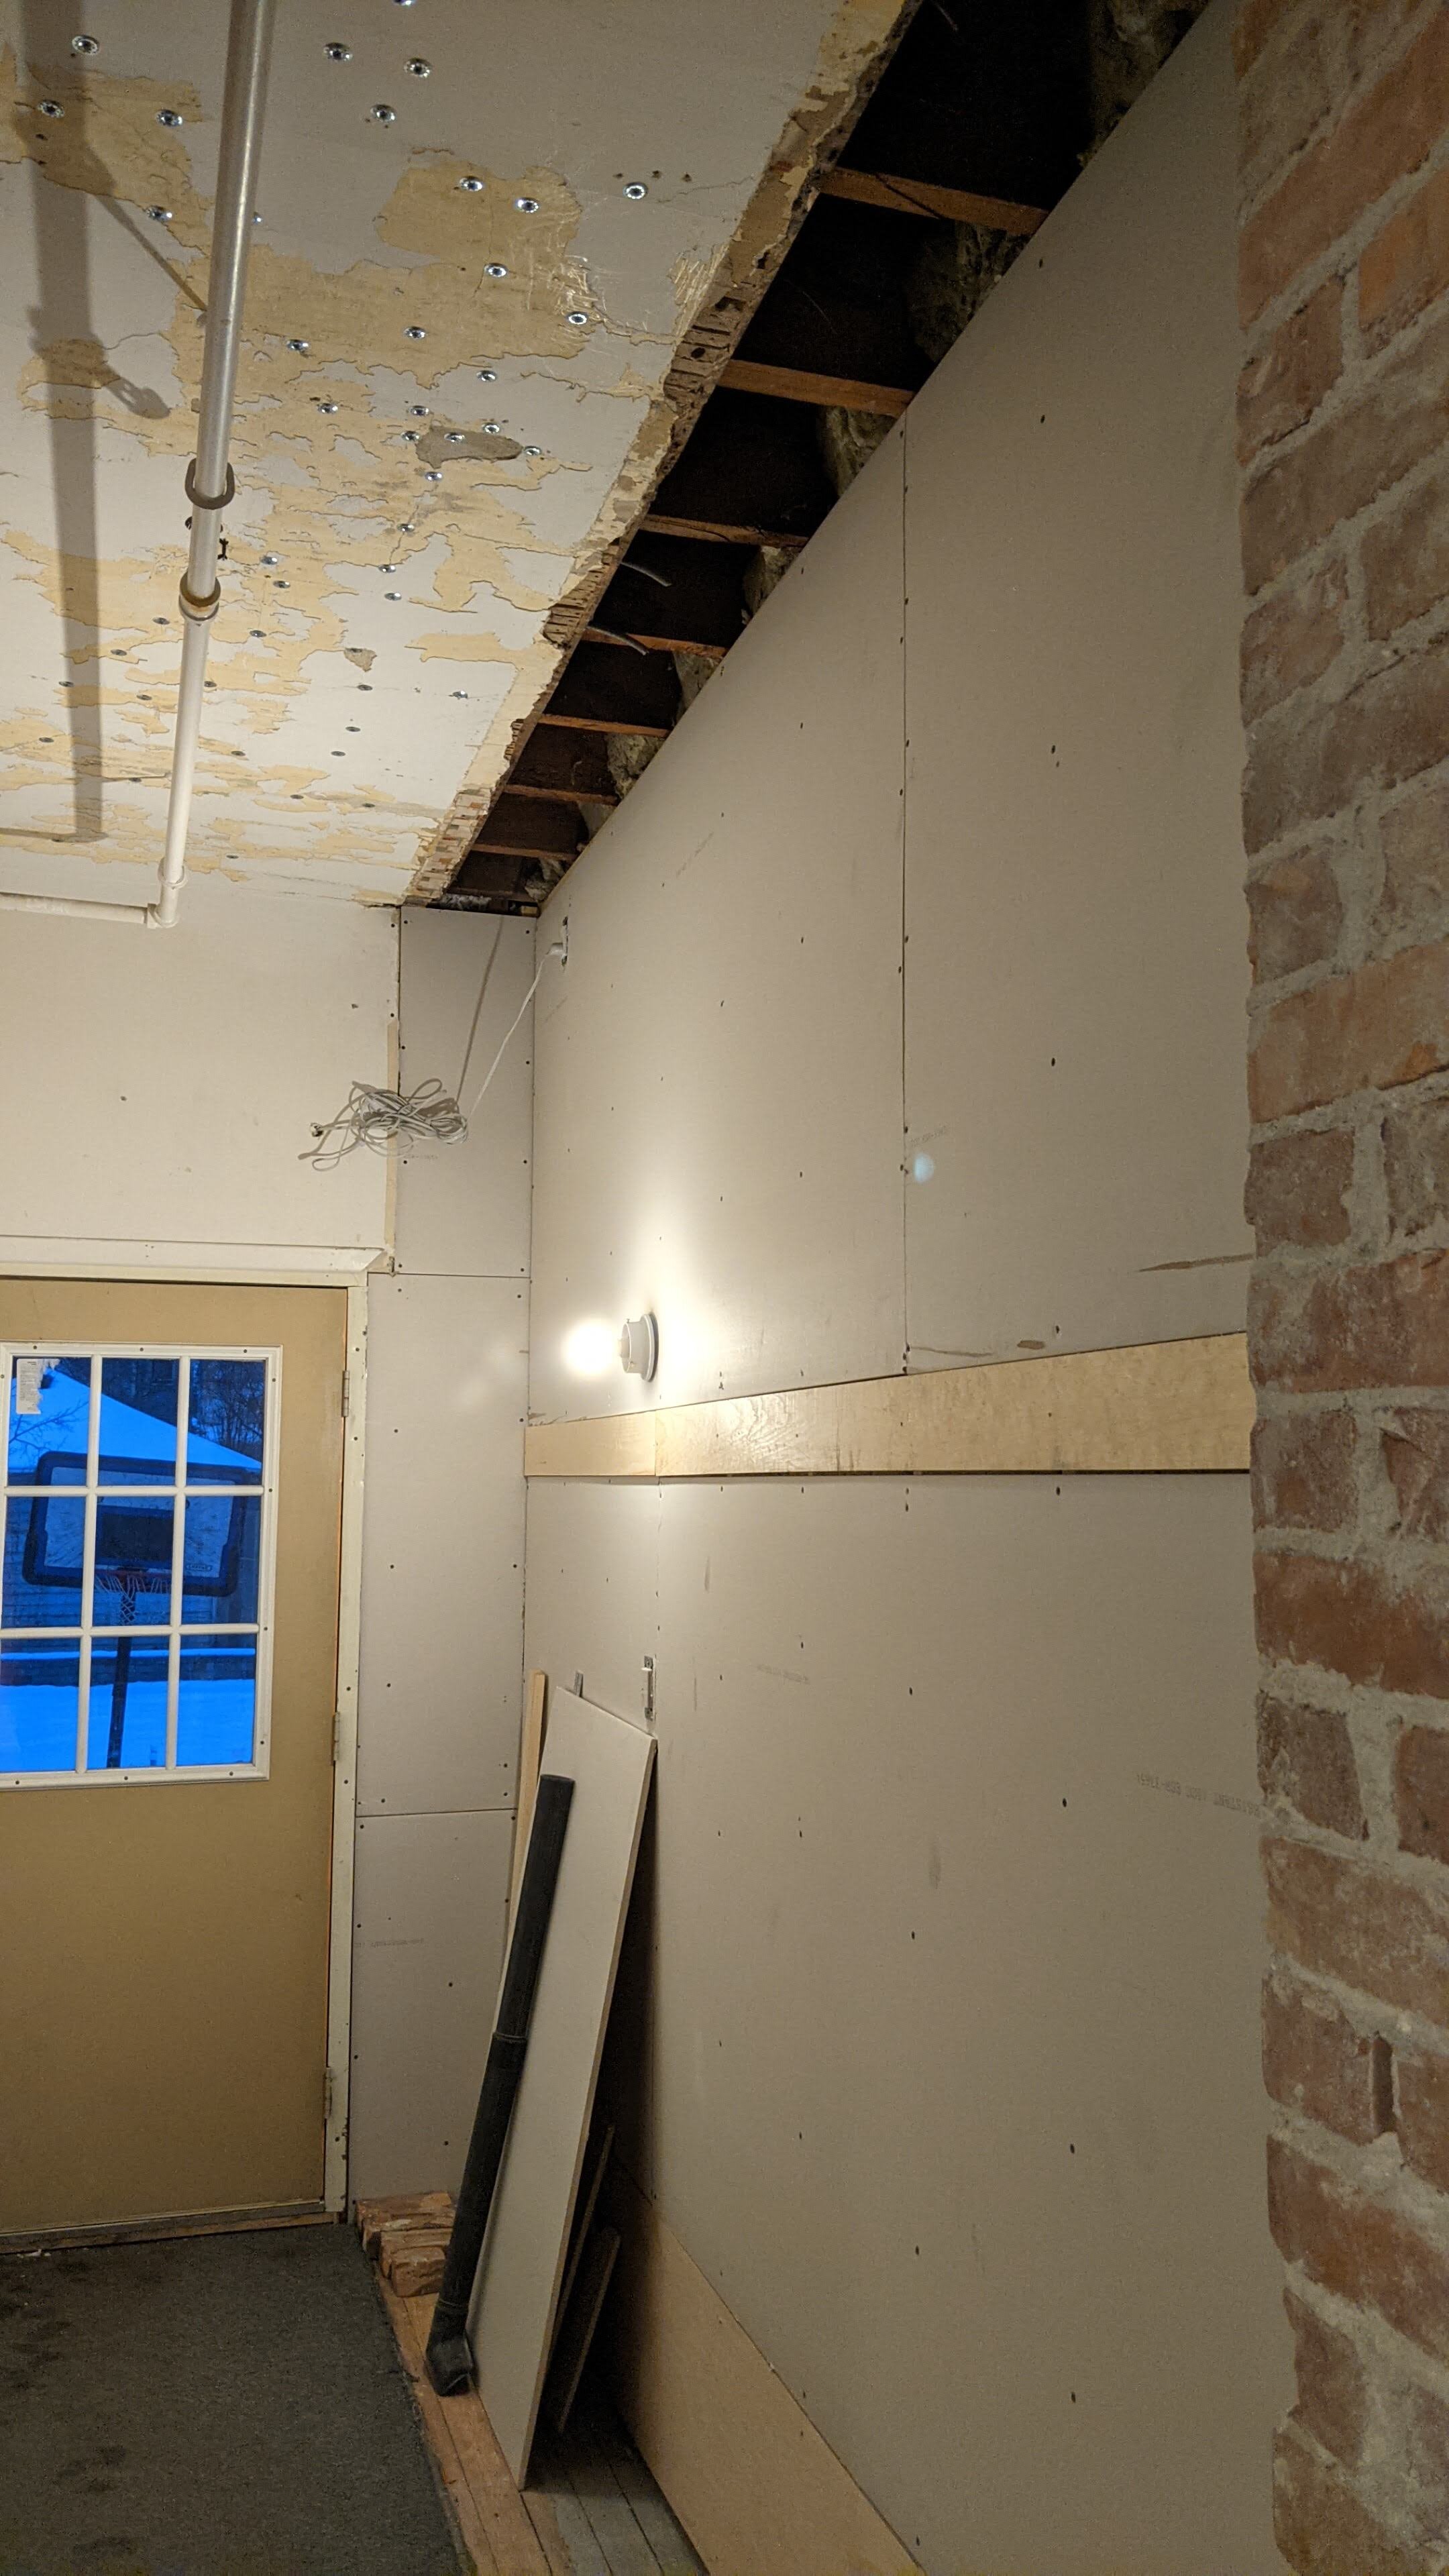
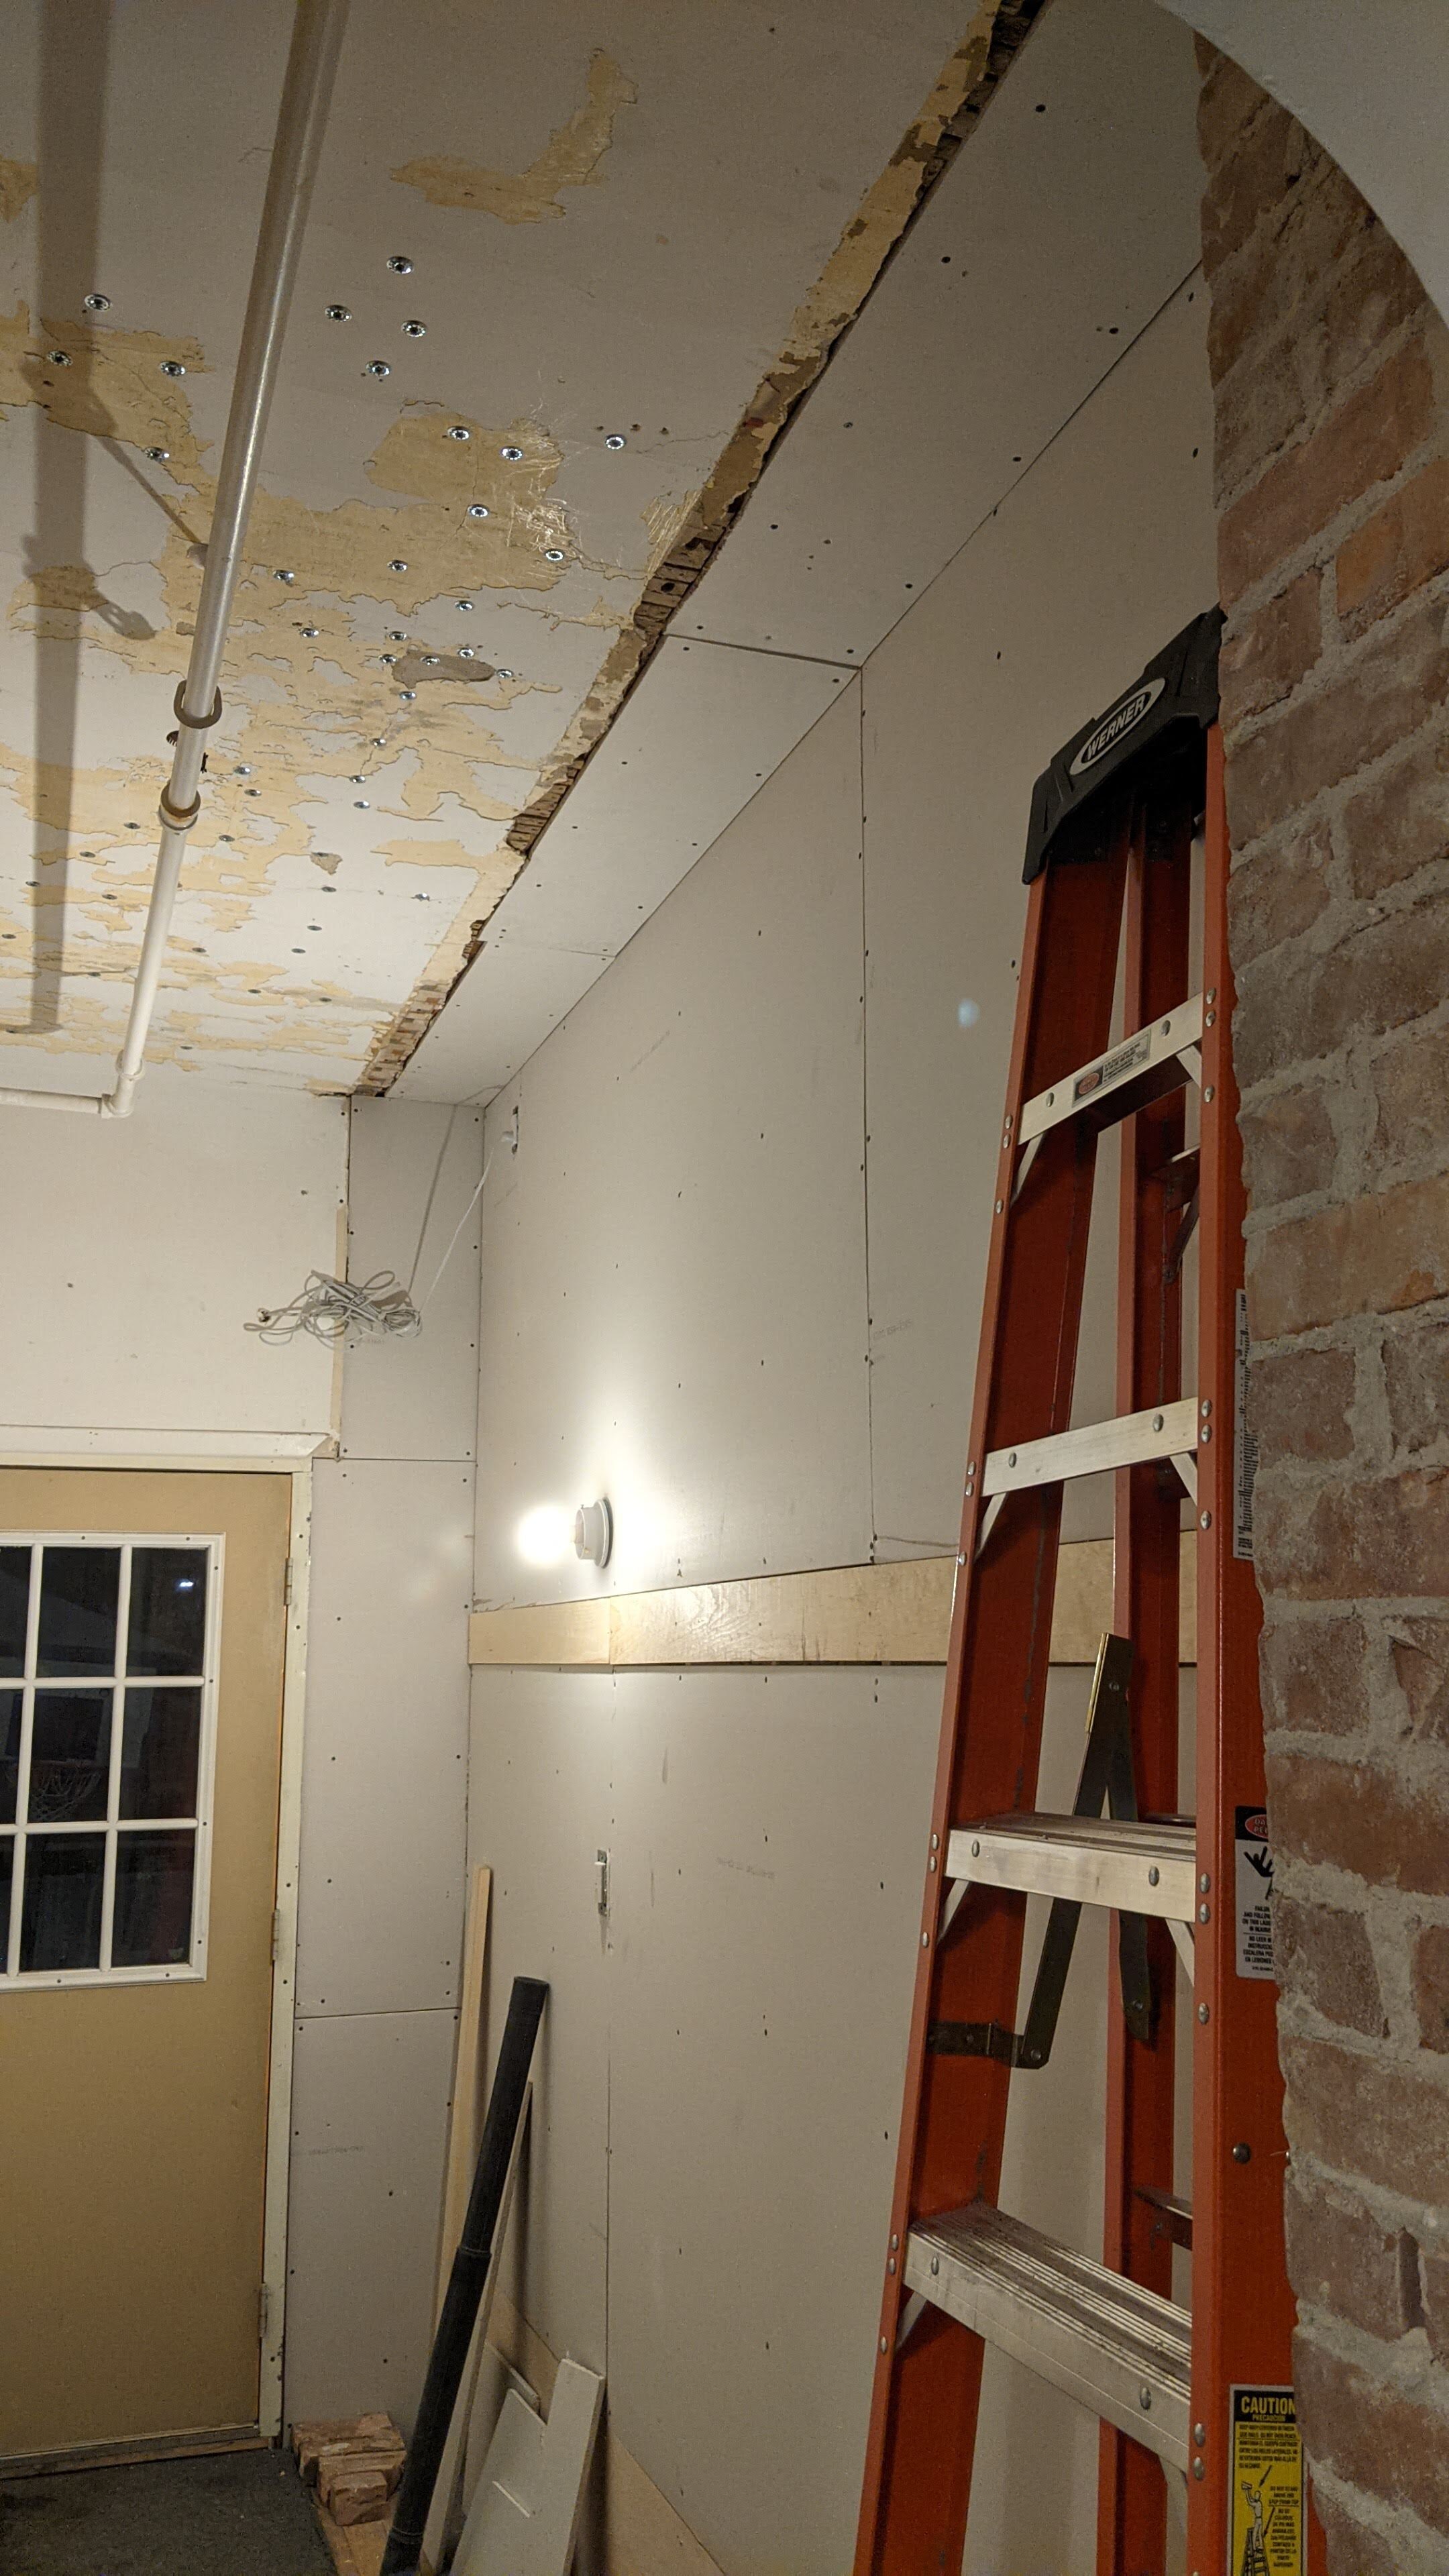
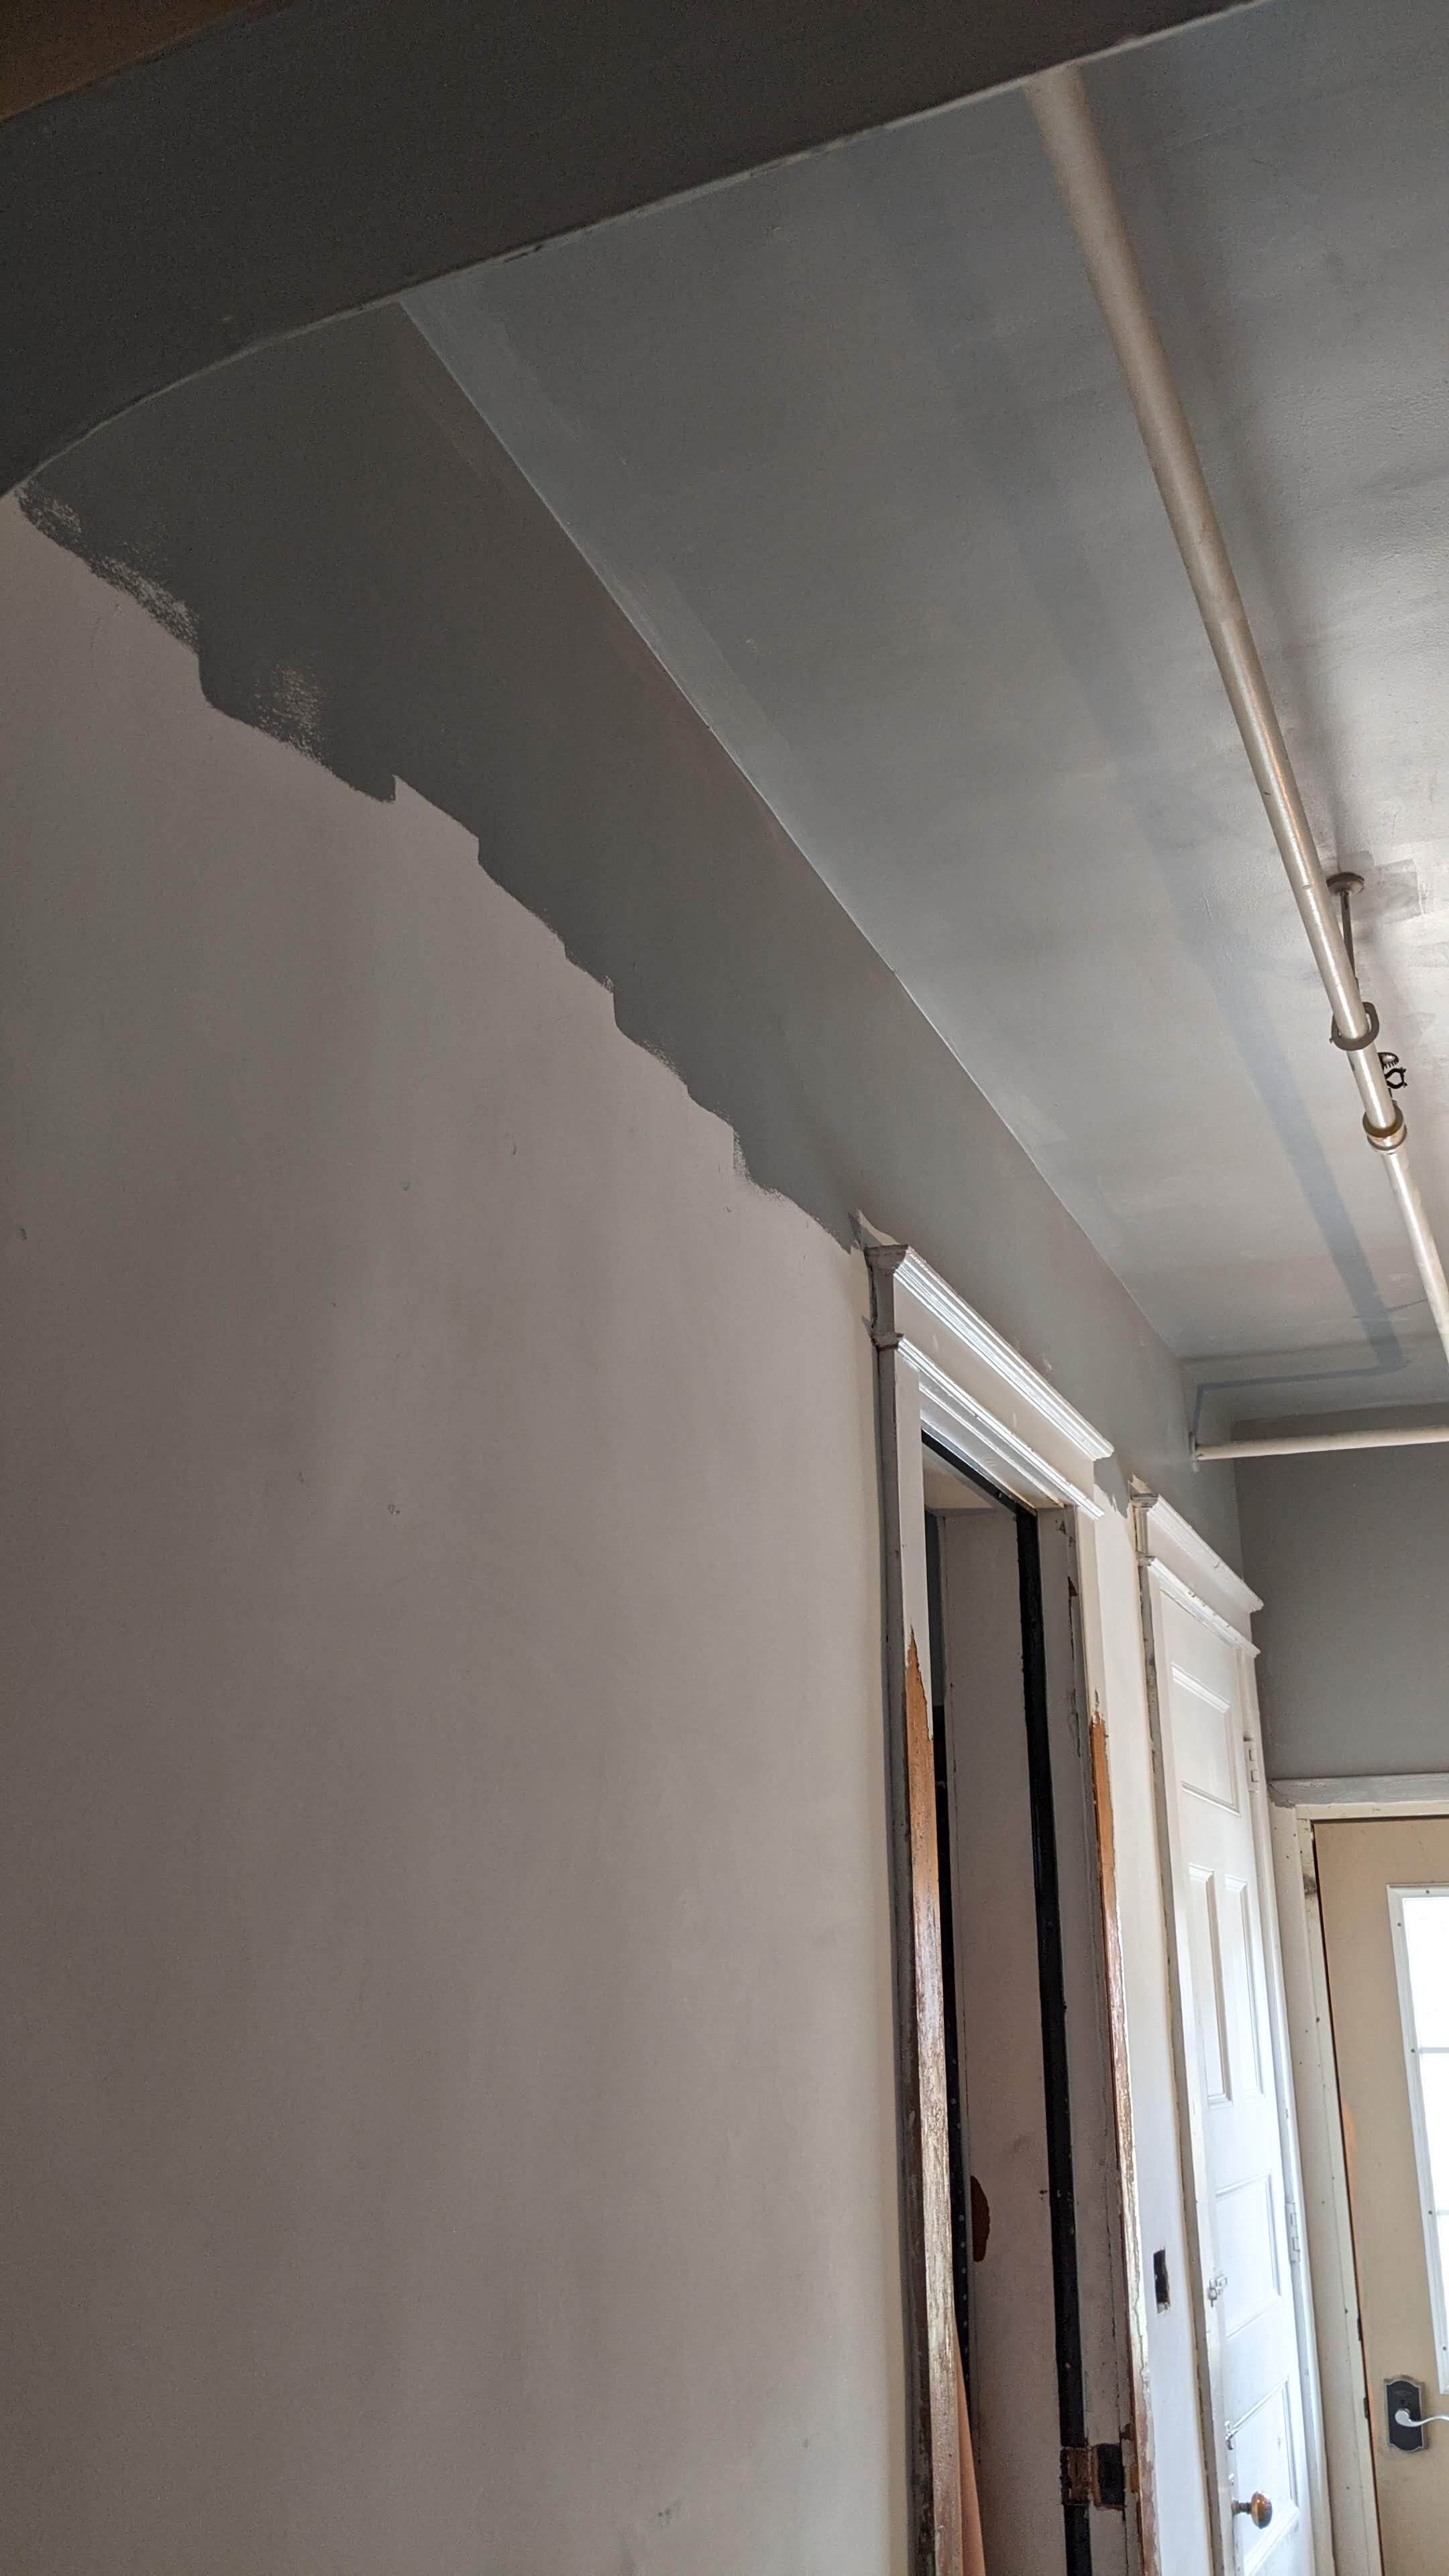
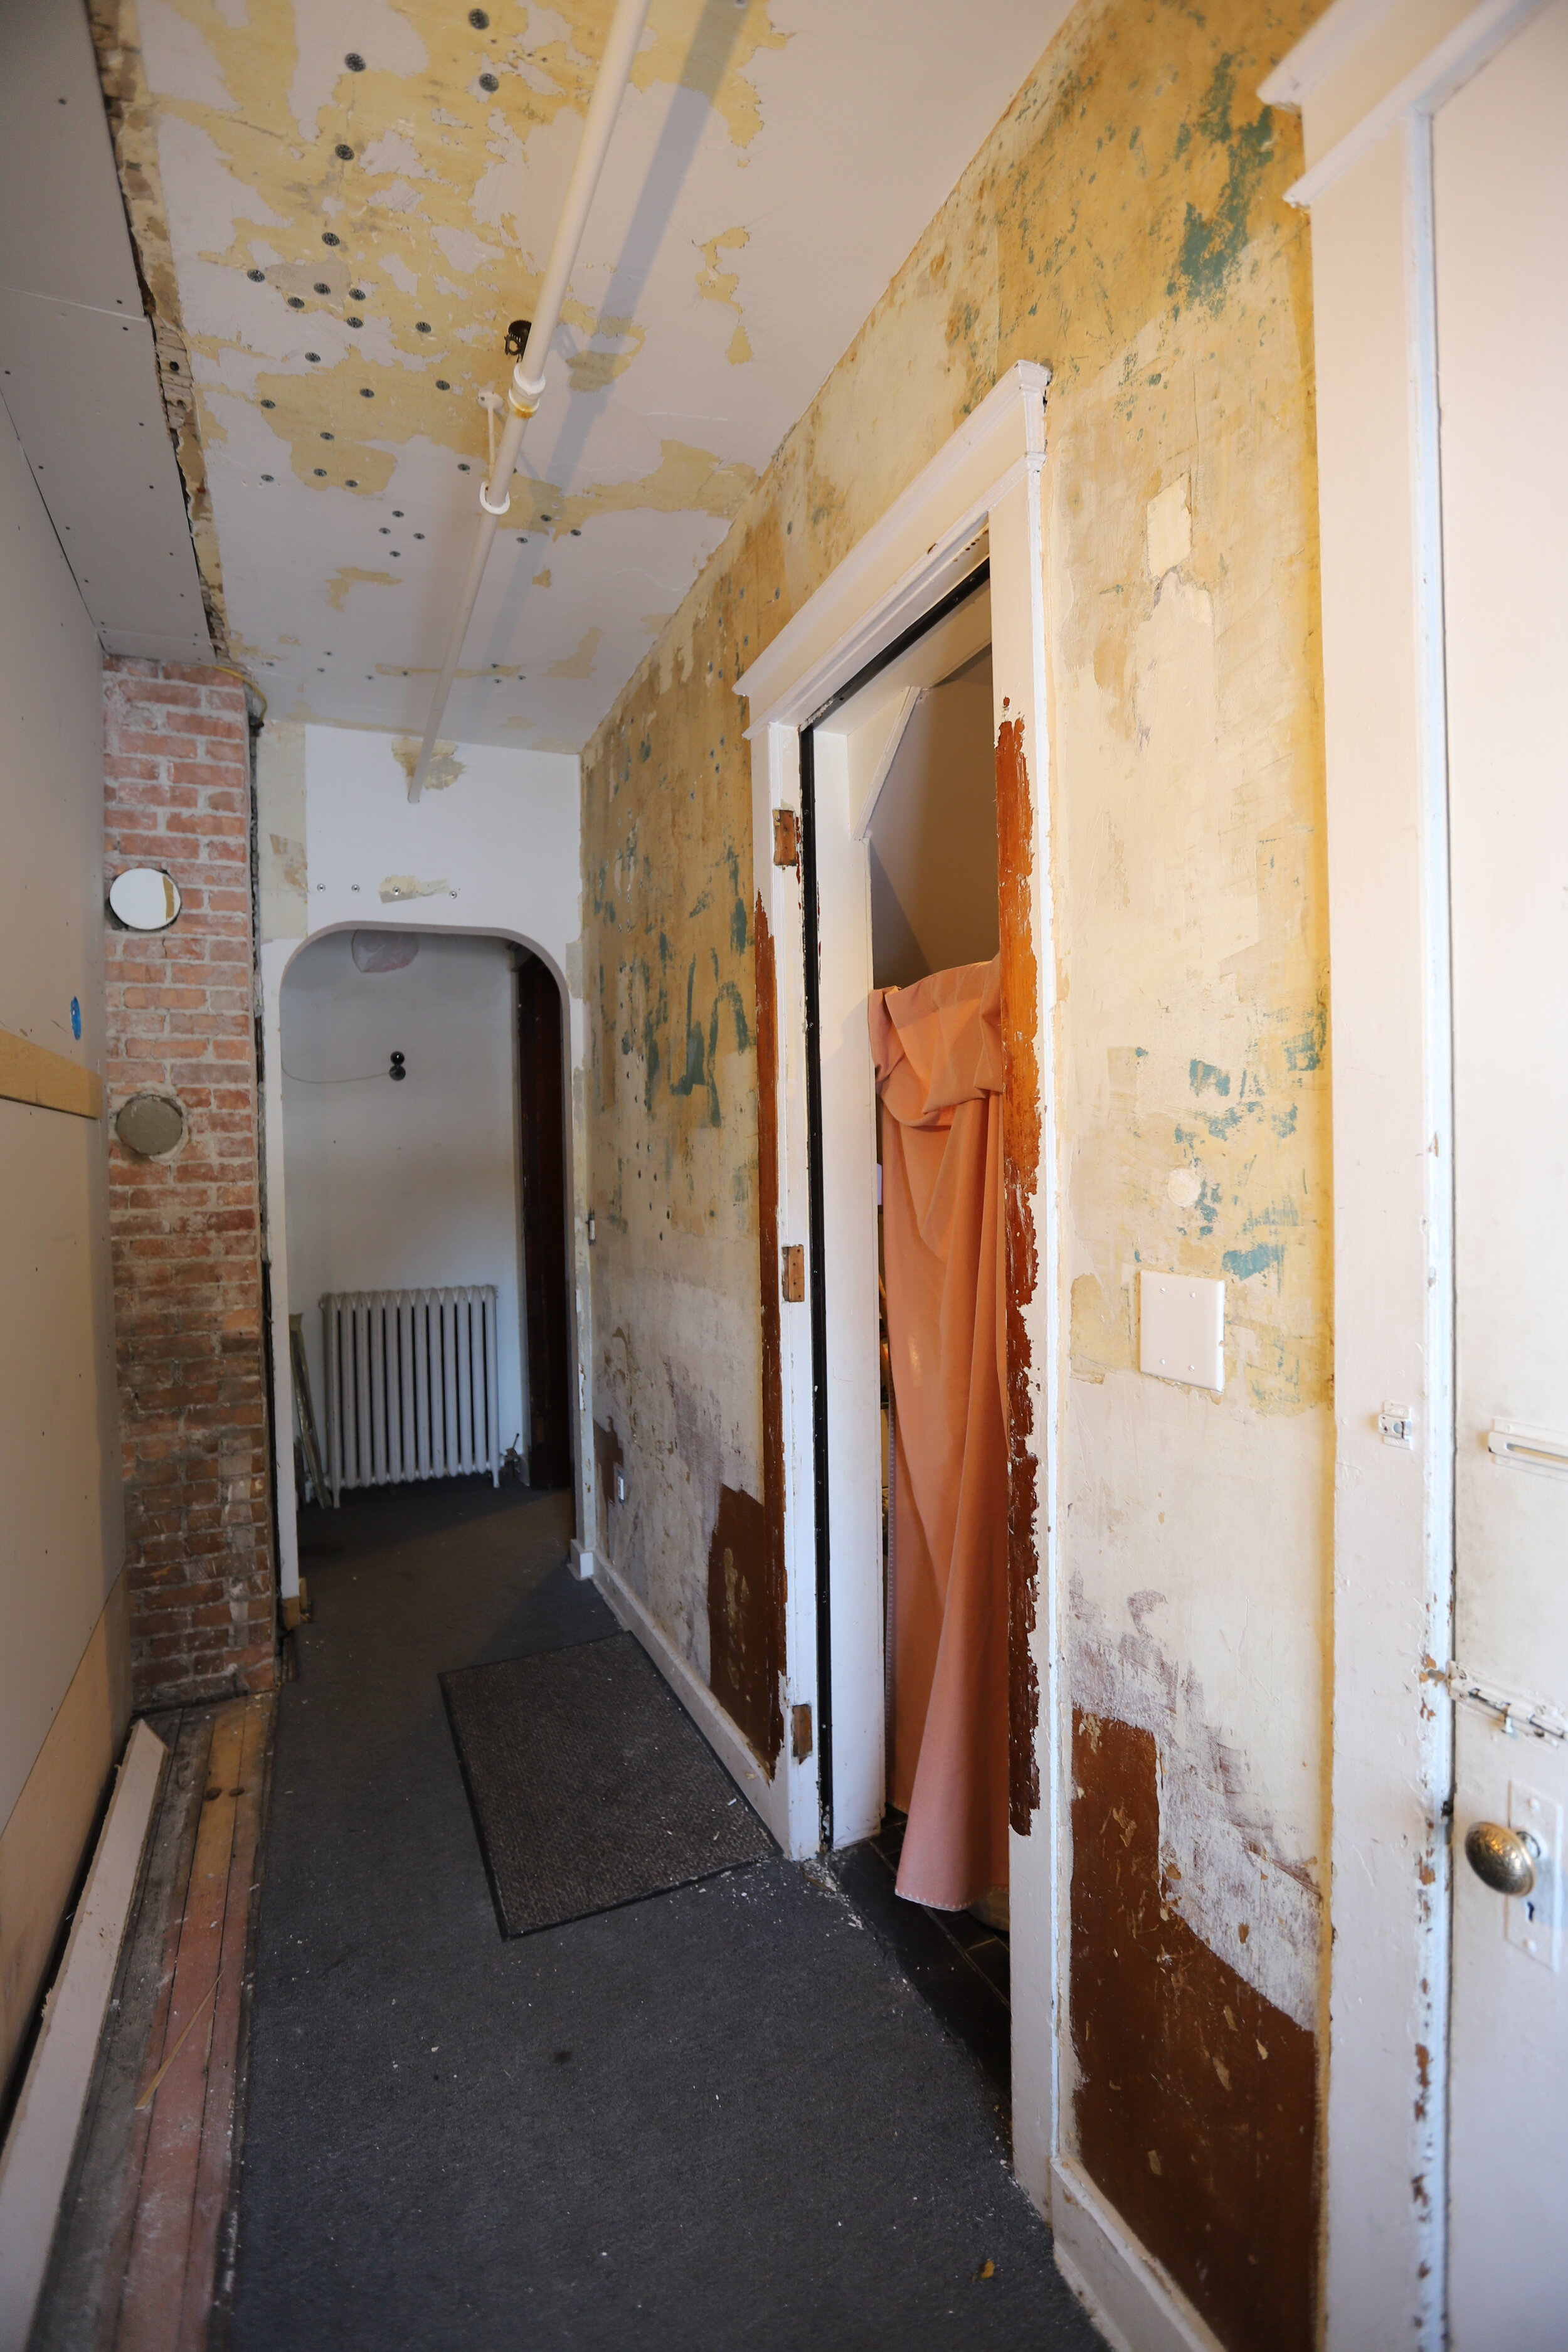
Removed chipping paint
Removed a couple of layers of wallpaper
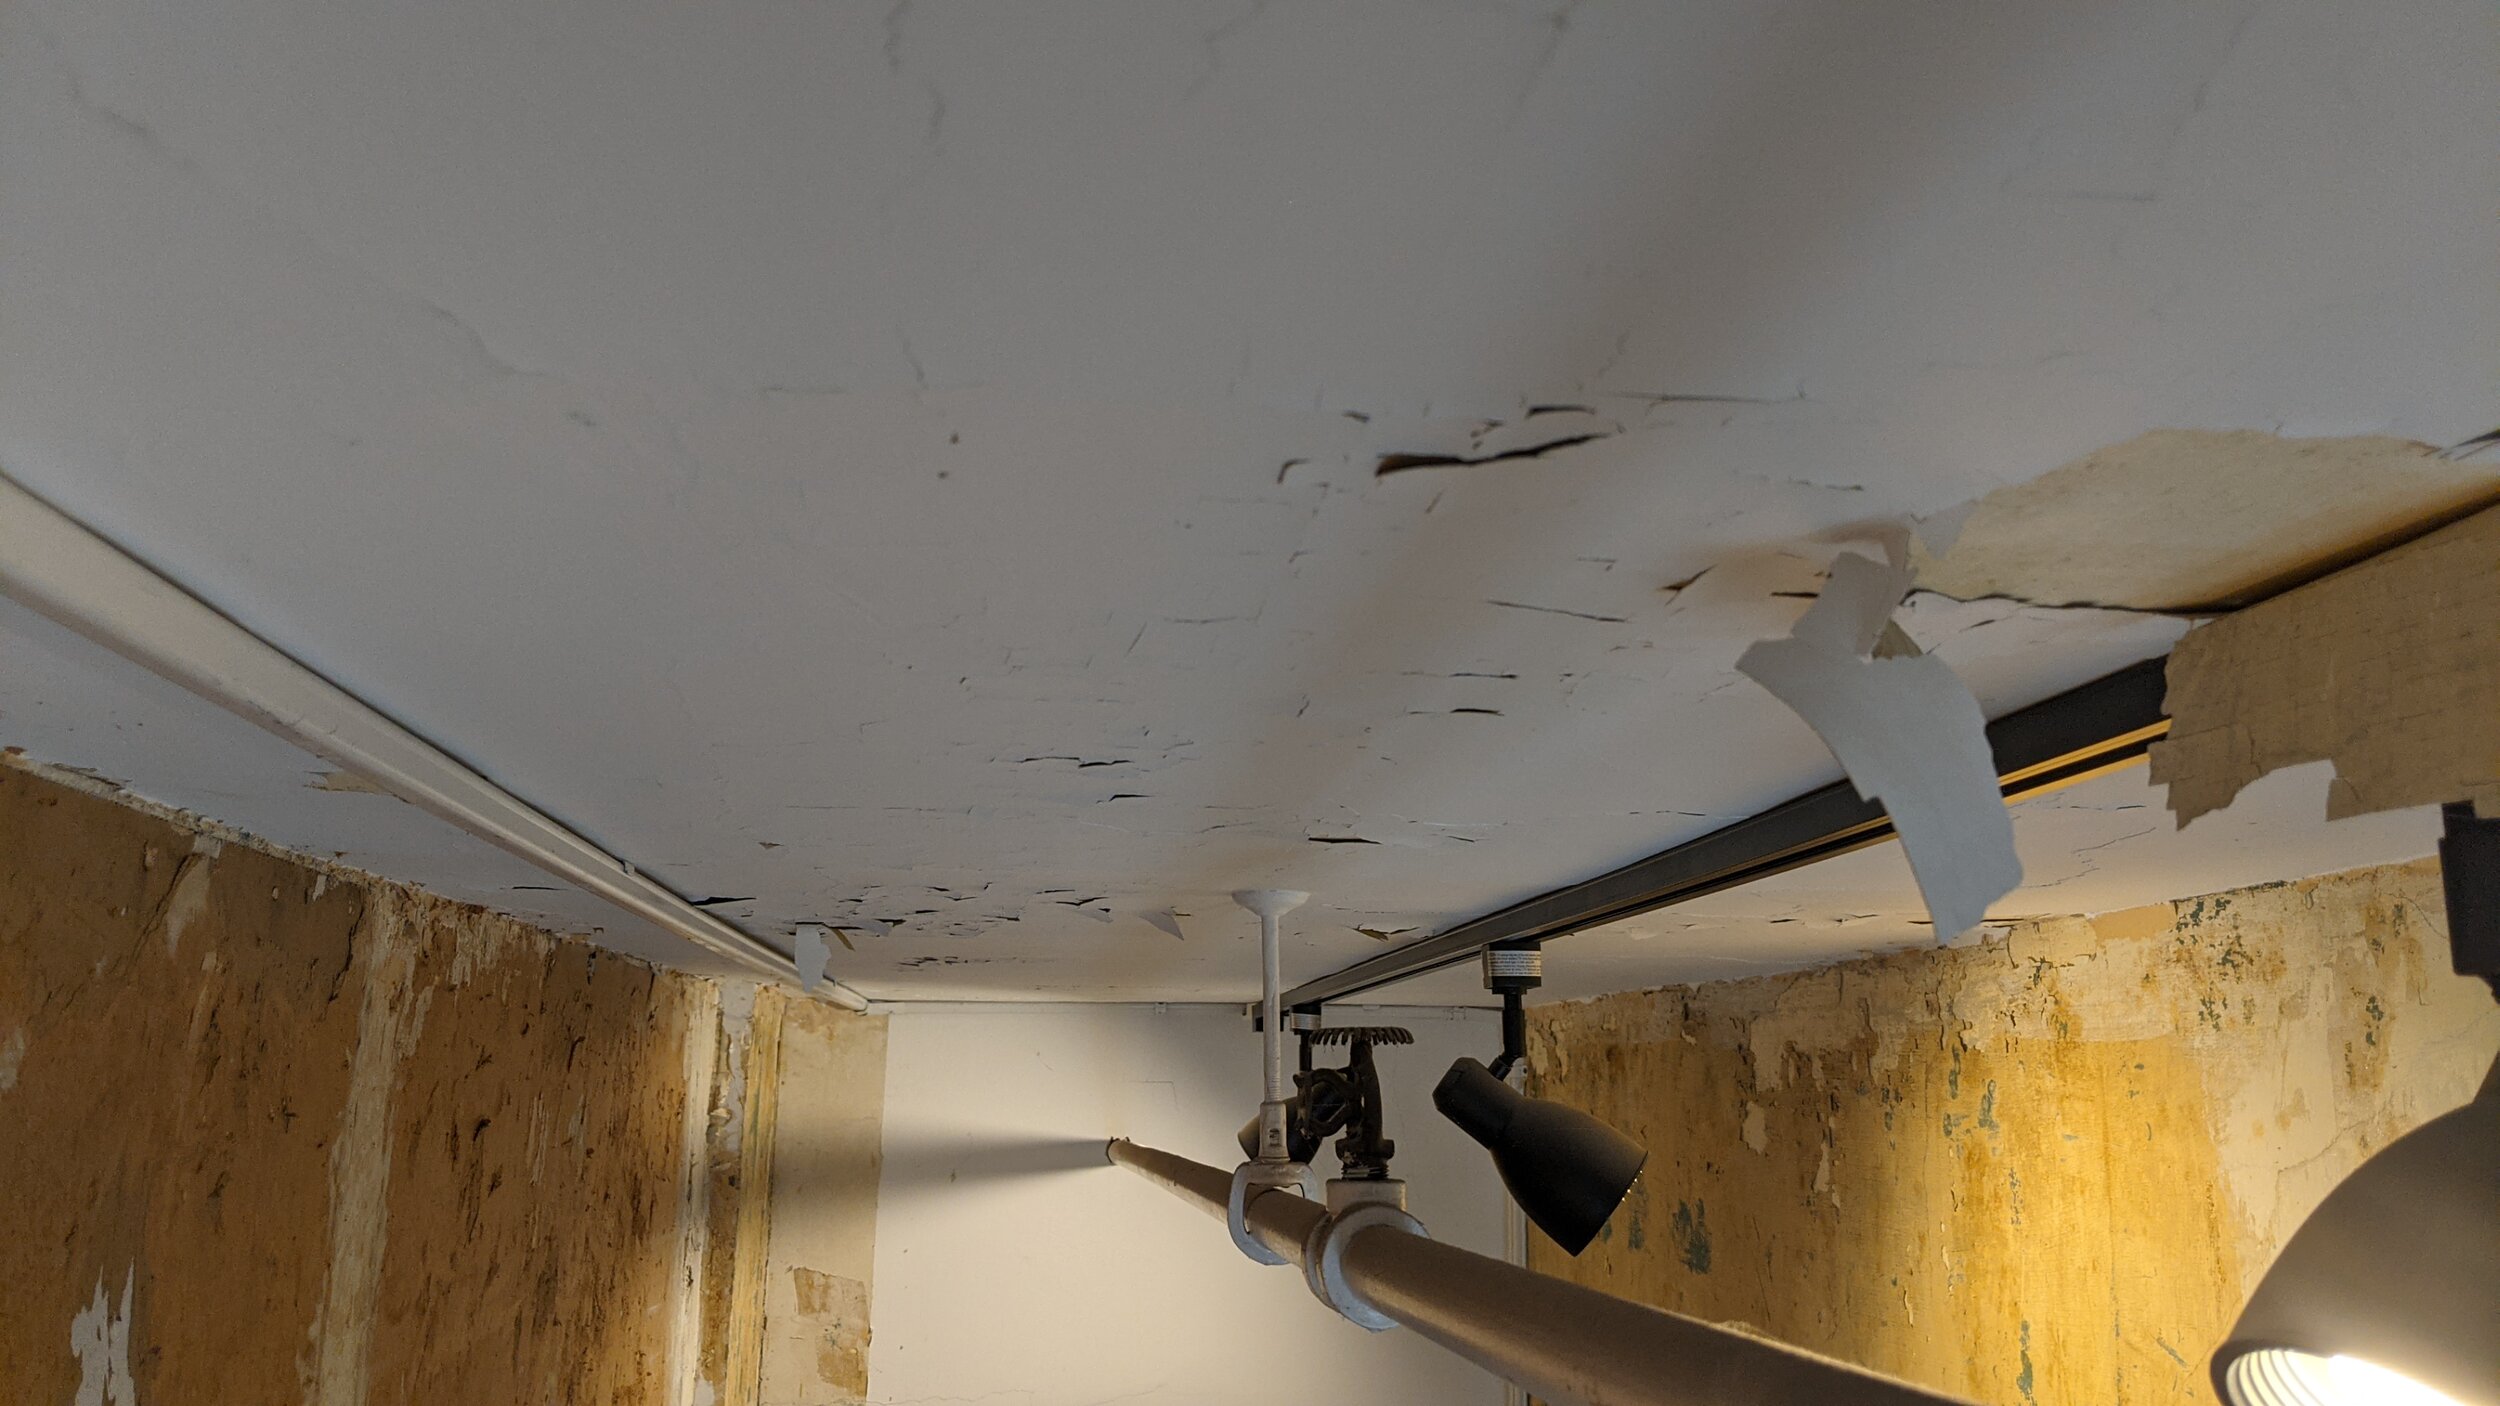
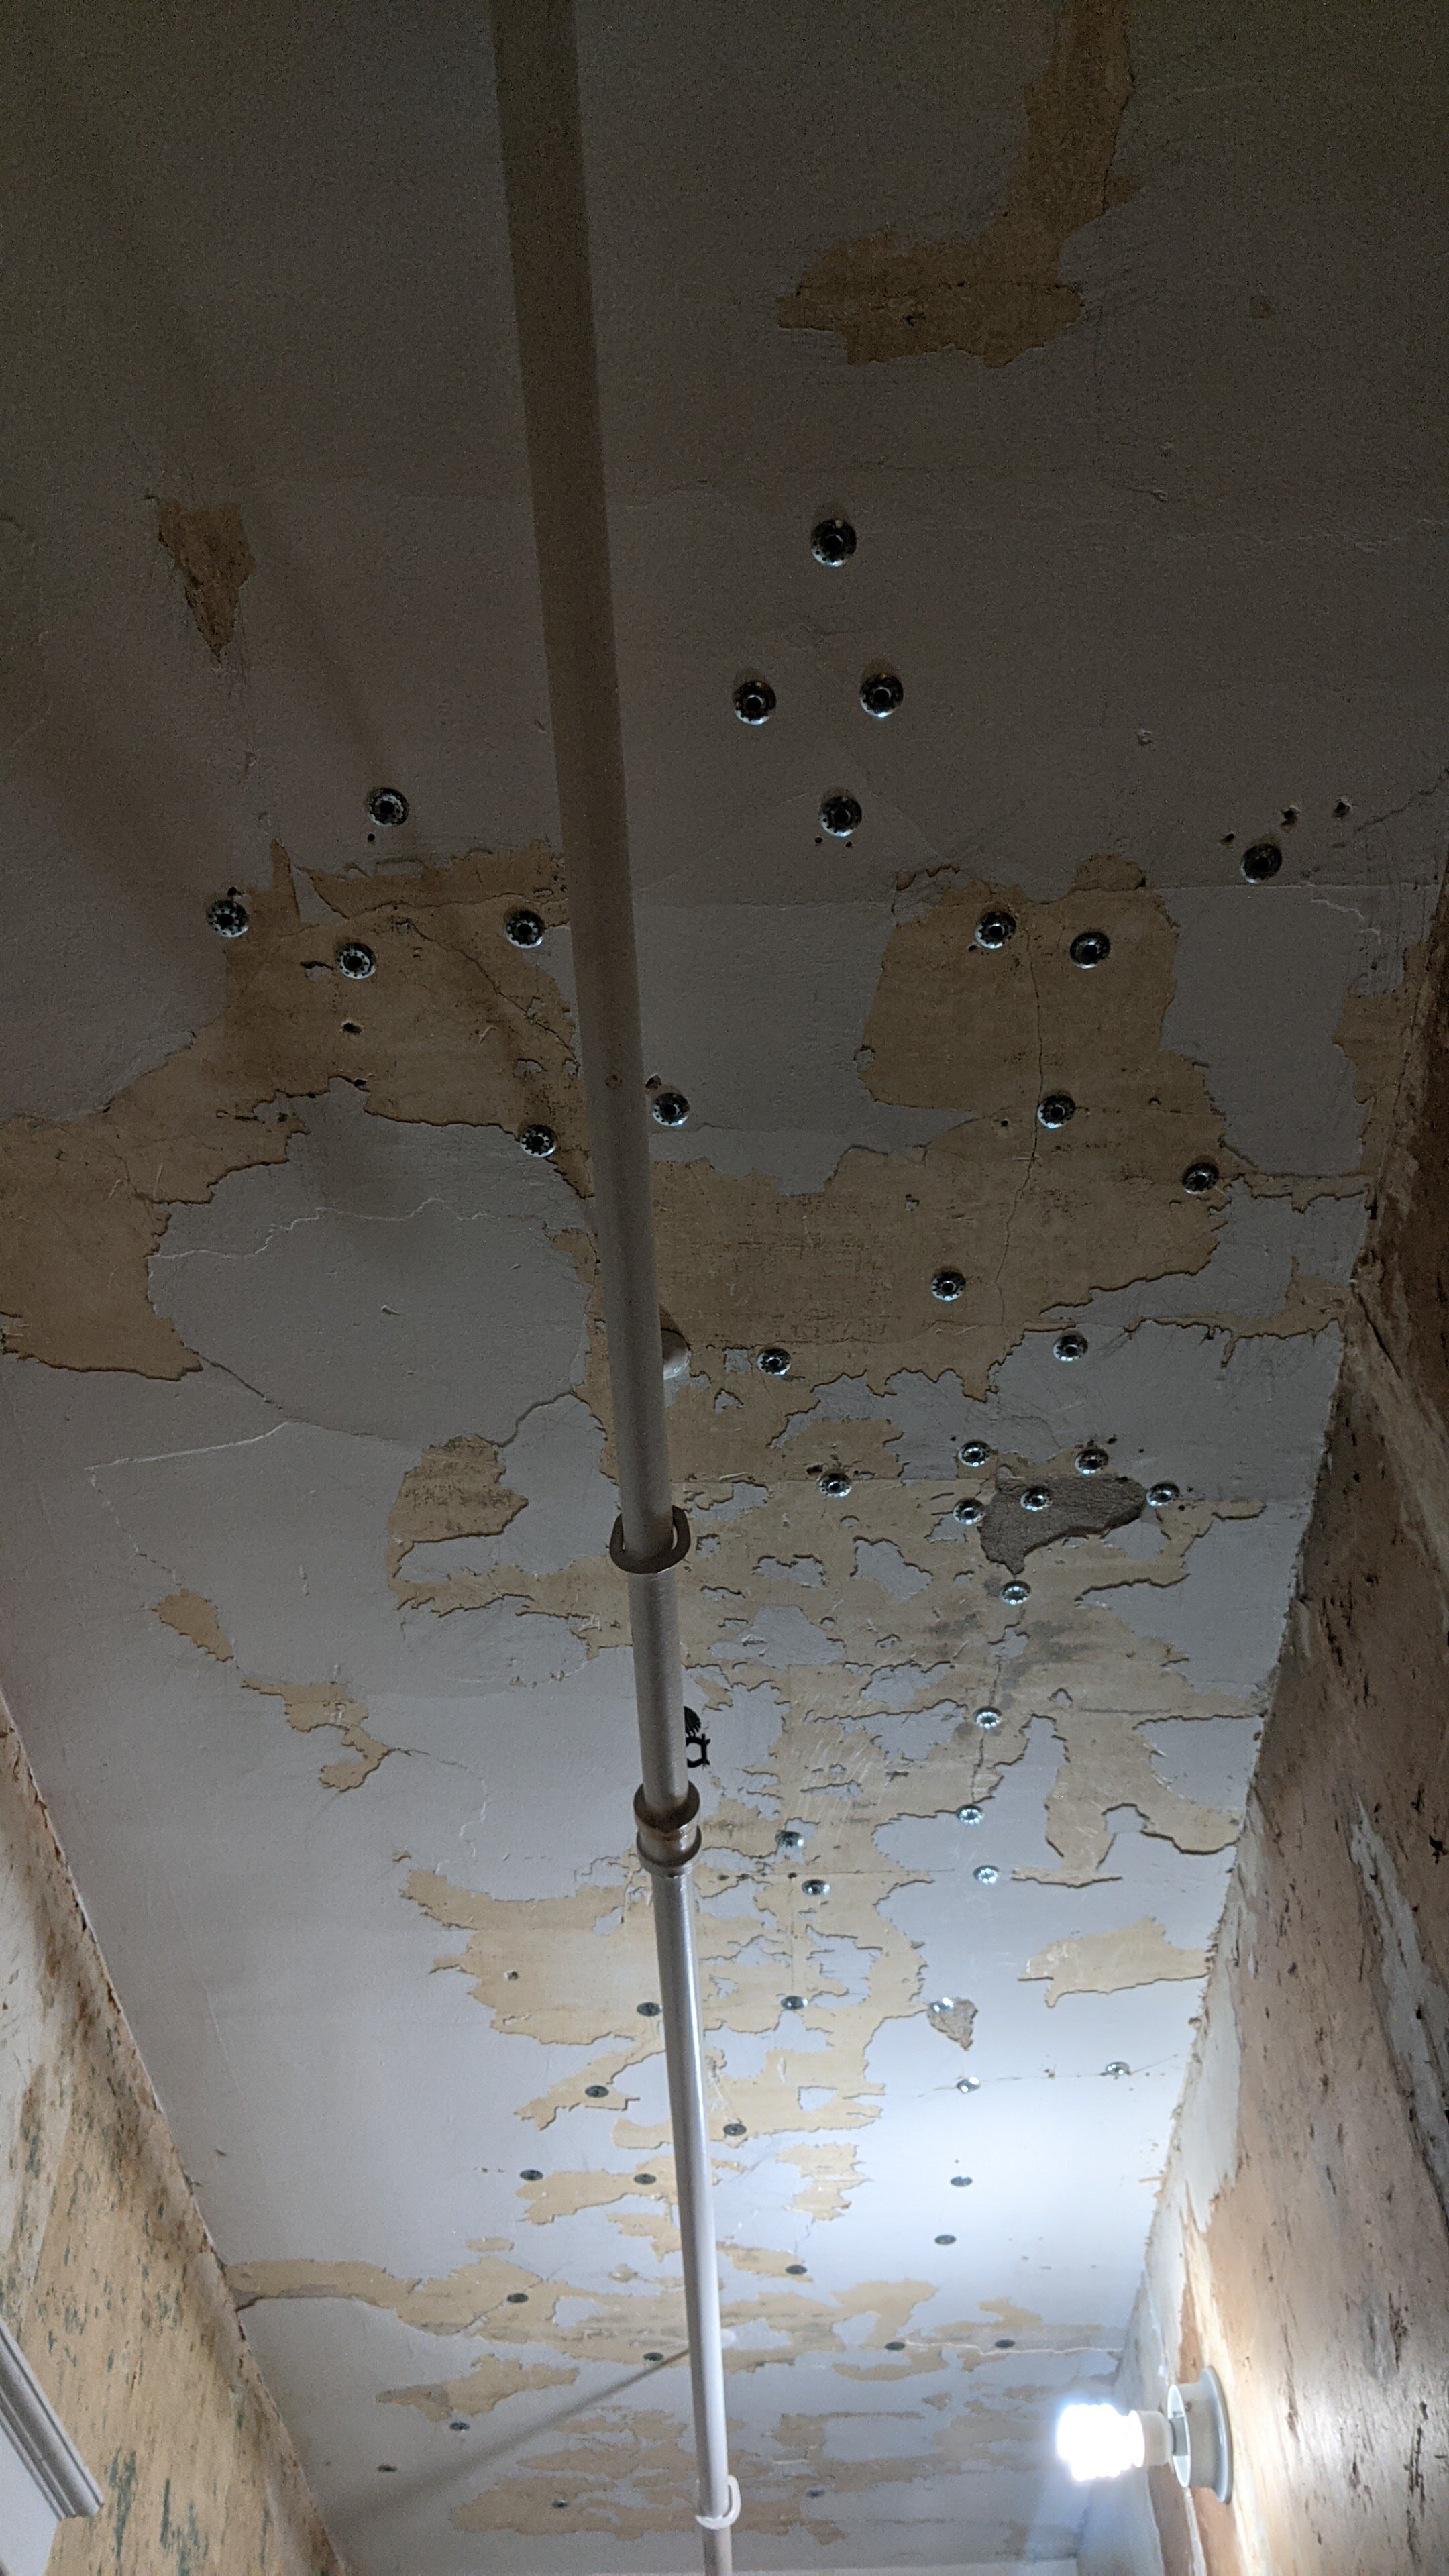
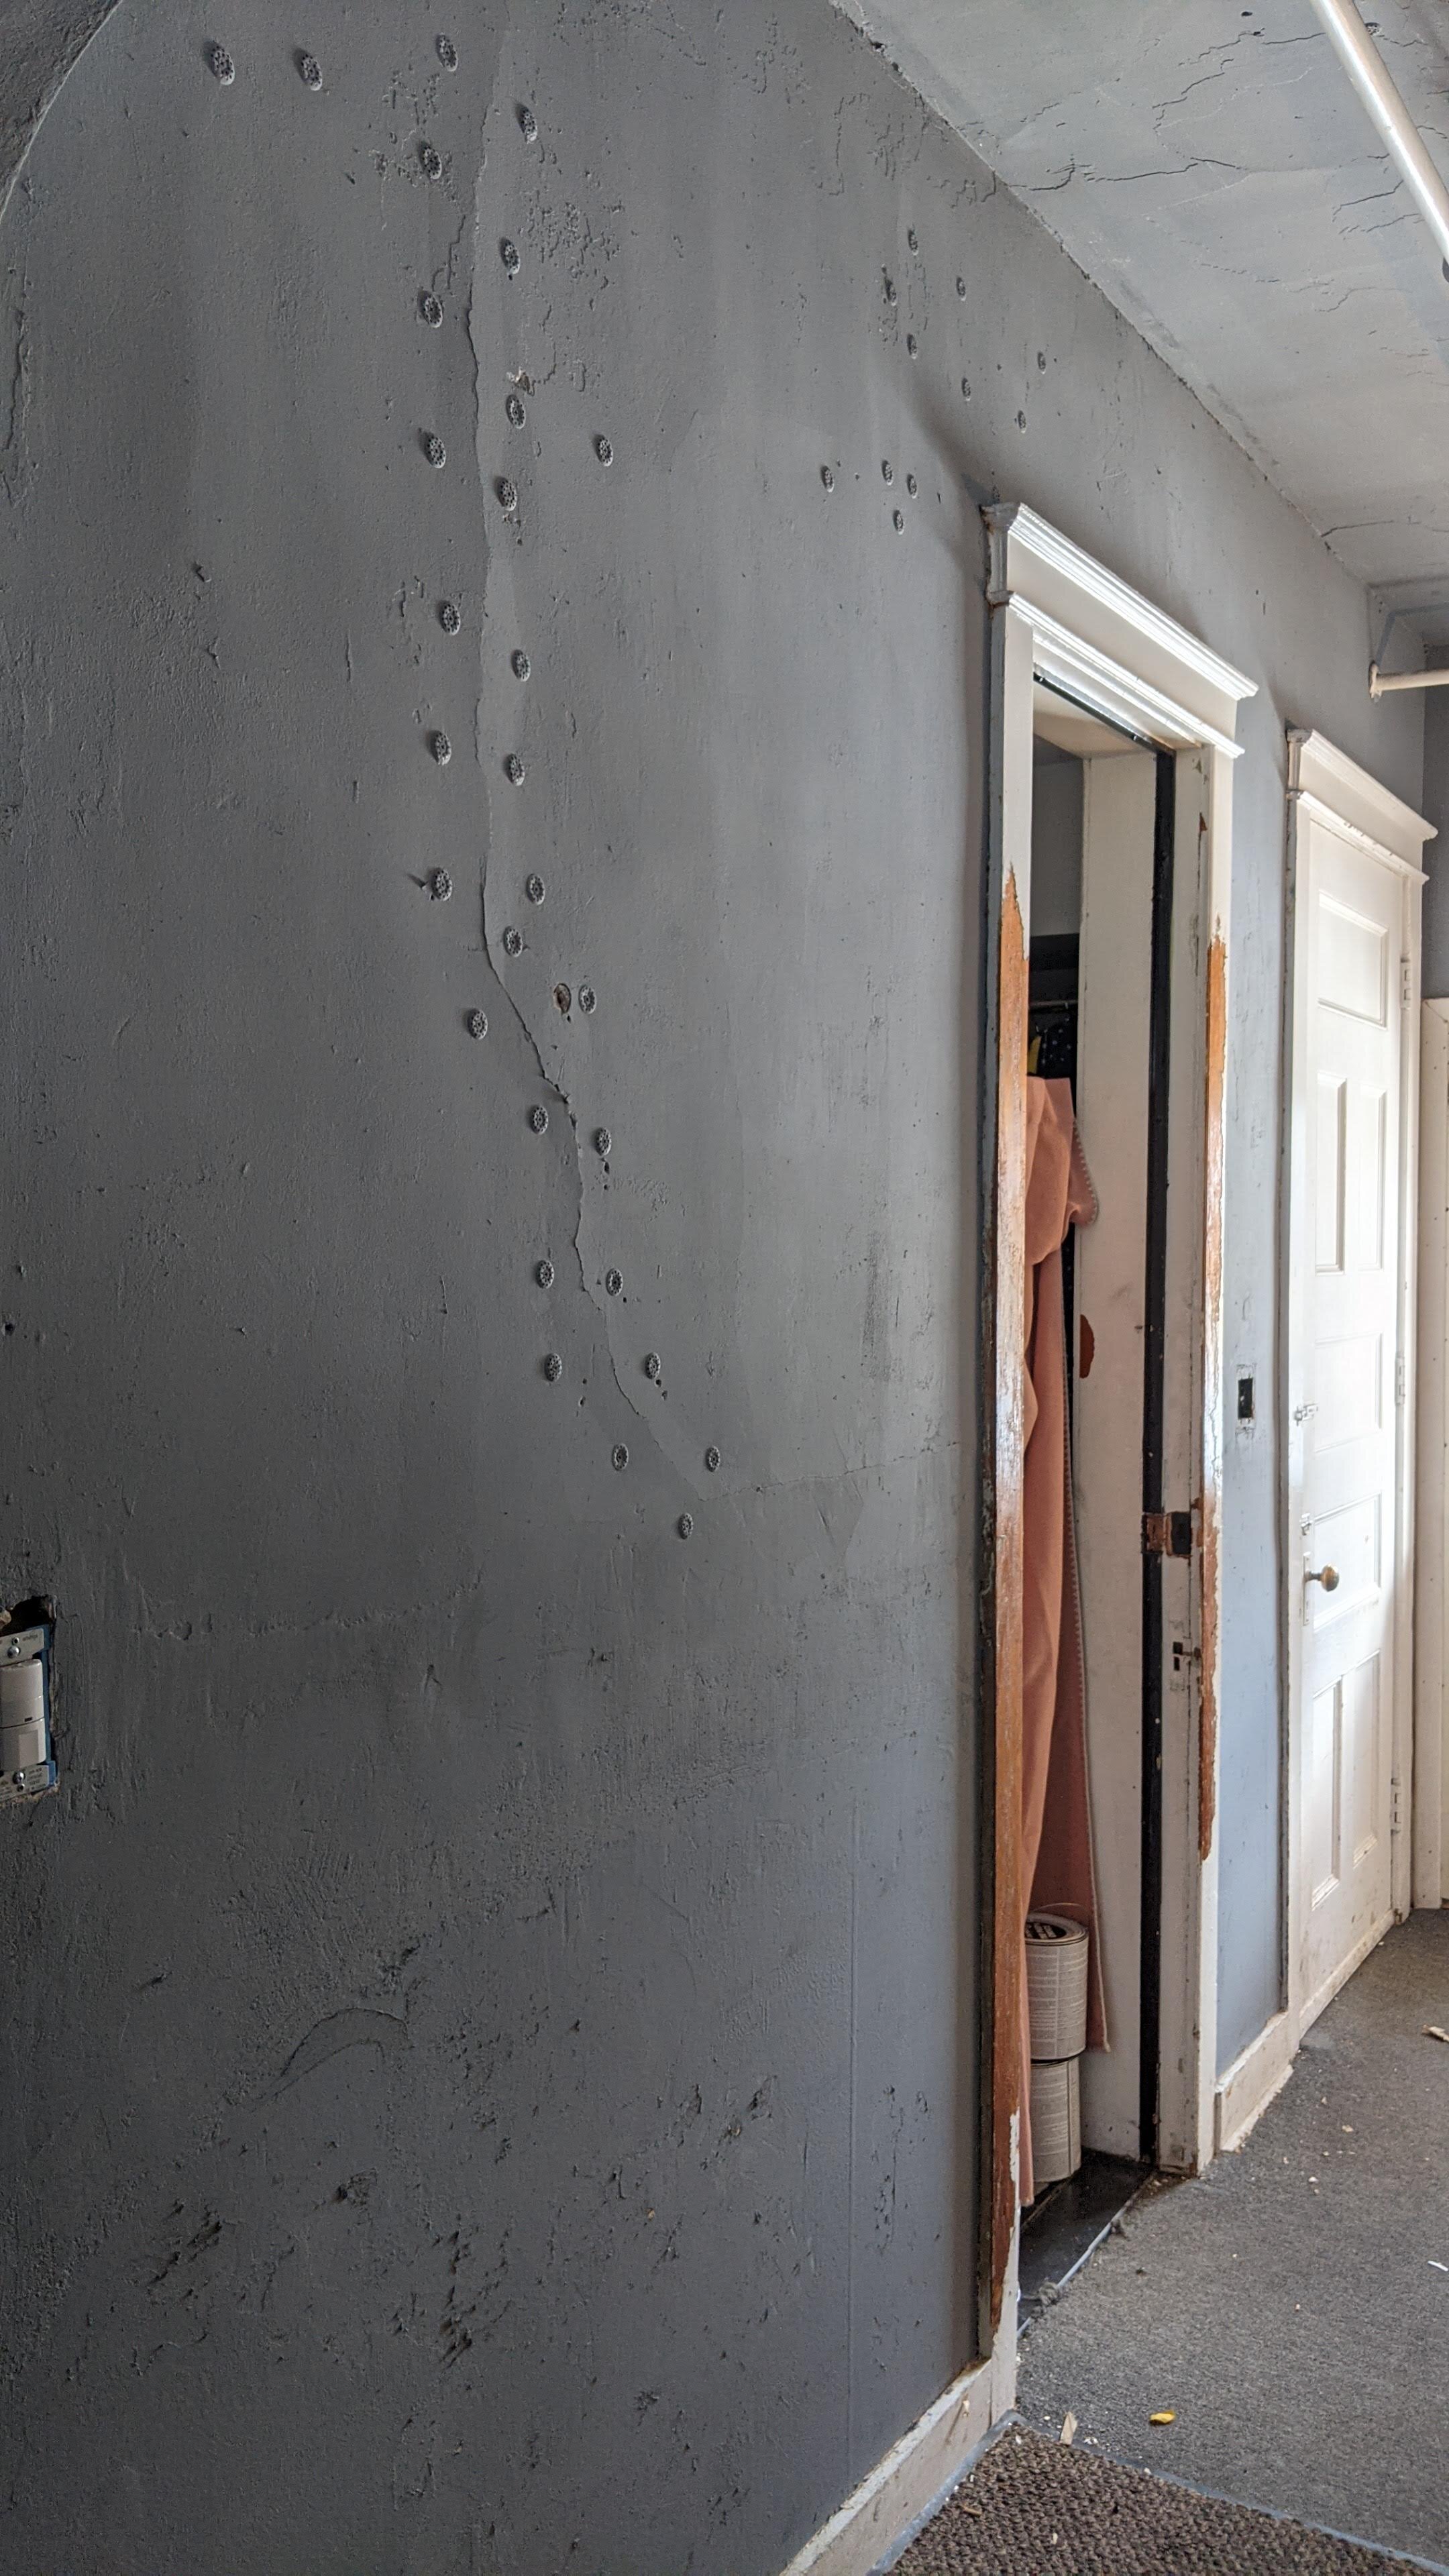
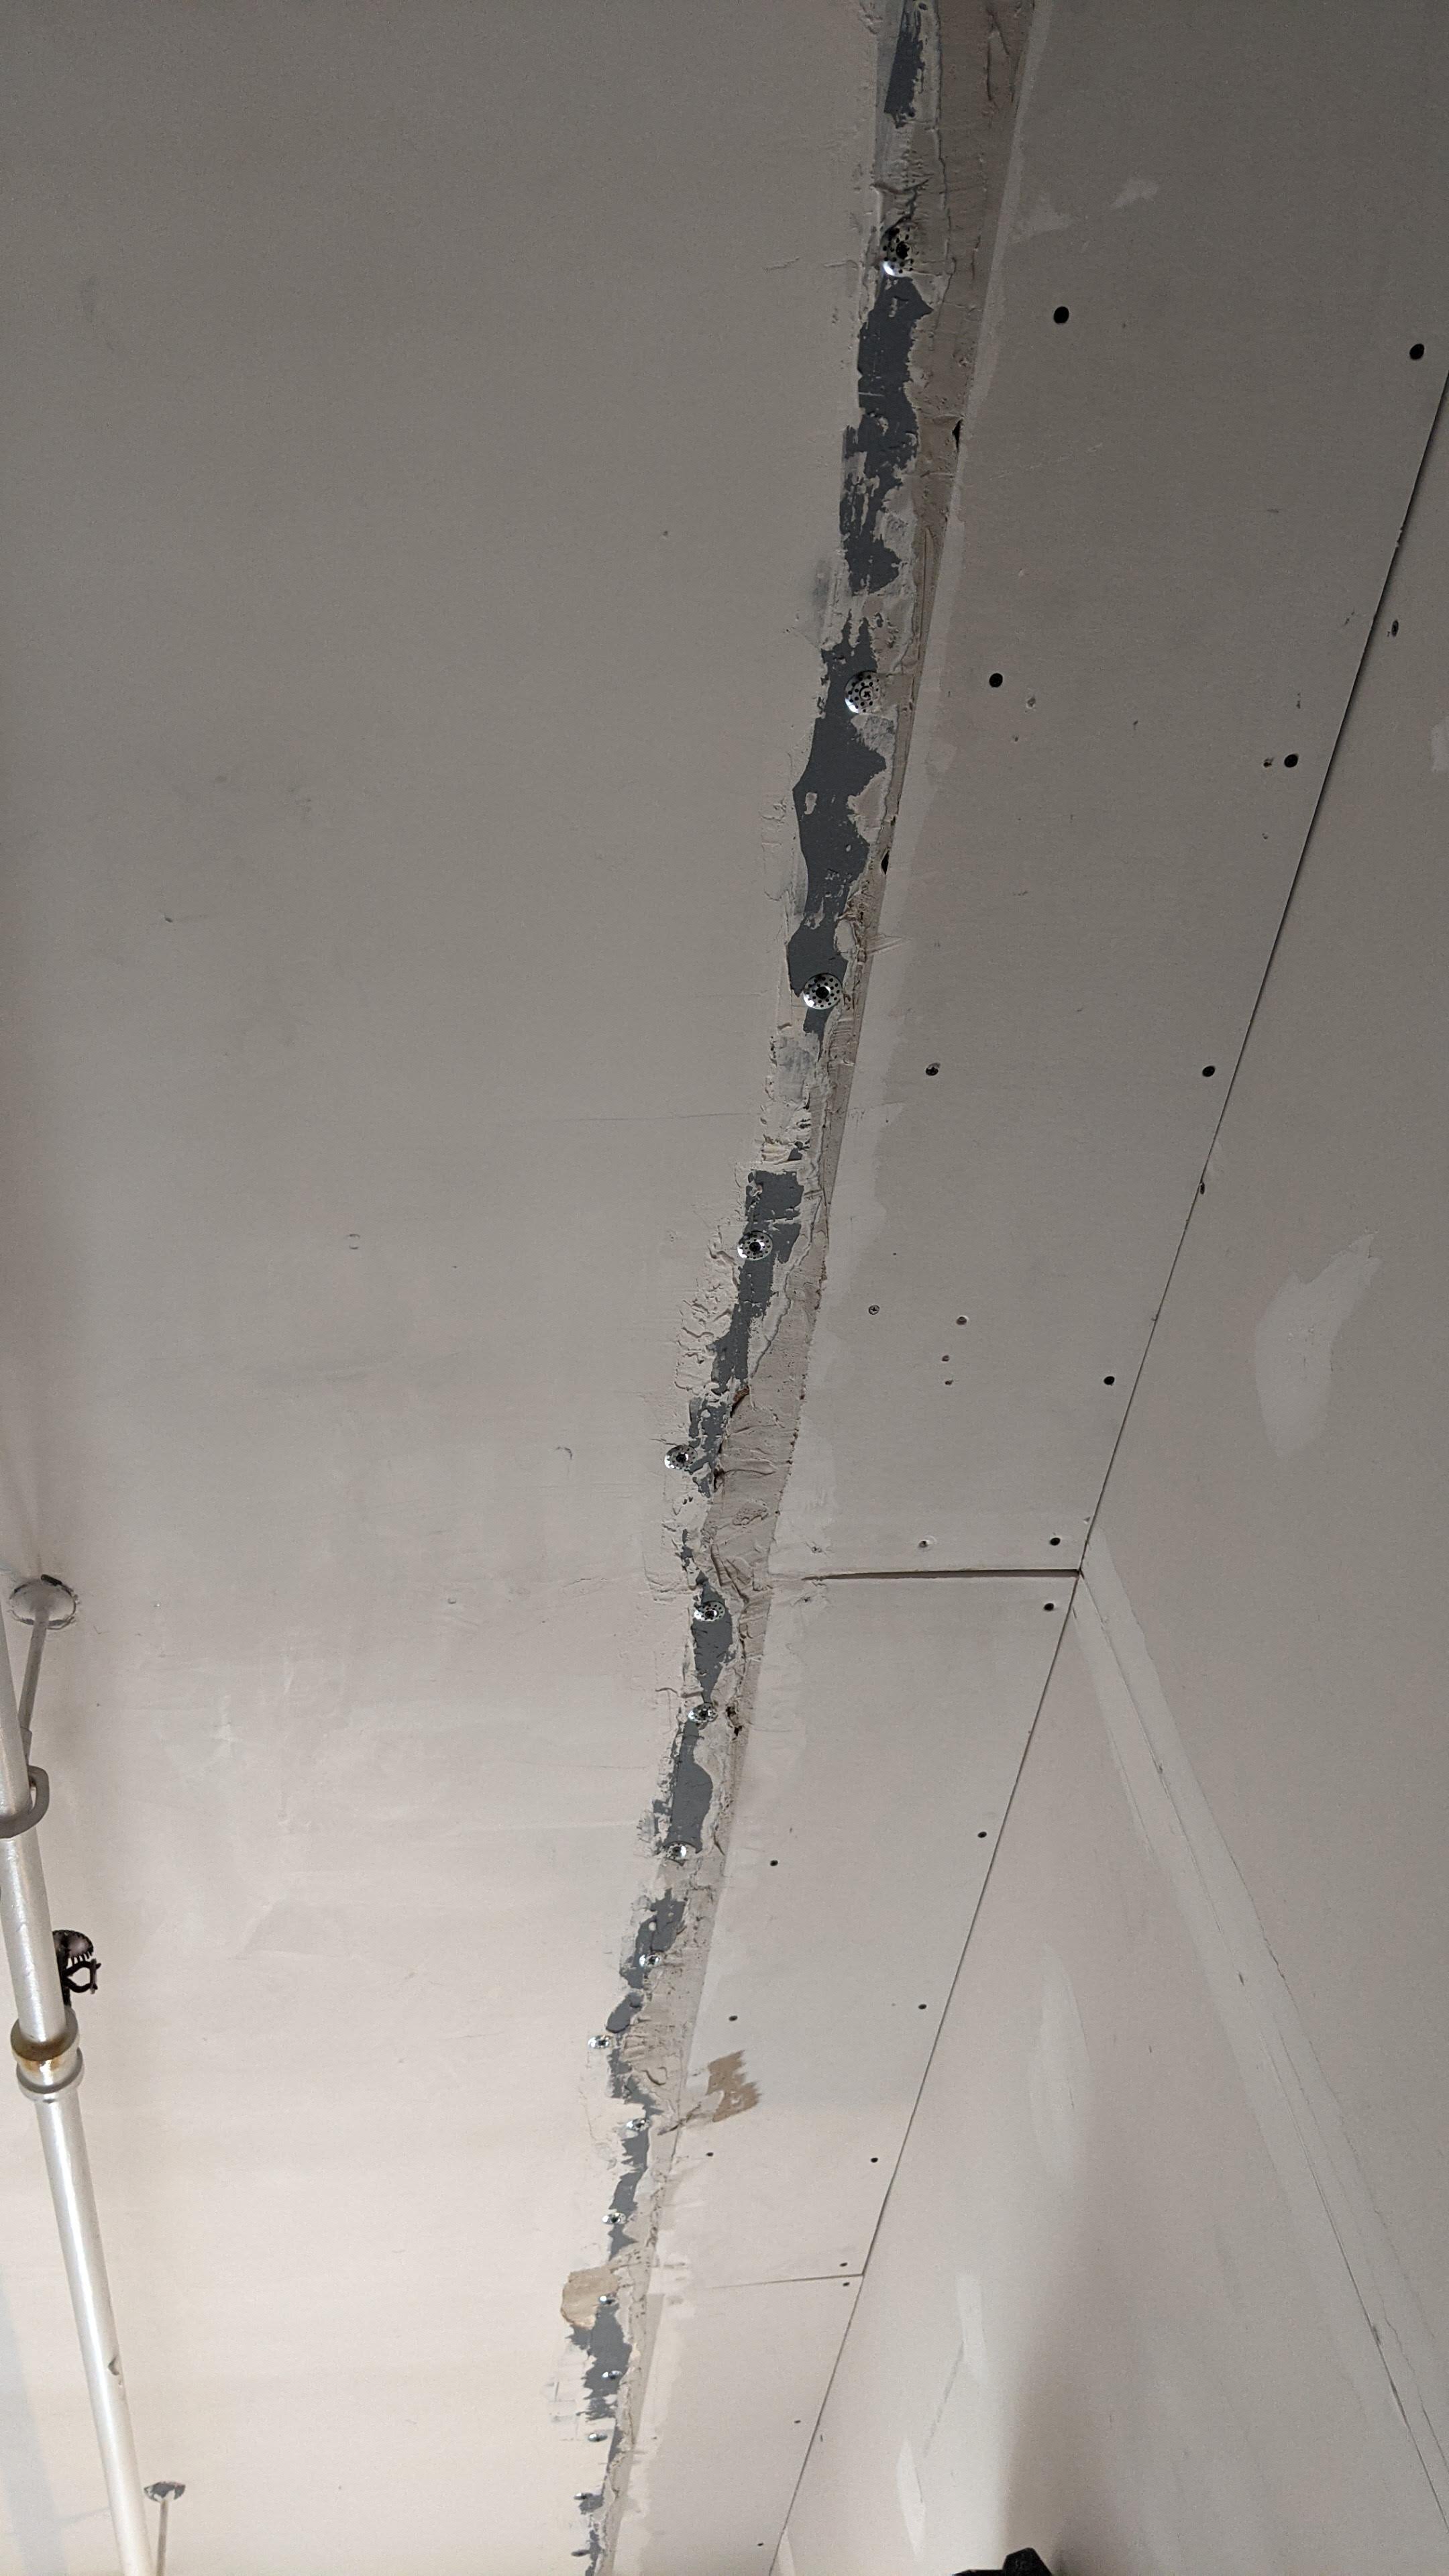
Re-attached plaster to the lath where needed
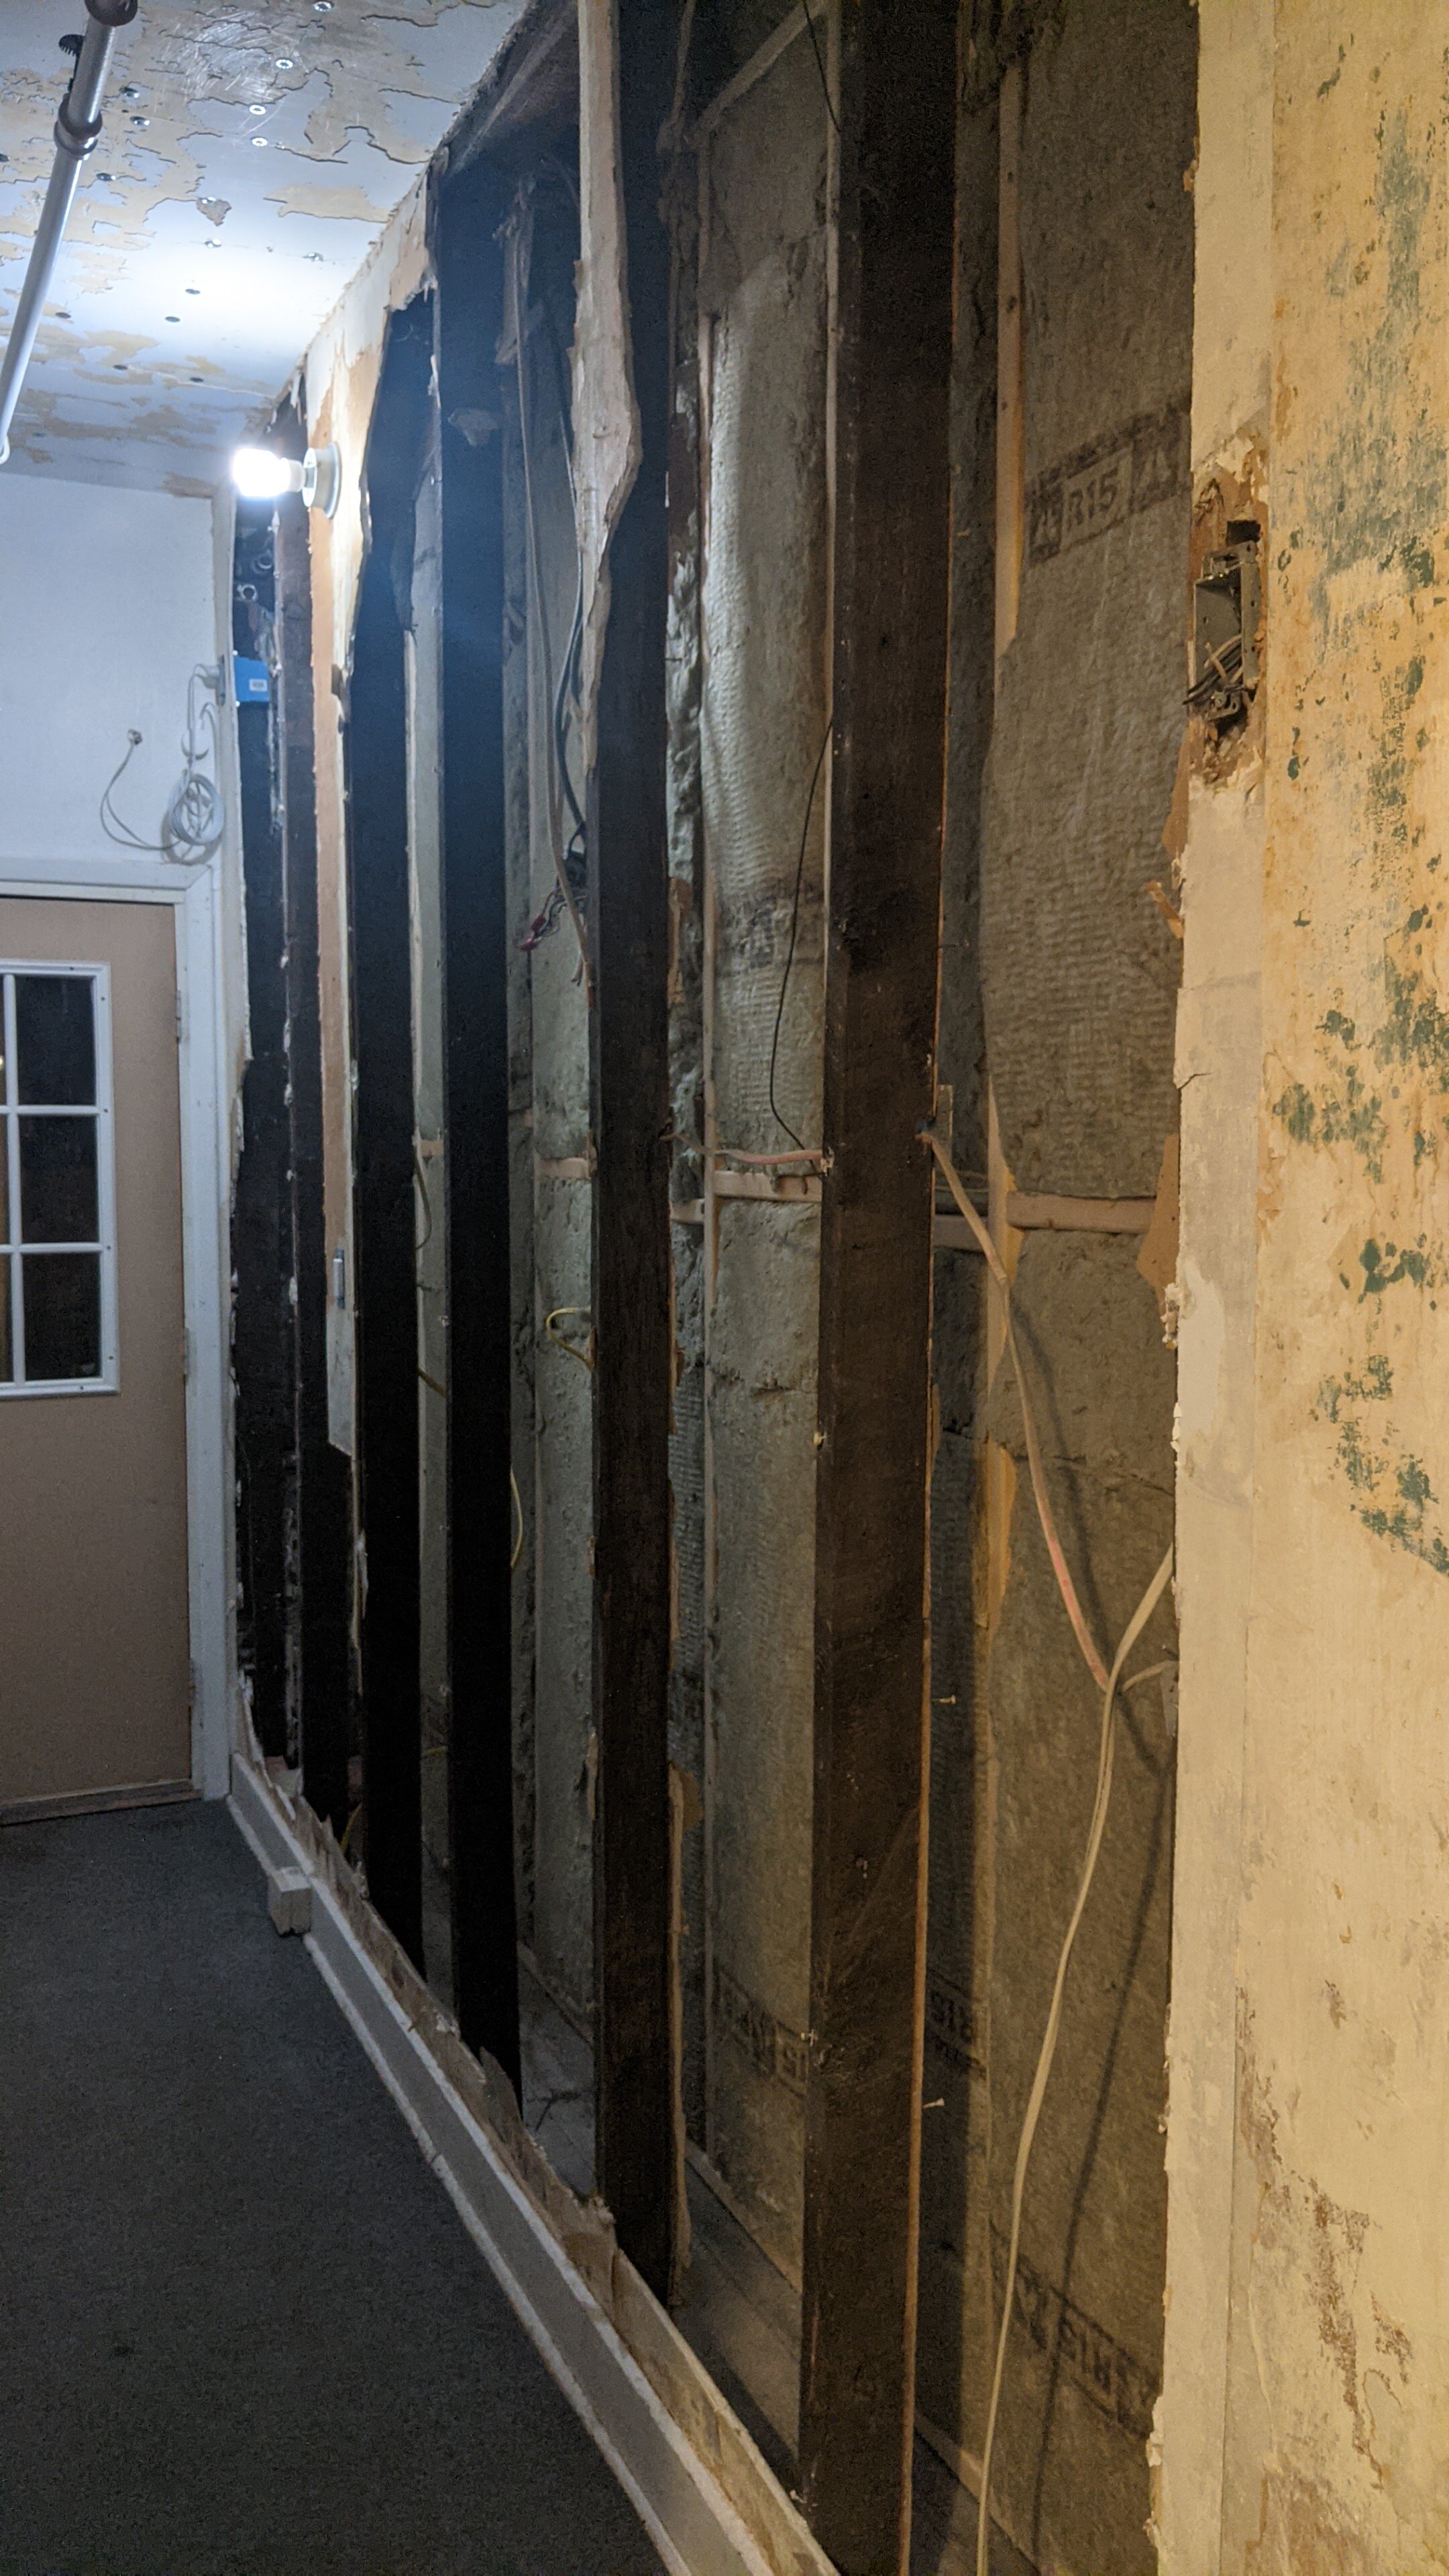
Removed an extra wall to widen the hallway
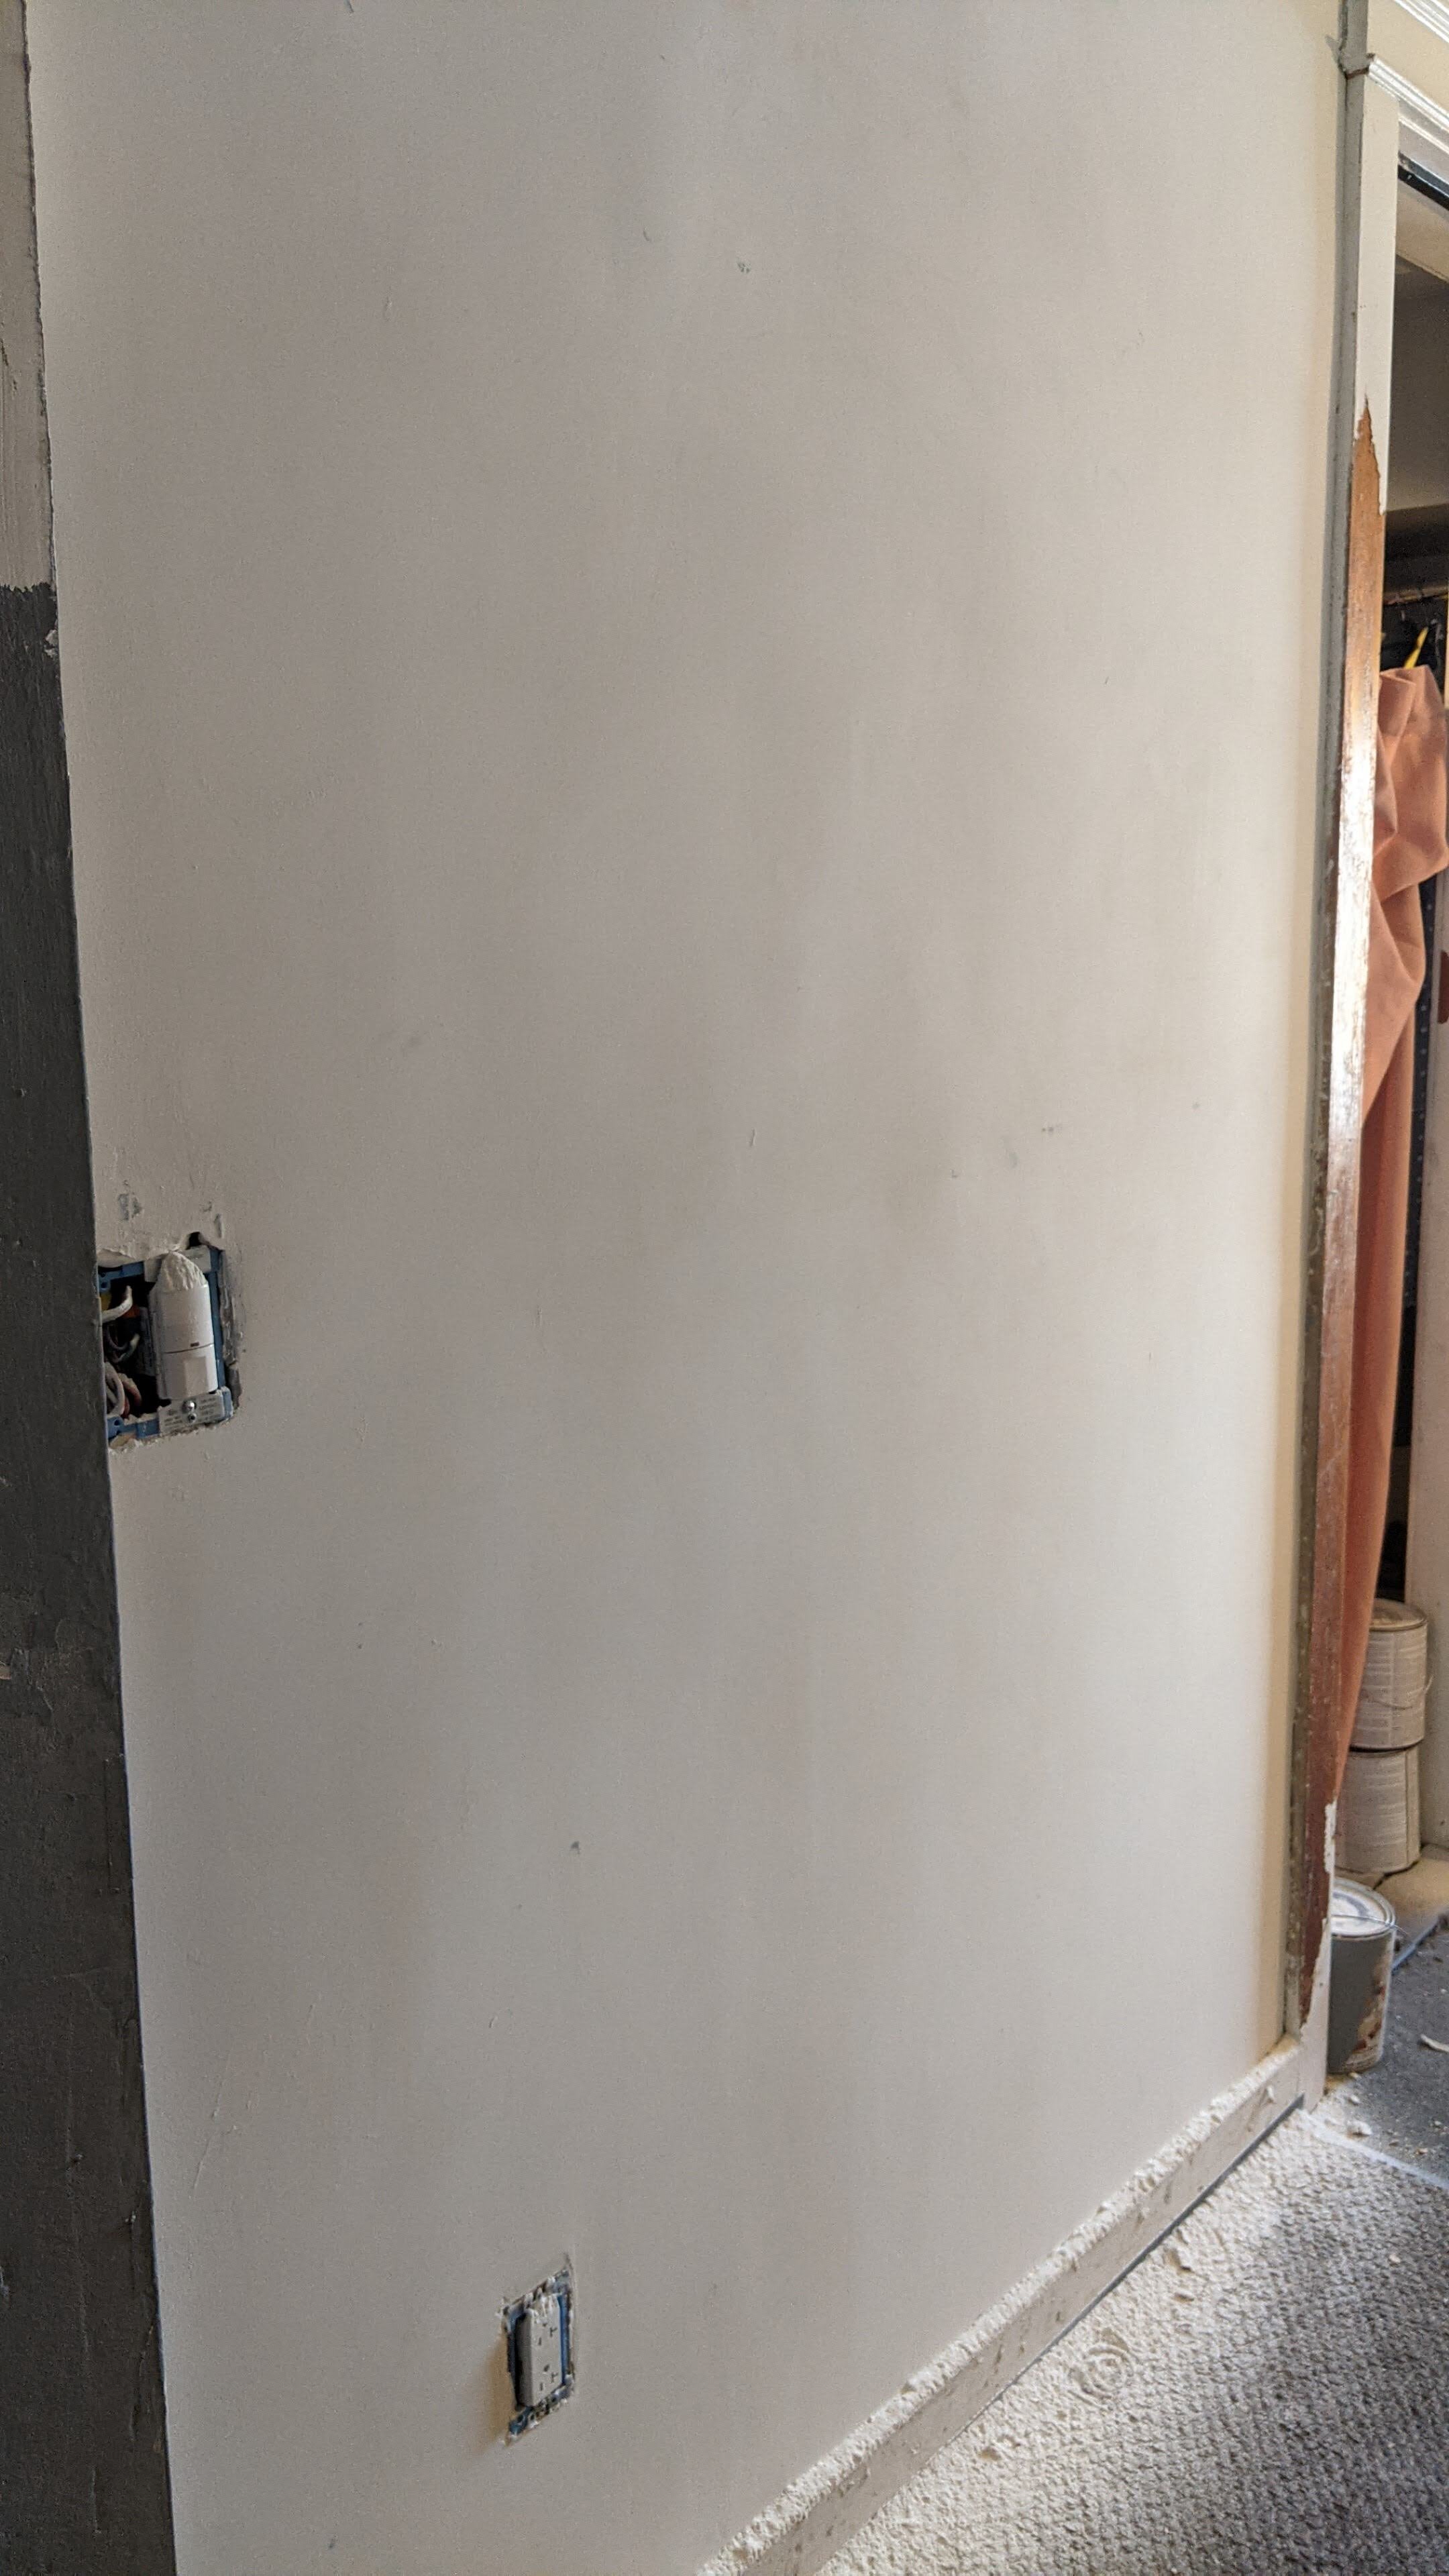
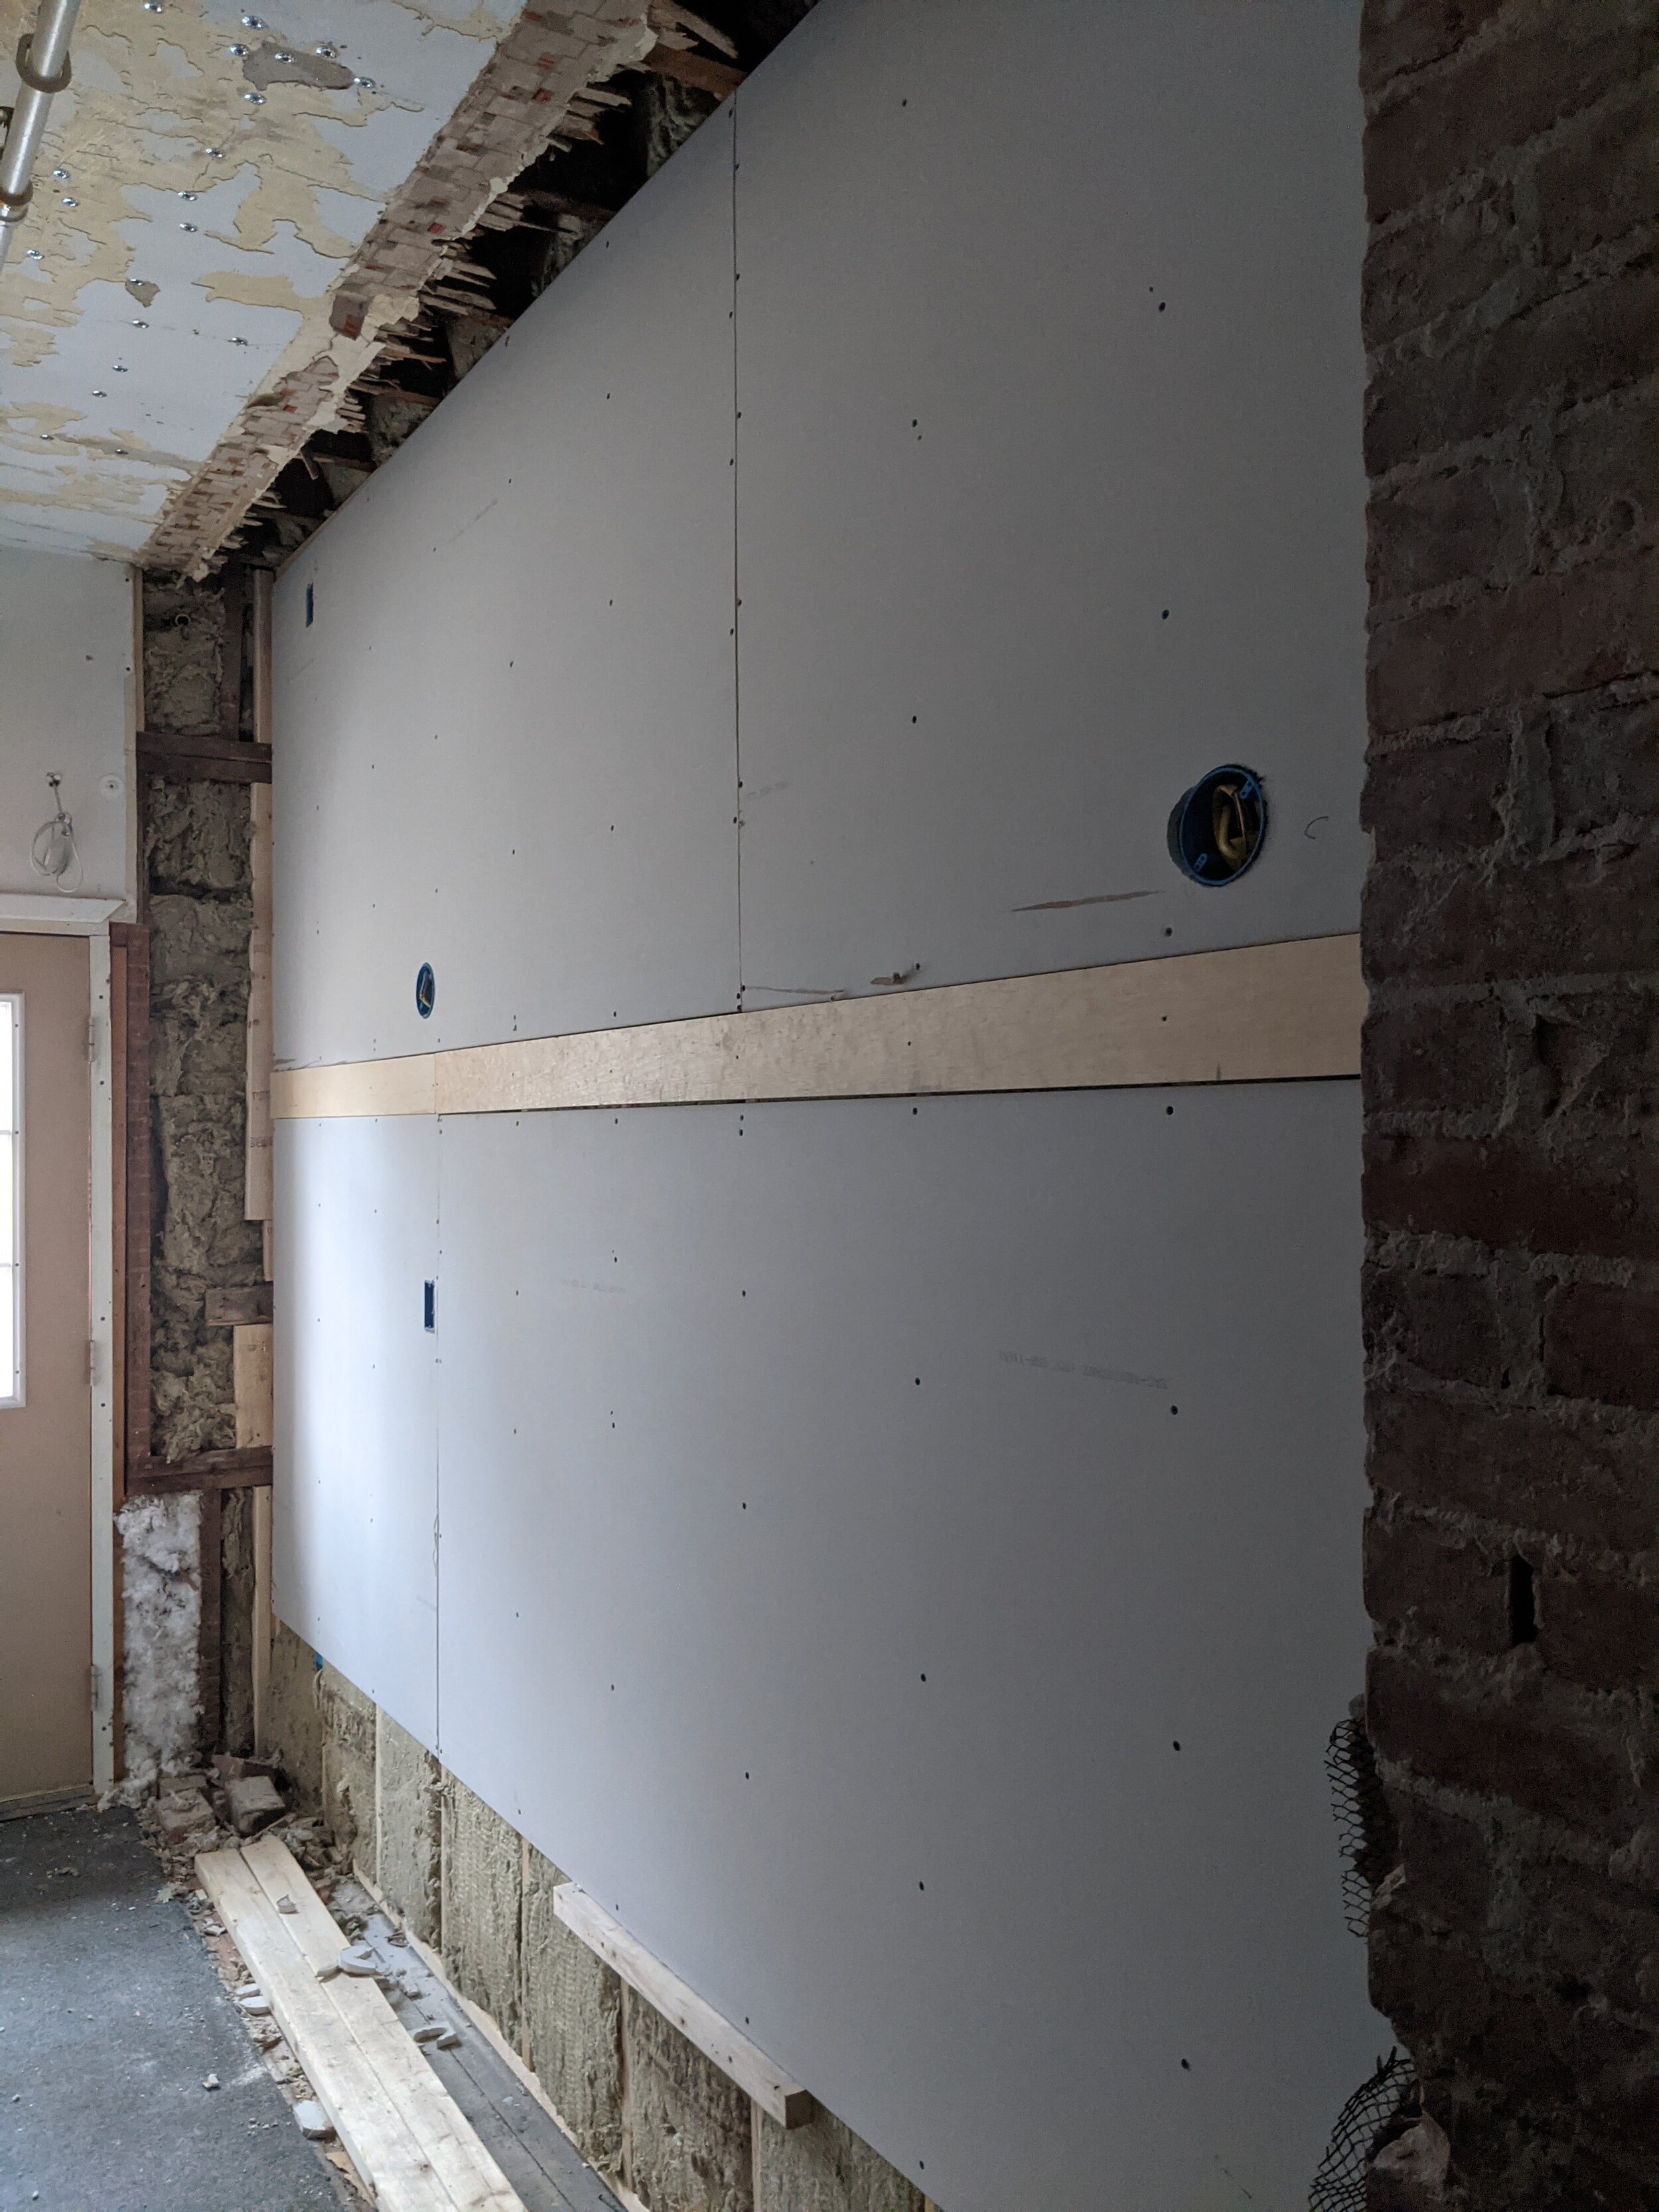
Drywalled where needed
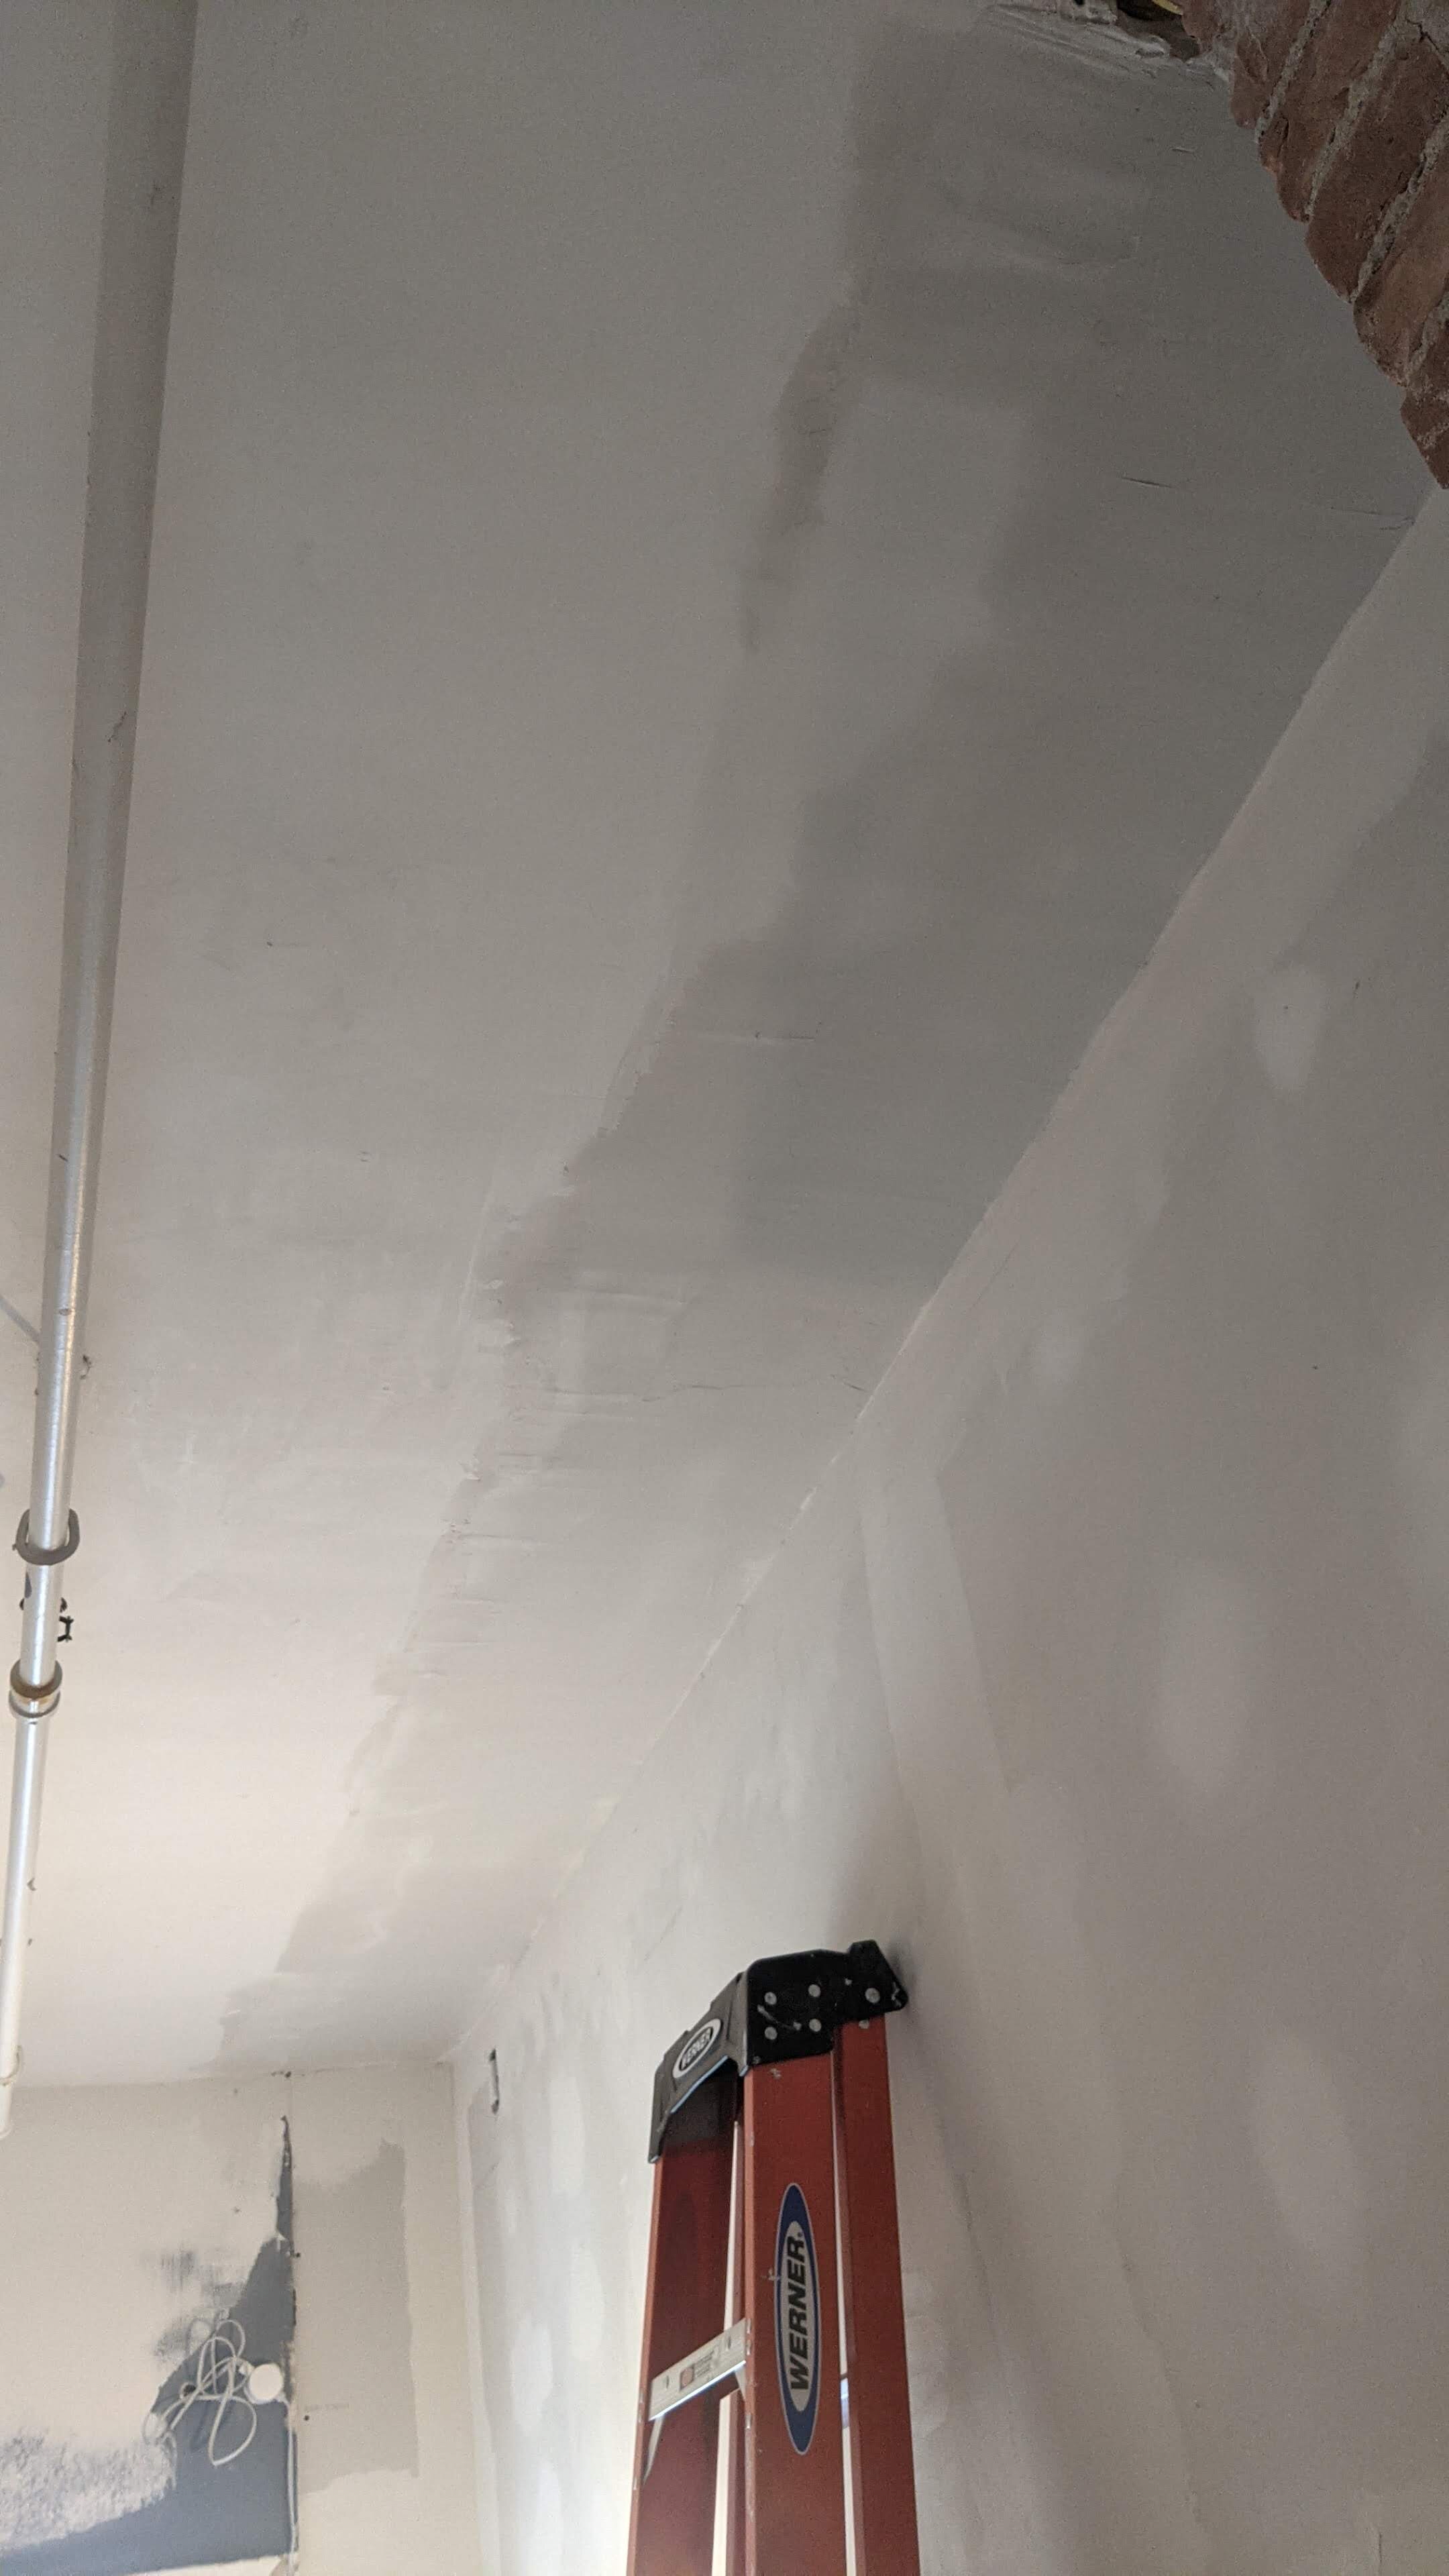
Skim coated plaster walls and mudded joints in newly installed drywall
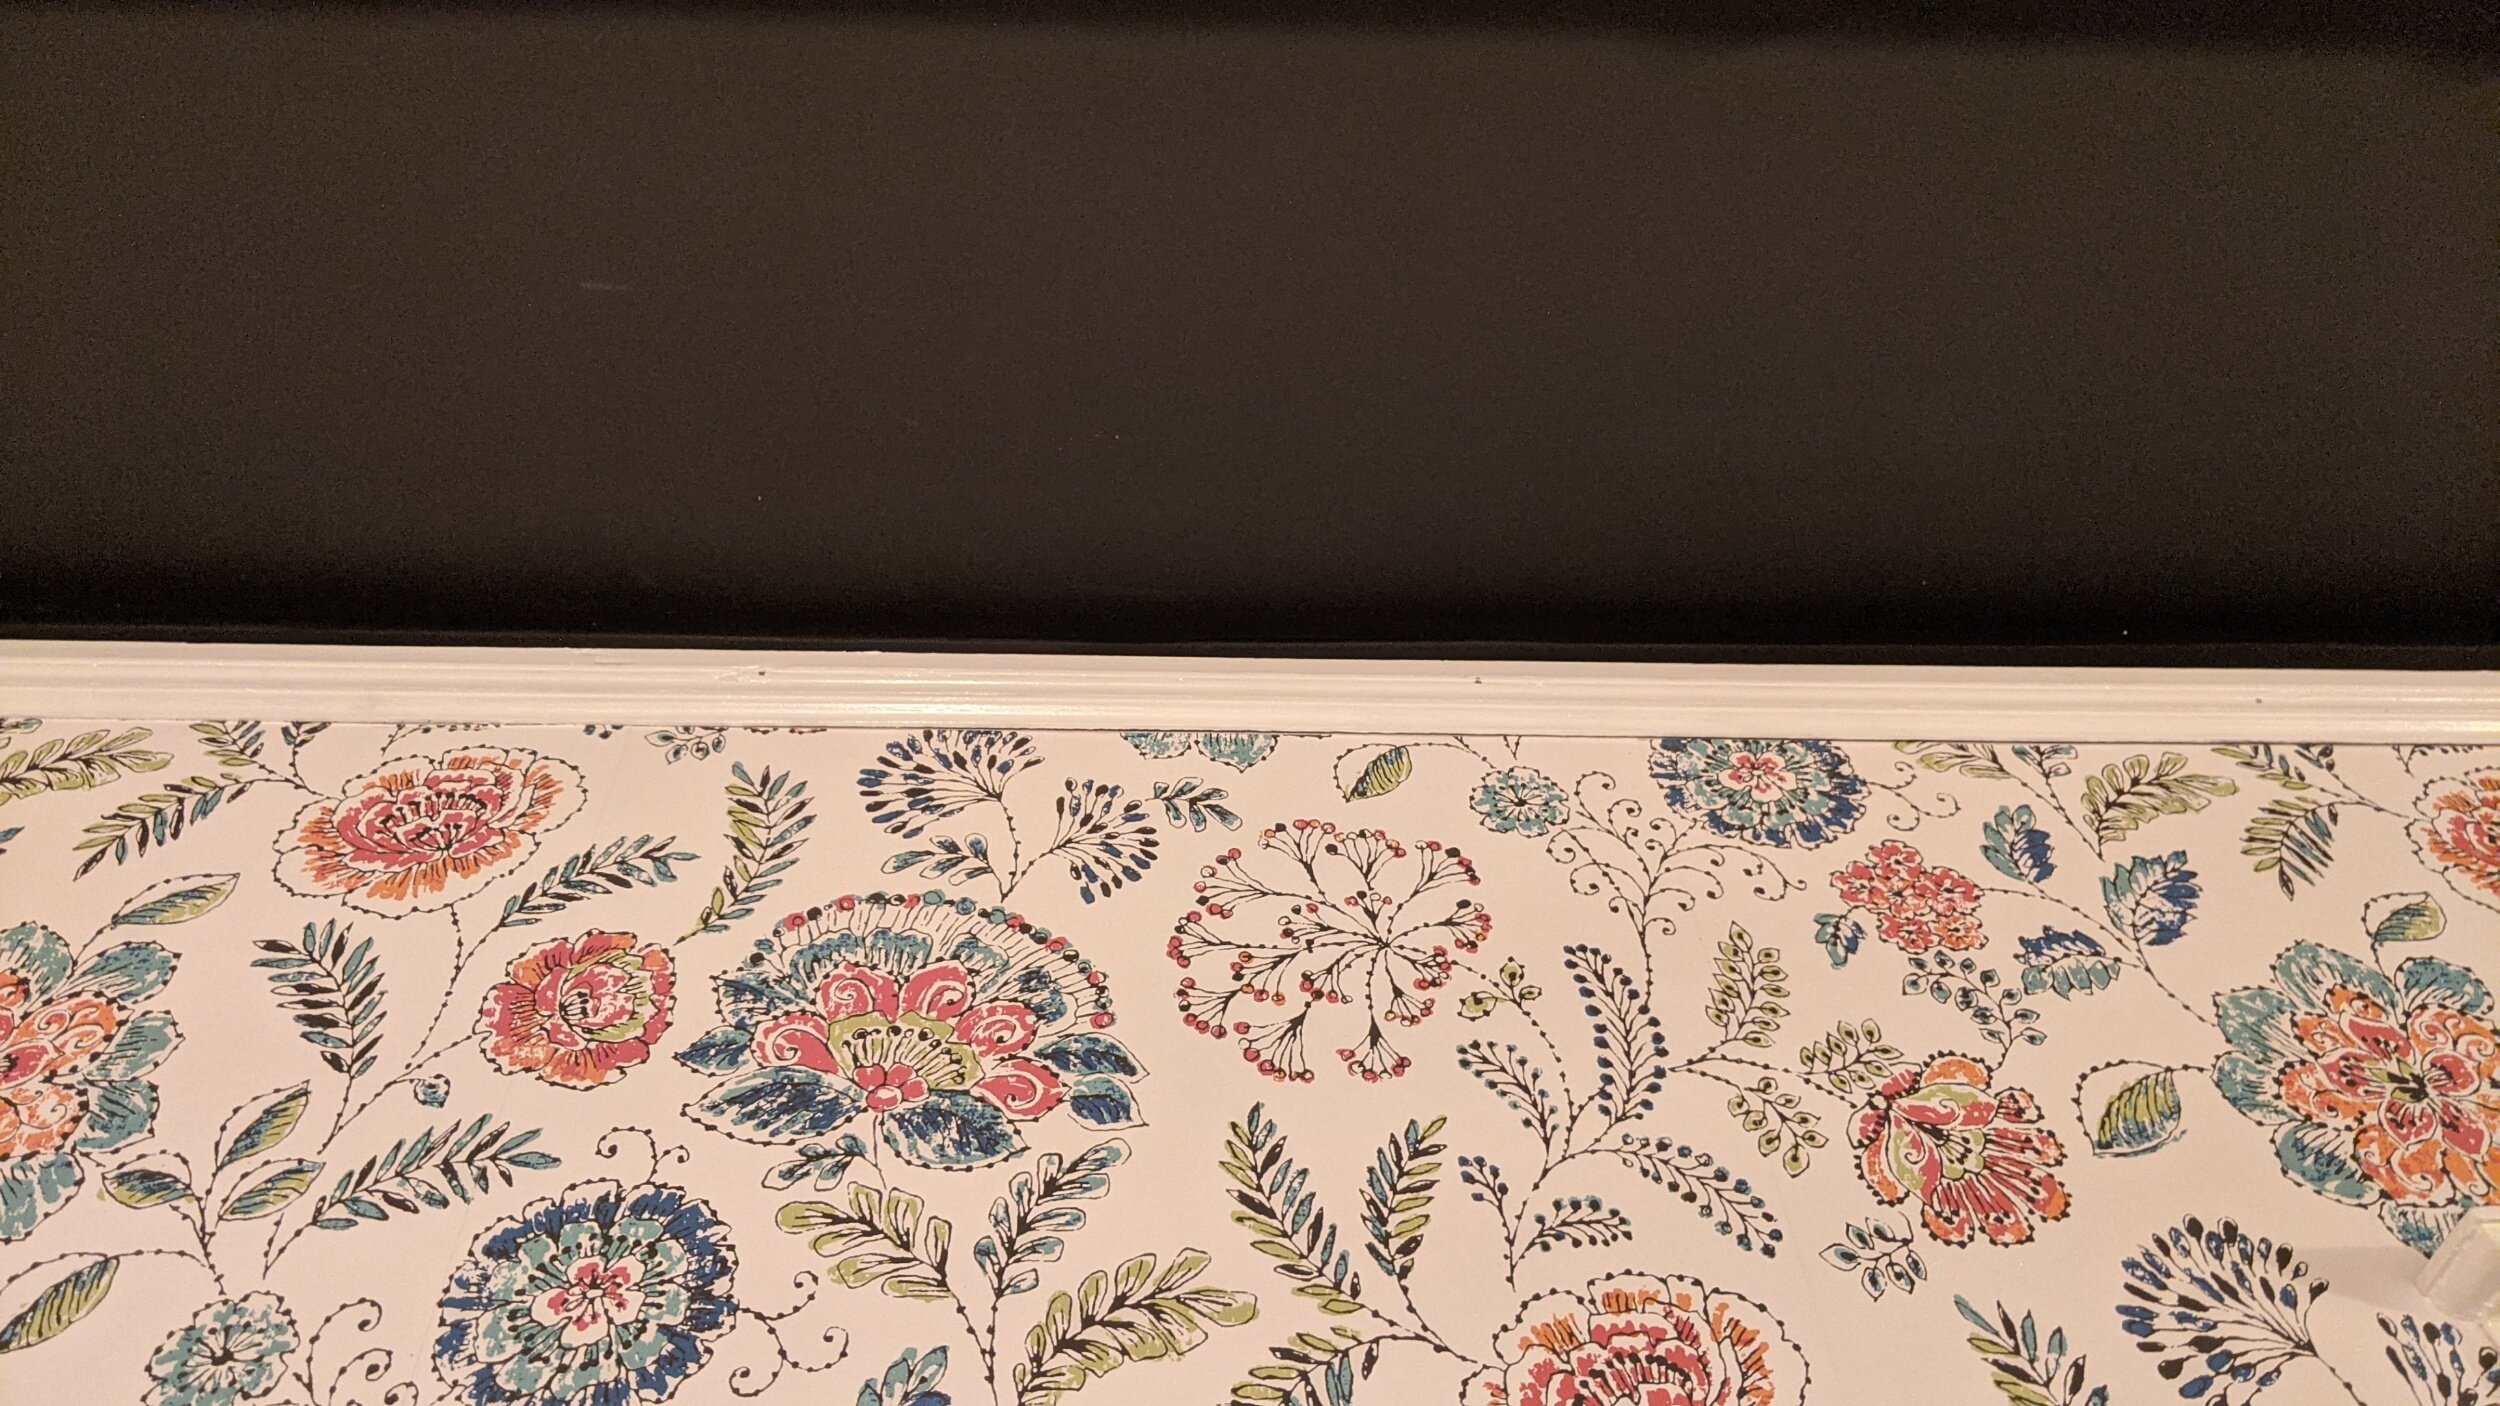
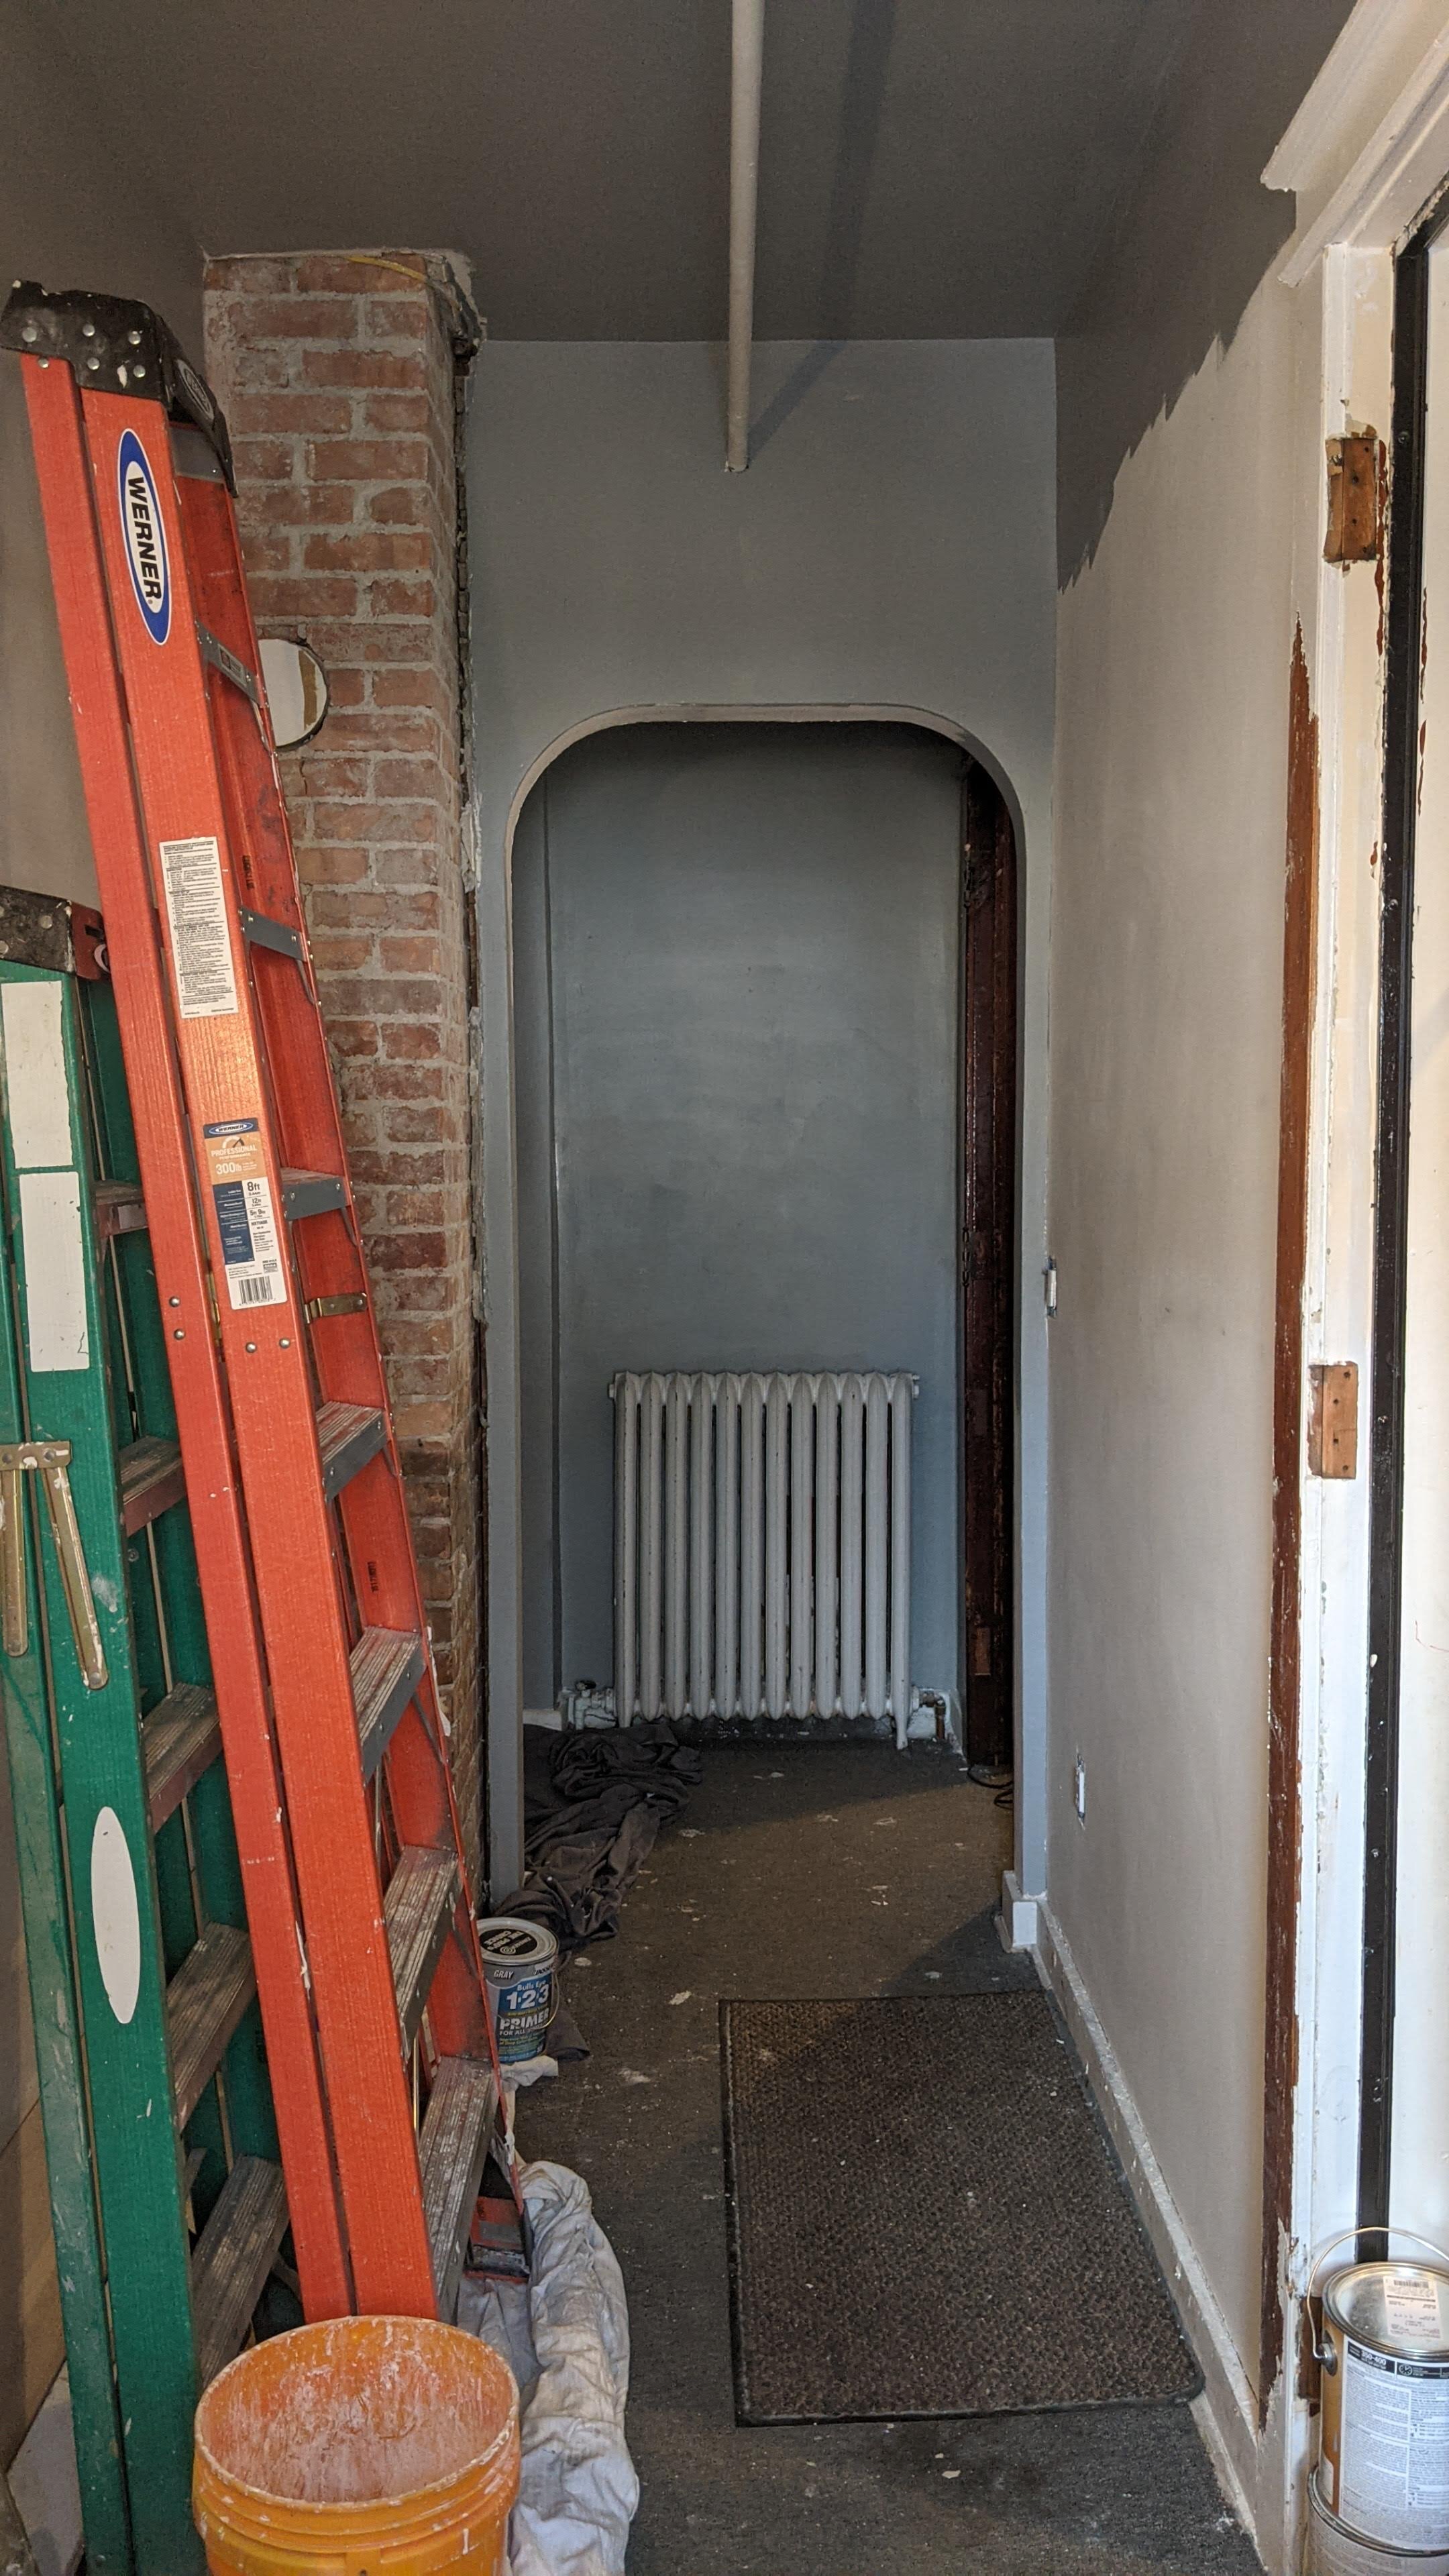
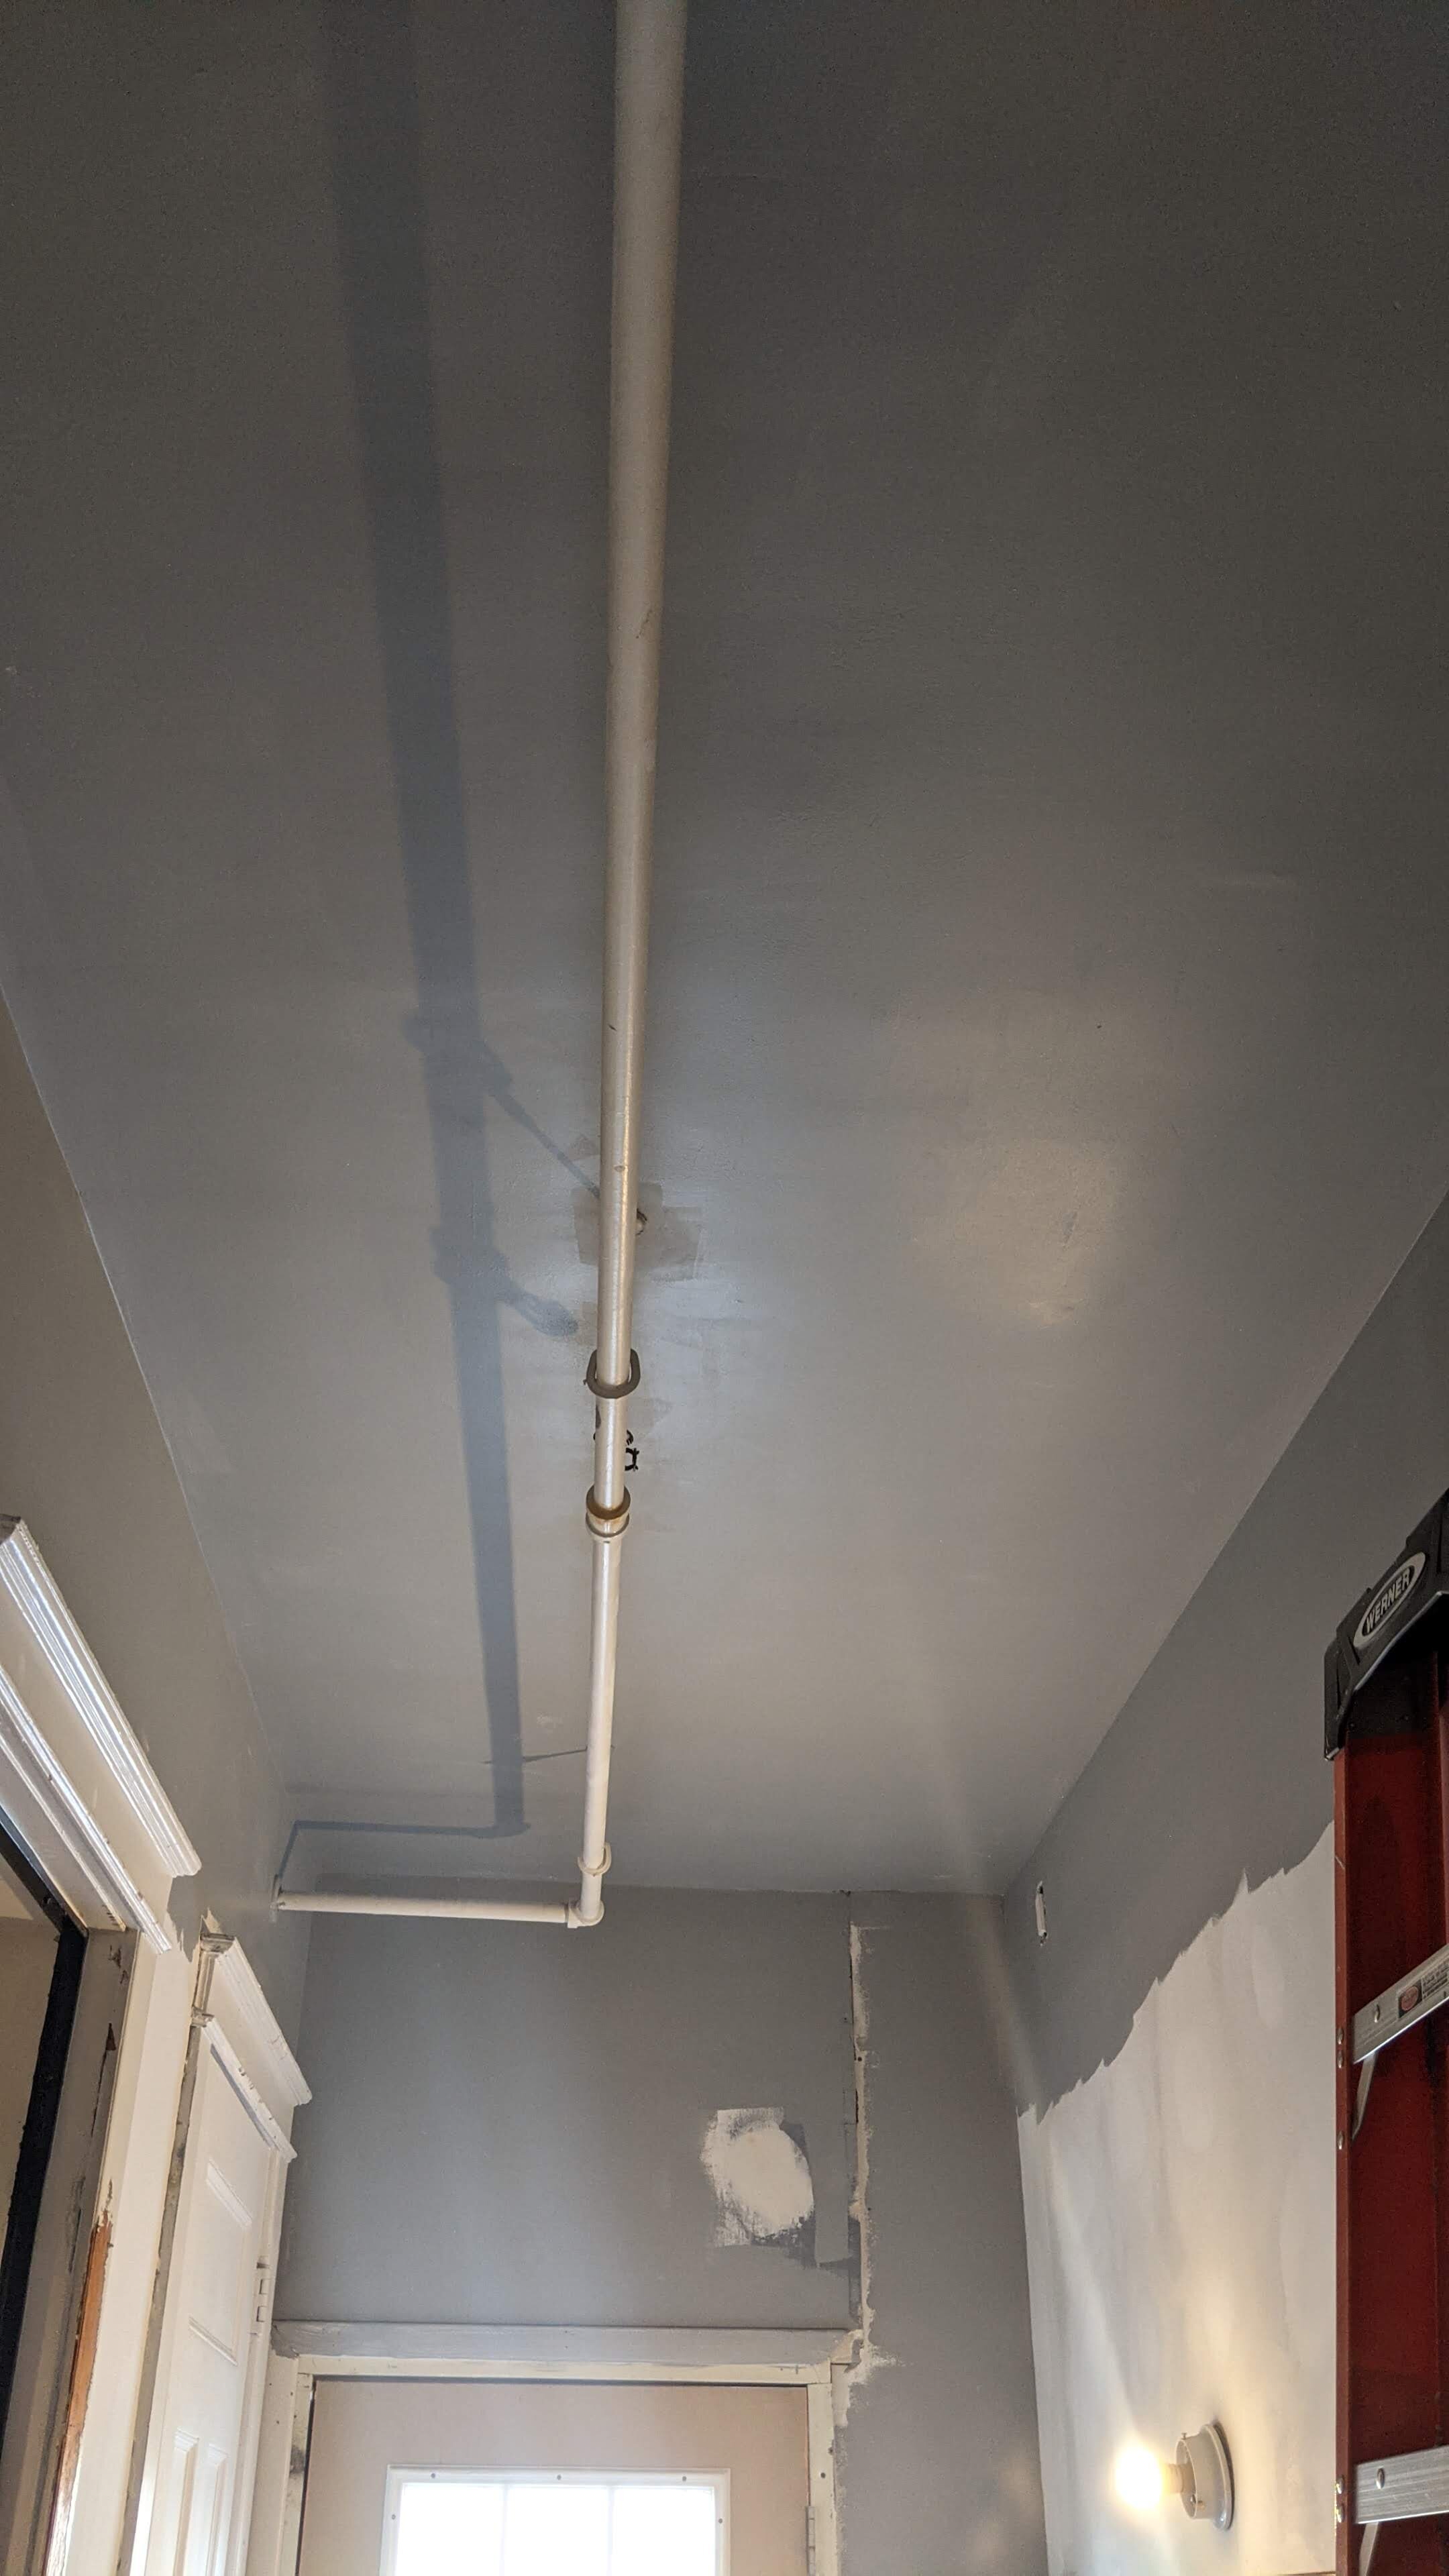
Primed all surfaces. Painted and wallpapered as appropriate
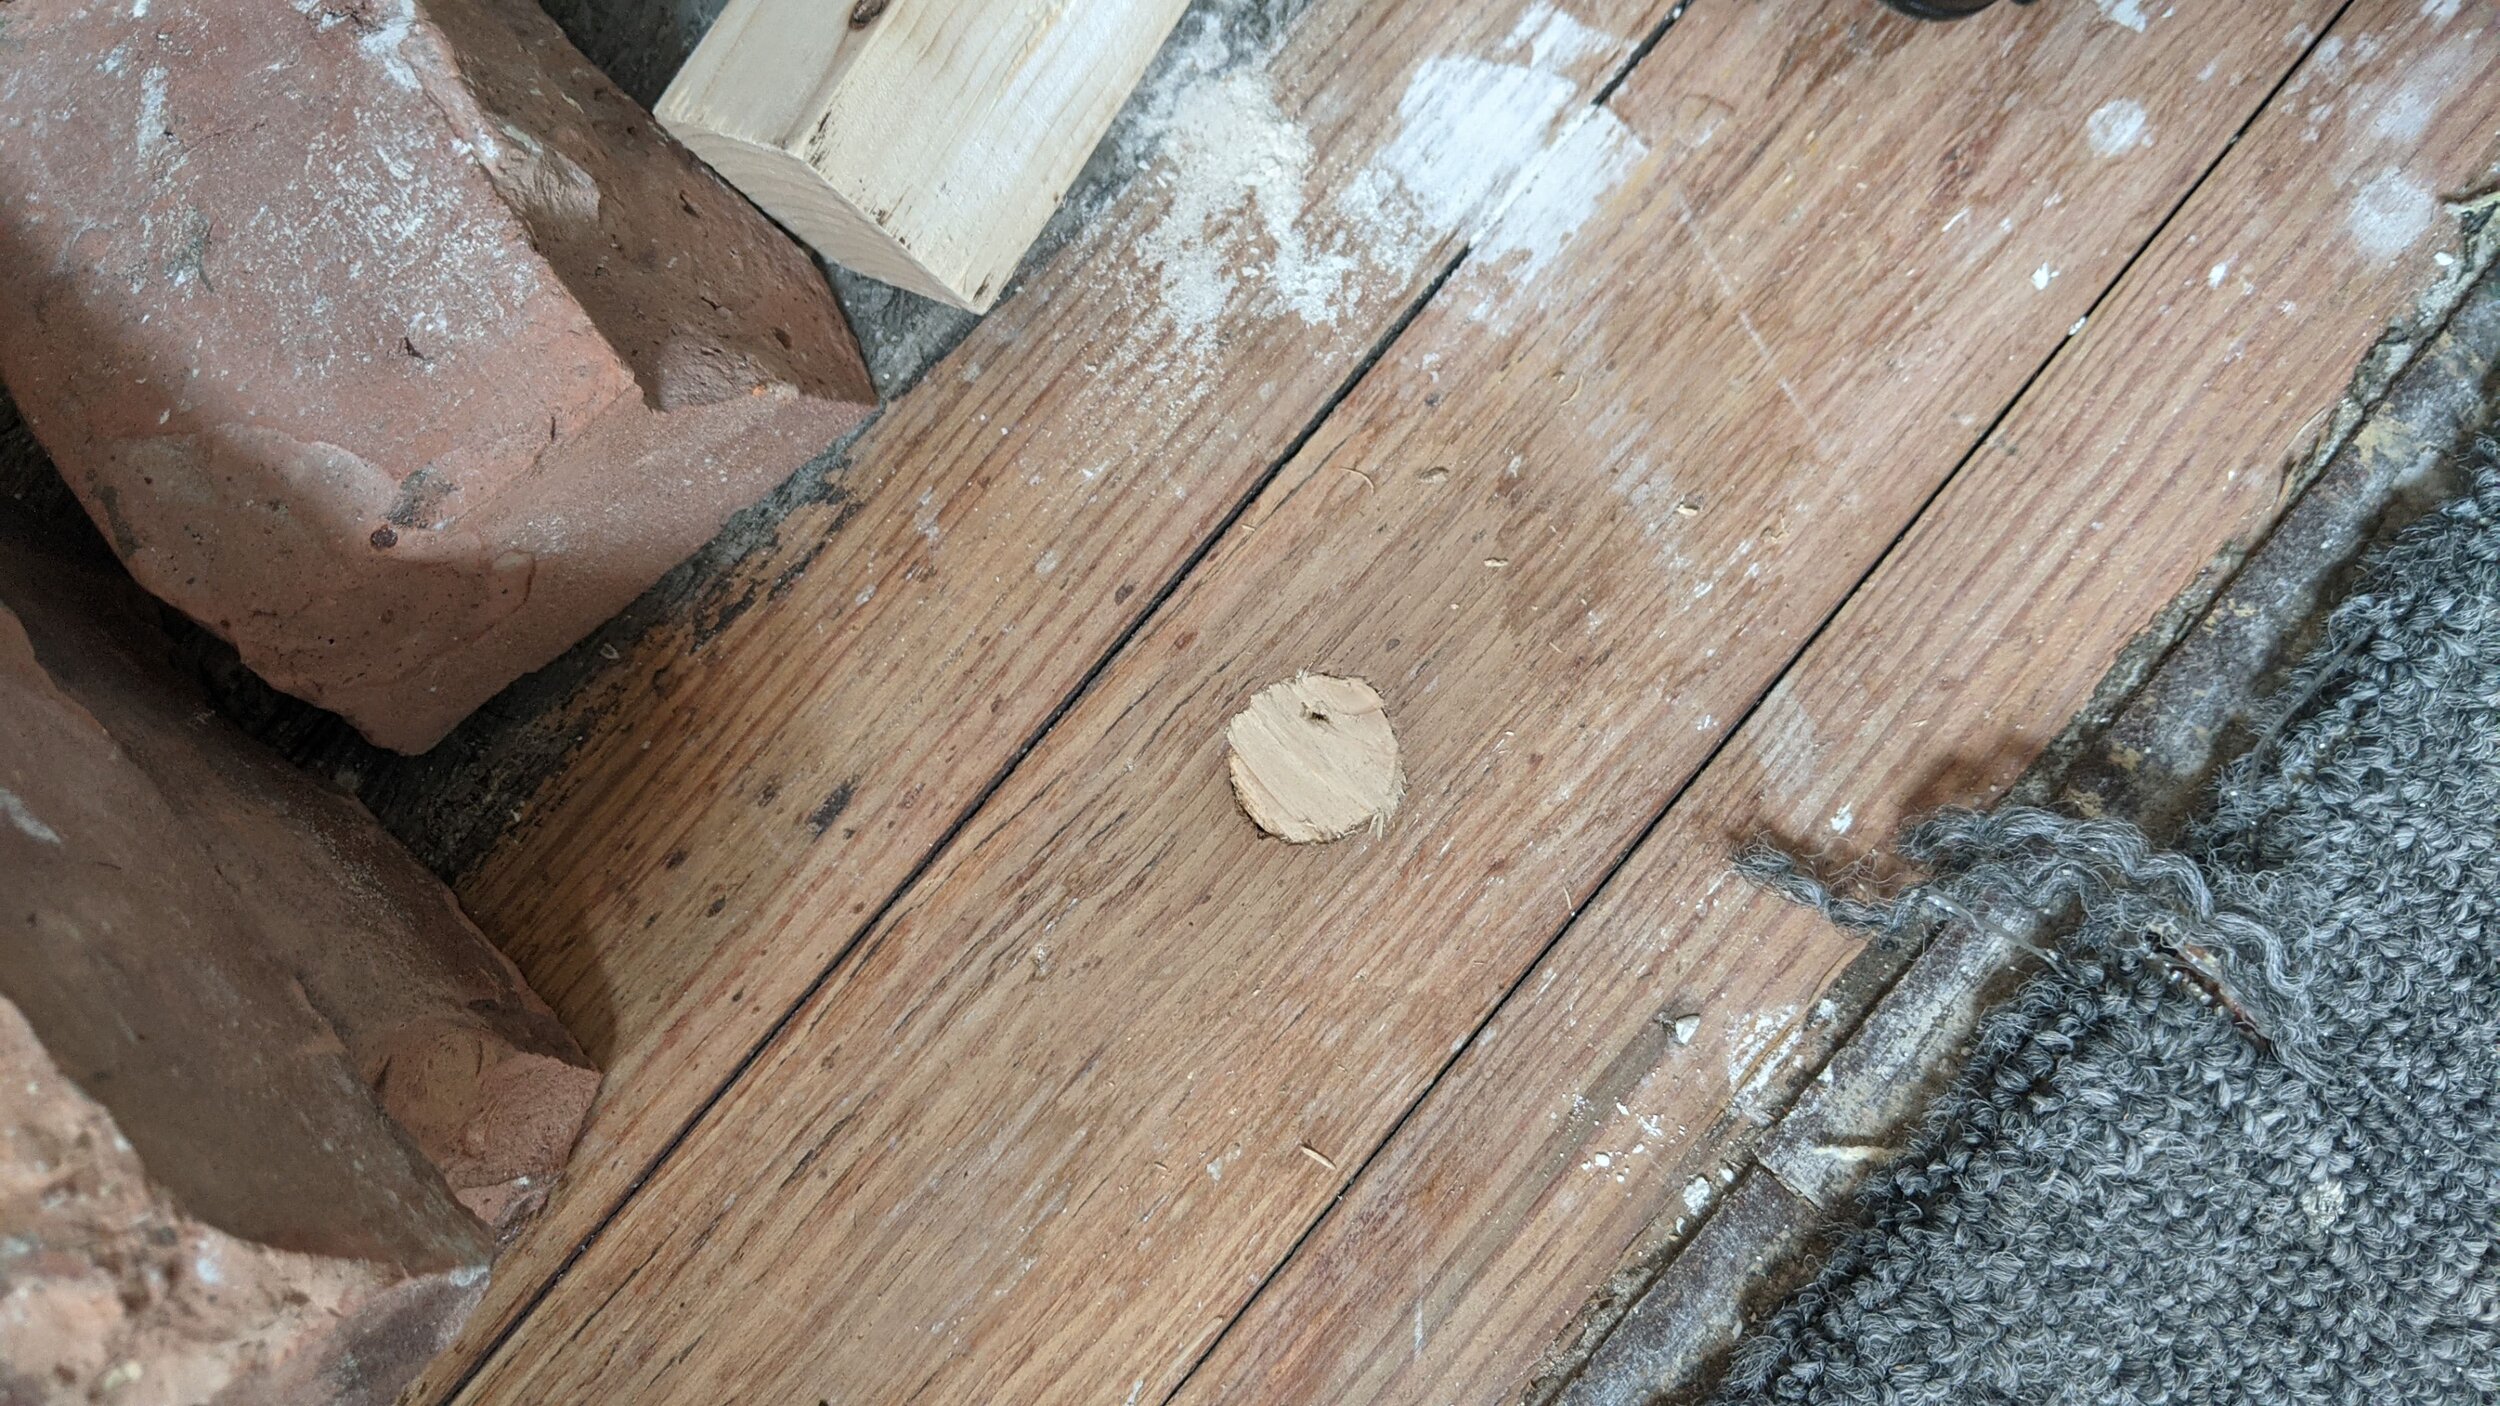
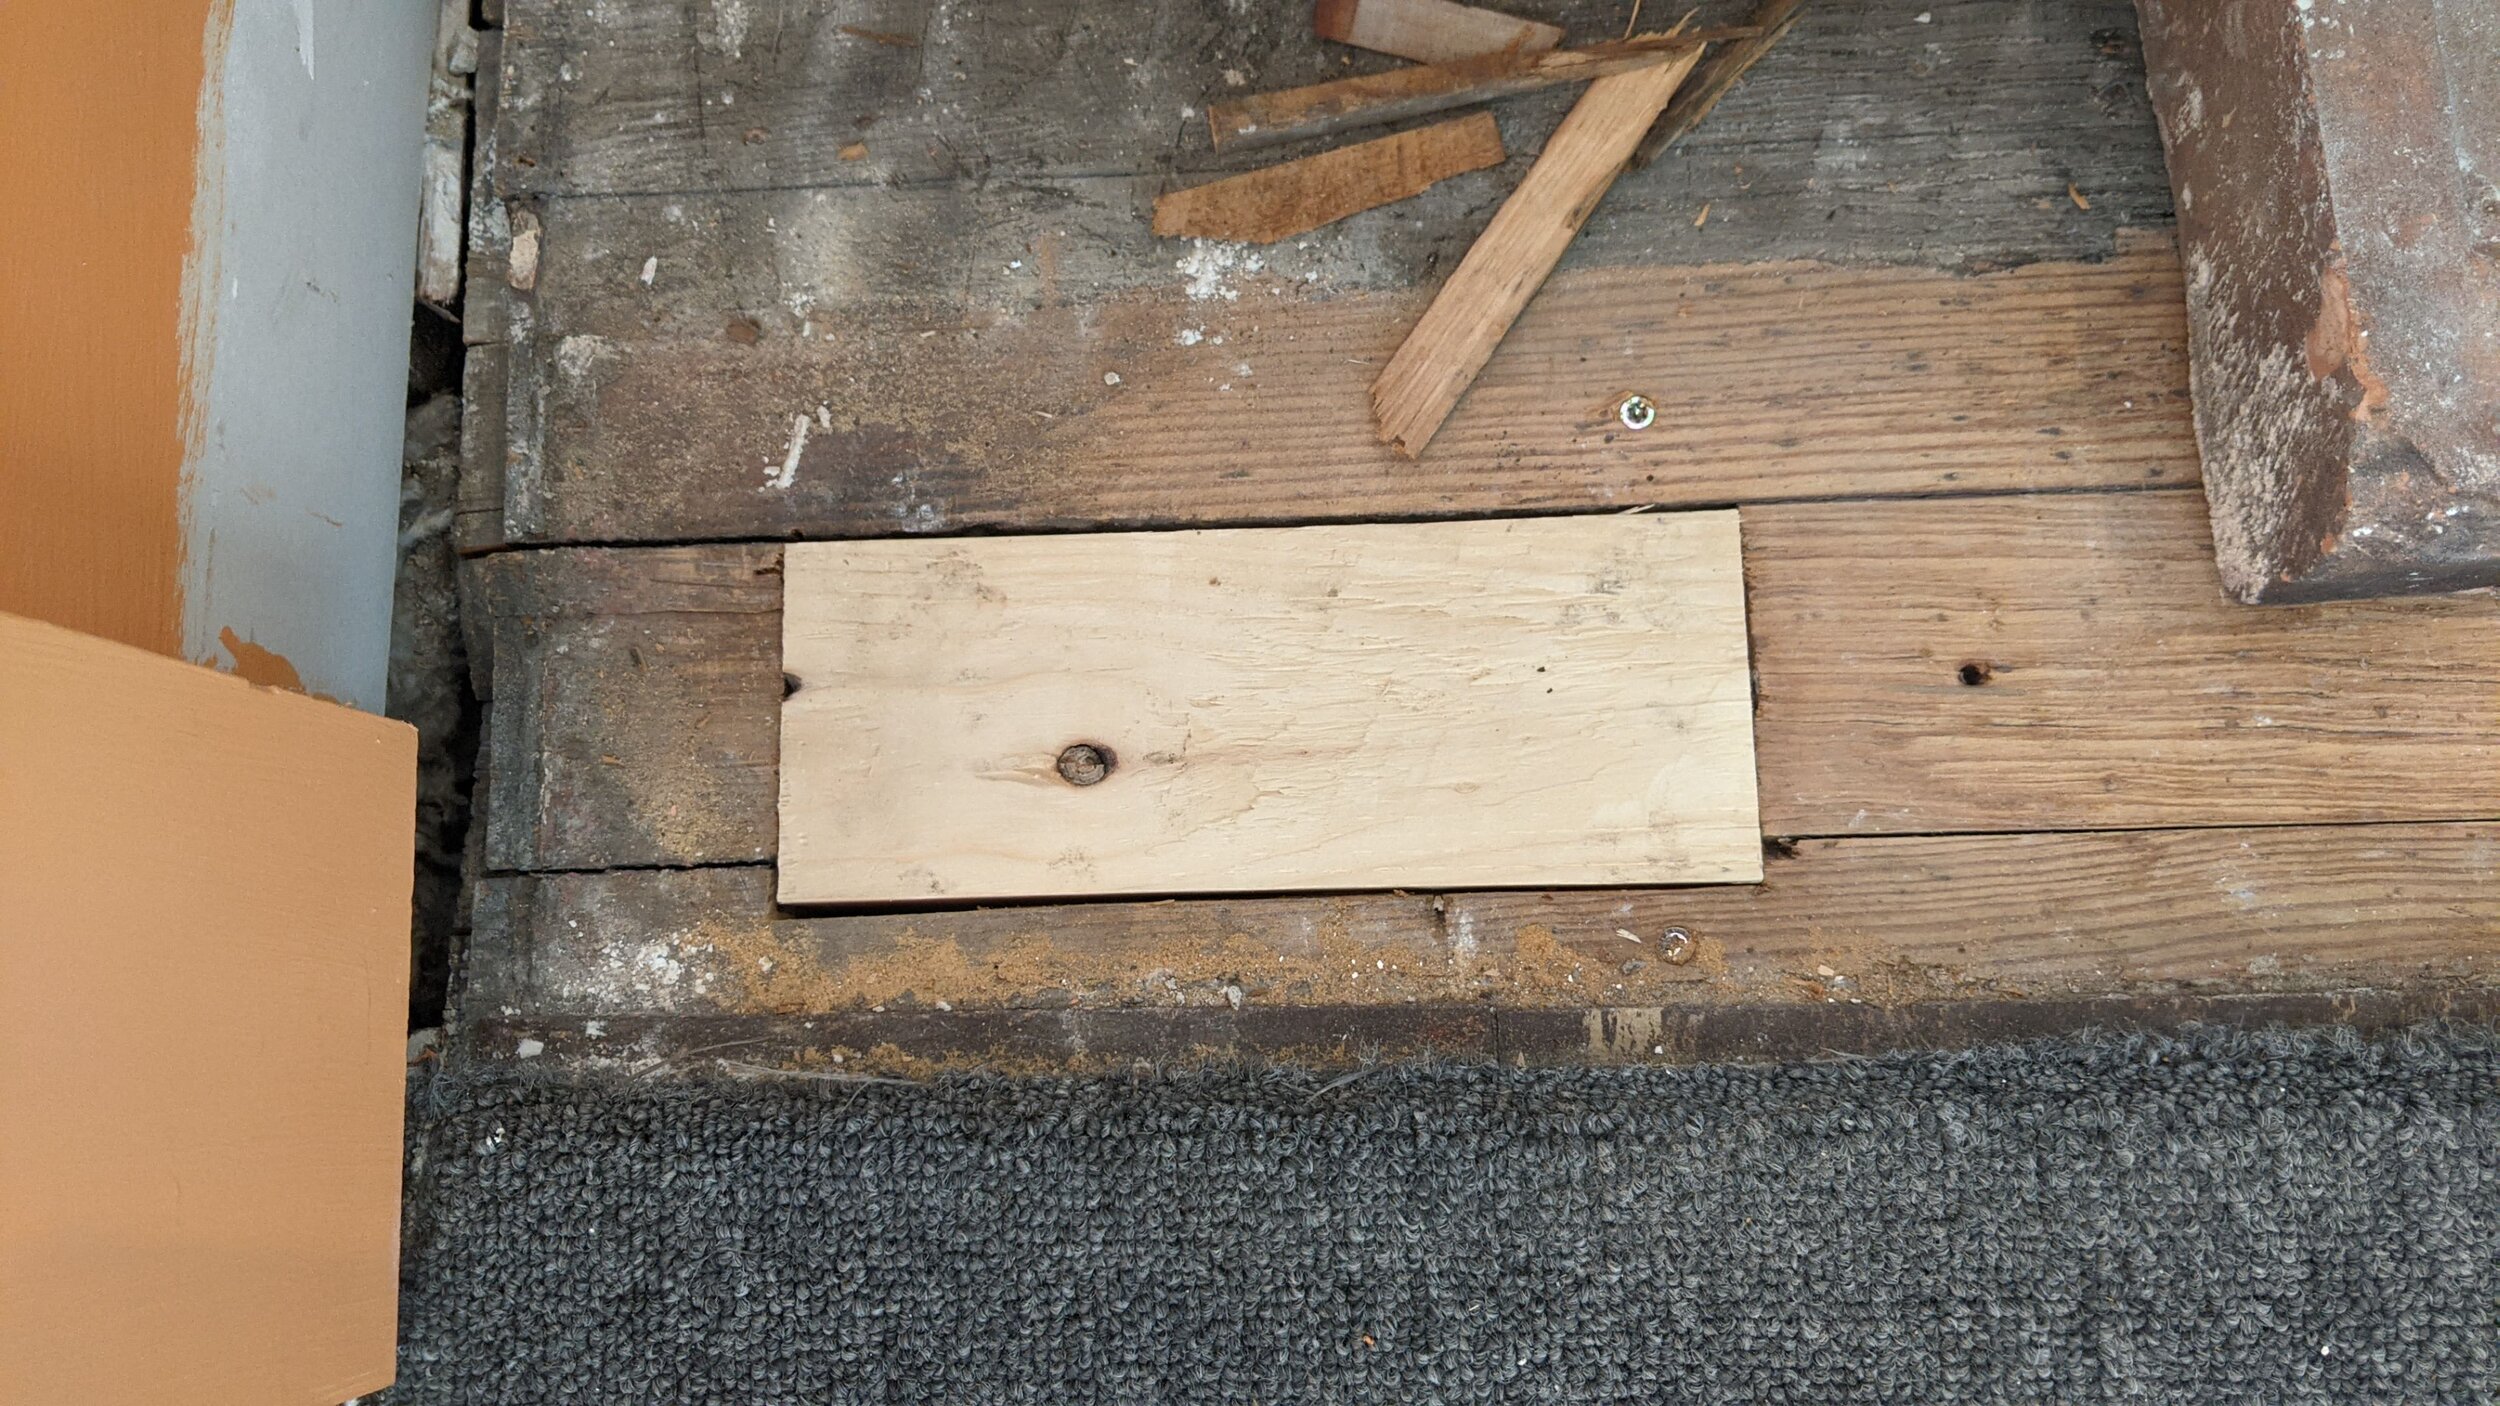
Fill holes in floor
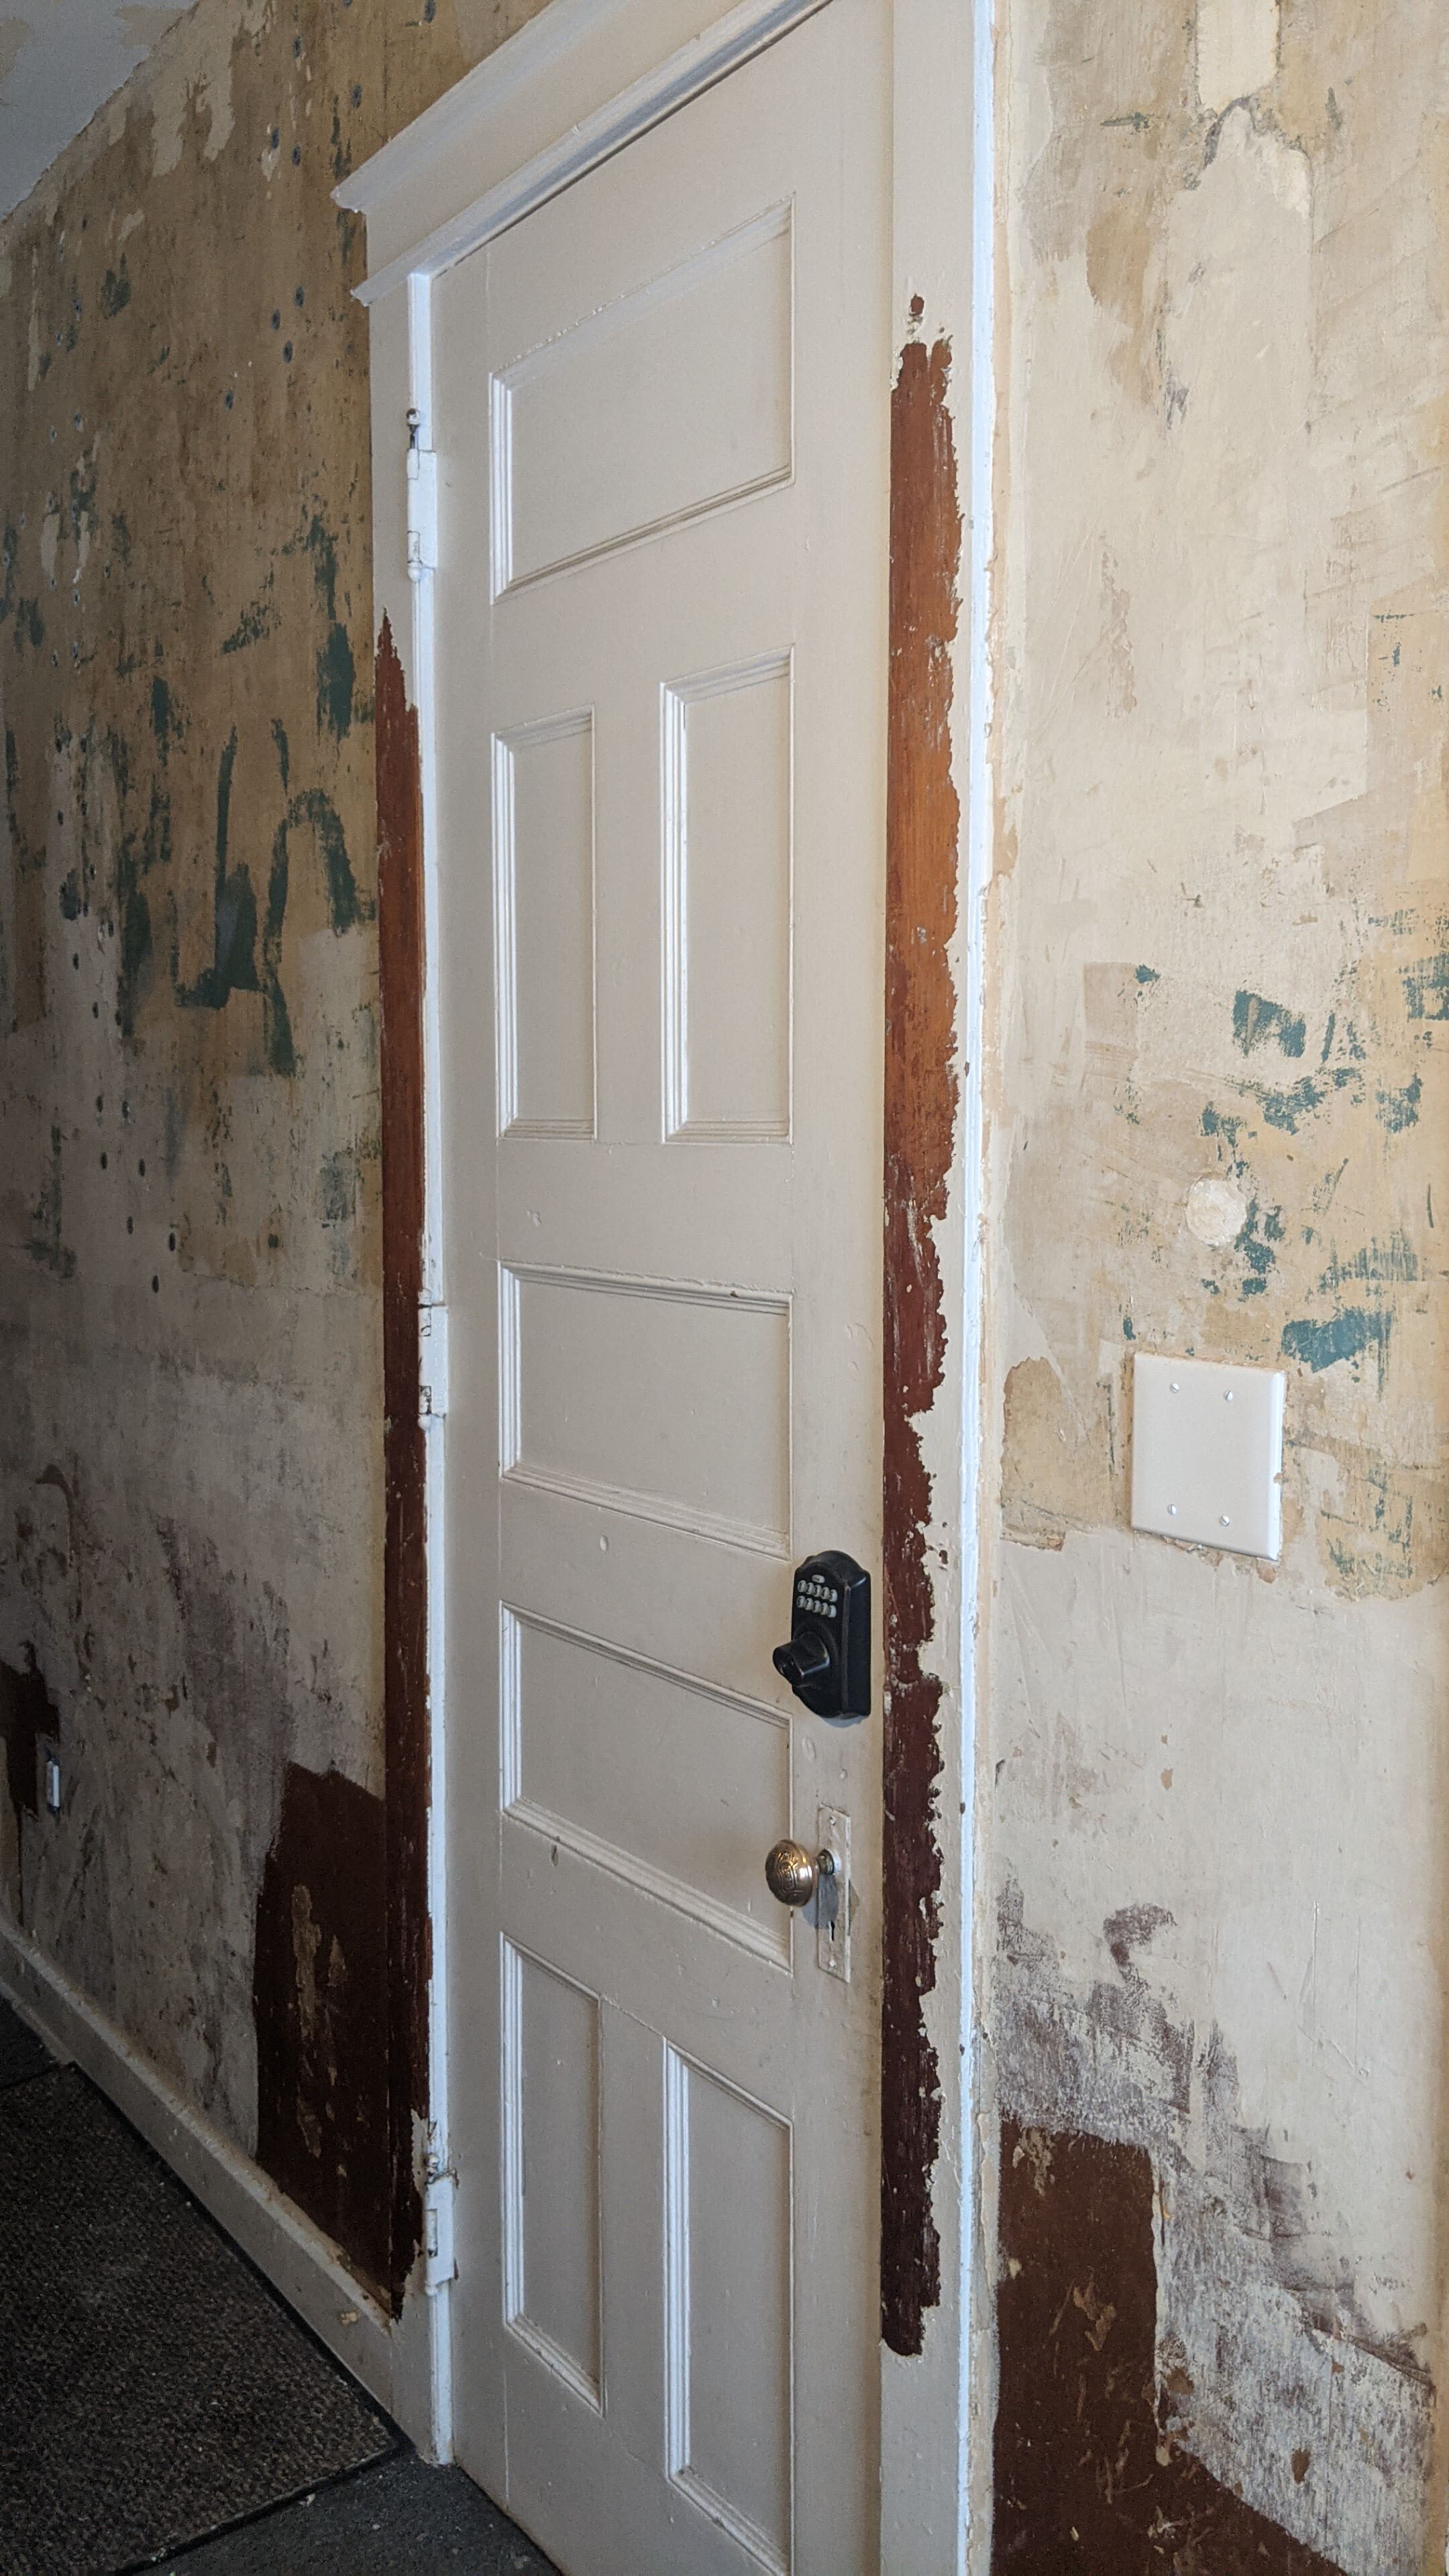
At the onset of this project, the idea was to strip the wallpaper, repair the walls where needed, and just repaint. The thing is, when I started work, it turned out one of the wall was made of the thinnest drywall, installed on studs that were spaced 24” apart. It moved an inch when pressed and wasn't worth repairing or “restoring”. You don't restore something that's of poor quality. Furthermore, from the time of our kitchen remodel, I knew there were 15 inches of space available to add to the hallway (I made the kitchen 15” narrower to make for a more efficient layout with plans to add this square footage to the hallway, eventually.) So unless you're a 50% is good enough type of person, it made no sense to keep this wall. For the record, I'm an 80% is good enough person who will come back to take a space the rest of the 20% when everything else in the house is at 80%. It is not 😔.
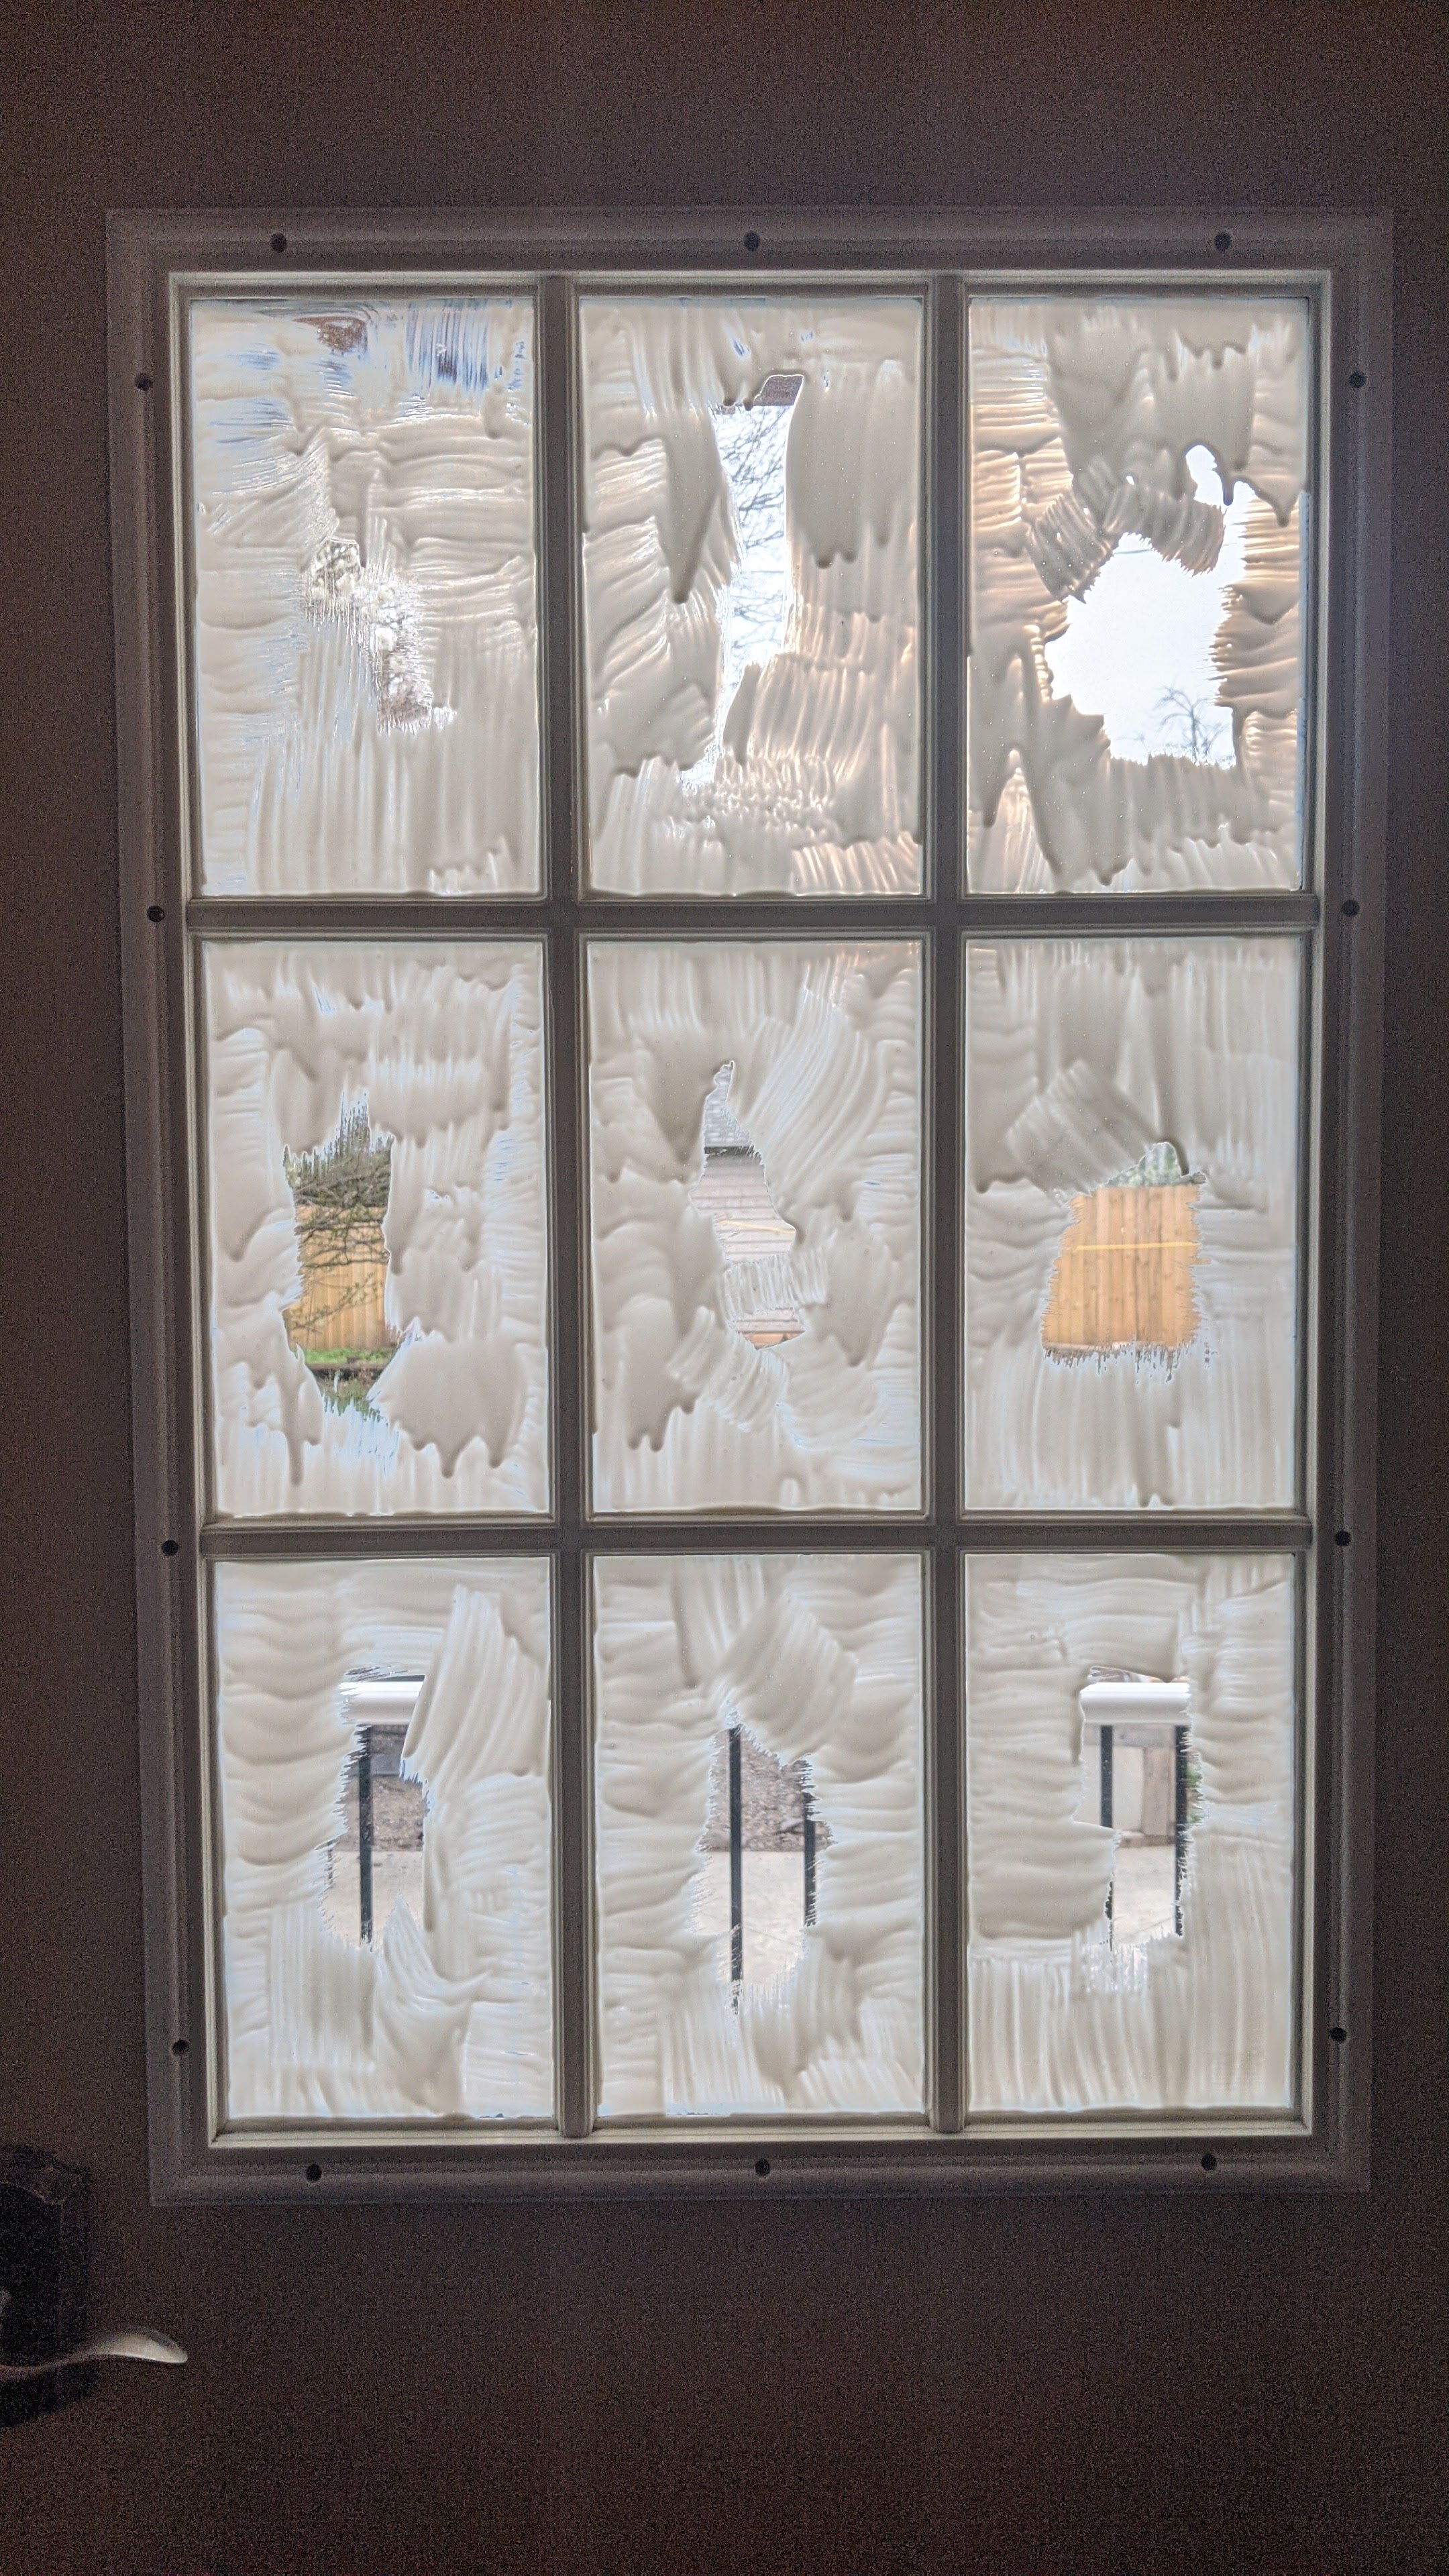
I spent a good amount of time removing the chipping paint from the ceiling and layers of wallpaper from the walls. One of the reasons I've always been so hesitant to use wallpaper is because it's an absolute pain in the ass to remove. I decided to step outside my comfort zone and go with it on at least part of the space. More on that later.
After the removal of all things flaky and peel-y, I re-attached the cracked and bowed plaster onto the wall and ceiling using drywall screws and plaster washers. Before applying the several thin coats of joint compound in the skim coating process to bring the surface back to smooth, I applied a bonding oil primer to seal the existing plaster and have a surface onto which the skim coat could bond. While that was happening, I installed the drywall and finished those seems. This process took a decent amount of time because of the dry time needed between skim coats. A final coat of bonding latex primer and I was ready for the finishes. I also needed to plug up several holes in the floor through which old wiring was fed.
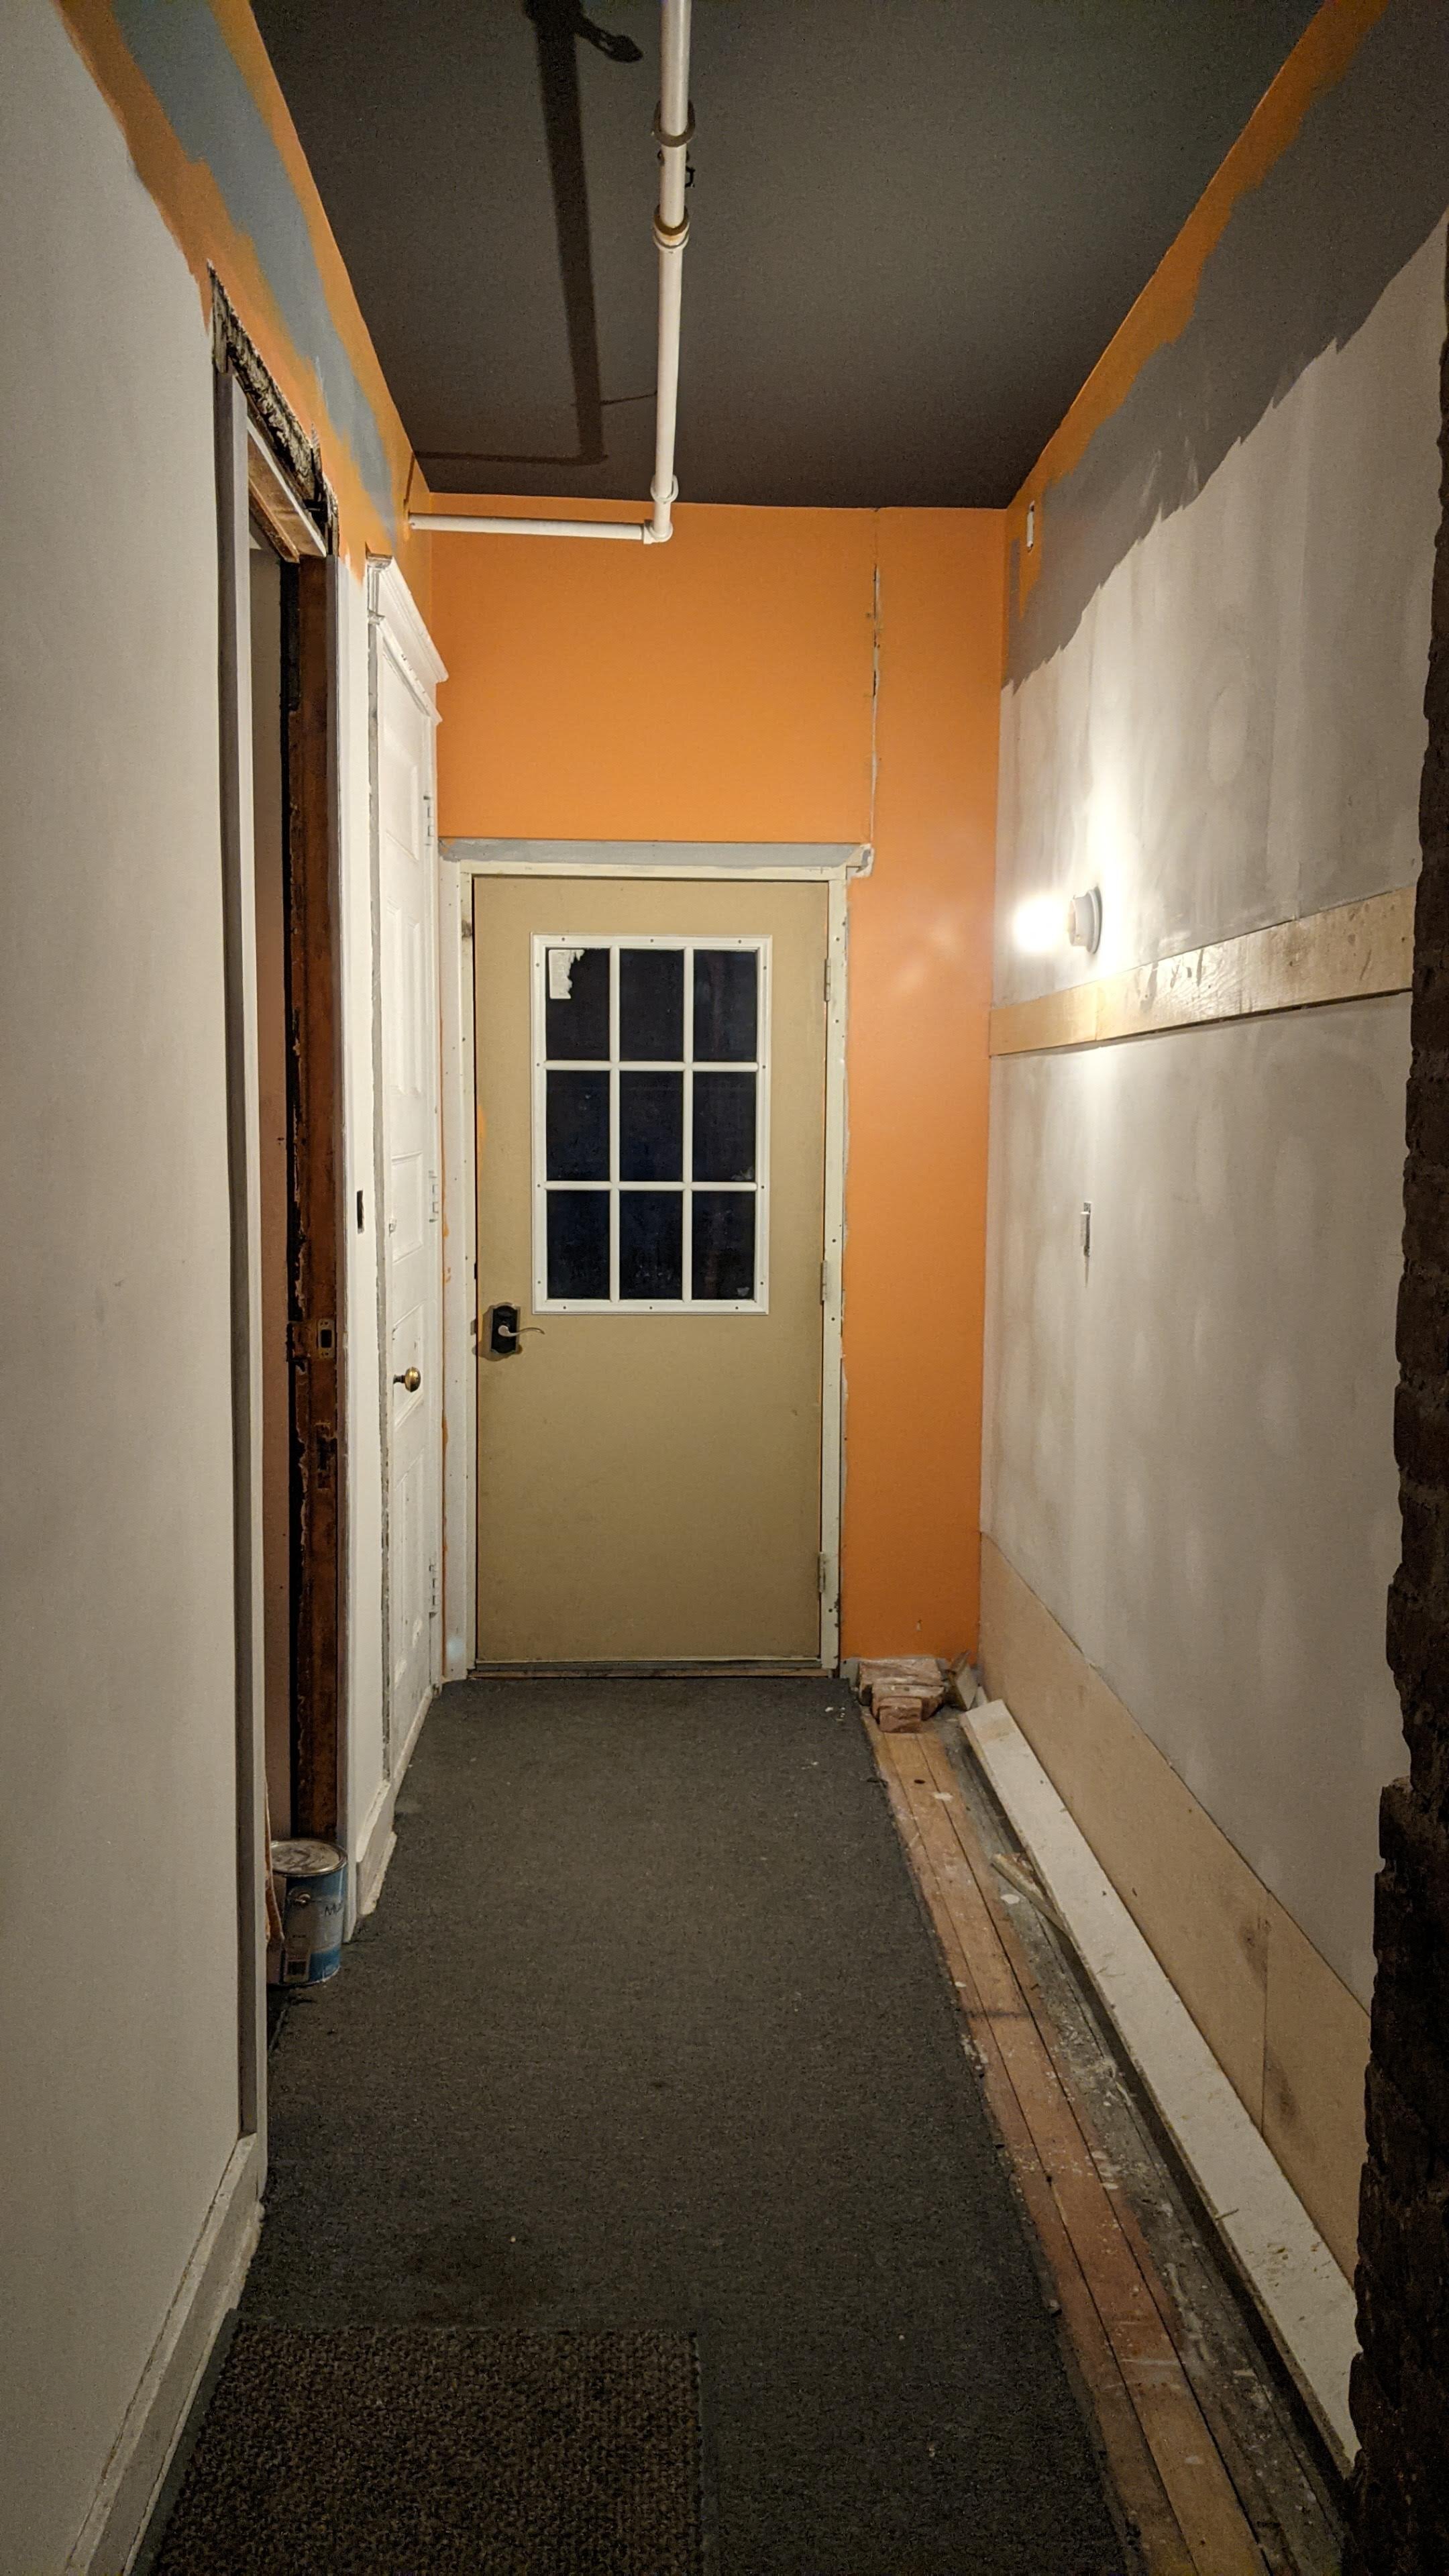
I chose a combination of wallpaper and paint. I took a chance with wallpaper because I wanted this space to be cheery and whimsical, but since there's only one window at one end of this long hallway, putting any solid color on the sides of the hallway would result in it feeling narrower. That's why I chose this wallpaper with the white background and colorful print. It adds whimsy while keeping the space bright and airy. The end wall, ceiling, and door colors were pulled from the wallpaper. I decided on the dark ceiling in a matte finish to give it a feeling of infinite depth, the orange end walls were a continuation of the color I’d painted the outside of the exterior door in the fall. The light blue in the wallpaper was the perfect color to complement the copper in the hardware. The trim is the same white as the background of the wallpaper. Details about all the materials below.


What’s left
As you can probably see from the pictures there is still some work to be done. Below I’ve outlined the few little things that’ll get this space the rest of the way to 80% complete as well as what would get it the remaining 20% to perfection.
Needed for Immediate and near future usability:
Installation of hooks along the hook rail
Installation of built in bench on wall opposite blue doors
I have plans for the eclectic mix of hooks already purchase. I would like to mount them above the radiator at the end of the hall so there’s a place for wet coats and outdoor gear to dry with the help of the heat from below. For the hook rail, I’ve decided to go with a more consistent style of hooks since the wallpaper adds enough interest on it’s own. I haven’t decided on which hooks would work best.
I salvaged the 2x4s that were used for the wall I took down and have plans to use them to build a bench to fit along the wall with the sconces. I also have yet to install the hooks on the hook rail.
These are more near term projects and I would like to get them done by this fall.
Needed for the 20% to perfection:
Replacing the exterior door with a wooden one
Removing the carpet and installing proper flooring
As mentioned up top, the exterior door and entrance wall is less than ideal. I would like to replace it with the original door which, miracle of miracles, is still in pretty good condition and in the basement. I’m hesitant to install the door right now because I’m not clear on what modifications were made to the opening to make this off-the-shelf insulated steel door work. I do know that under the modifications is the opening that’s intended for the original door.
The next is the flooring situation. This floor was way more work than I was willing to get into and I KNOW there is going to be plenty of surprises in store for me when I pull up that awful carpet. What I already know is there are TWO layers of 1” thick tongue and groove subflooring that is under what is likely to be asbestos tiles. What else is there, I don’t know. For now, I painted the newly exposed, uncarpeted section of the floor the same color as the ceiling (which coordinates with the carpet pretty well), and I’ll find a runner to throw over the pretty beat up carpeting.
I don’t want to tackle either of these right now because there are more pressing projects to be completed in the house for it to finally be a home where I’m not constantly working on projects that MUST be done.
Fixtures and Colors

Cost of Project
This is a big one. I was really trying to complete this project on as little as possible while keeping it high quality. I achieved this by designing the space with materials I already had on hand in mind.
I purchased a boat load of untinted paint when Sherwin-Williams had their 40% off paint sale (you can go back and get them tinted when you’re ready to paint.
There was original trim left in the basement from the work done on the house by previous owners.
I had lumber left over from previous projects that was used to create and match existing trim
I already owned all the tools needed
Since we have been rewiring the house, I already had outlets, switches, and some wire at home
Using the Google Lens app to do a search of a product image to find the best price saved me a bundle
You can add $300 to $500 to this project costs if you are starting with zero tools. Instead of spending the money on tools, you can borrow them from a local tool library (if you have one in your city/town) or borrow from friends or family. Renting tools for a project that’s going to take longer than a day or two can end up costing the same as it would if you had to buy them. Final option is to buy the tools and then resell them if you decide you will never attempt a DIY project in your life again. Below was my cost divided by department. If you’re starting from zero materials and tools I think it would conservative to add another $800 to $1000 to the project. Still less spent on this than if this job were to be hired out, but it took much longer to complete myself than by a pro, so it’s a matter of personal choice on whether this is, in-fact, a job you do yourself.

Totals are all include 8.75% NY and Erie County Sales tax.
This is a pretty short money for a space that’s gone through such a transformation and where I splurged on finishes like wallpaper.
I didn’t go into detail of how I did each one of these tasks or the specific tools used so if you have any questions or want some clarity, please leave a comment below. You can also get some sneak peeks into previous projects or things which are in the works by following on Instagram @byrneburymanor. It’s also a good place to reach out with specific questions.


All-in-all, I’m so very pleased with the result and happy I took a leap into the land of wallpaper. I think this entrance will start people’s visits off in the right way.
May the universe have mercy on my cubs if they ever lay a single muddy hand on any surface of this beautiful space, Amen. (One of them ran the door handle into the wall as I put the period on this last statement. Thank you, Universe.)