Front Porch - How far we’ve come
The space I’ve chosen for the One Room Challenge is one that’s been in the works, on and off, since mid 2017. I wish I could say I were in the It’s just needs to be furnished and made pretty phase, but I am not. However, there has been a lot MORE completed on this space than what I have left to do. This post is to catch you up one where we started and what’s been done up until today.
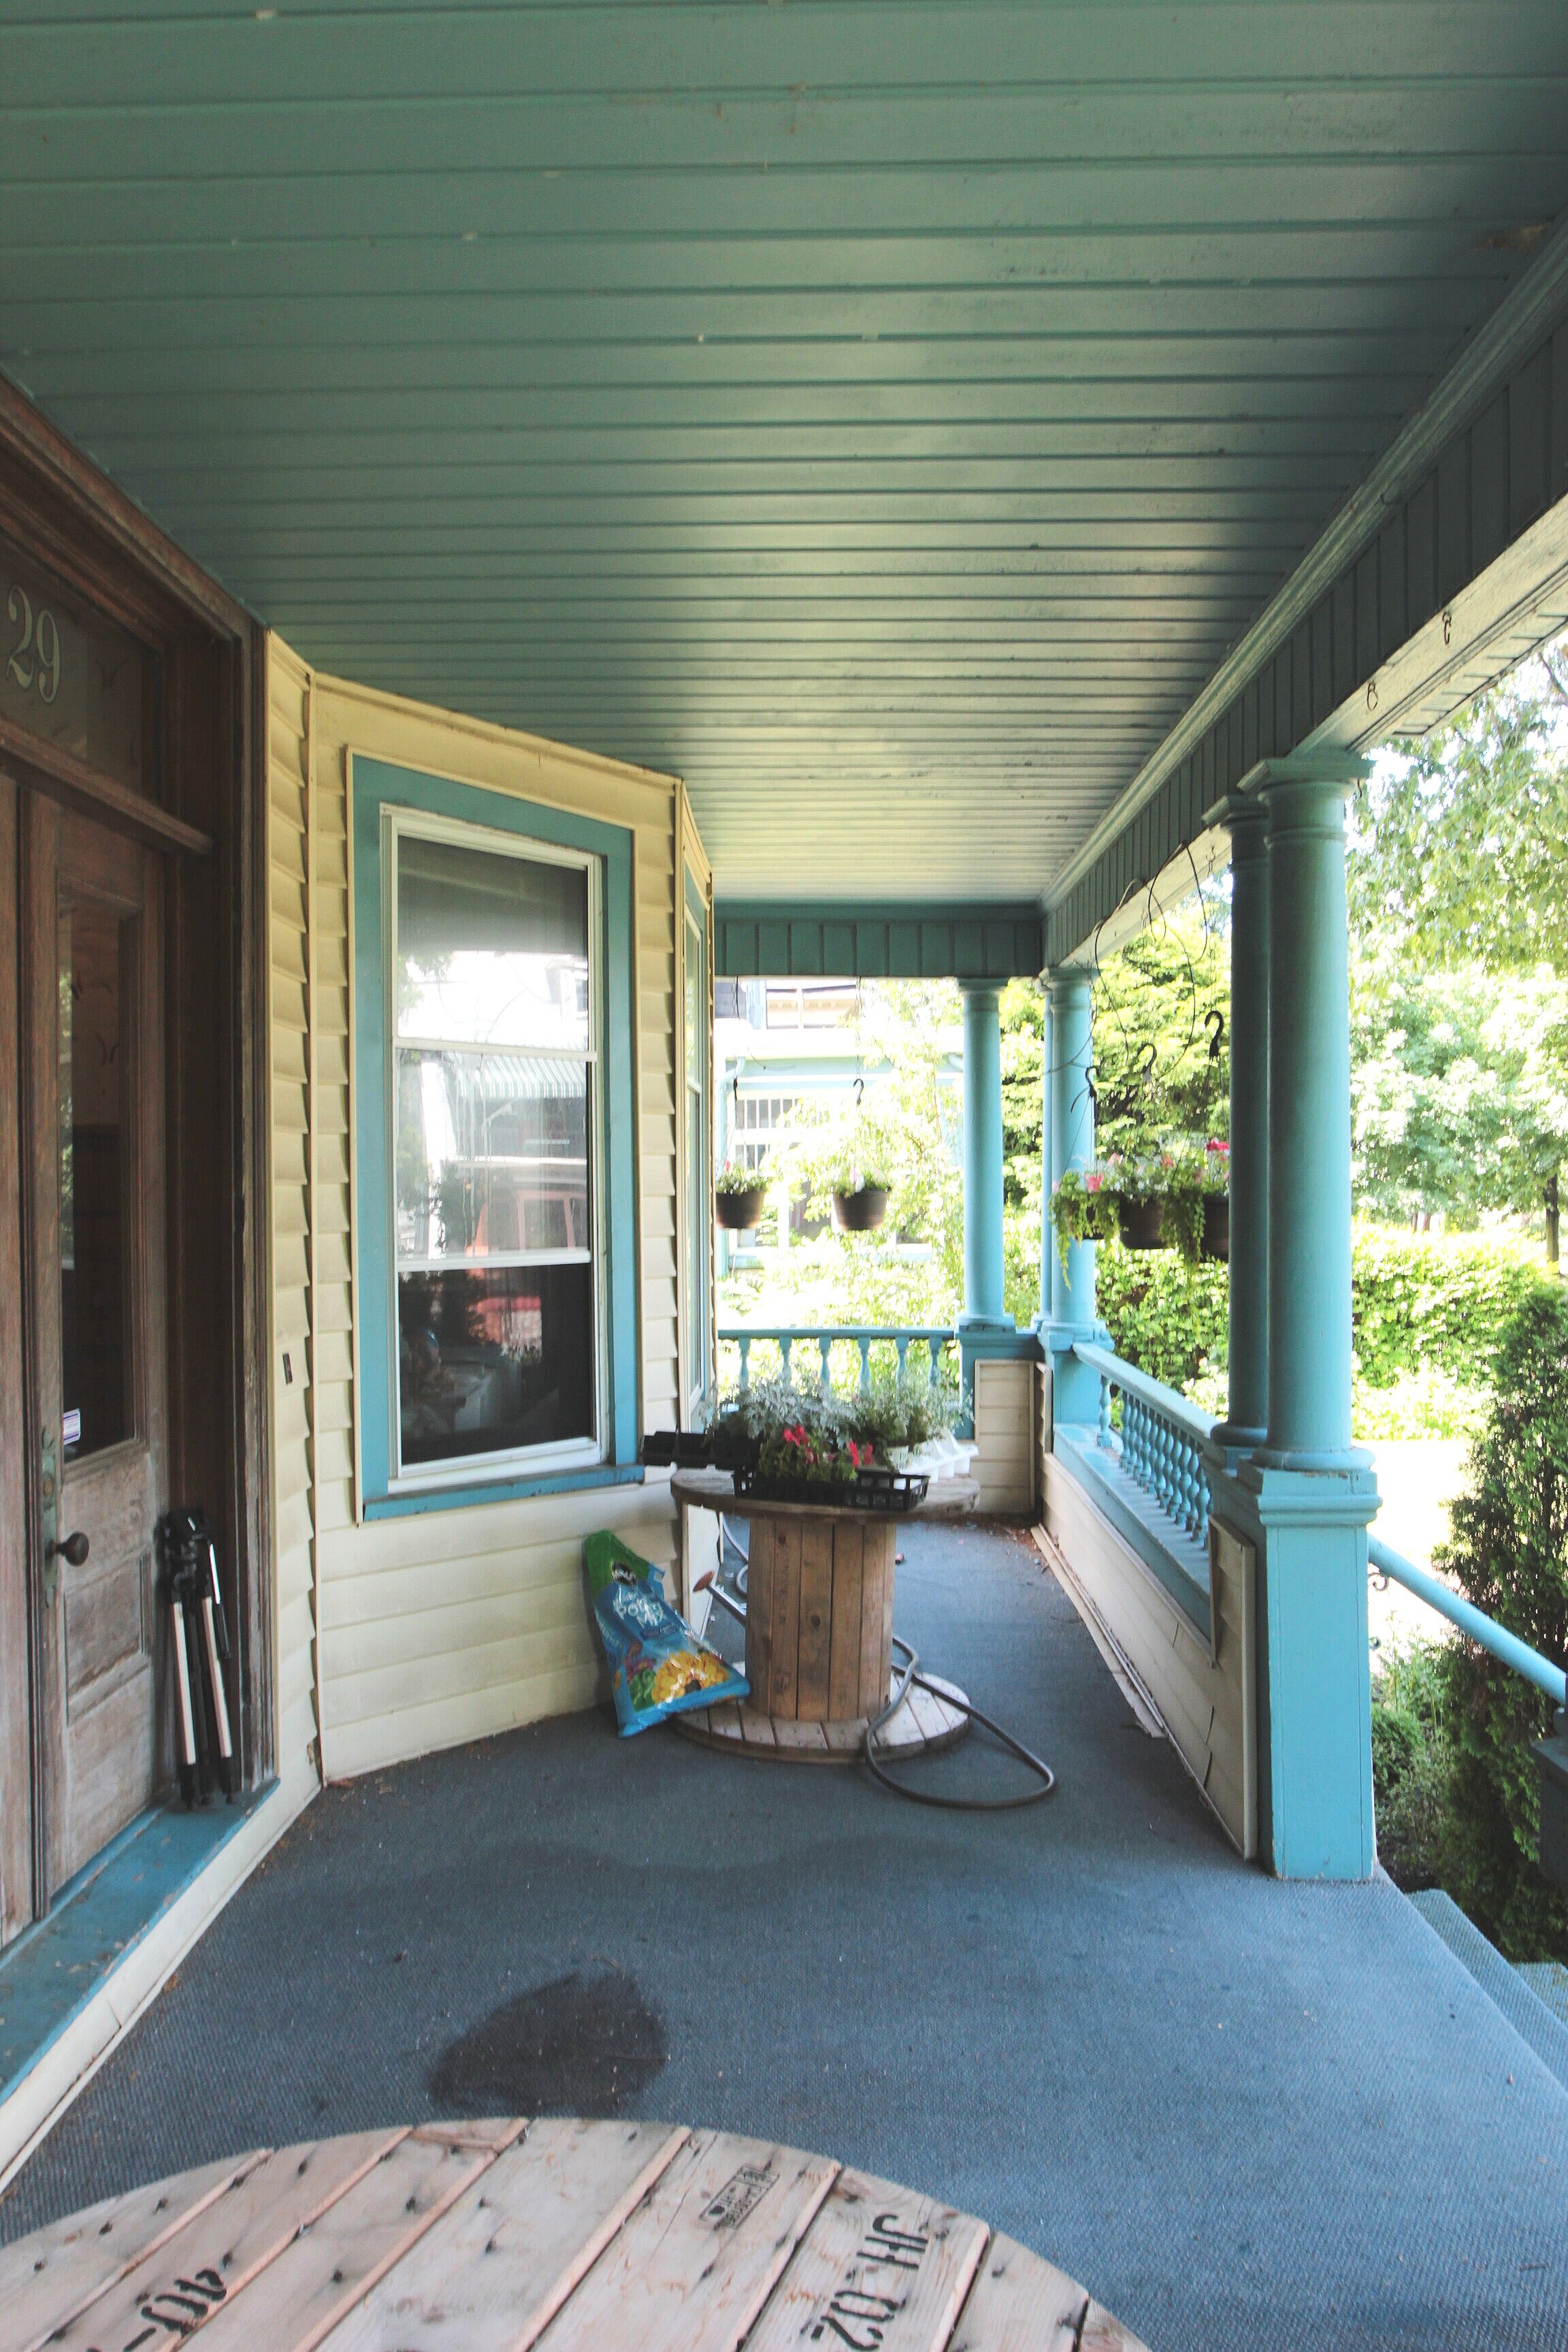
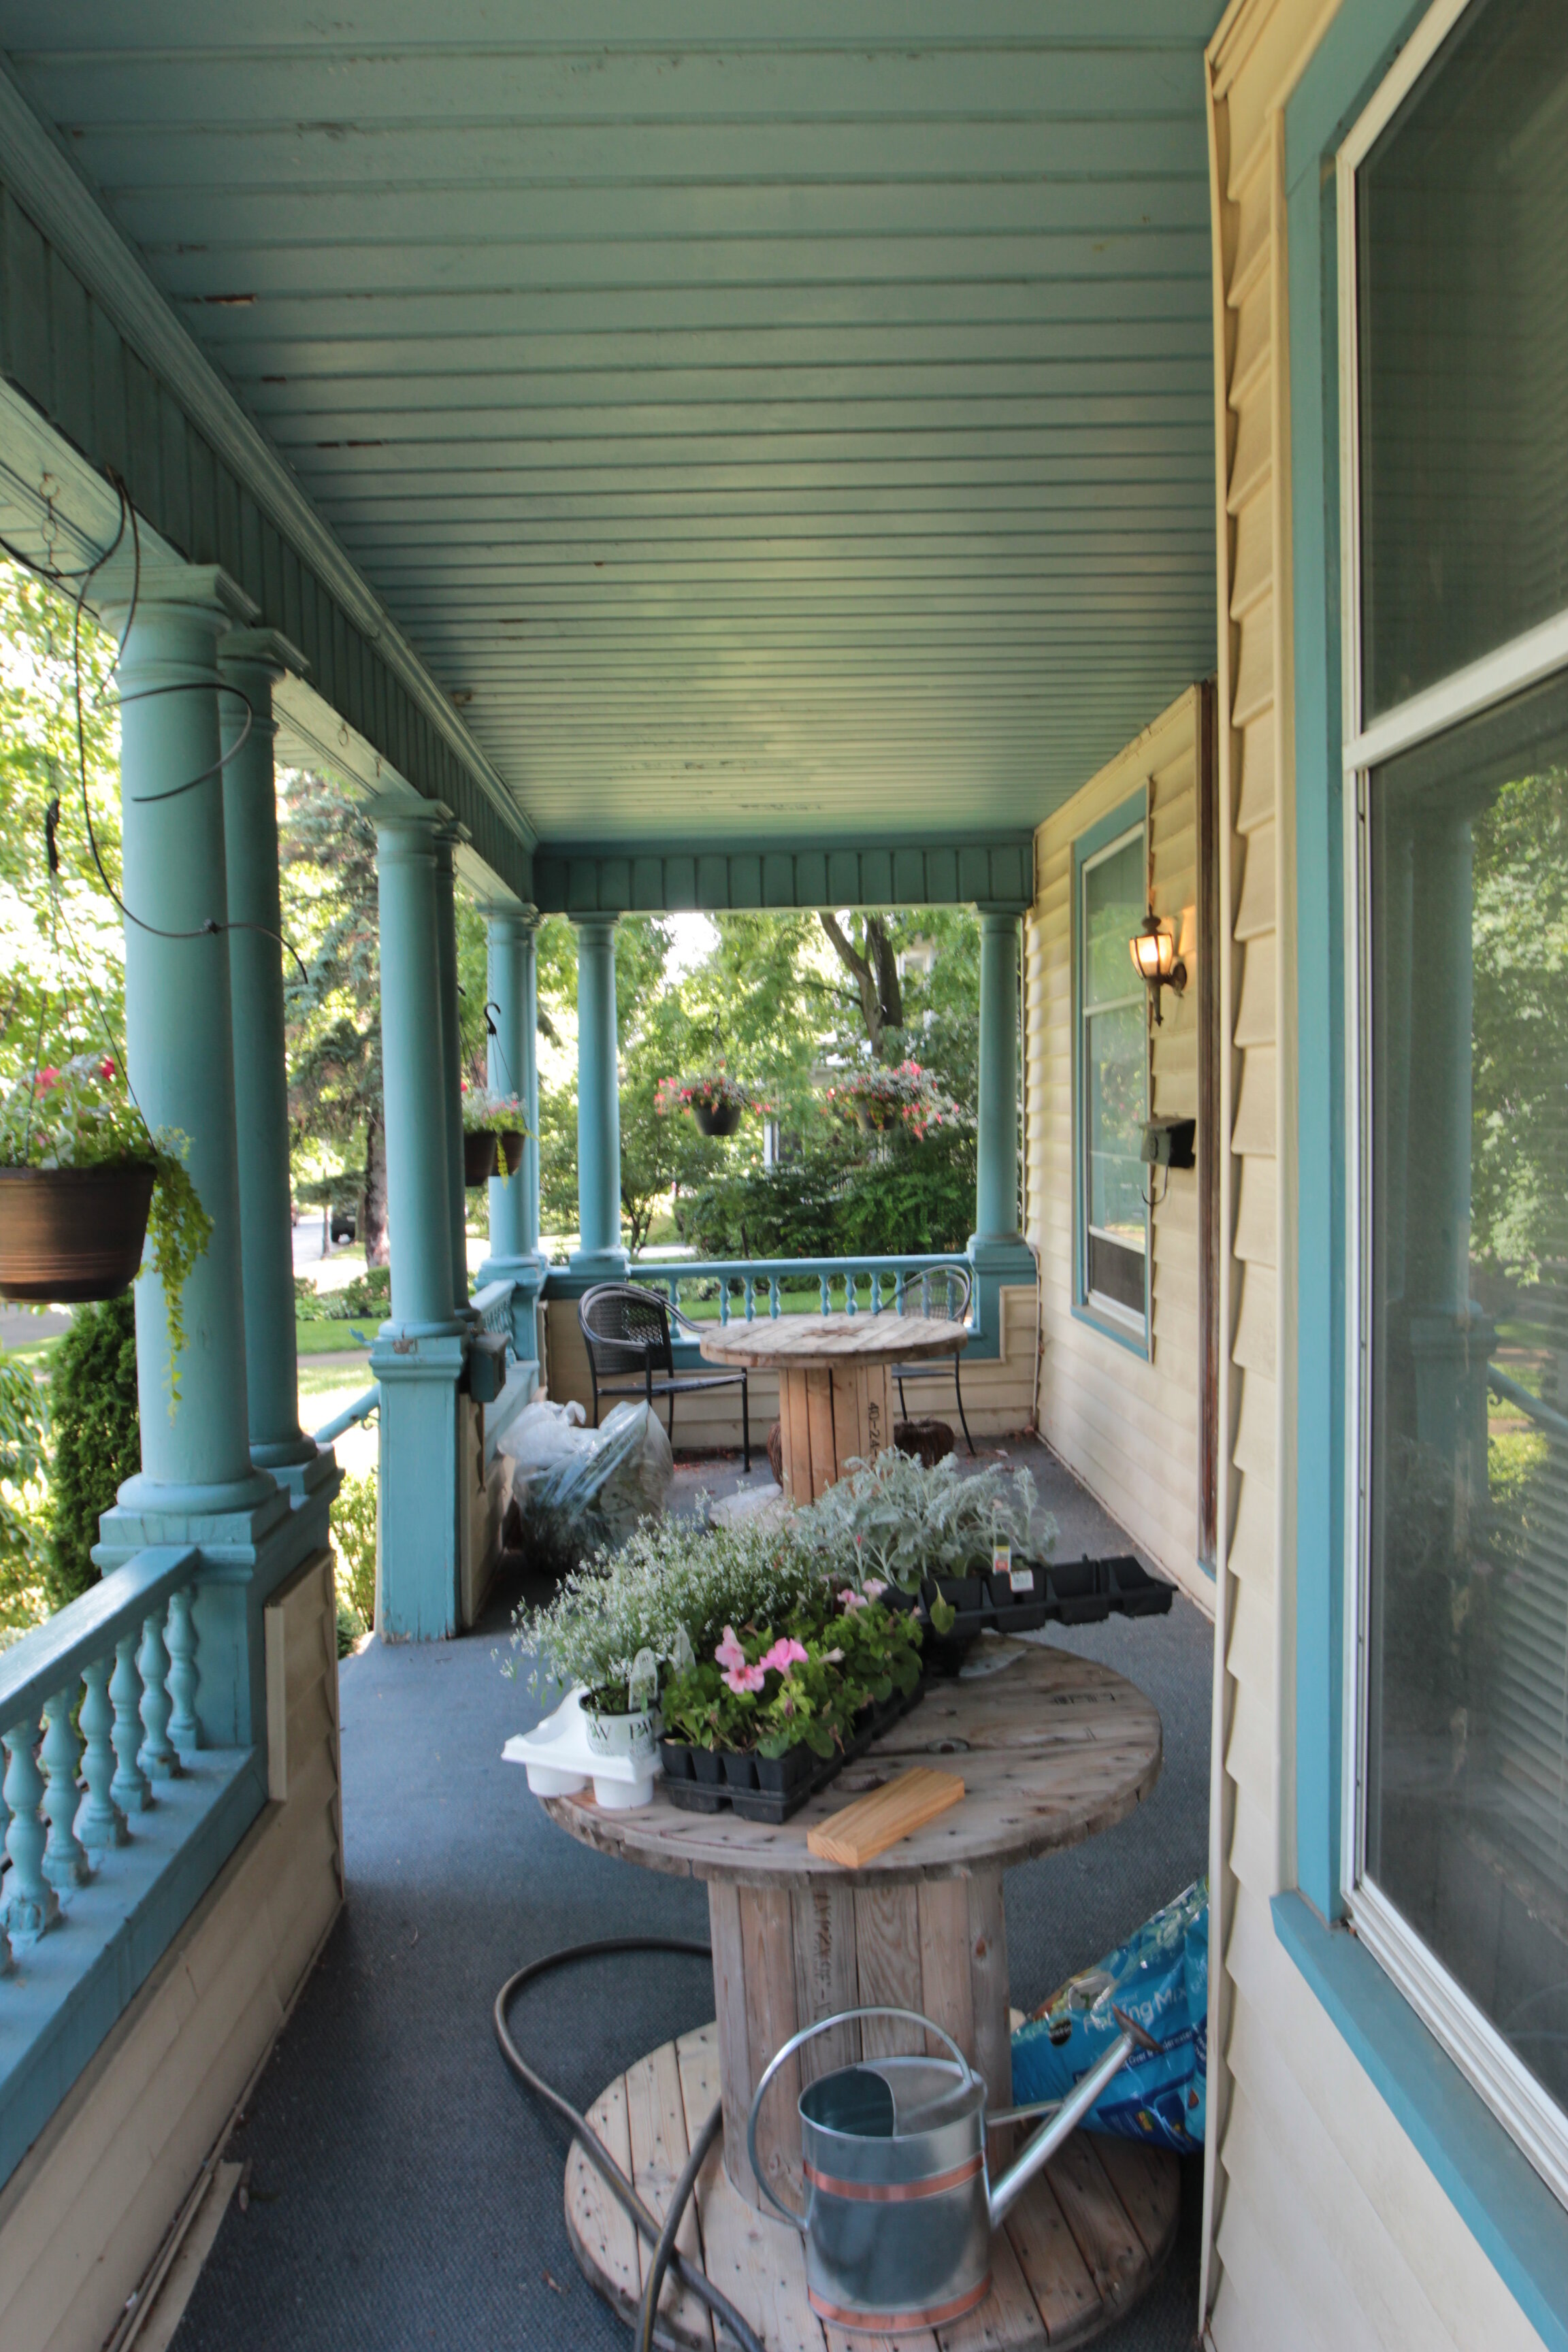
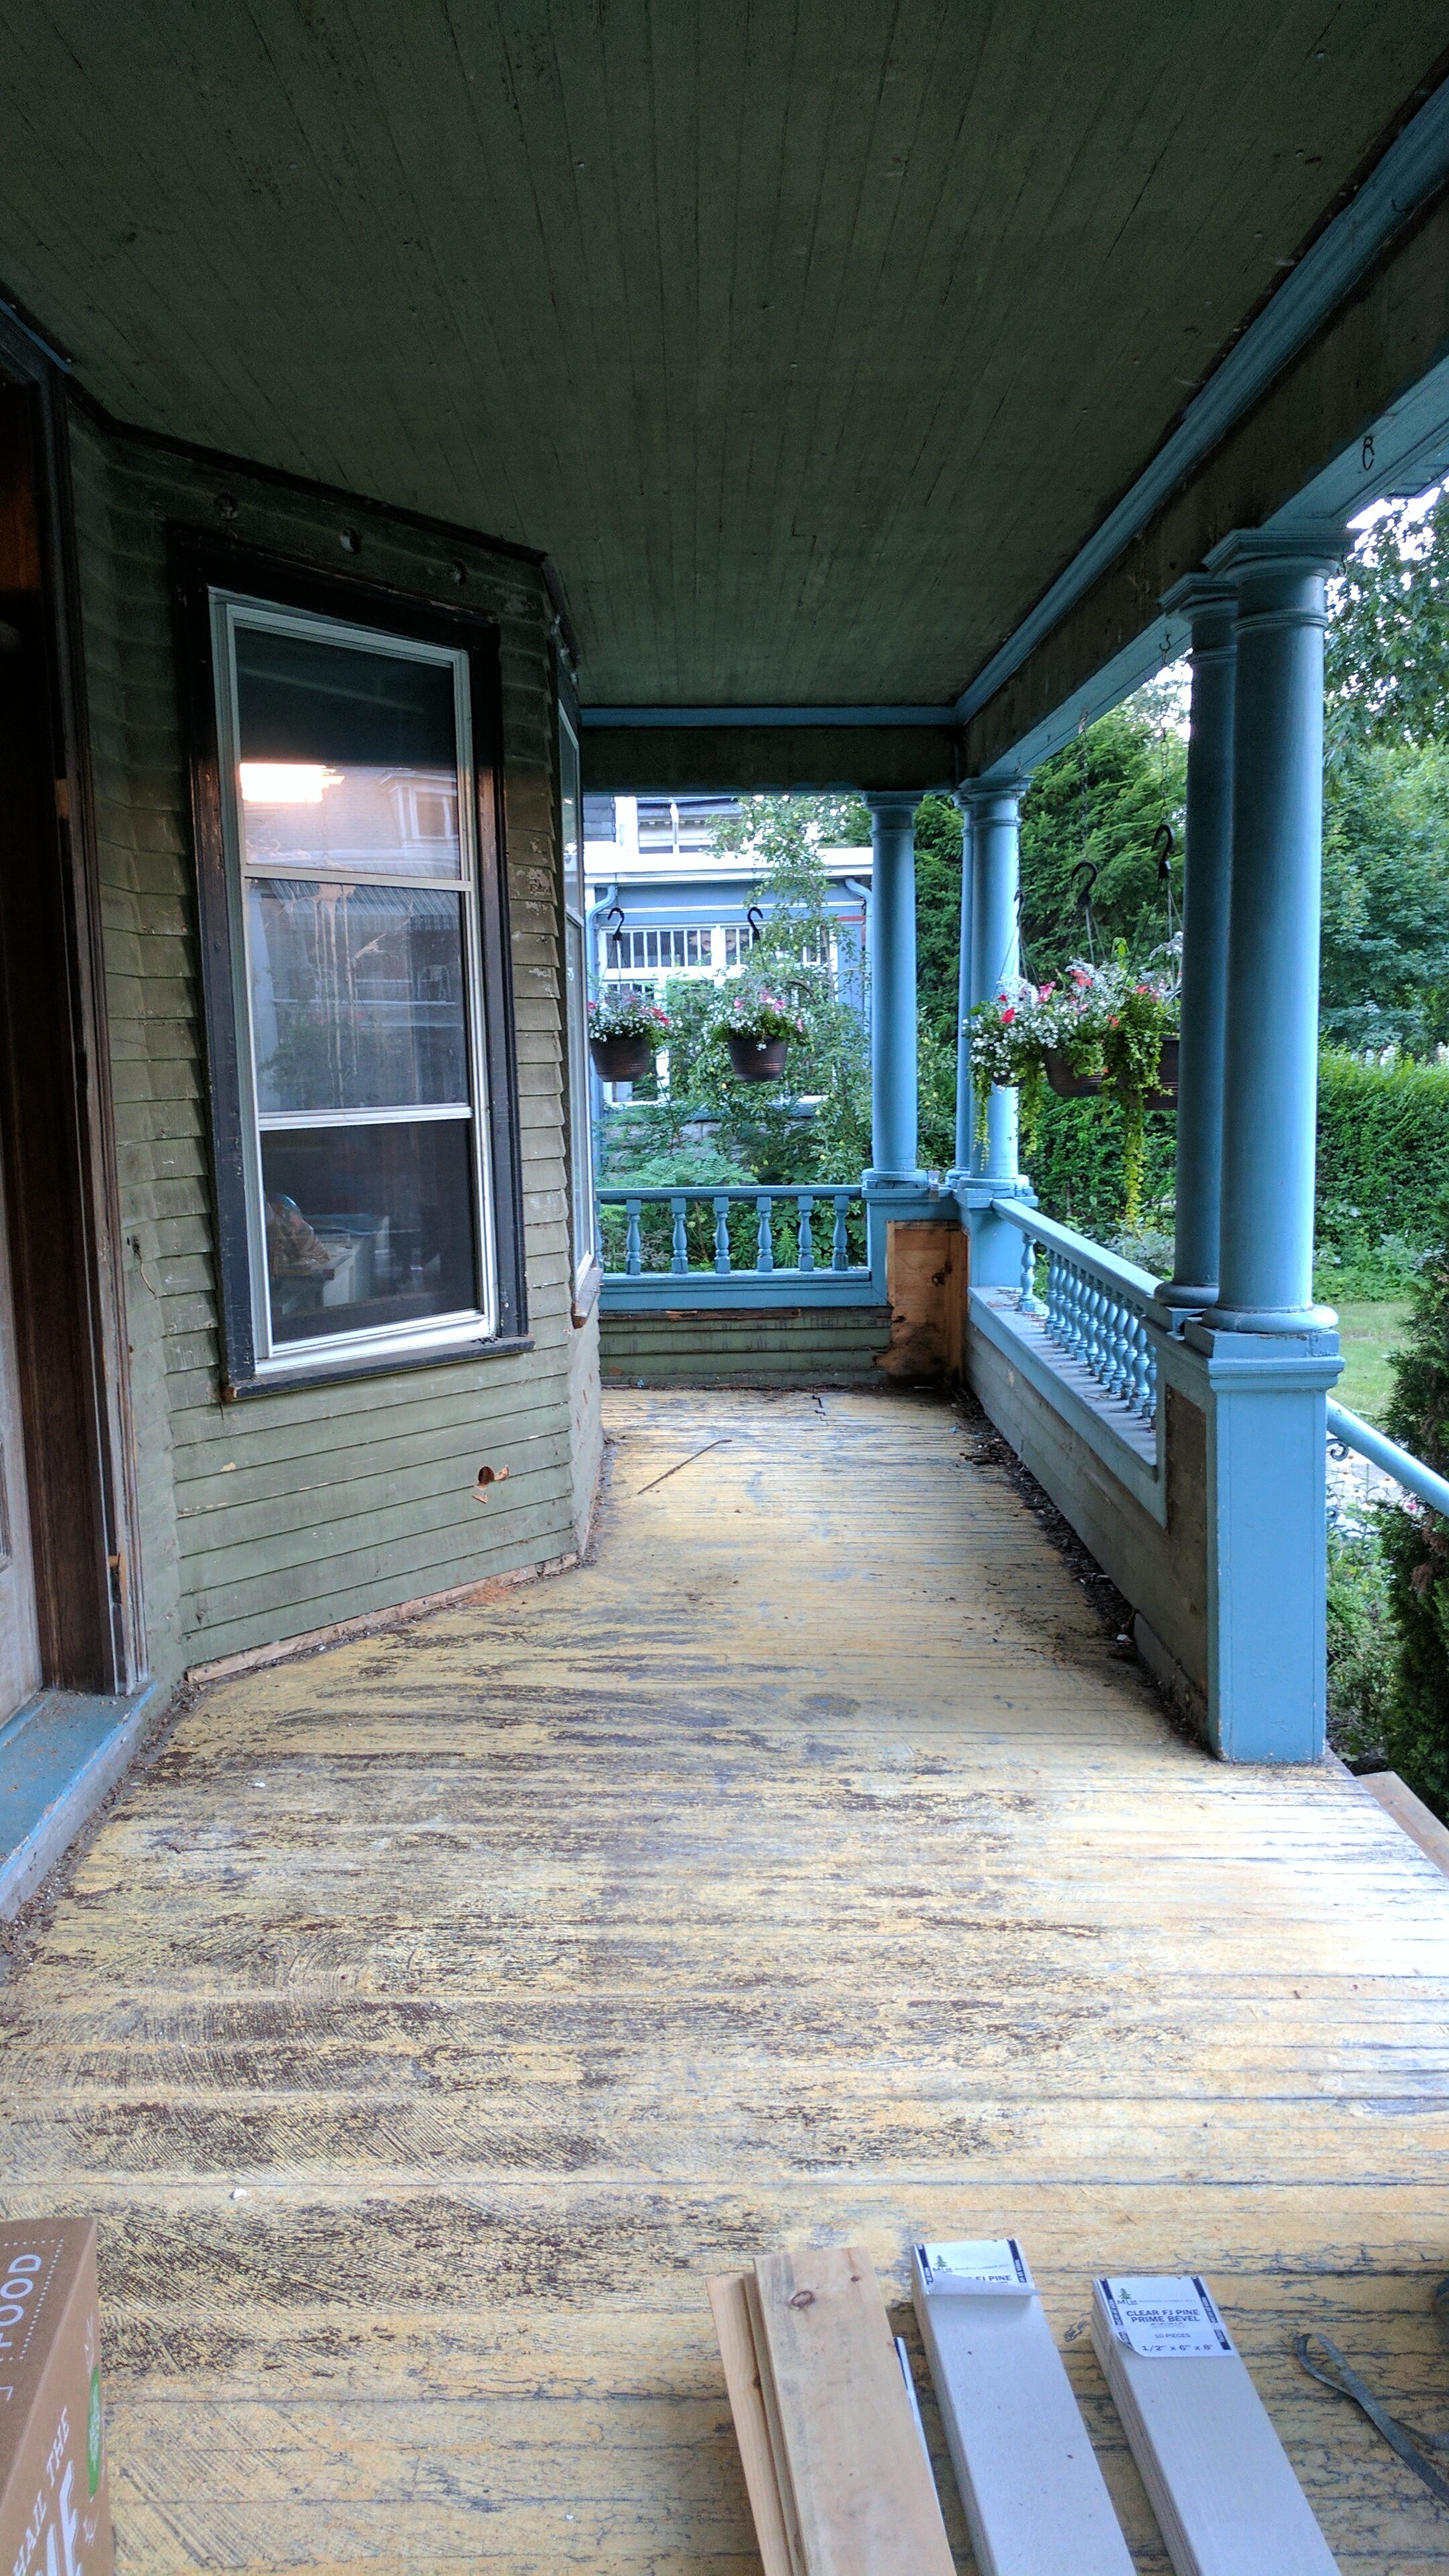
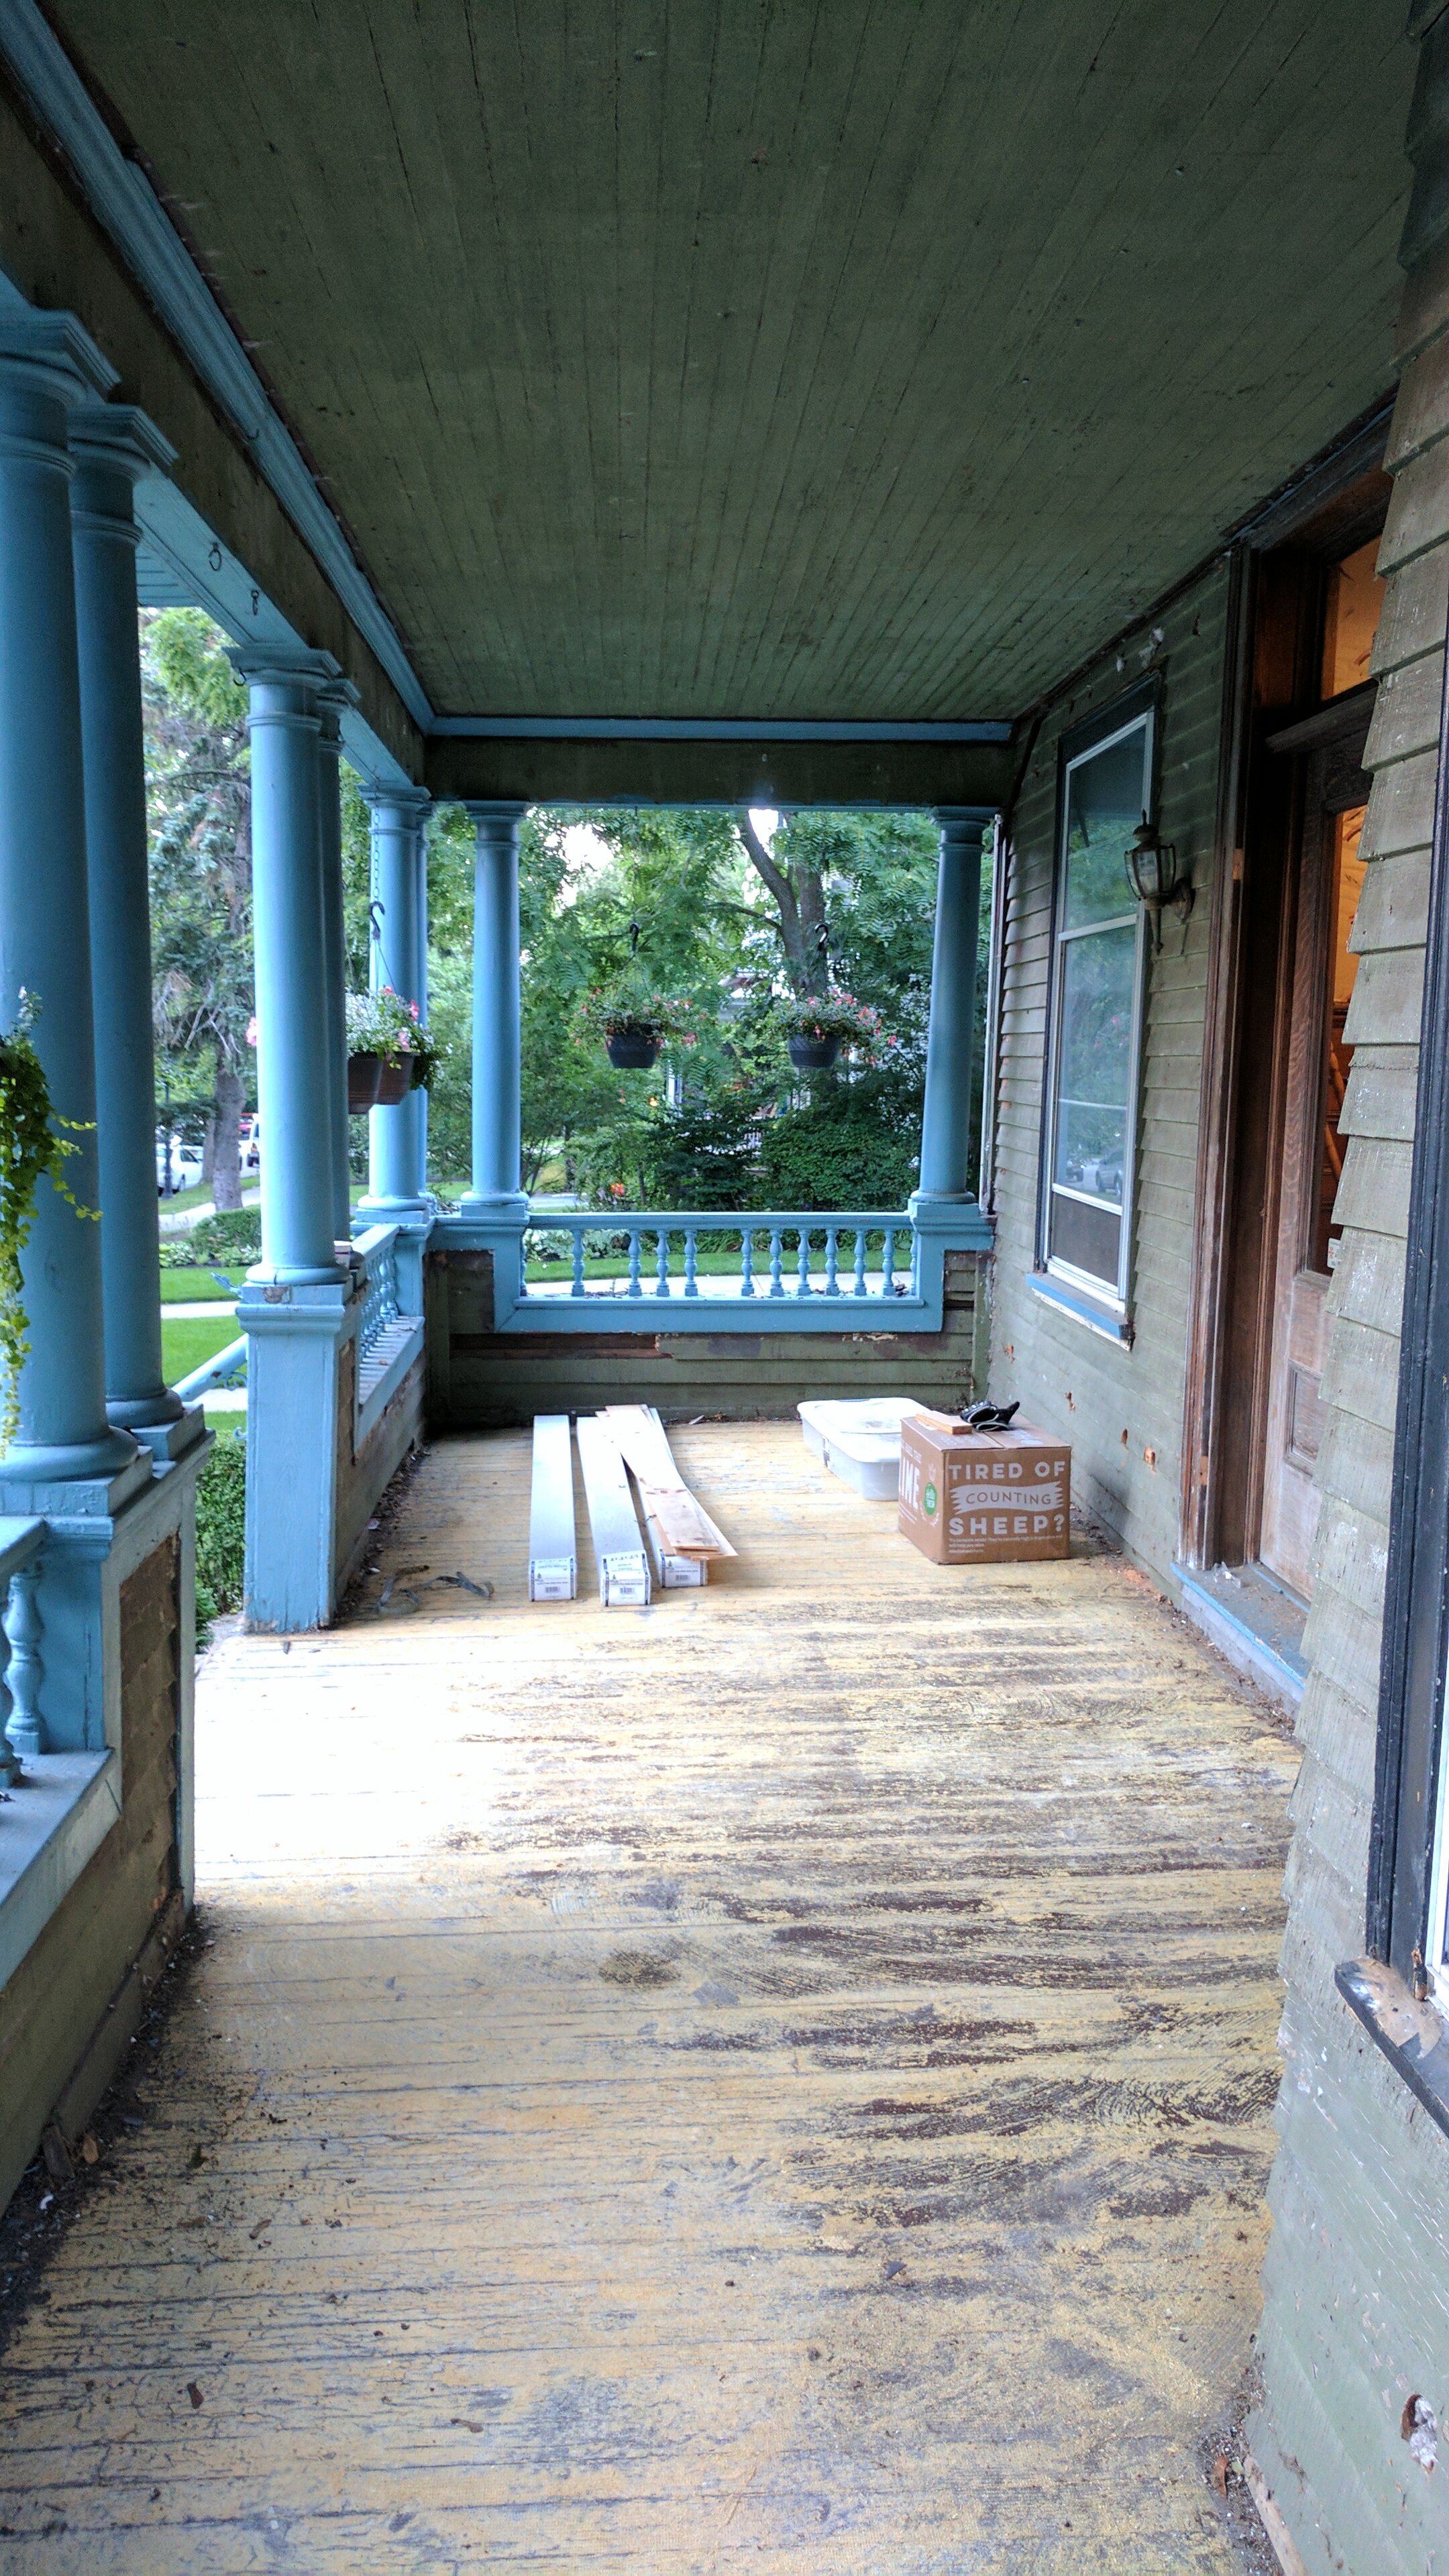
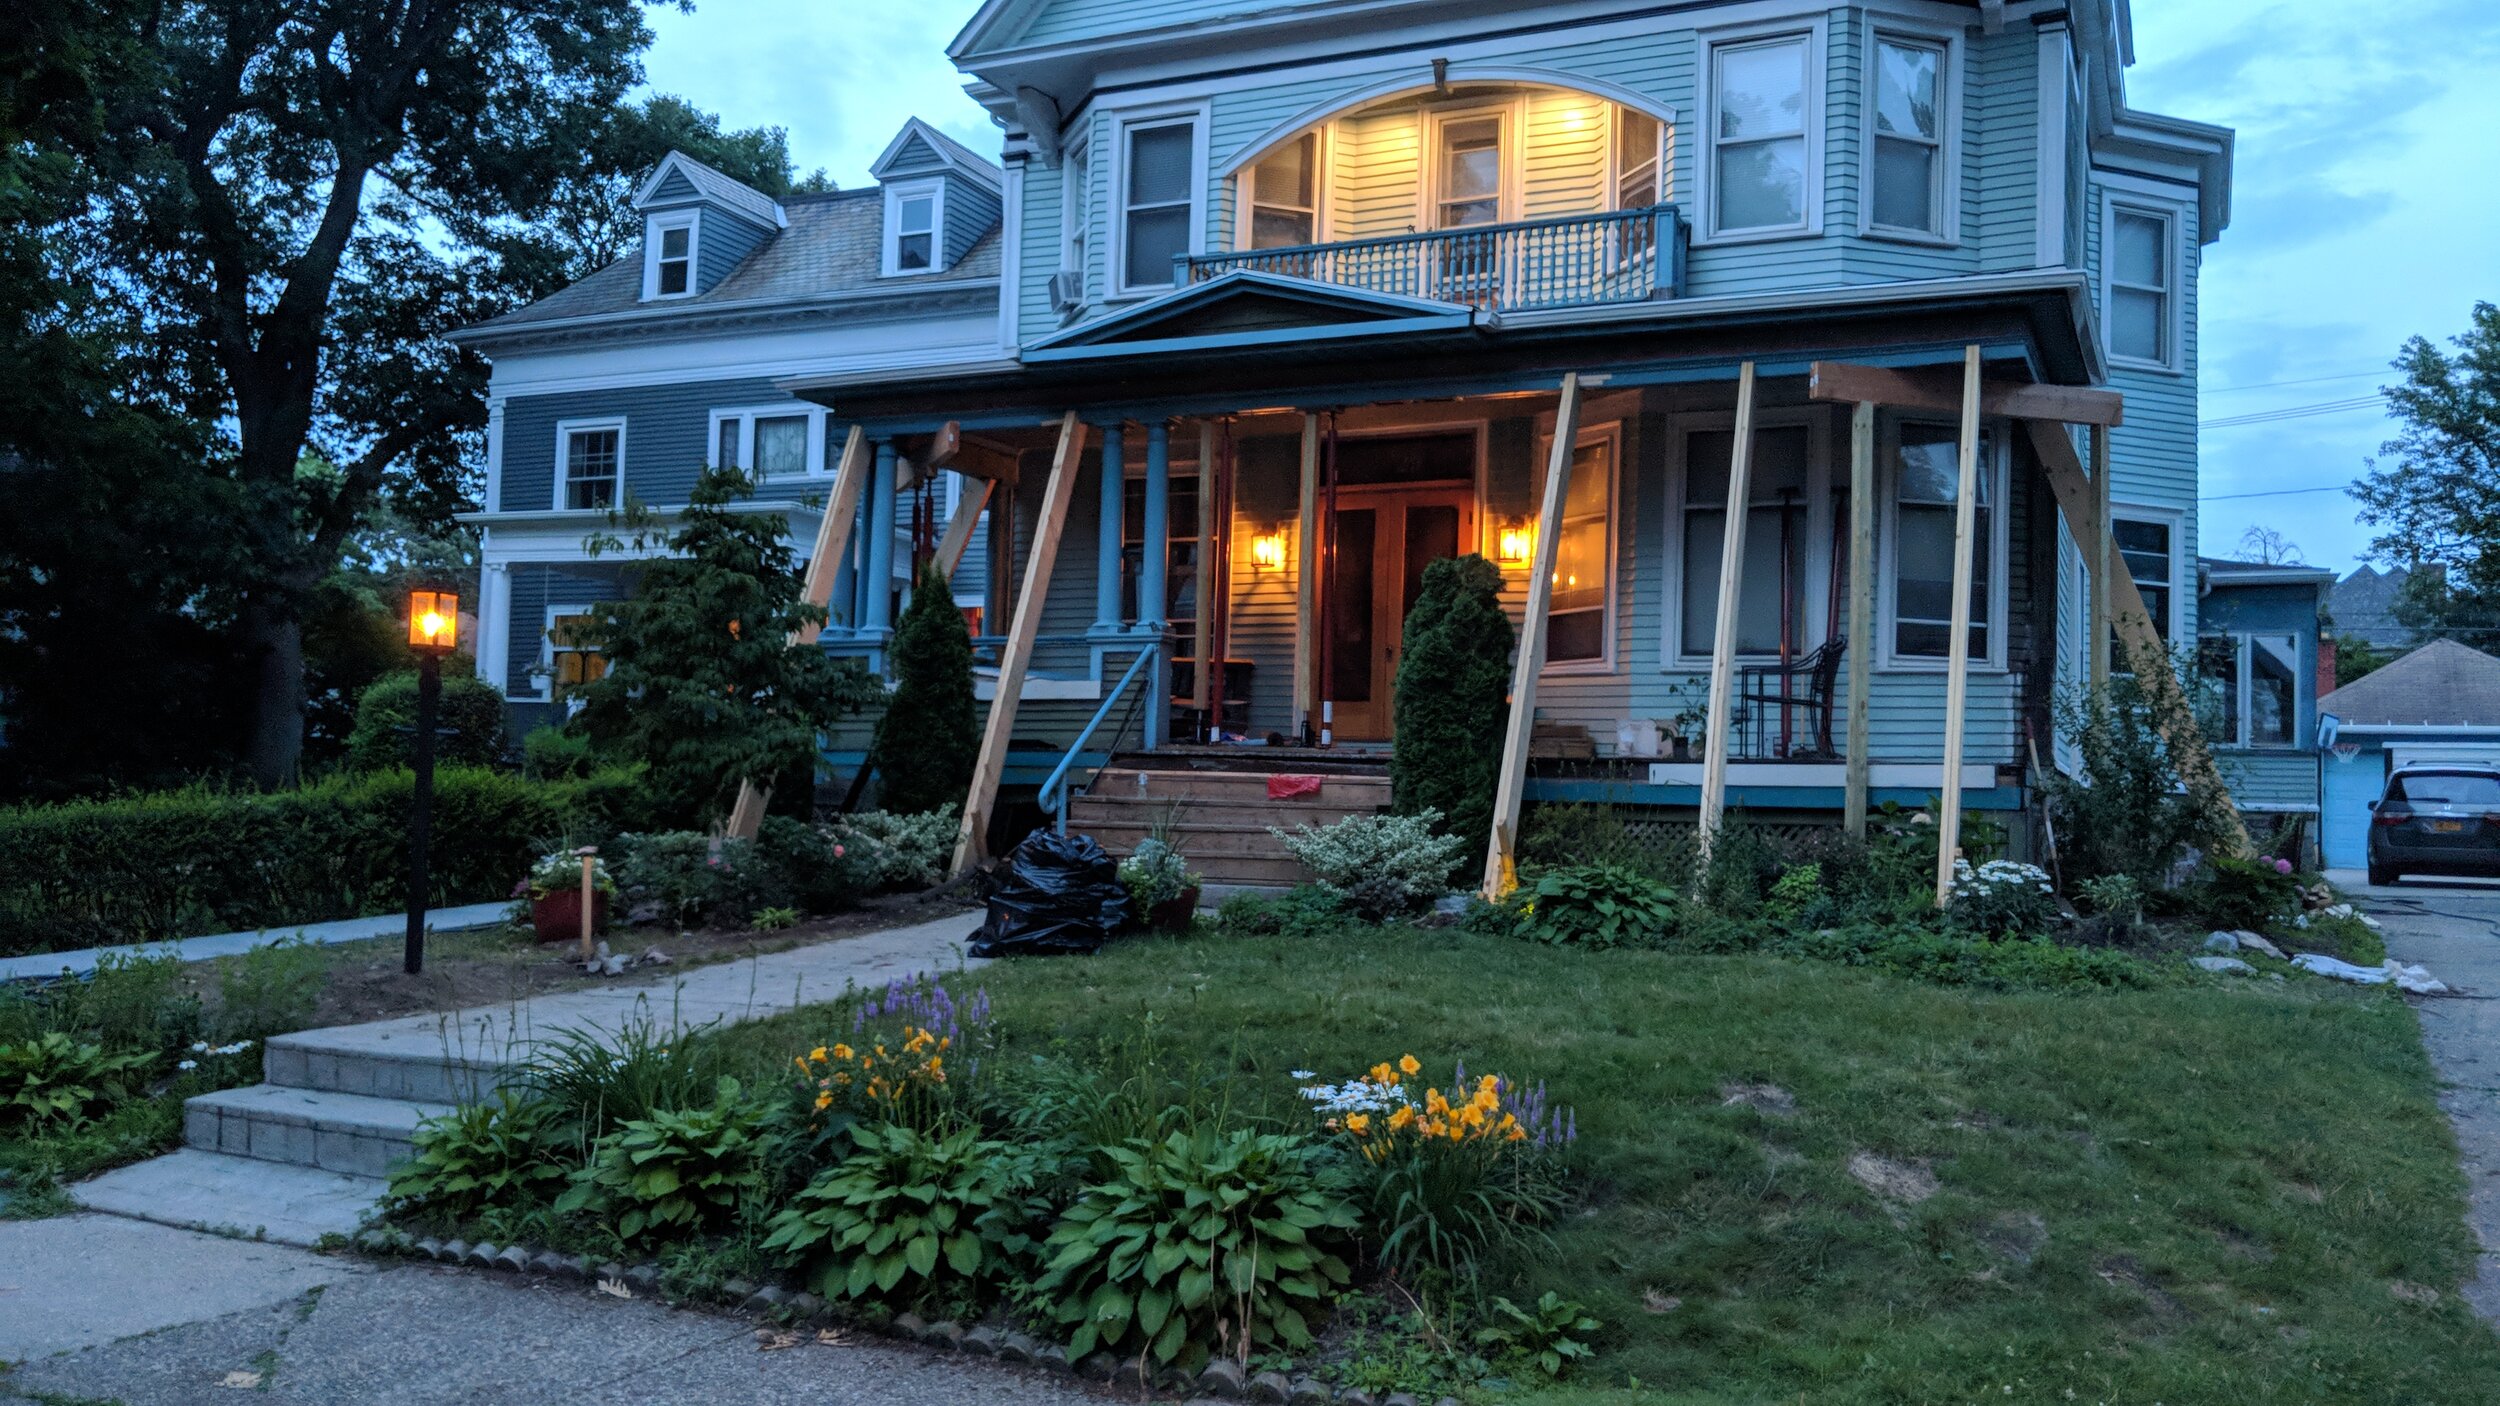
In the first two pictures, you can see what the space looked like when we bought the house in all it’s outdoor wall-to-wall carpeted, vinyl and aluminum clad glory. The siding on the house and porch floor near the house was in great shape because it was protected by vinyl and those surfaces rarely saw moisture. Other than the holes that were drilled for the blown-in insulation and the window trim that had been hacked off to make sure the vinyl siding lay flat *cringe*, the clapboard just needed to be stripped, primed and painted. Not a small job, but better than also having to repair/replace rotted parts.
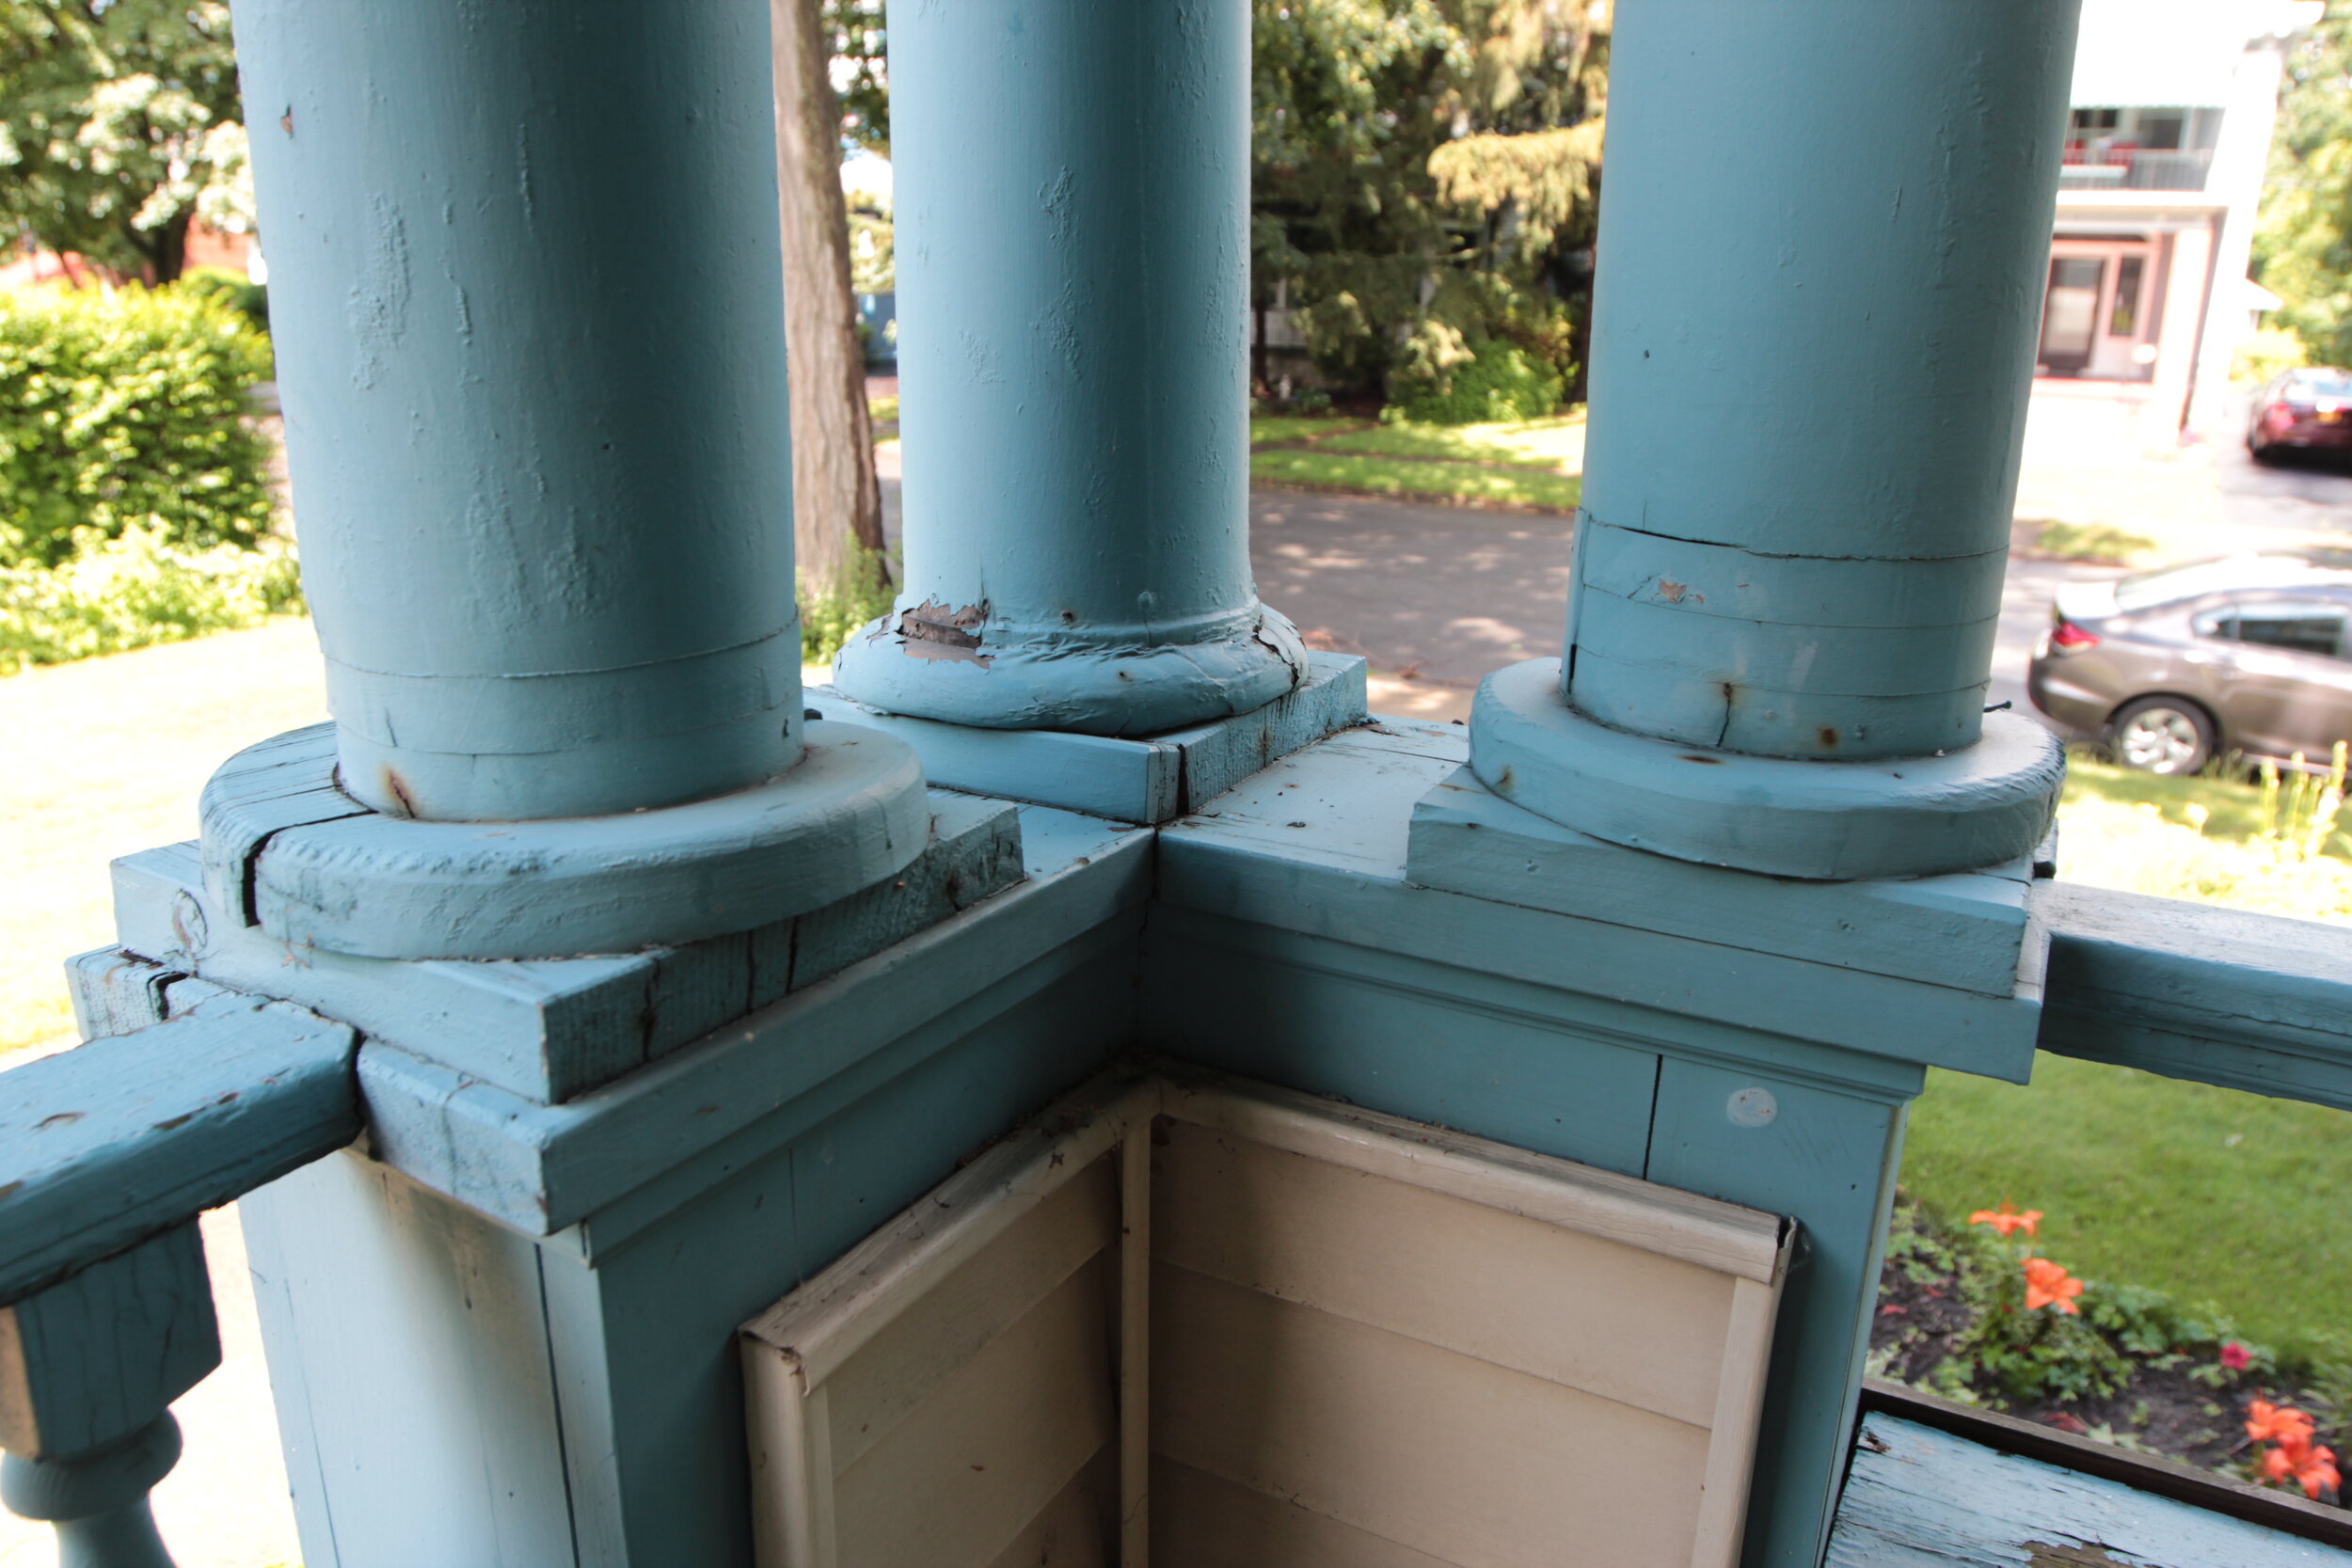
The railing side of the porch was a whole different story. This side of the house is constantly being beat up by the weather. As you can see from the pictures below, there was plenty of rot. Additionally, wherever you have moist, unprotected wood, you’ll have insects. In our case carpenter ants. Neighbors informed me the owners prior to the ones we purchased the house from had done a lot of repairs to the porch and kept a pest control company on the schedule for the ever-present ants. After they’d completed repairs, they kept on top of the maintenance. It may seem like there are a lot of steps to keep things in good shape but, as evidenced by the previous owners’ complete and utter neglect of those relatively straight forward preventive measures for 18 or 19 years, it’s a lot more work and expense to repair damage than it is to prevent it. When I removed the pillars, there was good 20 to 30 lbs difference in weight between them. For one of the pillars, my hand went clear through into the center of it when grabbed it to pull it down from damage caused by the busy little ants. A third of it turned to dust in my arms!!! These are weight bearing pillars!!!
The estimate we got was $15,000 for the restoration with the disclaimer of “Likely a lot more”. Some of the pillars needed preplacing, all of them needed repair. Same with the spindles. Same with the trim. A decent chunk of the floor also needed to be replaced and as mentioned earlier, the ceiling. This porch has 12 pillars and I’m going to tell you that repairing a single pillar, with the labor of removing it and then reinstalling is NOT going to be just $600/pillar. *gulp* $15,000 sounds like a low estimate for a job well done given the work completed thus far.
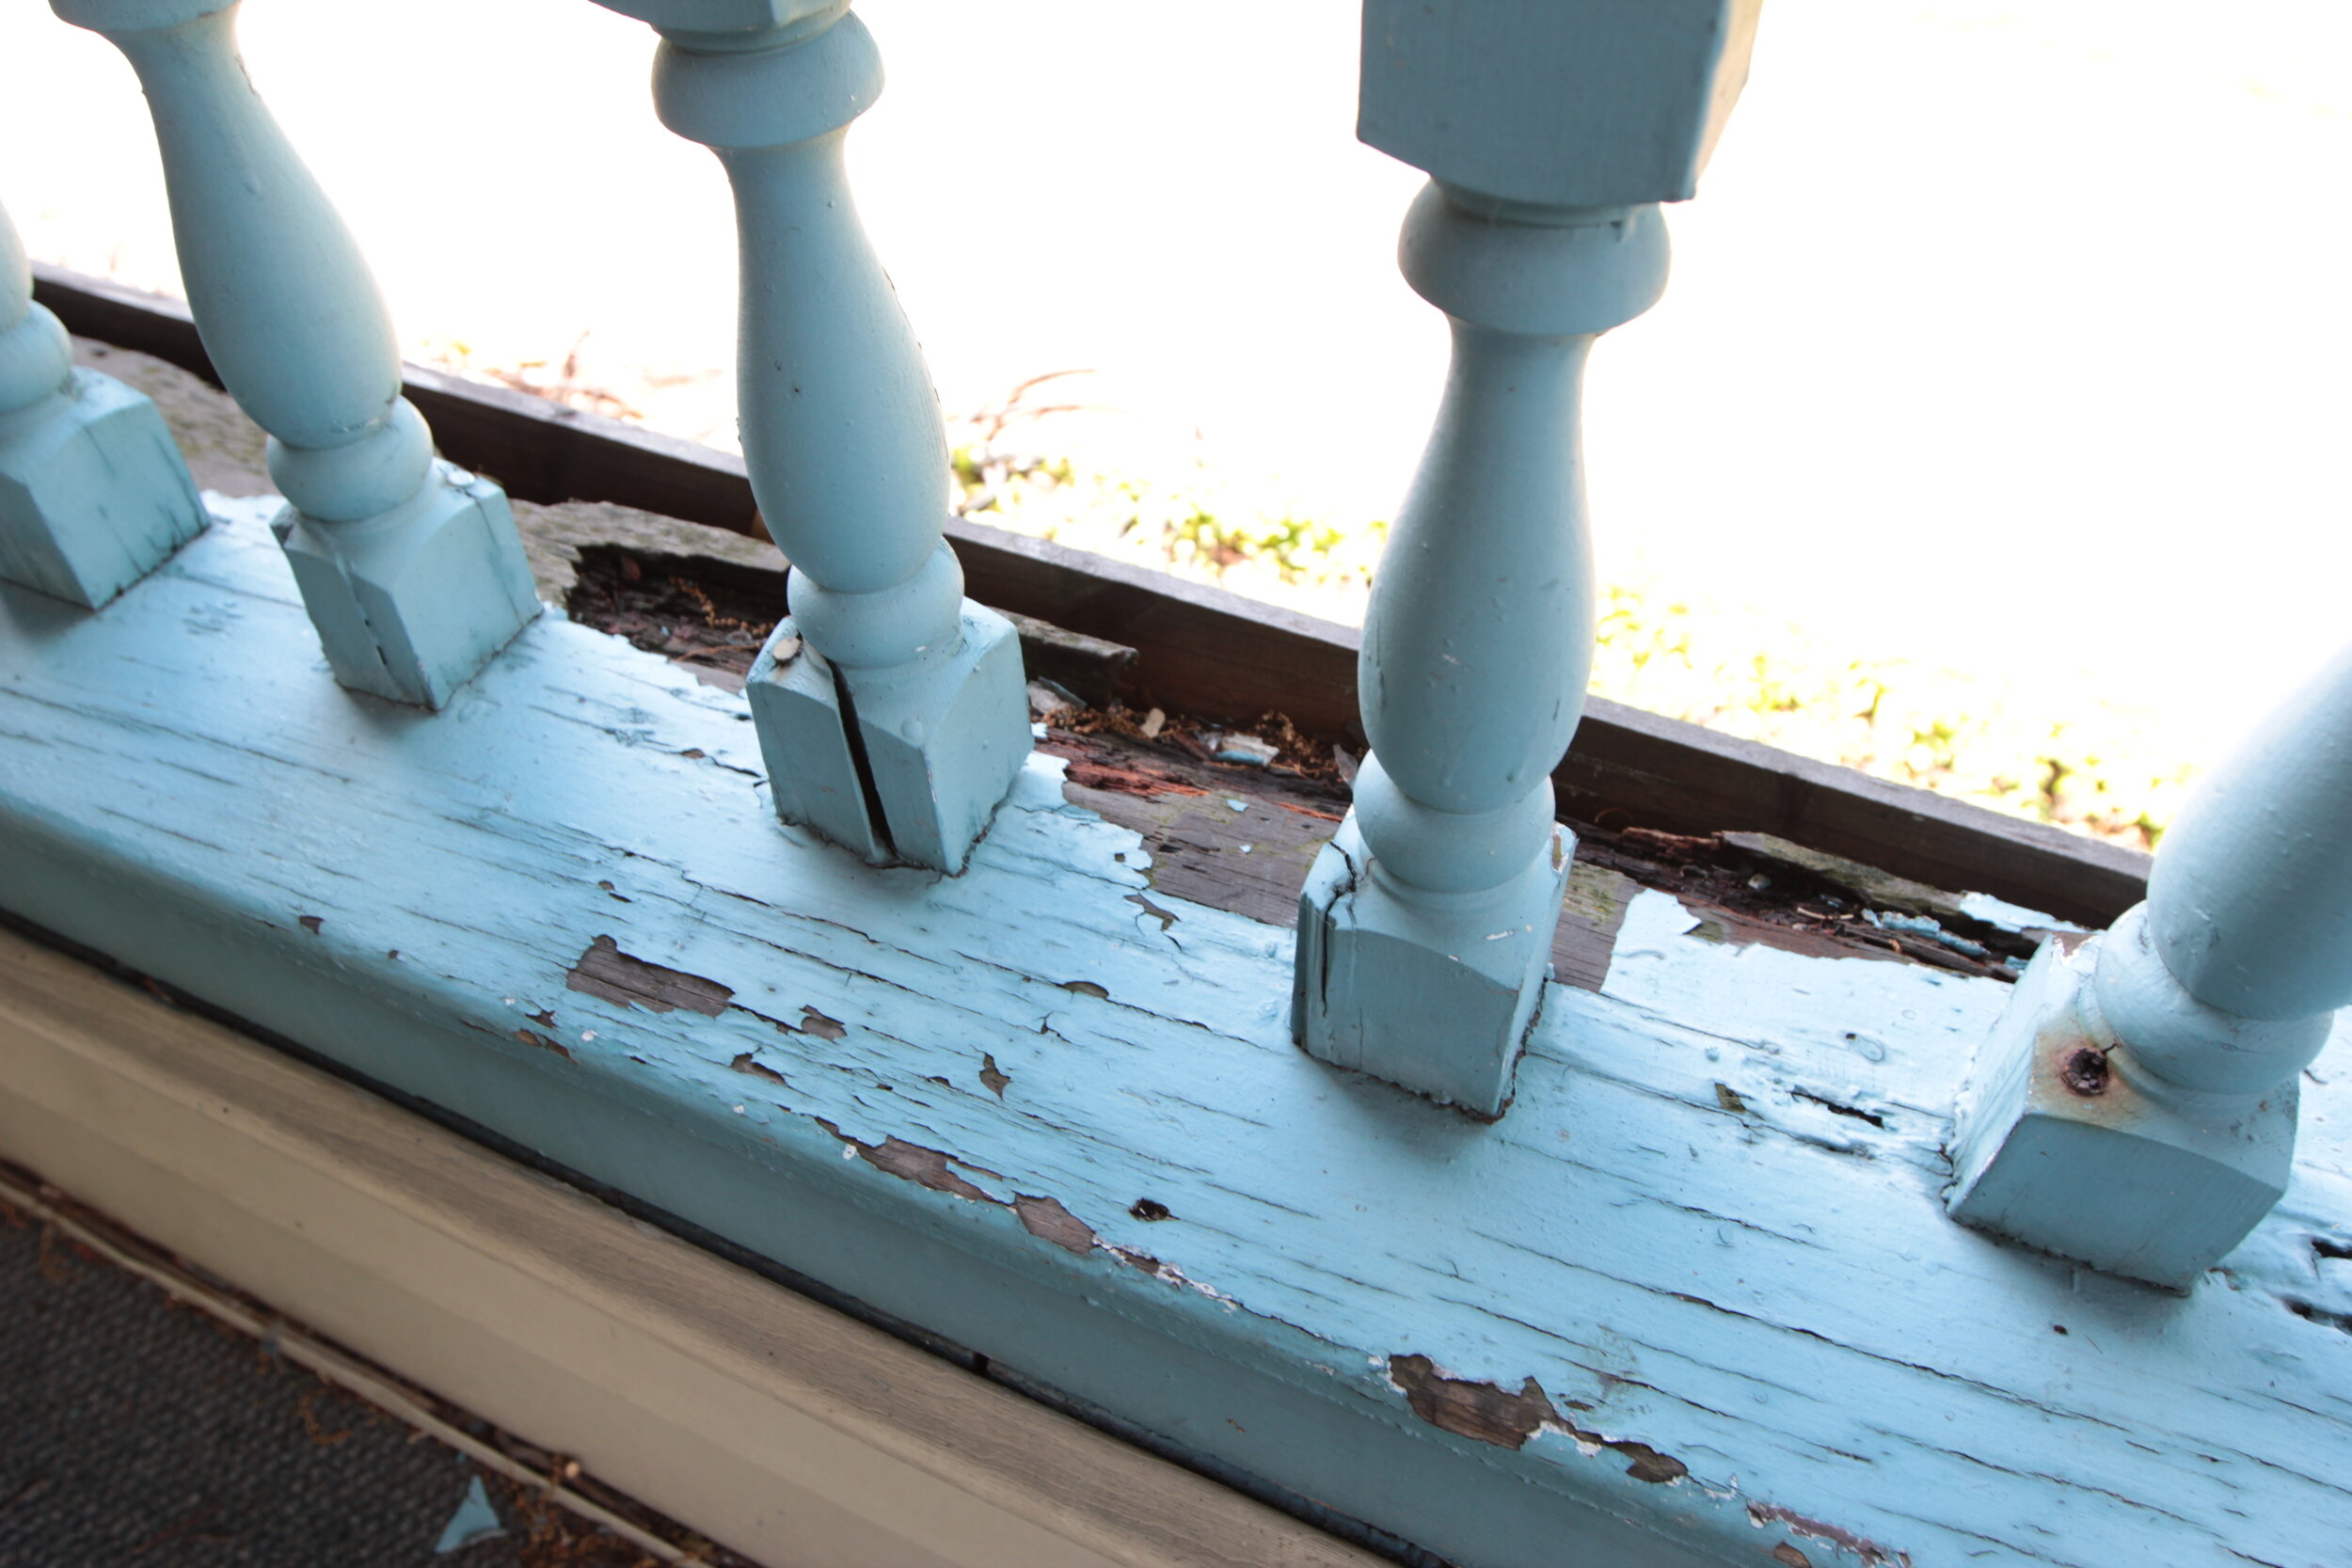
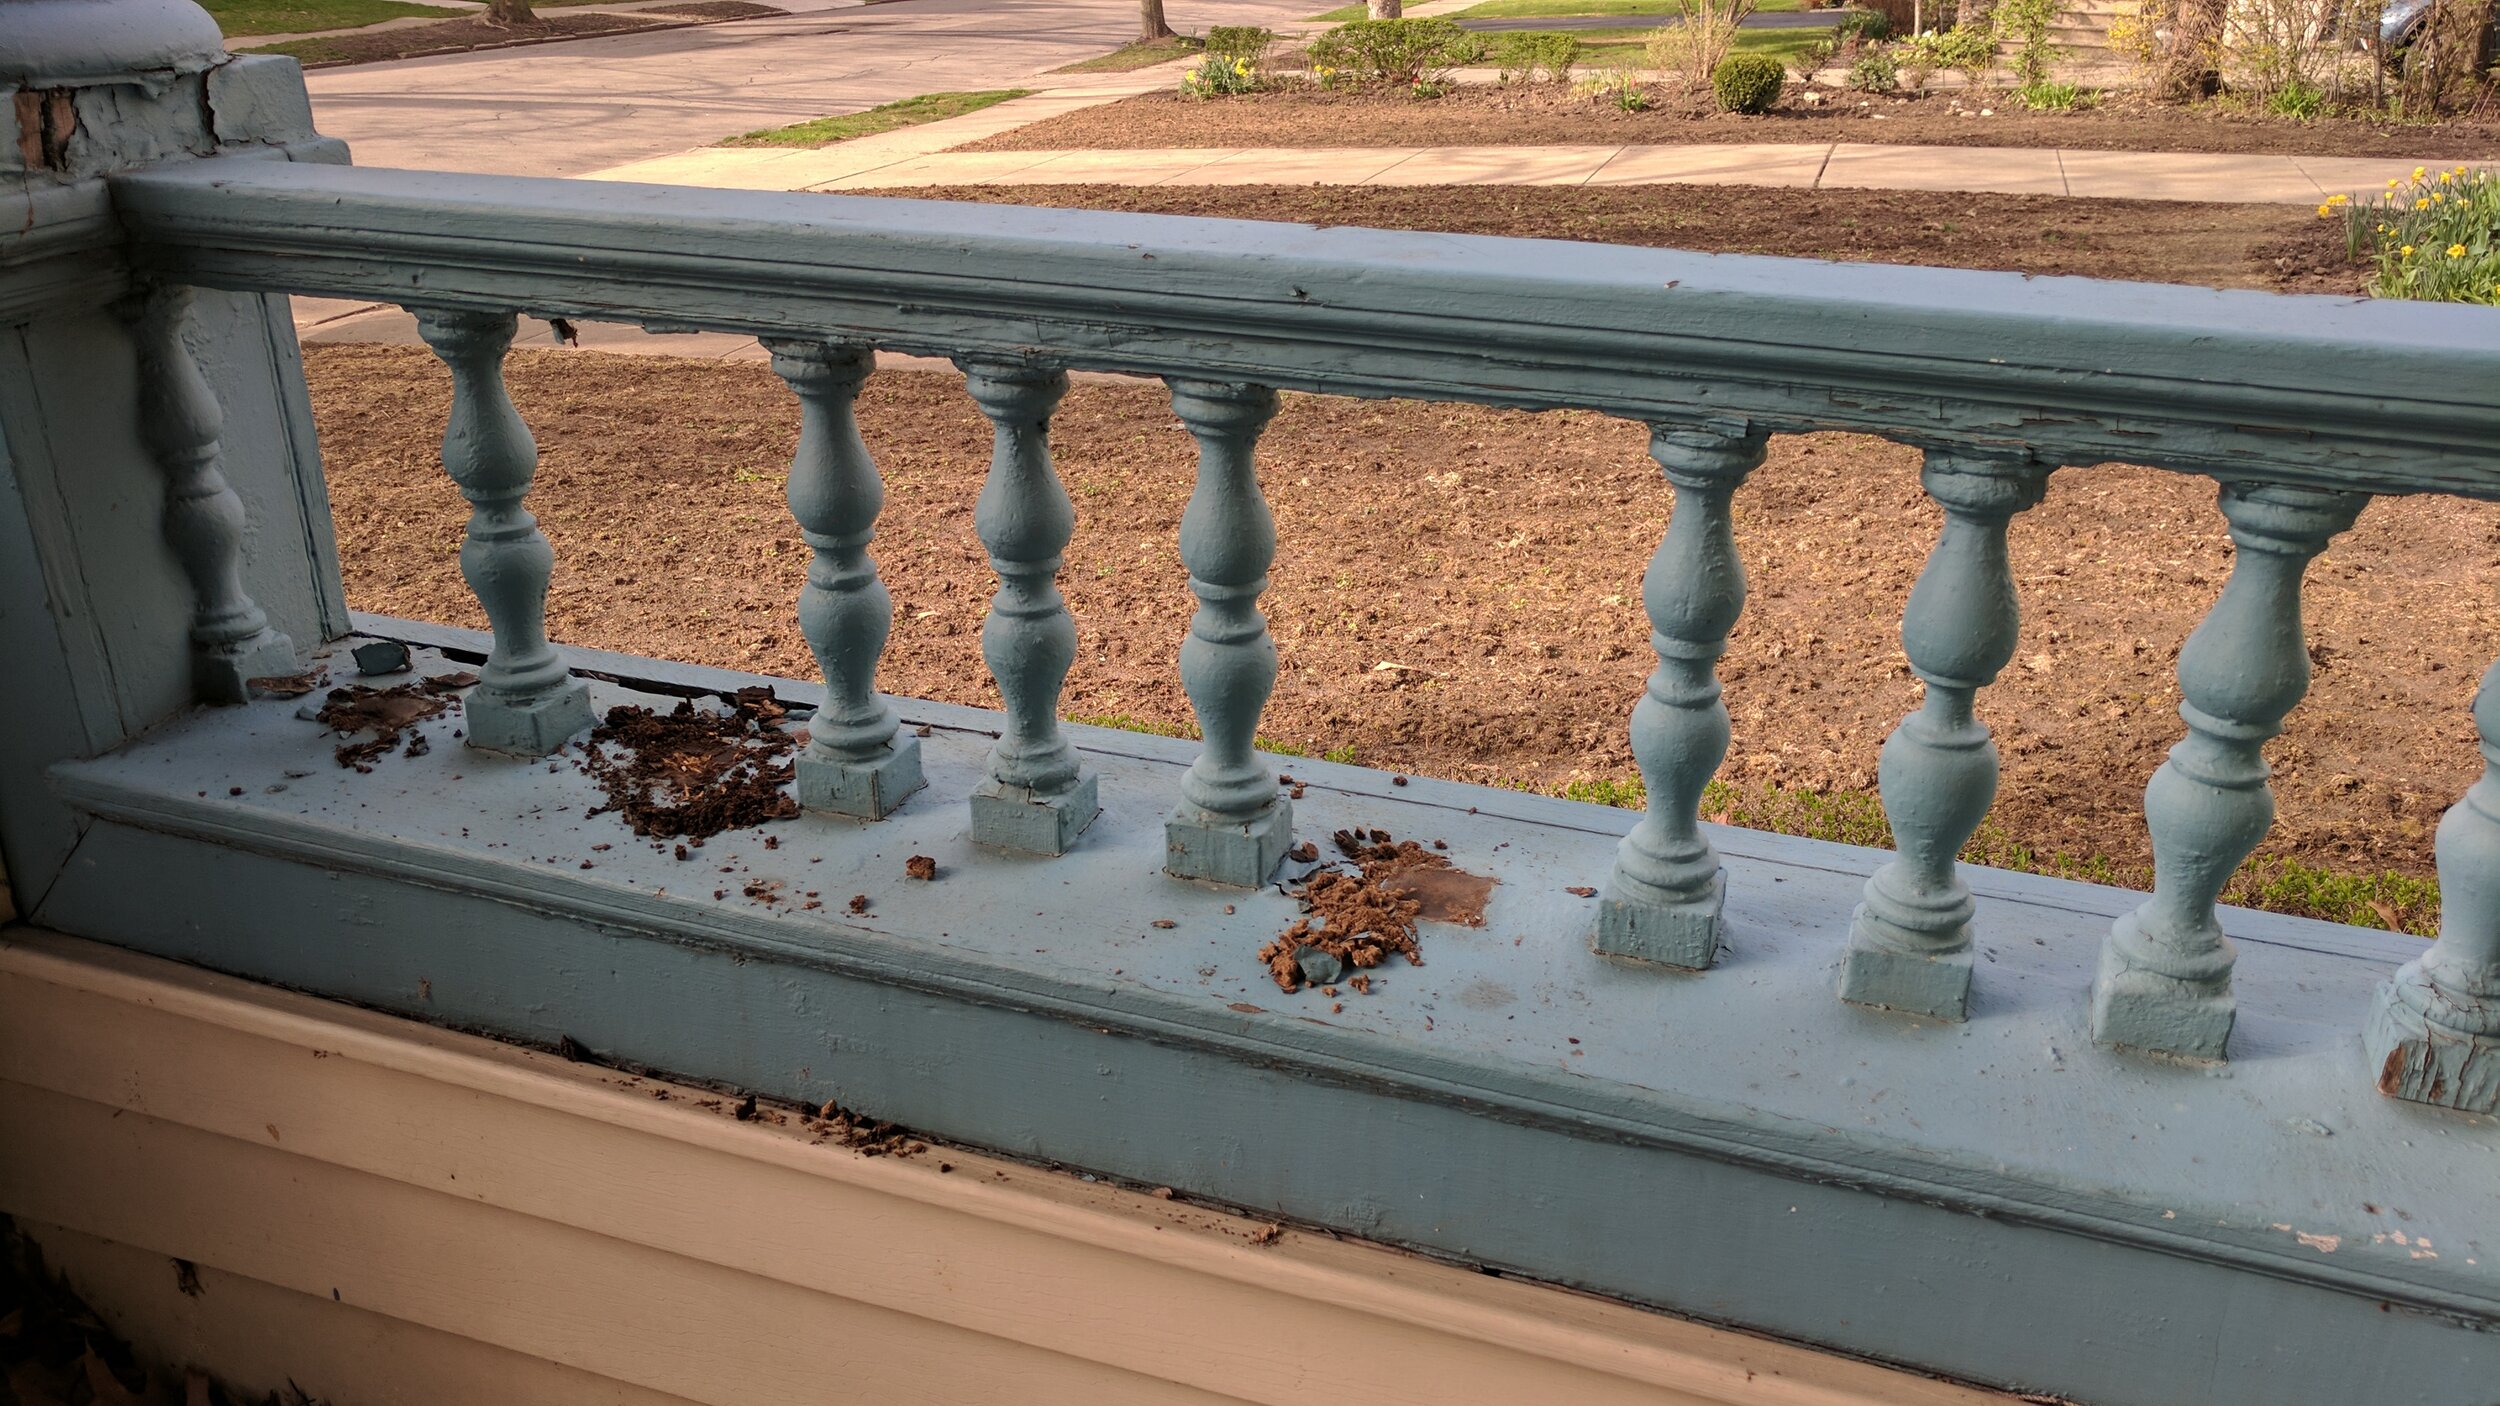
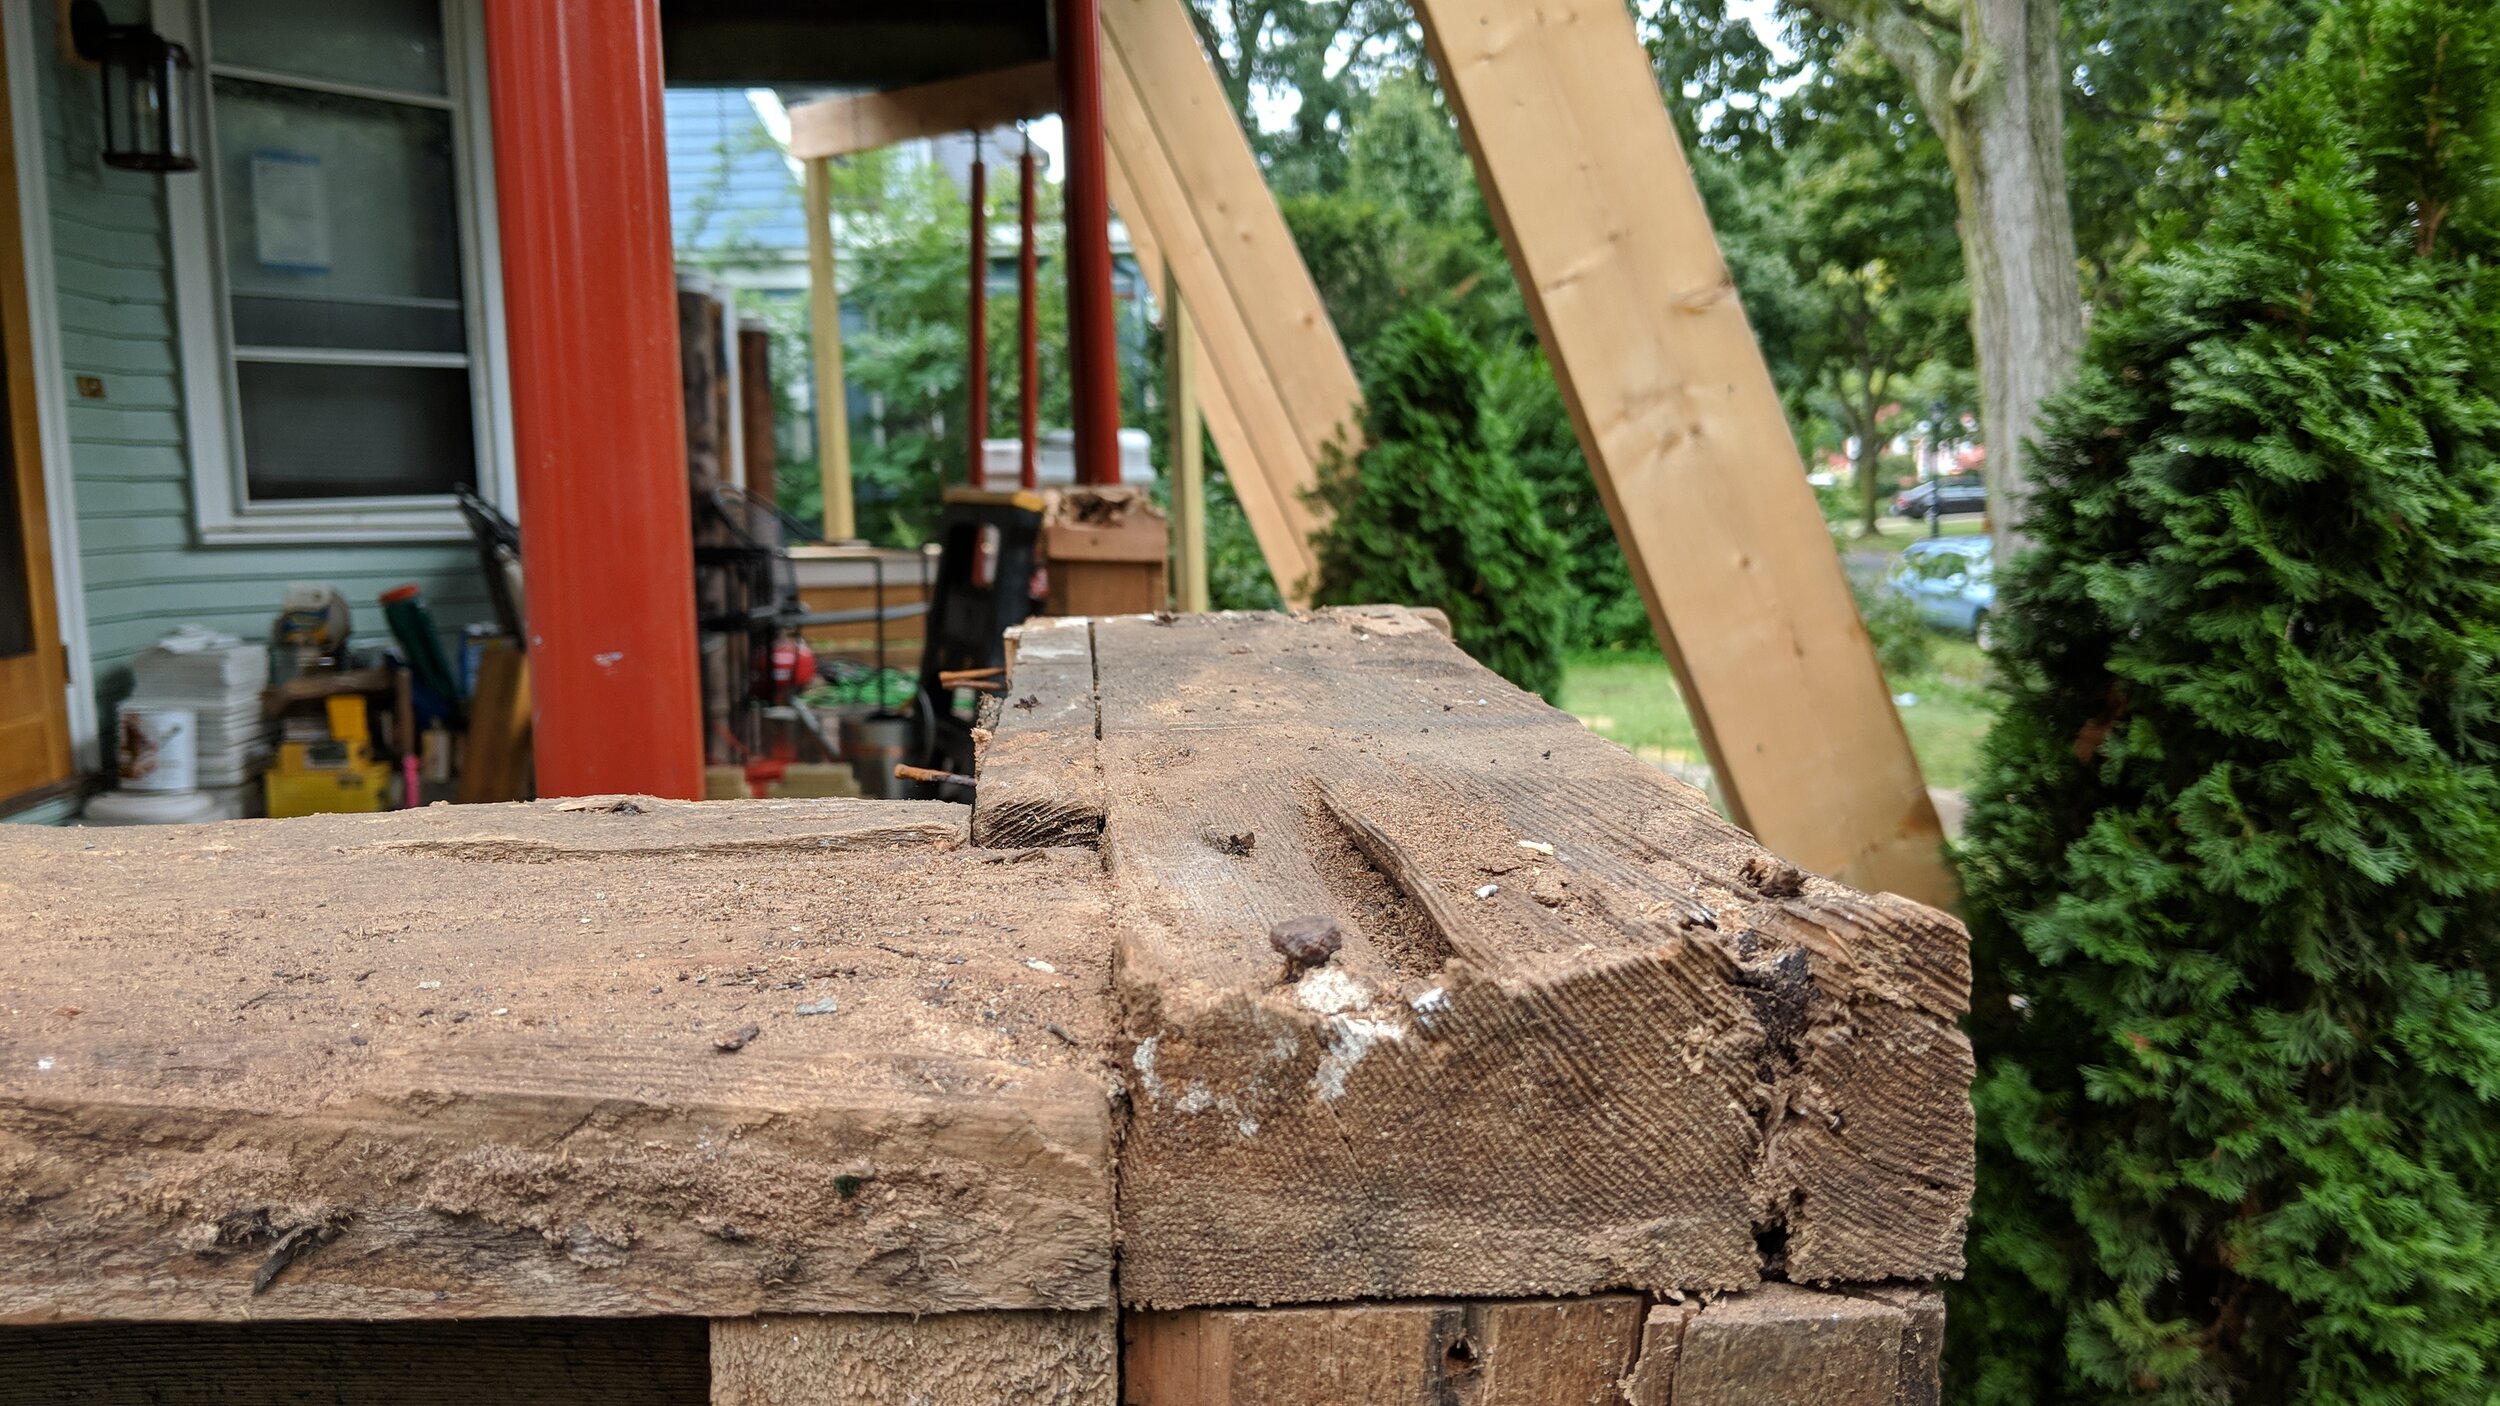
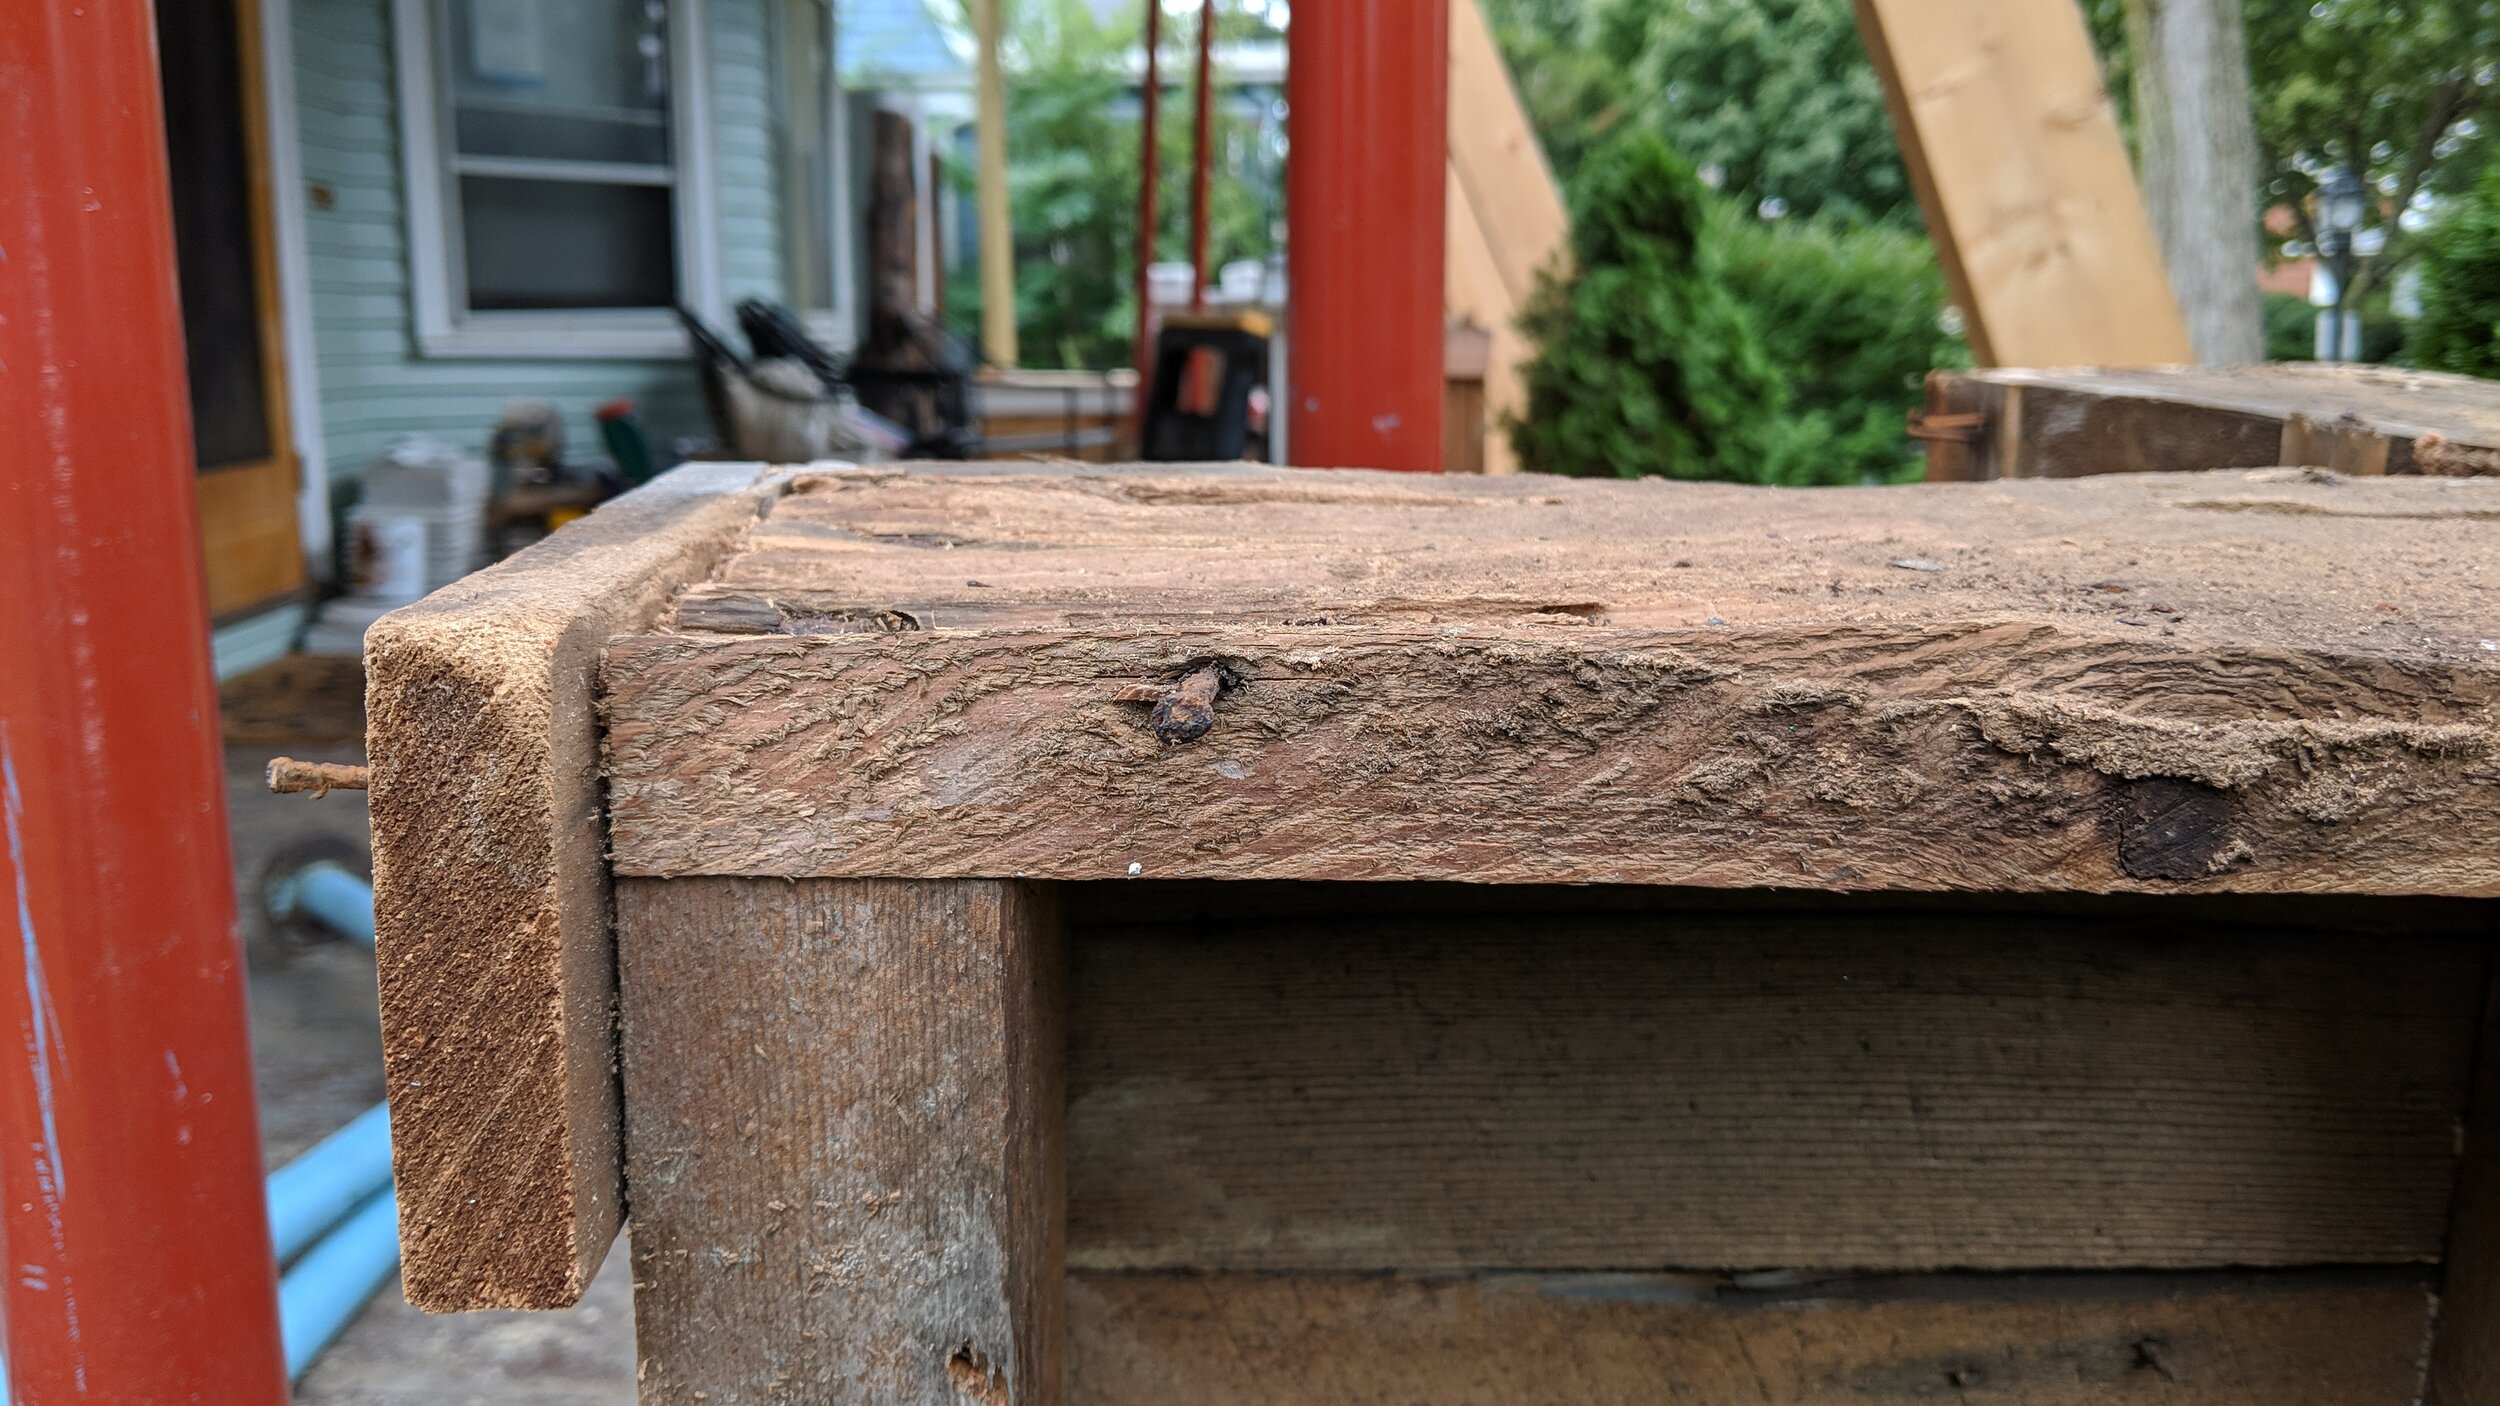
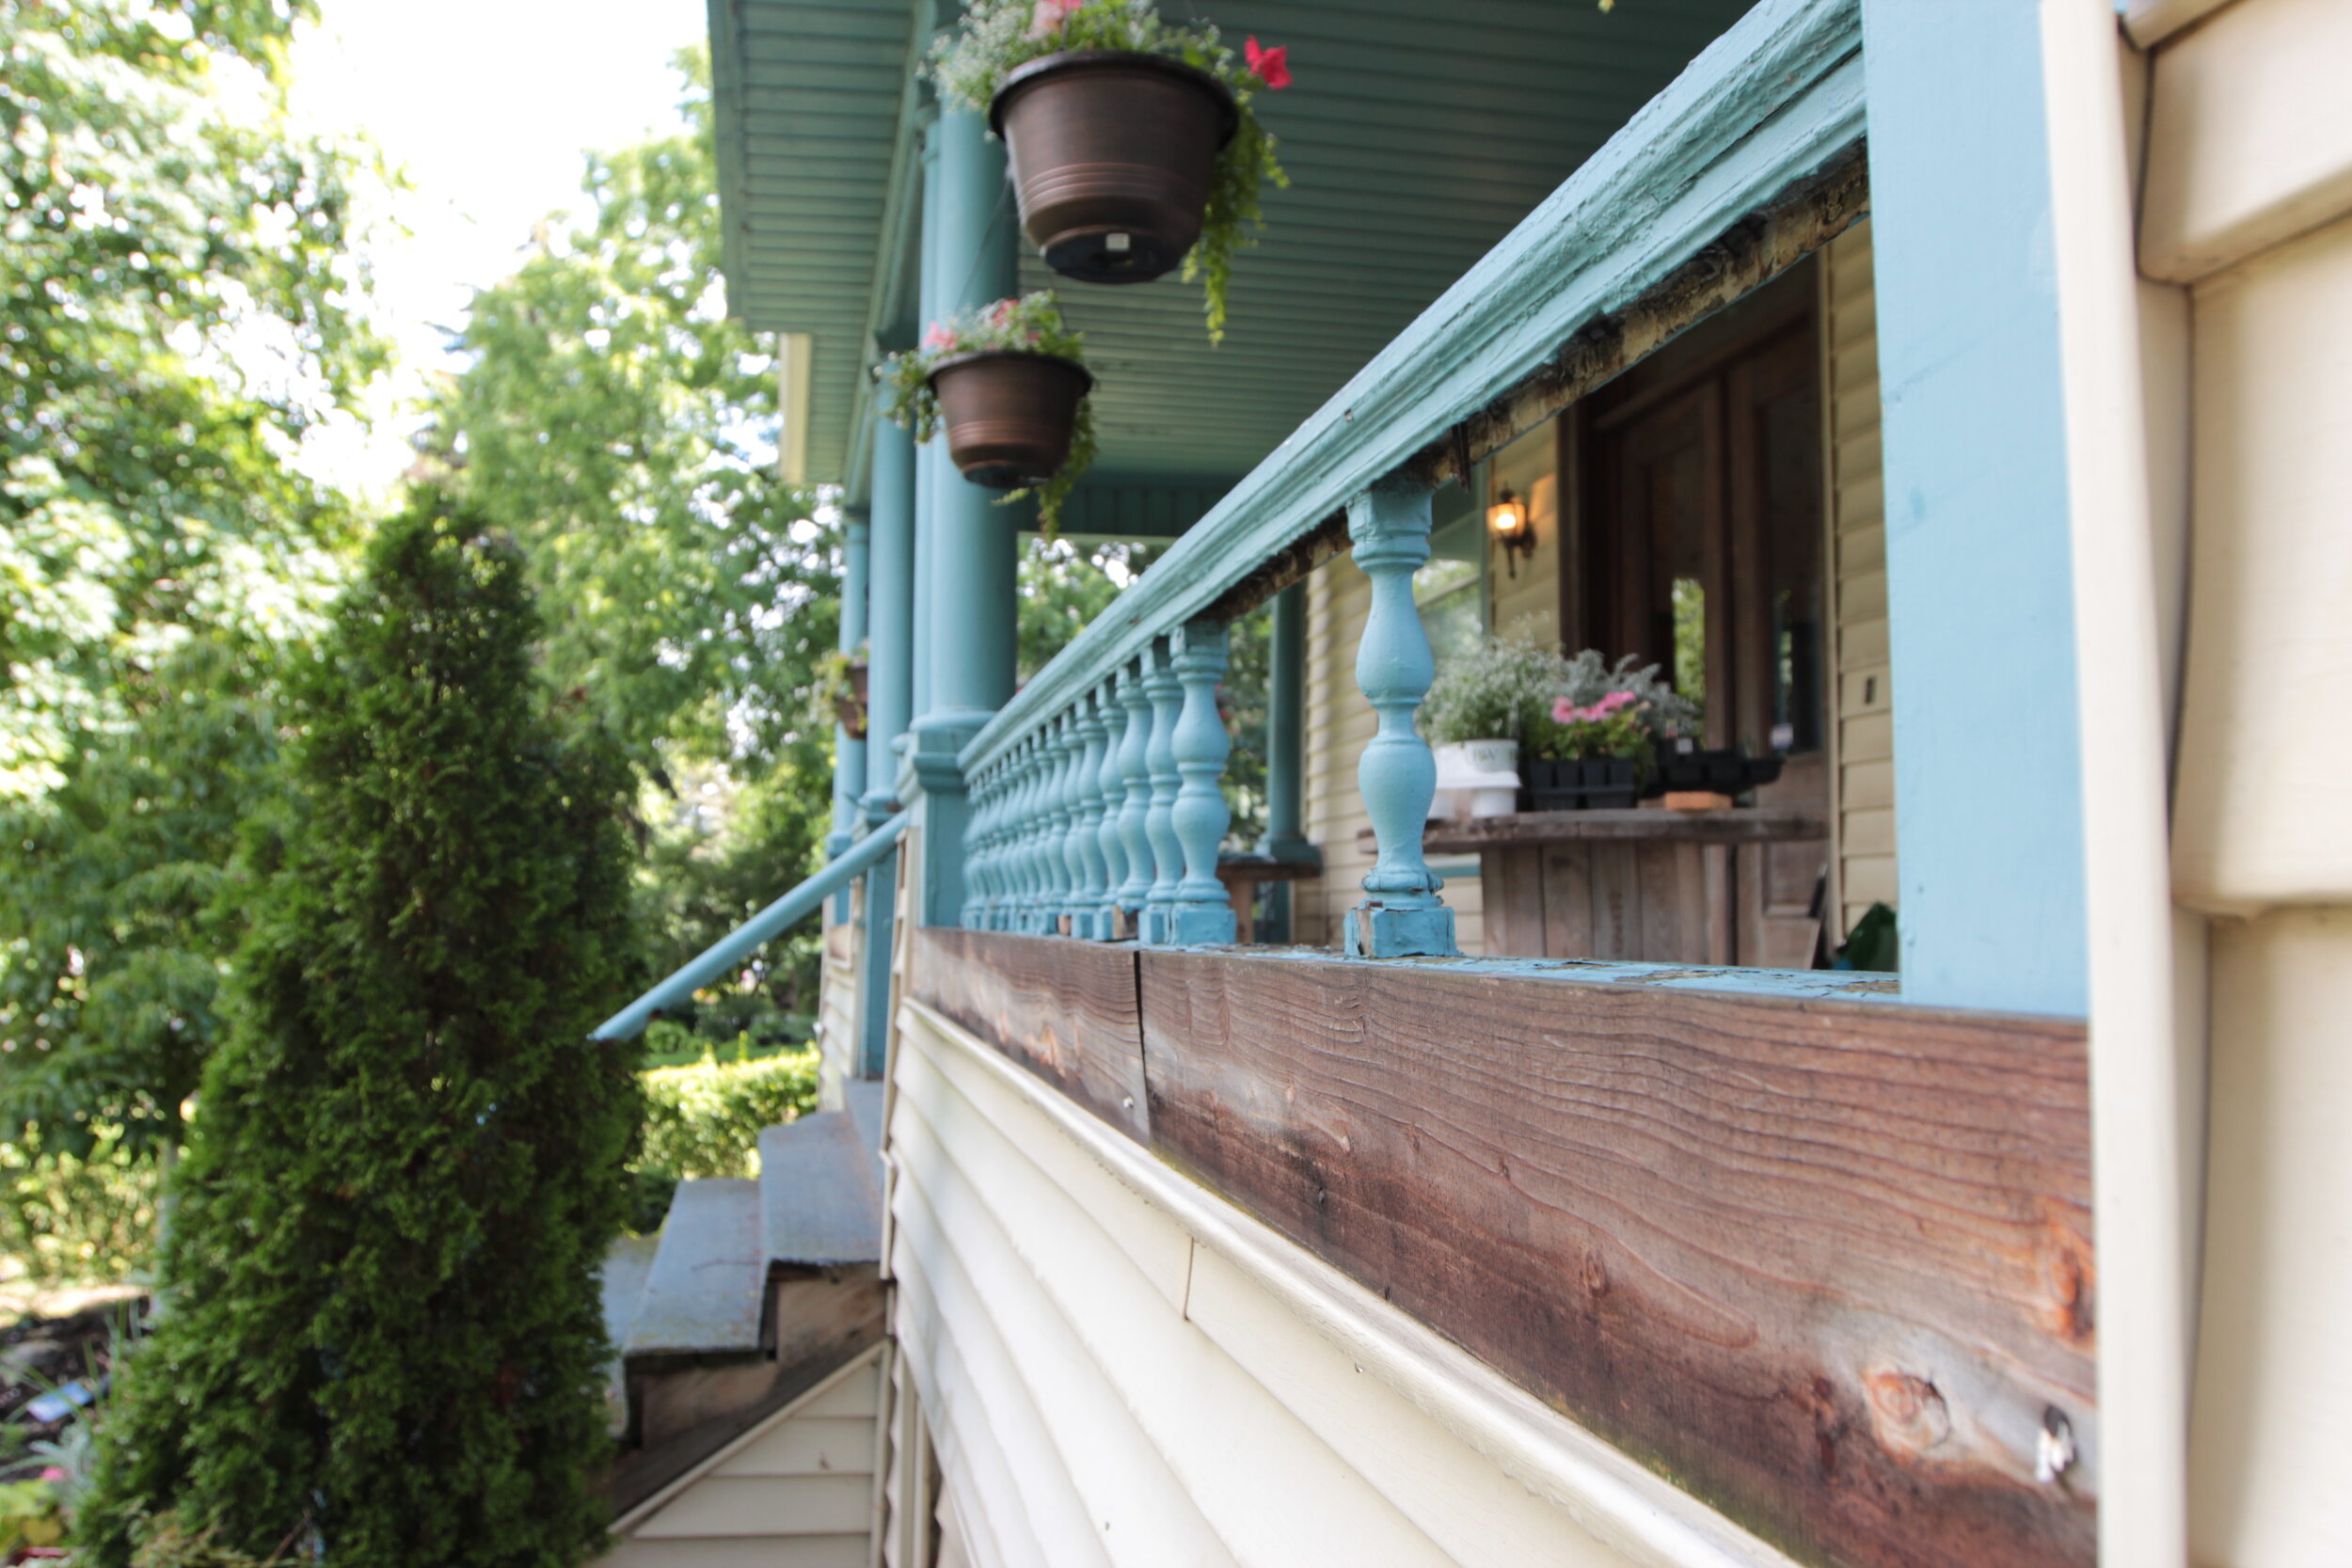
Many of the spindles turned to dust in my hands when I tried to remove them for repair and you can also see in the first and third pictures that there were two different kinds of spindles throughout the porch. No doubt to replace spindles that probably flew away in the wind like the ashes of the deceased. The ugly pieces of wood that were nailed onto the front (last picture) to hide the ugly stuff from view made for a lovely water reservoir that resulted in severe ant damage and rot in the actual framing of the porch. The porch floor along that edge was covered in carpet and had no paint to protect it. I don’t have to tell you carpet that is repeatedly wet and in contact with wood will do, right? What I thought was just going to be cosmetic fixes ended up requiring a complete rebuild of this space. I’d been in this house for 3 years, at this point, I should’ve known better.
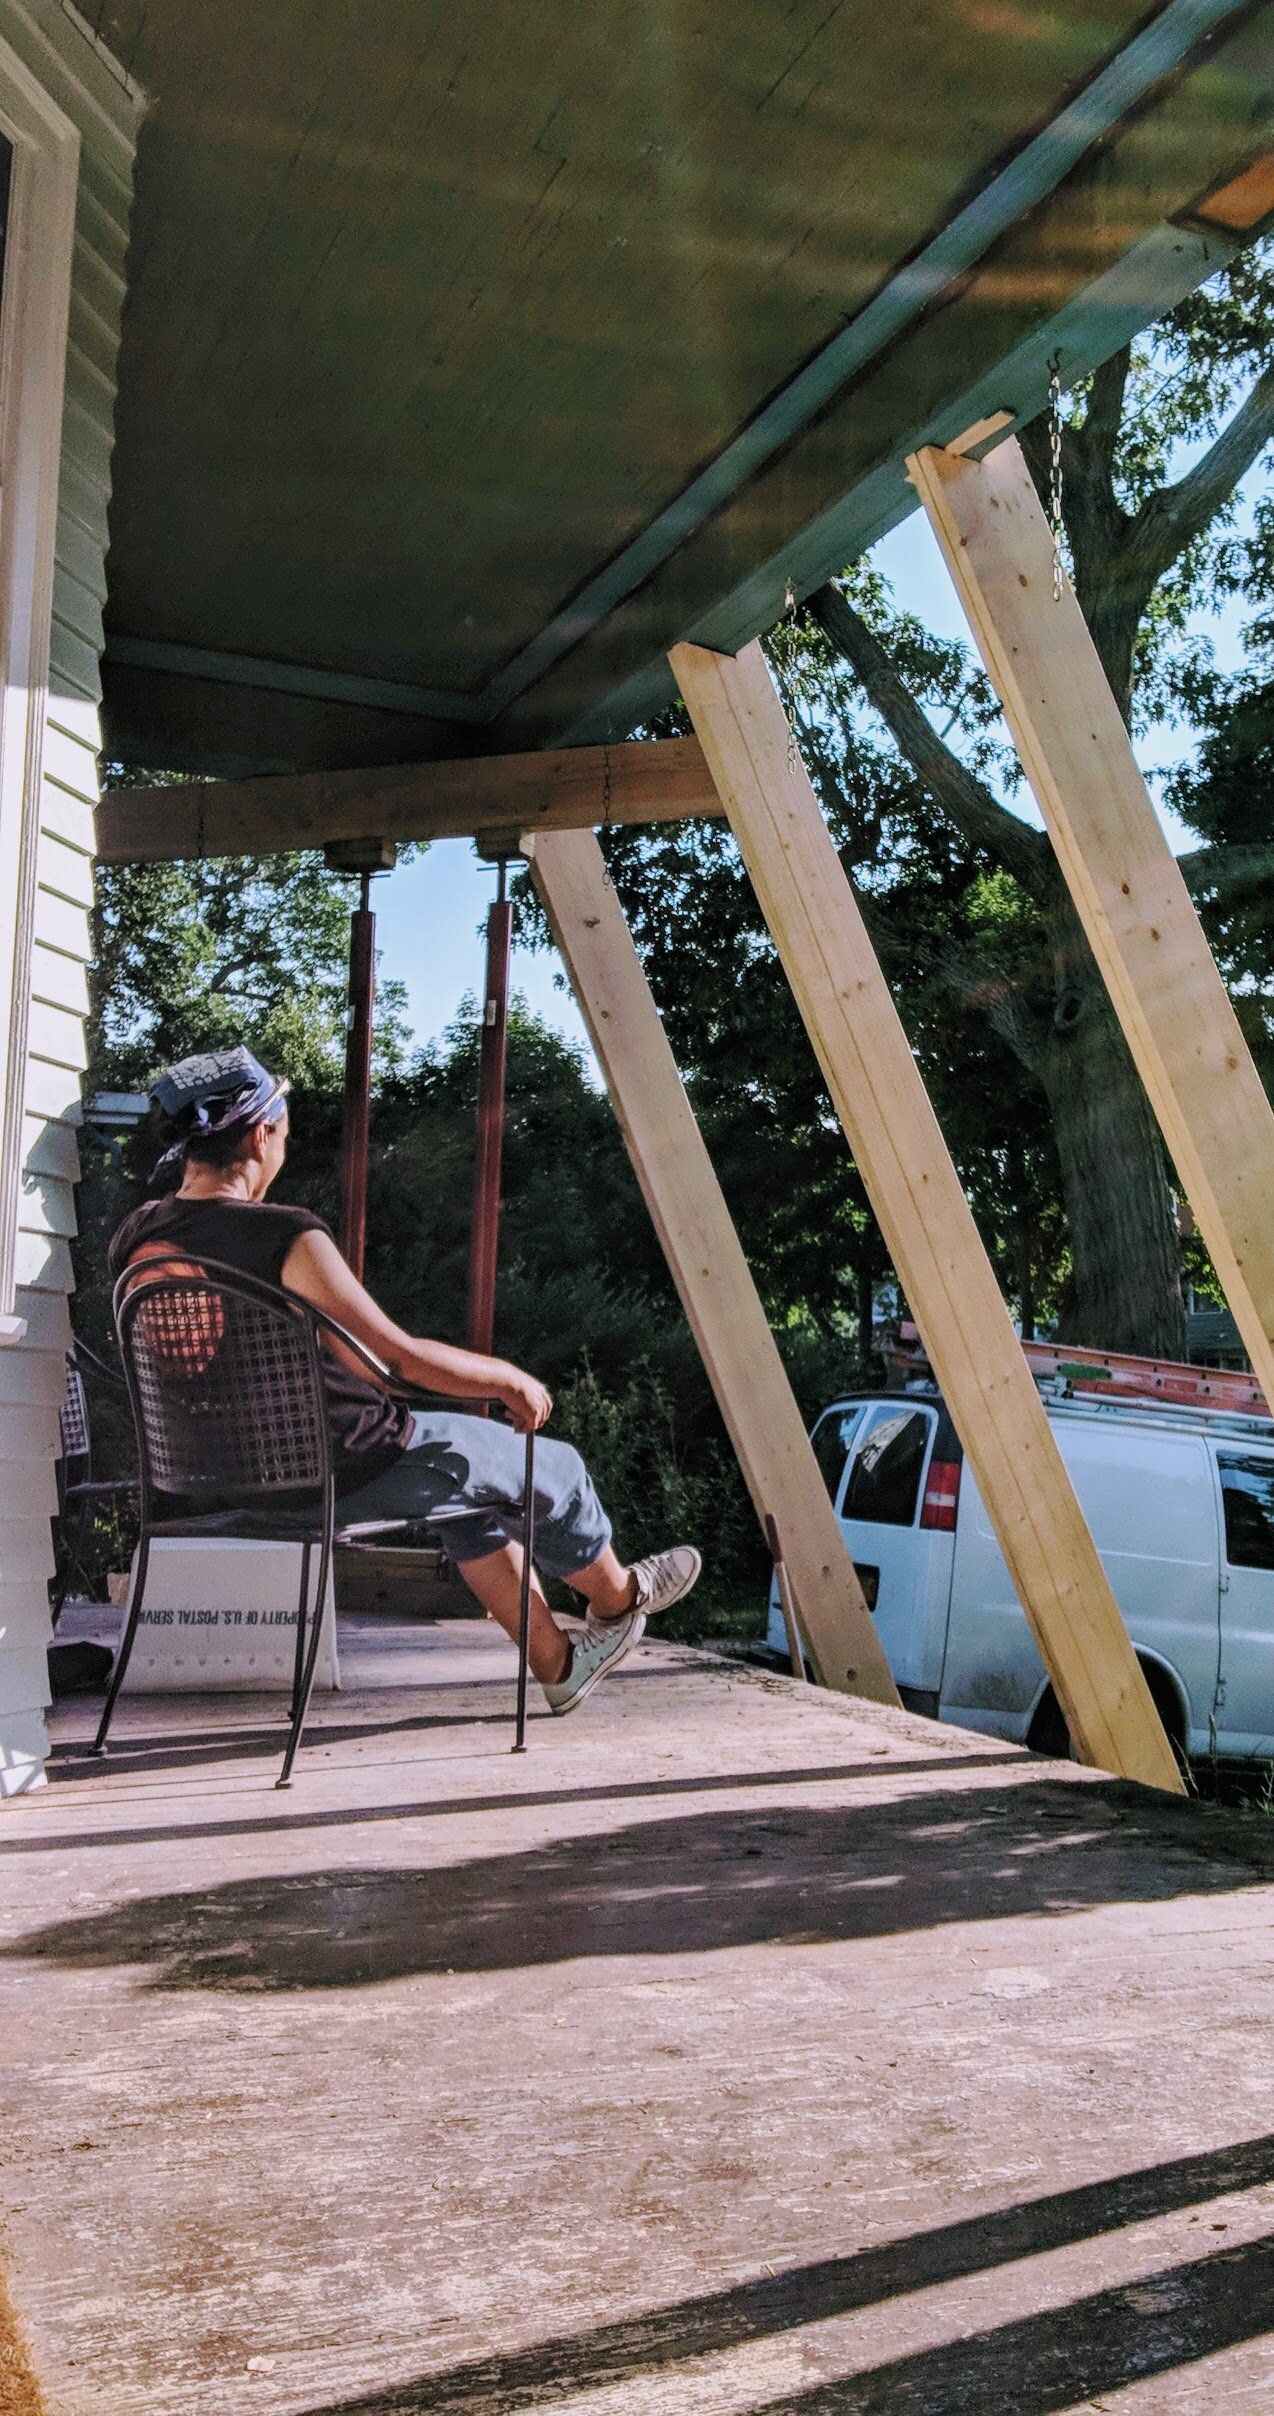
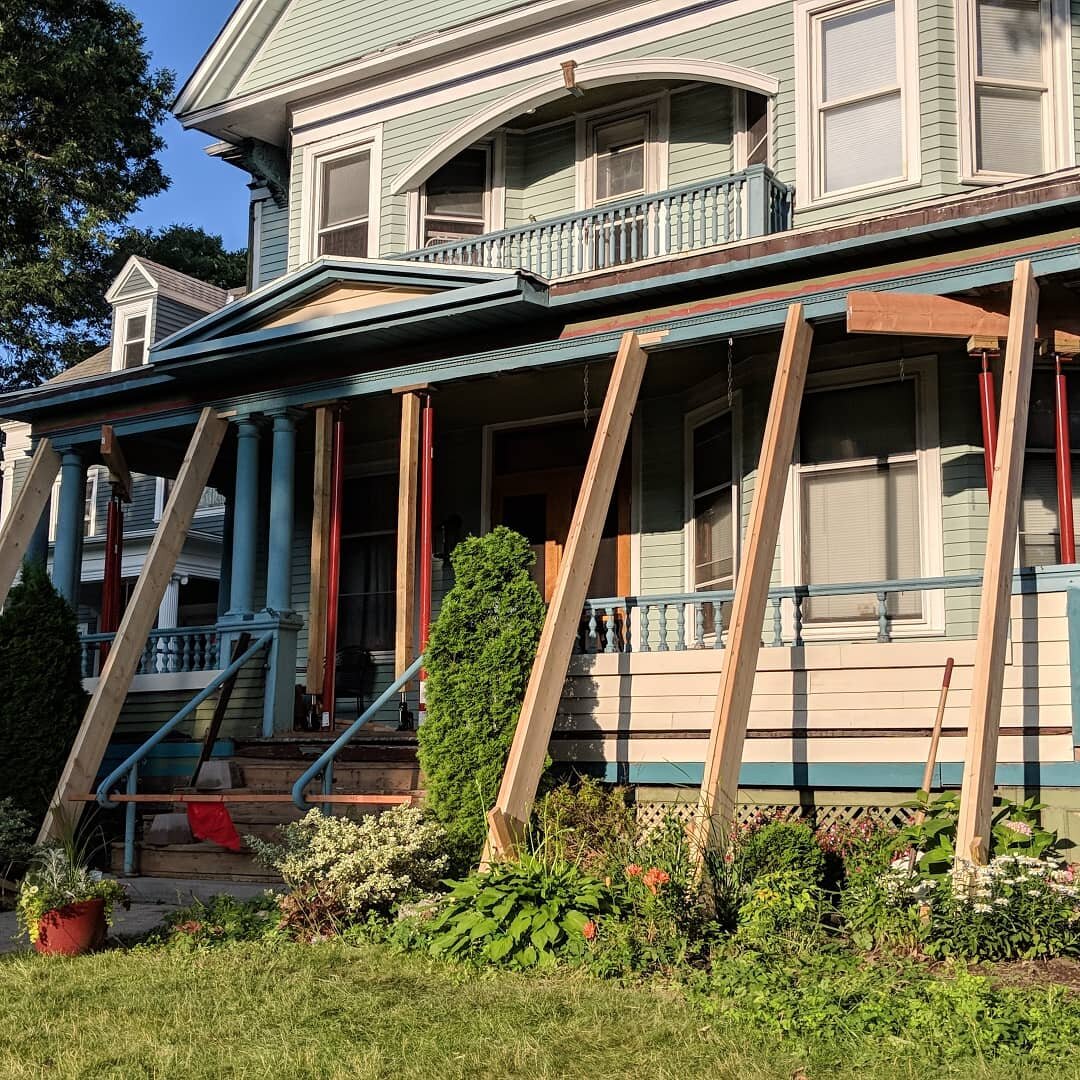
Now on to what’s been done up until this point. With the help of the neighbor, we got:
the porch roof jacked up
pillars removed
Framing removed and rebuilt
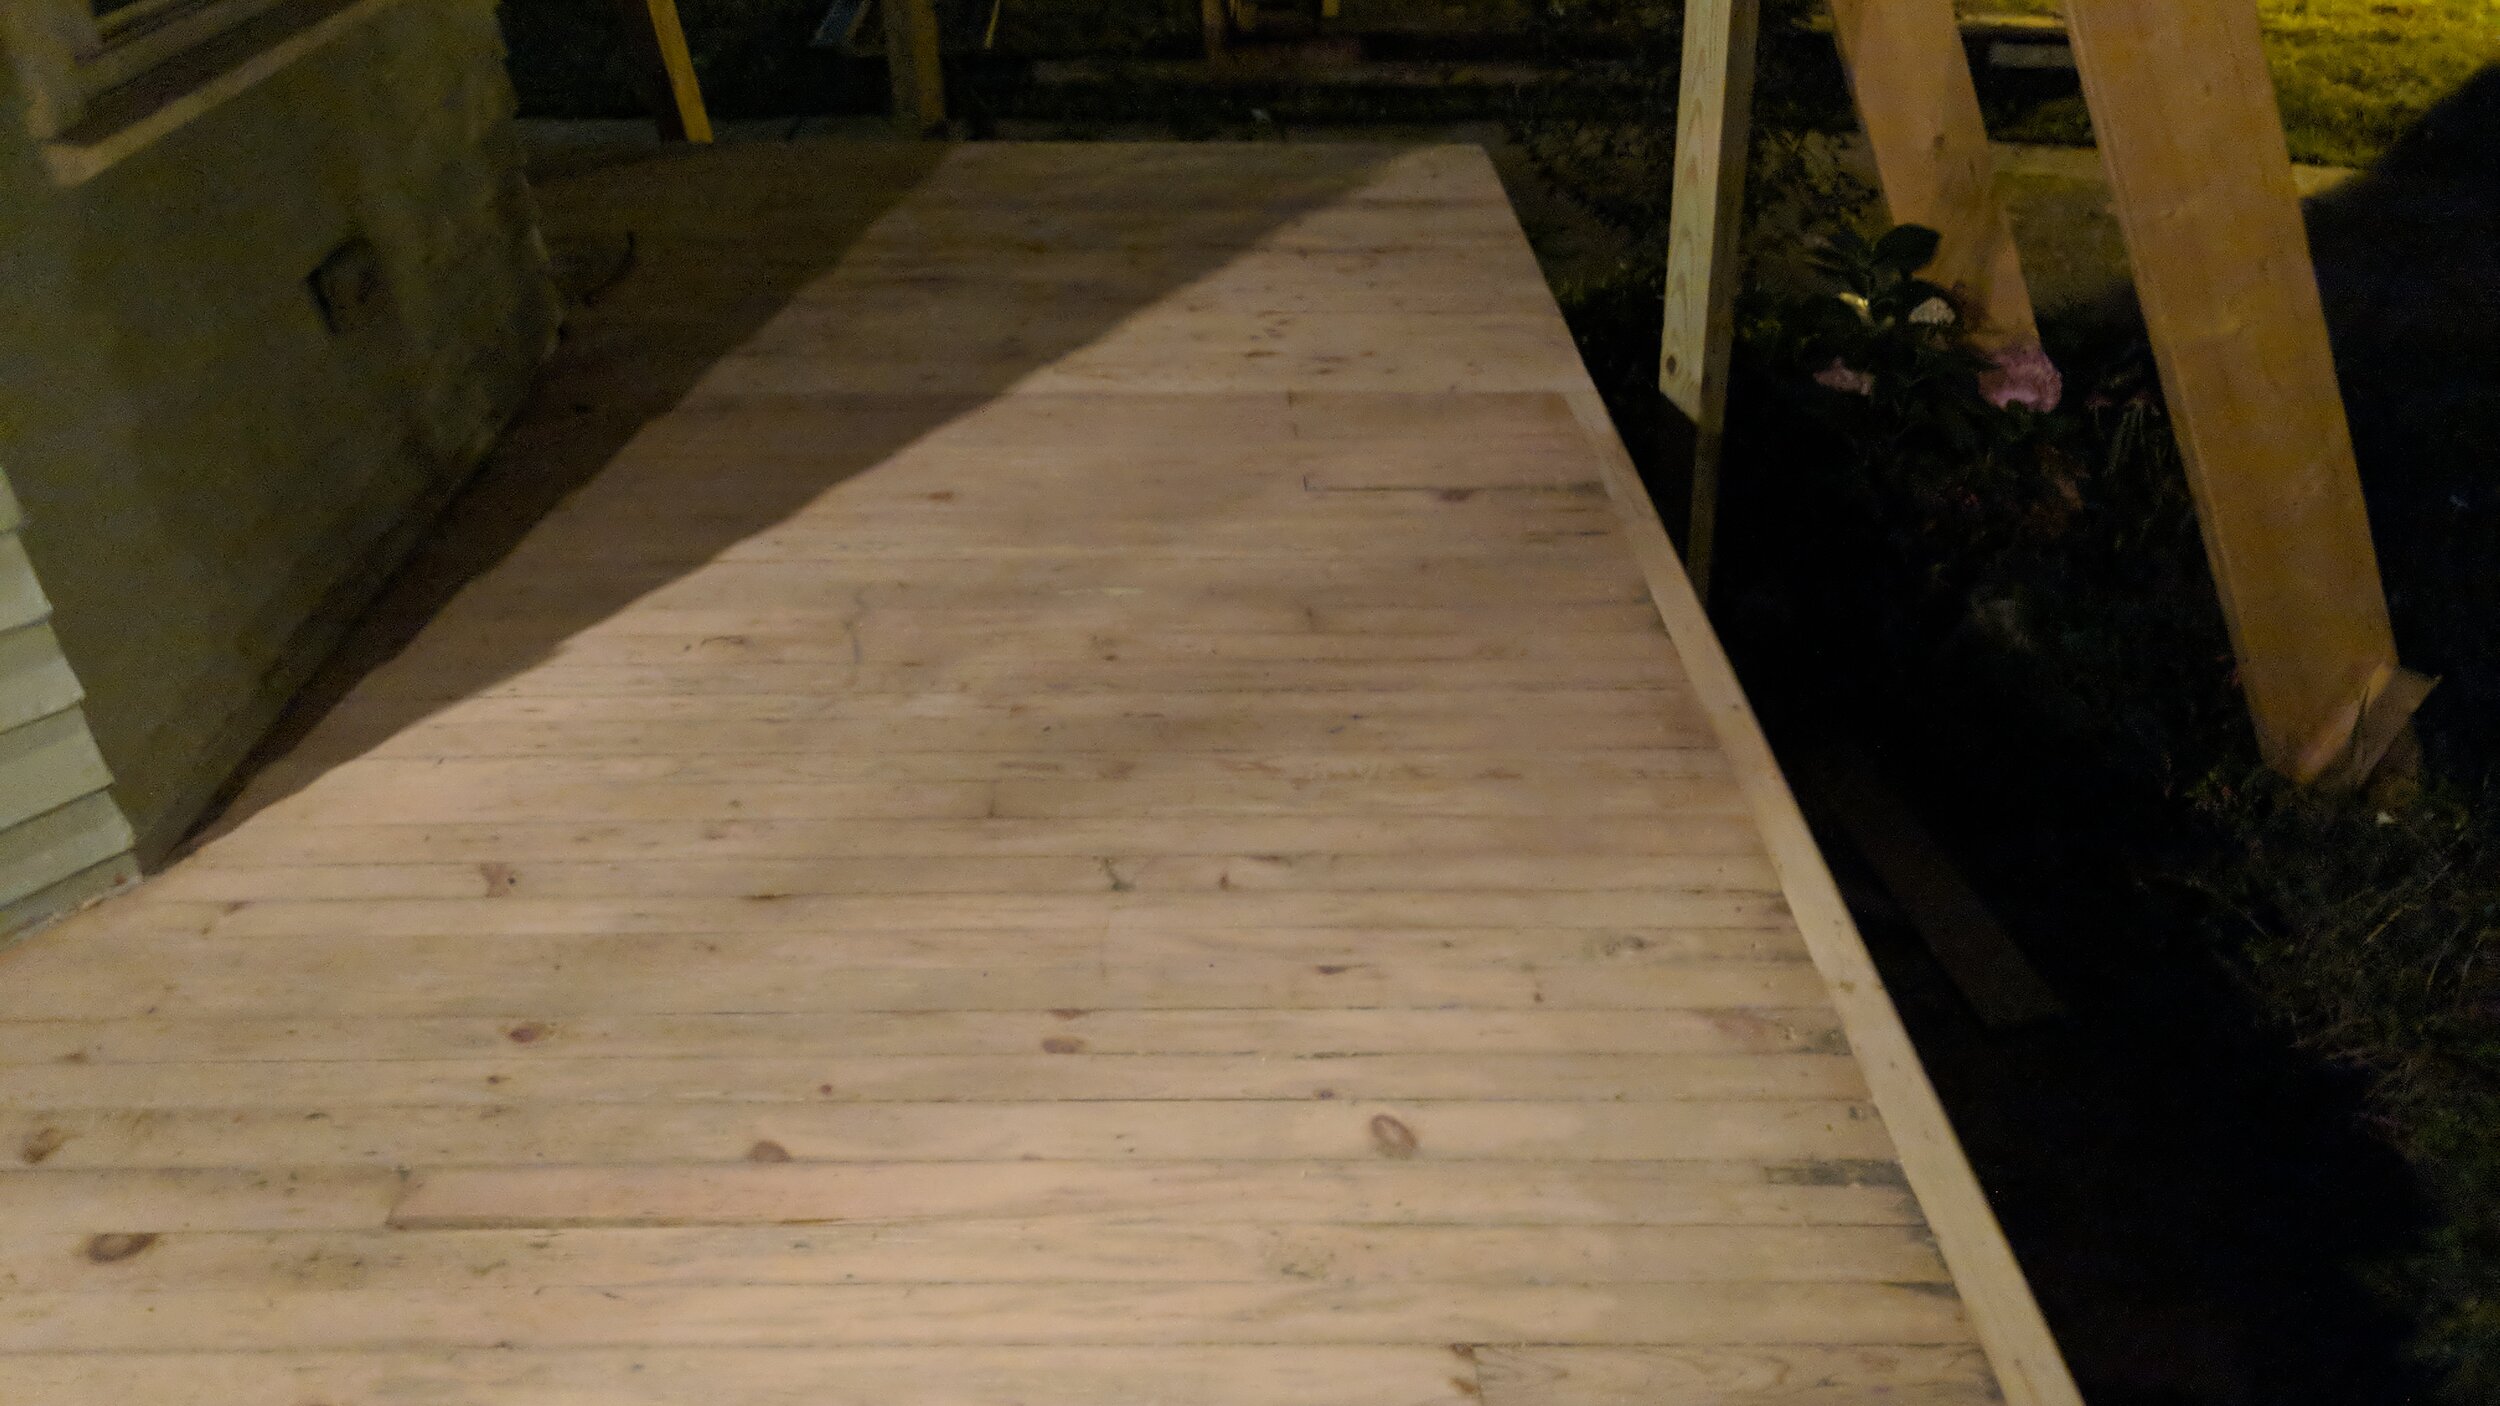
damaged floor removed
new floor installed on part the south half of the porch and paint stripped from the rest of that half
stained the south half of the floor (the north half has not been touched)
The trim, pillar repairs, and parts were recreated by another friend and master craftsman who also made the screen doors. The tongue and grove ceiling installation was hired out. I restored the front doors and the clapboard. Outdoor outlets were put in and new lighting fixtures installed. We have come a long way, that’s for sure. I’m really hoping it only takes the 8 weeks of this challenge to complete the rest.
Tomorrow is the Week 1 blog post for the One Room Challenge. In it, I’ll share the *before* pictures, the plan, and my design board. I hope you enjoy this first time journey with me!