One Room Challenge - Week 5

I made some noticeable progress on the porch this week. The header is painted and the crown molding was restored and reinstalled. The hanging baskets are permanently back in their hanging spots. The basket irrigation is re-affixed to the header. All of which is on display in the picture below. I’m feverishly trying to finish all the up-high work before the scaffolding goes back, for sure, at the end of this week.

Recapping the accomplishments of the week was a must, but I want to spend the rest of this post talking about this zen water feature planter I made specifically for this space. I’ve wanted something like this in our outdoor living spaces for YEARS, as evidenced by the water pump I’ve owned since before we’ve lived in this house (we’ve been here for 7 yrs). I finally got ‘round to using it and I’m so very glad I did. I’ll be posting a video of it in action on my IG @byrneburymanor. Below are the step-by-step on how I accomplished this fairly simple and instantly gratifying project.
Supplies and Tools
Supplies vary for fountain builds. There are so many options and you can often find things around your house to build them. You need a vessel used as a water reservoir, deep enough to completely submerge your water pump, a vessel out of which water pours (or a path for the water to flow that ends back into the water reservoir containing the pump), and whatever you want to use to hide the workings of the system to make for an attractive display.

Pictured:
- Water pump. Available in the garden/pond supply section of your big box store. (~ $20)
- River rock. (~ $5)
- Vinyl Tubing sized to pump (~ $10)
- Small ring clamp sized to tubing (~ $1)
- A leak proof vessel (I got this plastic bowl from the dollar store)
- A vessel from which you want the water to pour (got this jug for $1 at a garage sale)
- Some kind of mesh to keep the stones out of the water. (I got this one at Dollar General for $3)
- Large planter (prices vary)
Not pictured:
- Potting soil
- Annuals of choice (keep in mind the amount of sun they’ll get in fountain’s permanent location)
- Drill
- Appropriate drill bit for the hole you’ll need to drill into the vessel out of which water will be pouring. I used one specially made for glass and ceramic
- Scissors to cut the tubing to size
How To
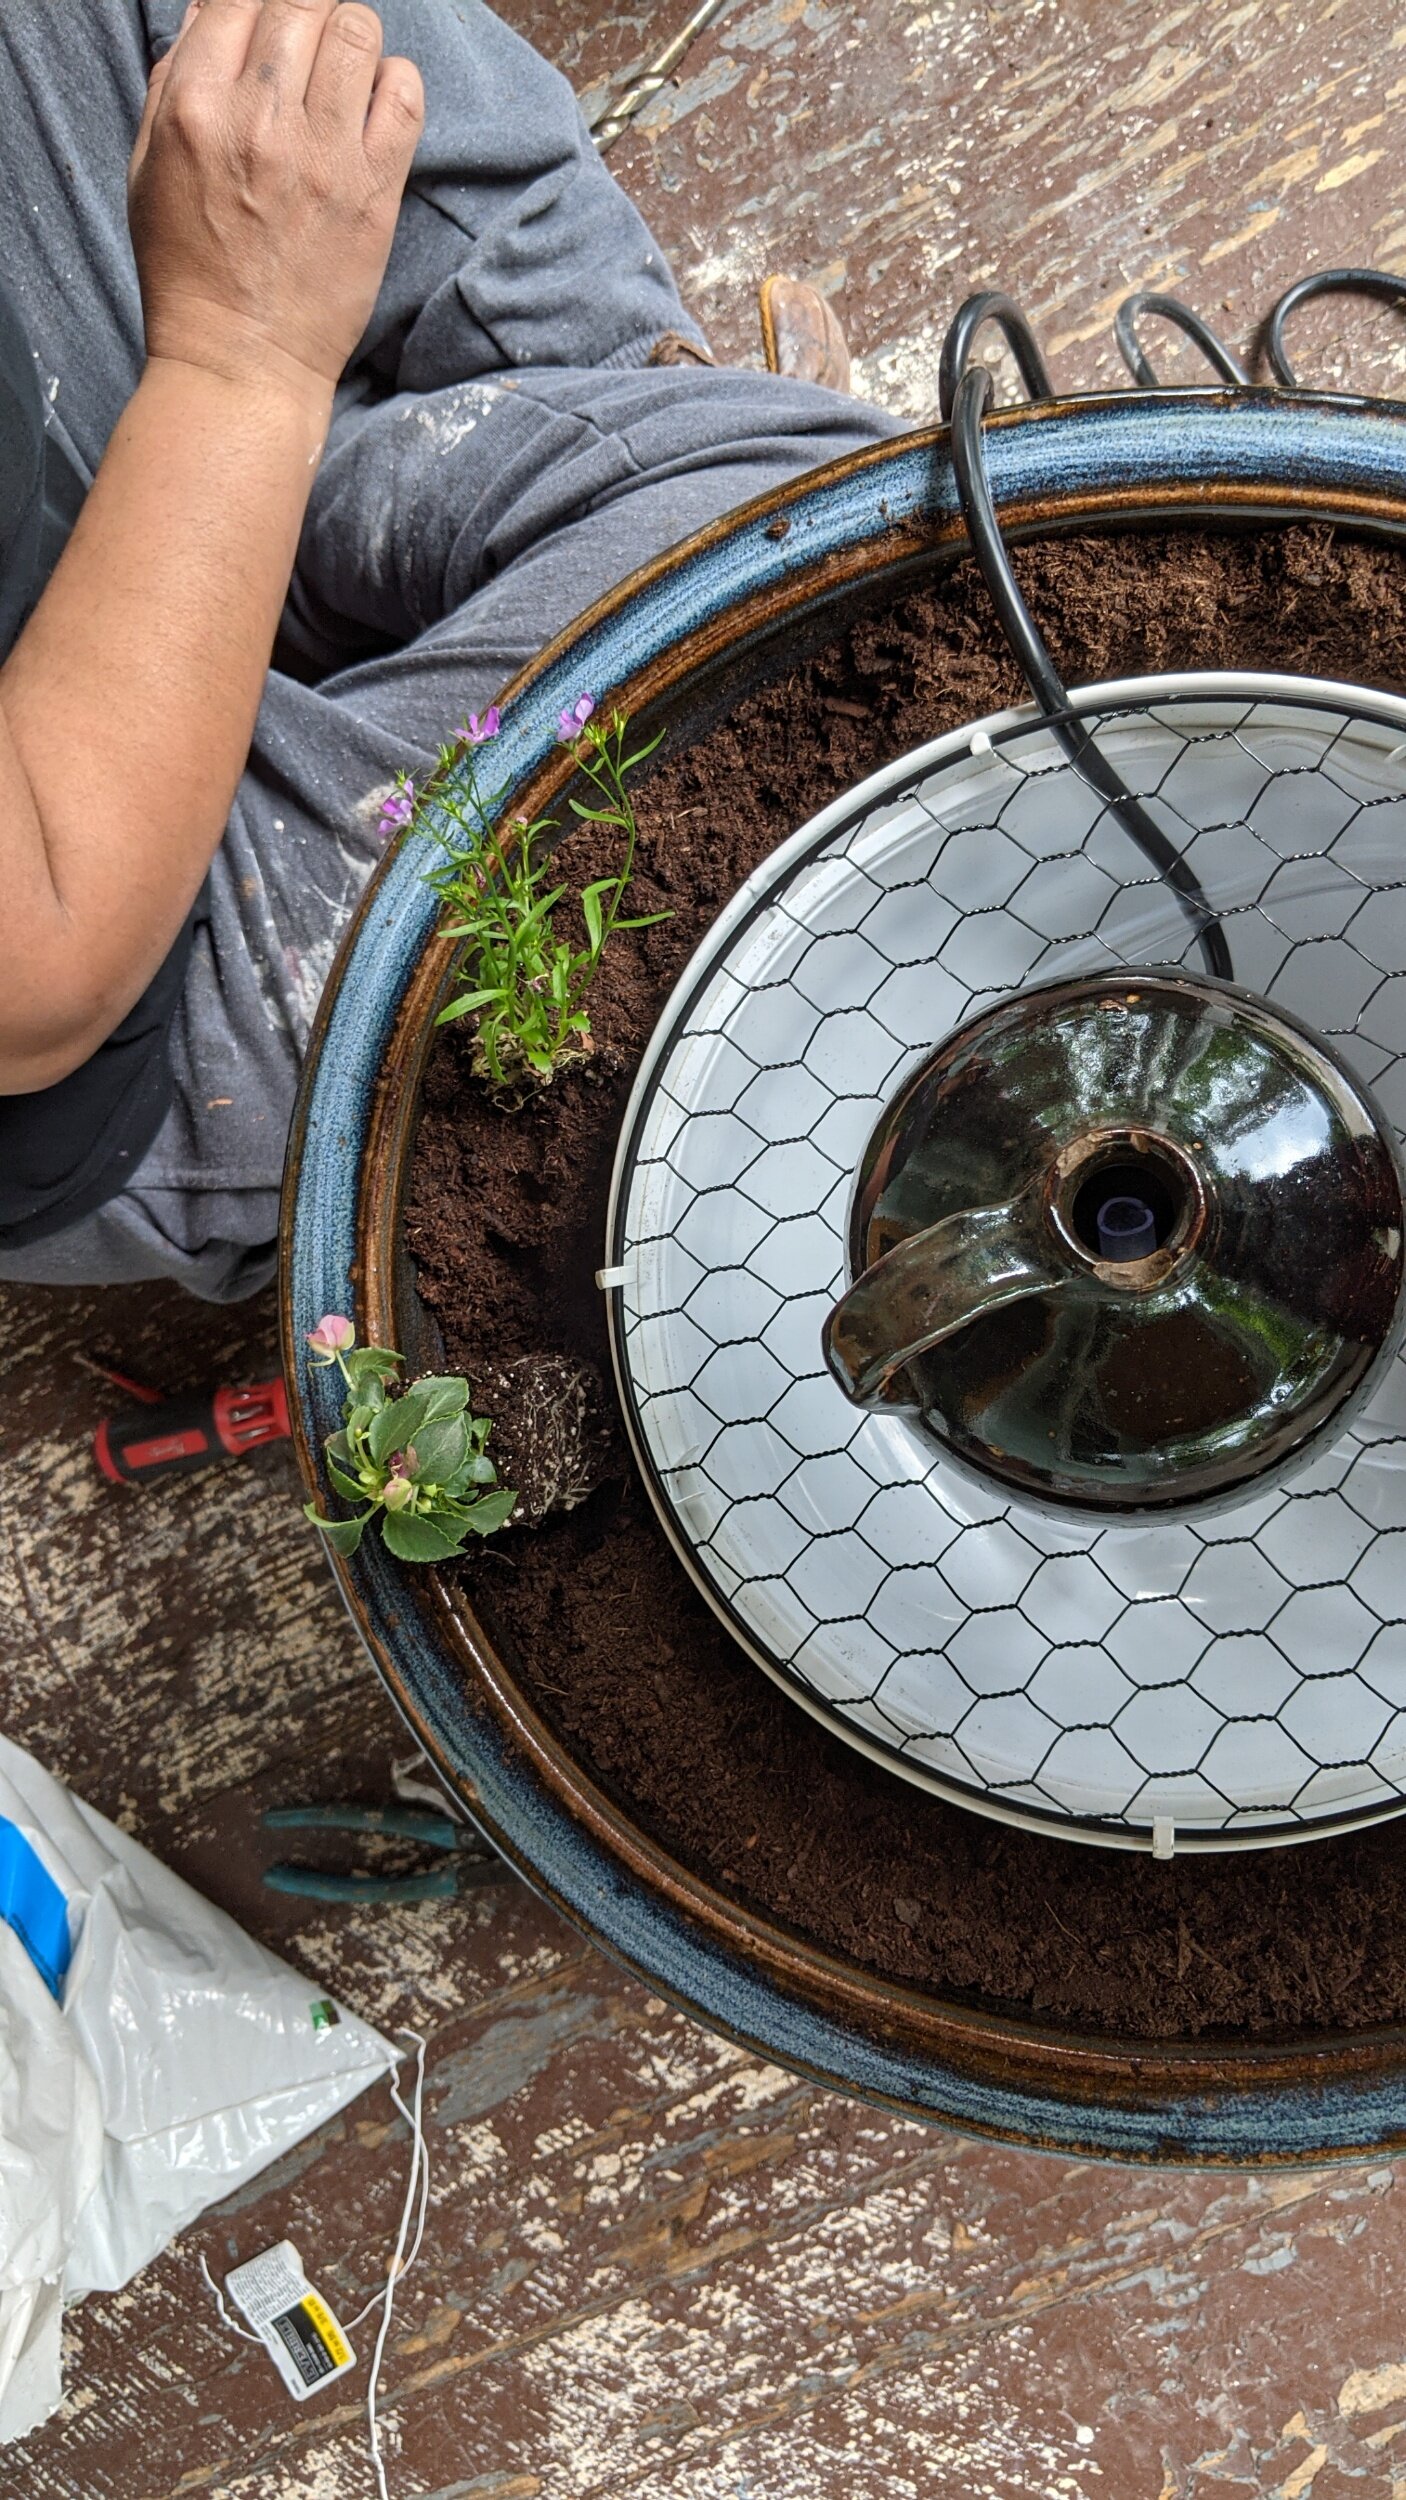
First, I put a layer of newspaper at the bottom to prevent soil from falling through the drain holes. Then, I filled the planter with soil part way. To a level when you place the bowl in there, it’s rim should be slightly higher than the rim of the planter. After the bowl was placed in the center of the planter, I continued filling soil in around it being careful not to get any inside the bowl. (pic. 1 & 2).

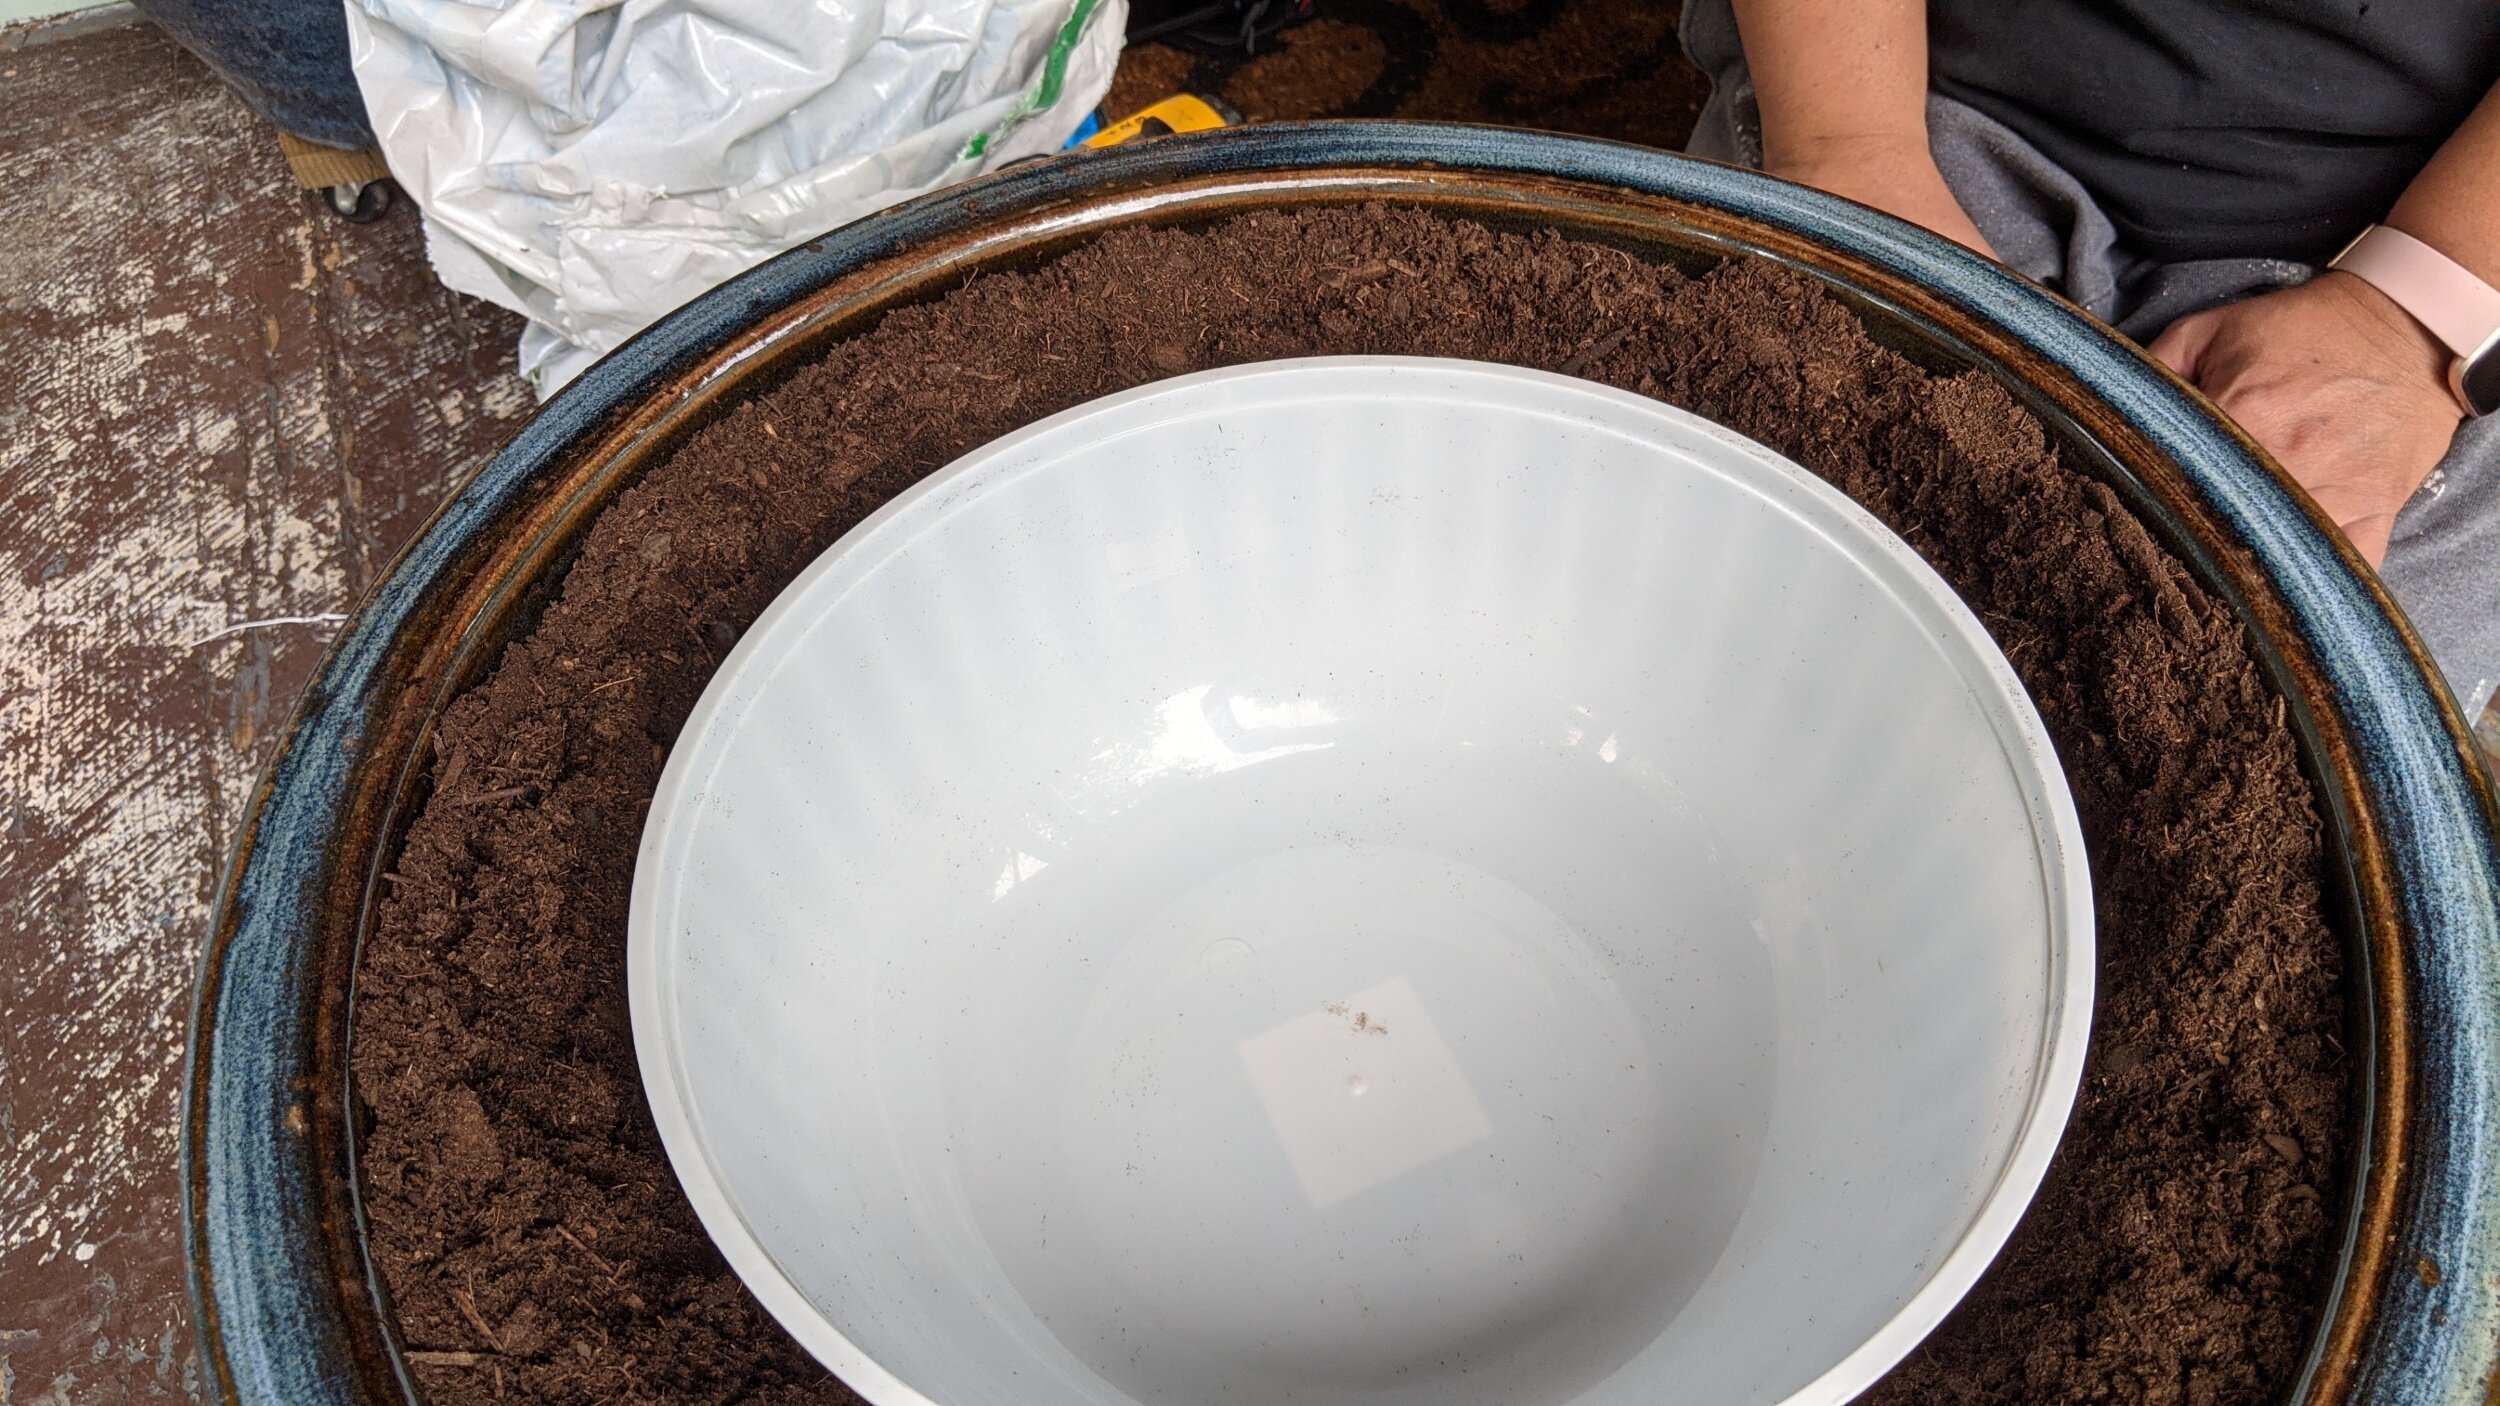
Note: If you’re using a large planter, be sure to place it on a wheeled platform near to location you plan on displaying/using it *before* filling with soil. You’re back will thank you when you’re done!
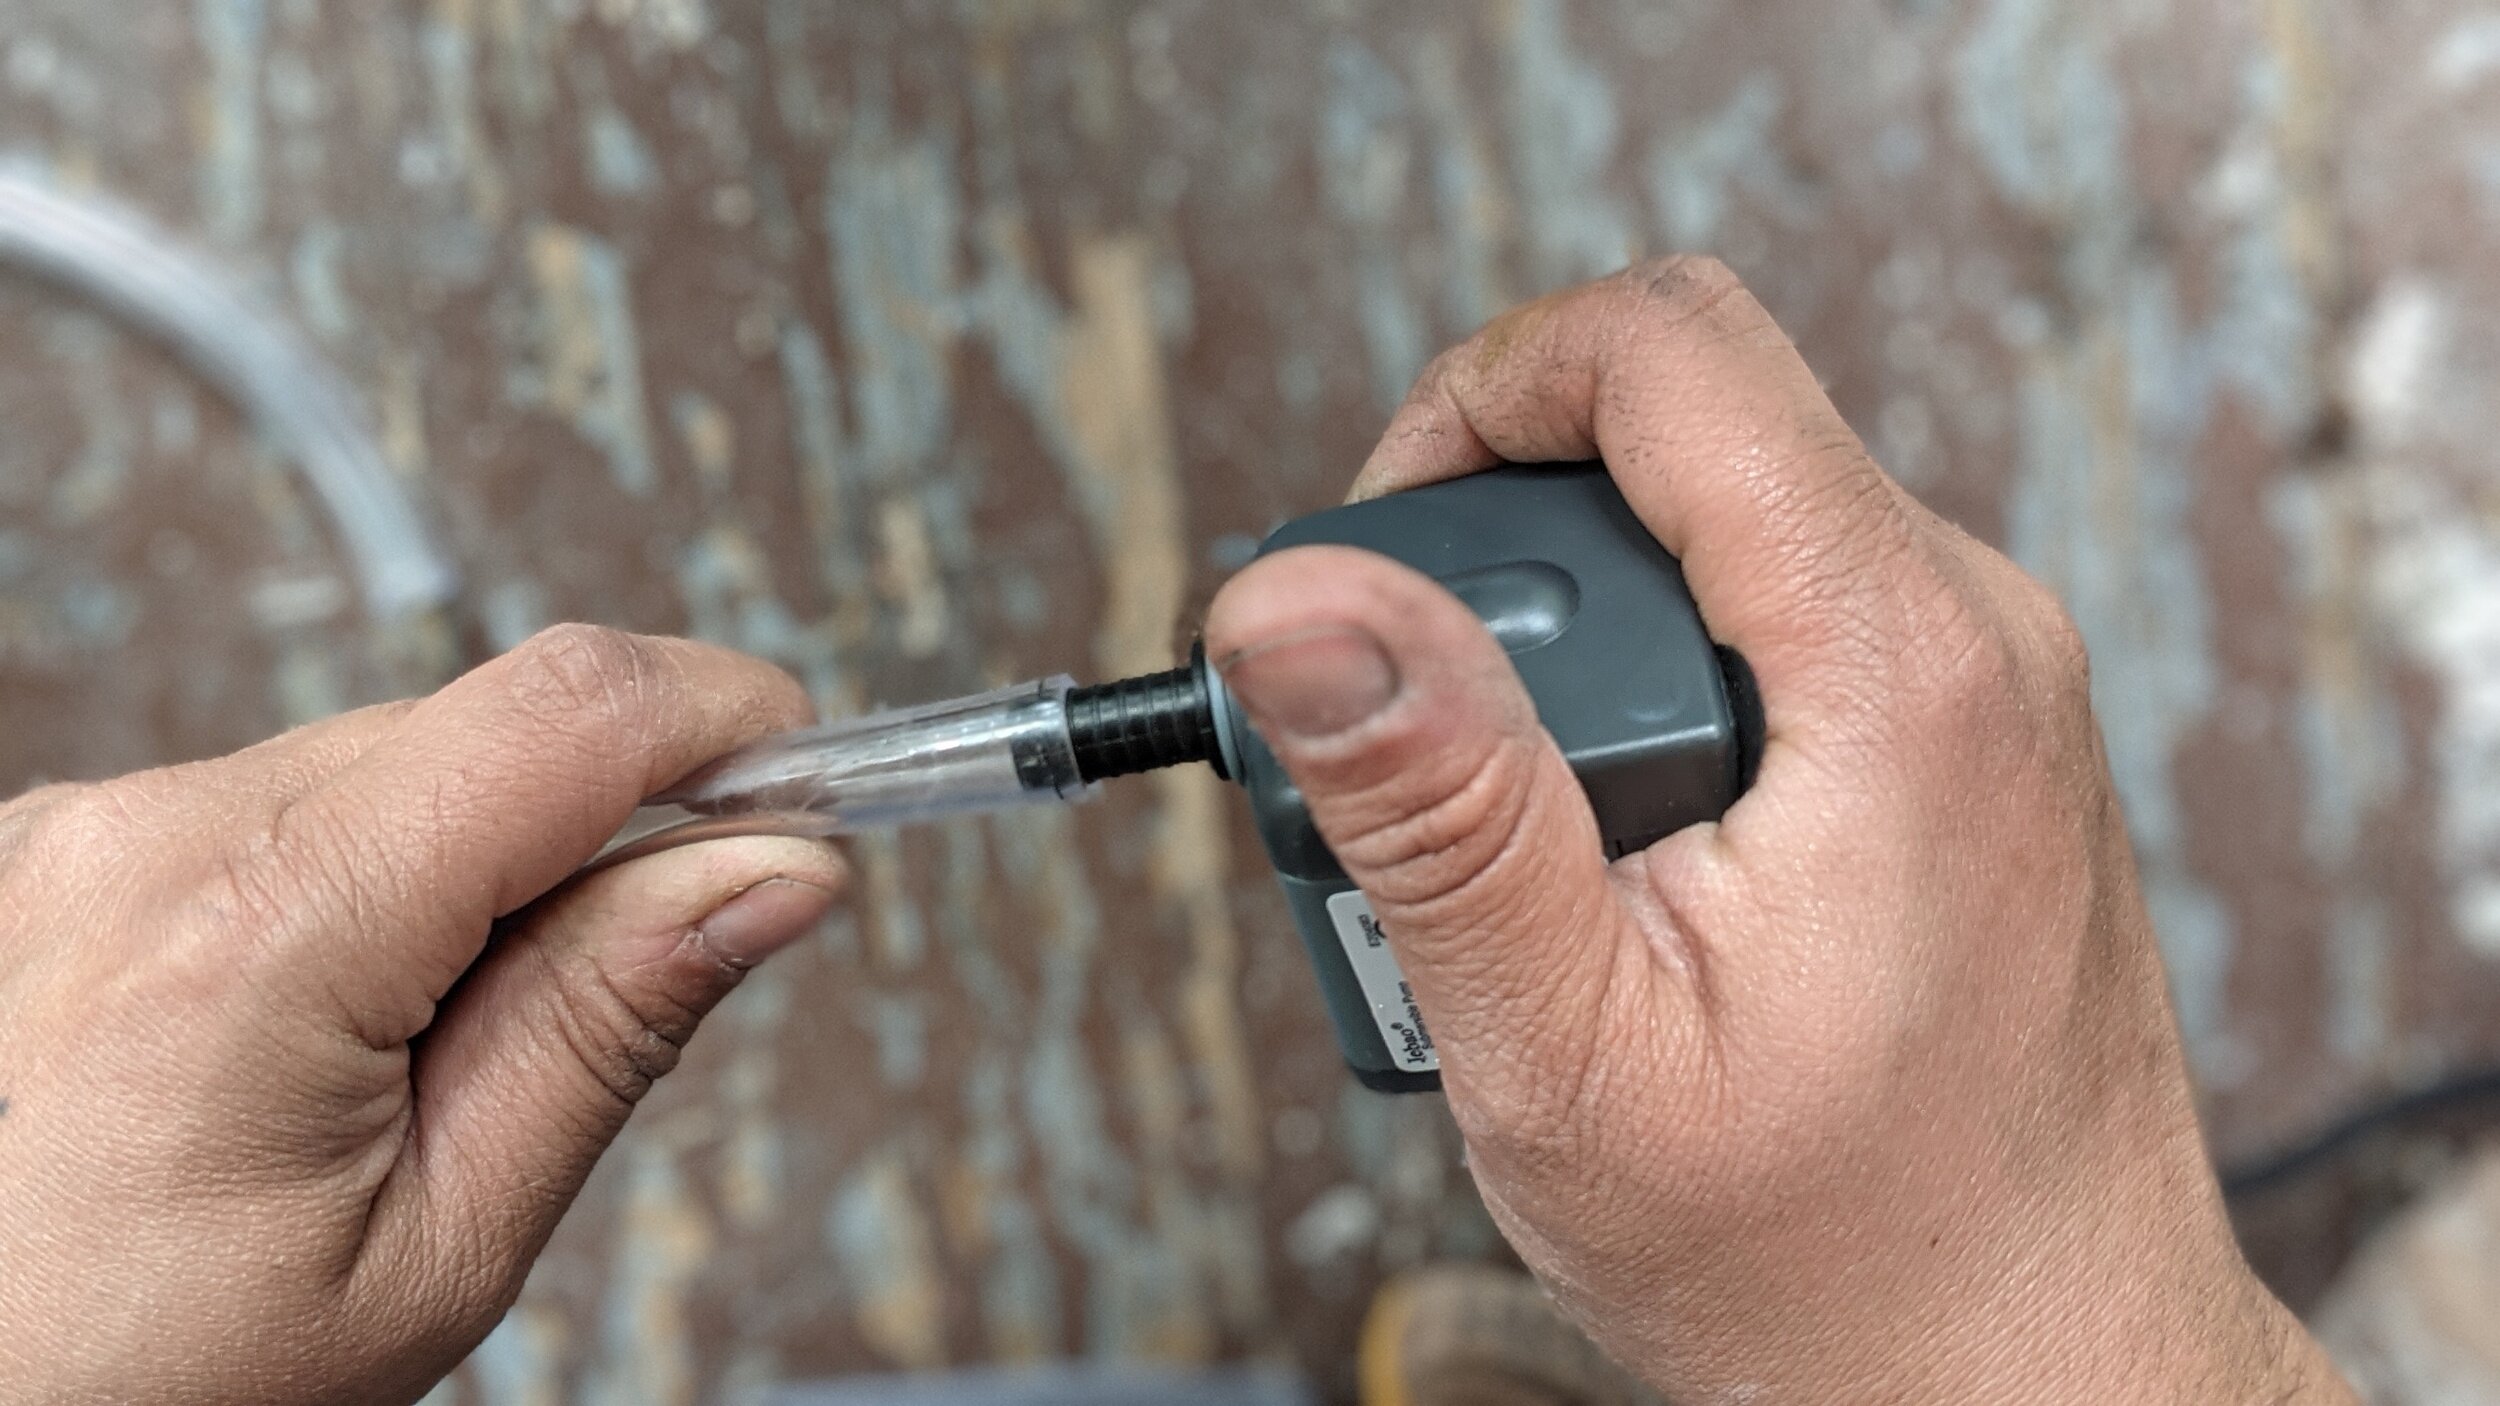
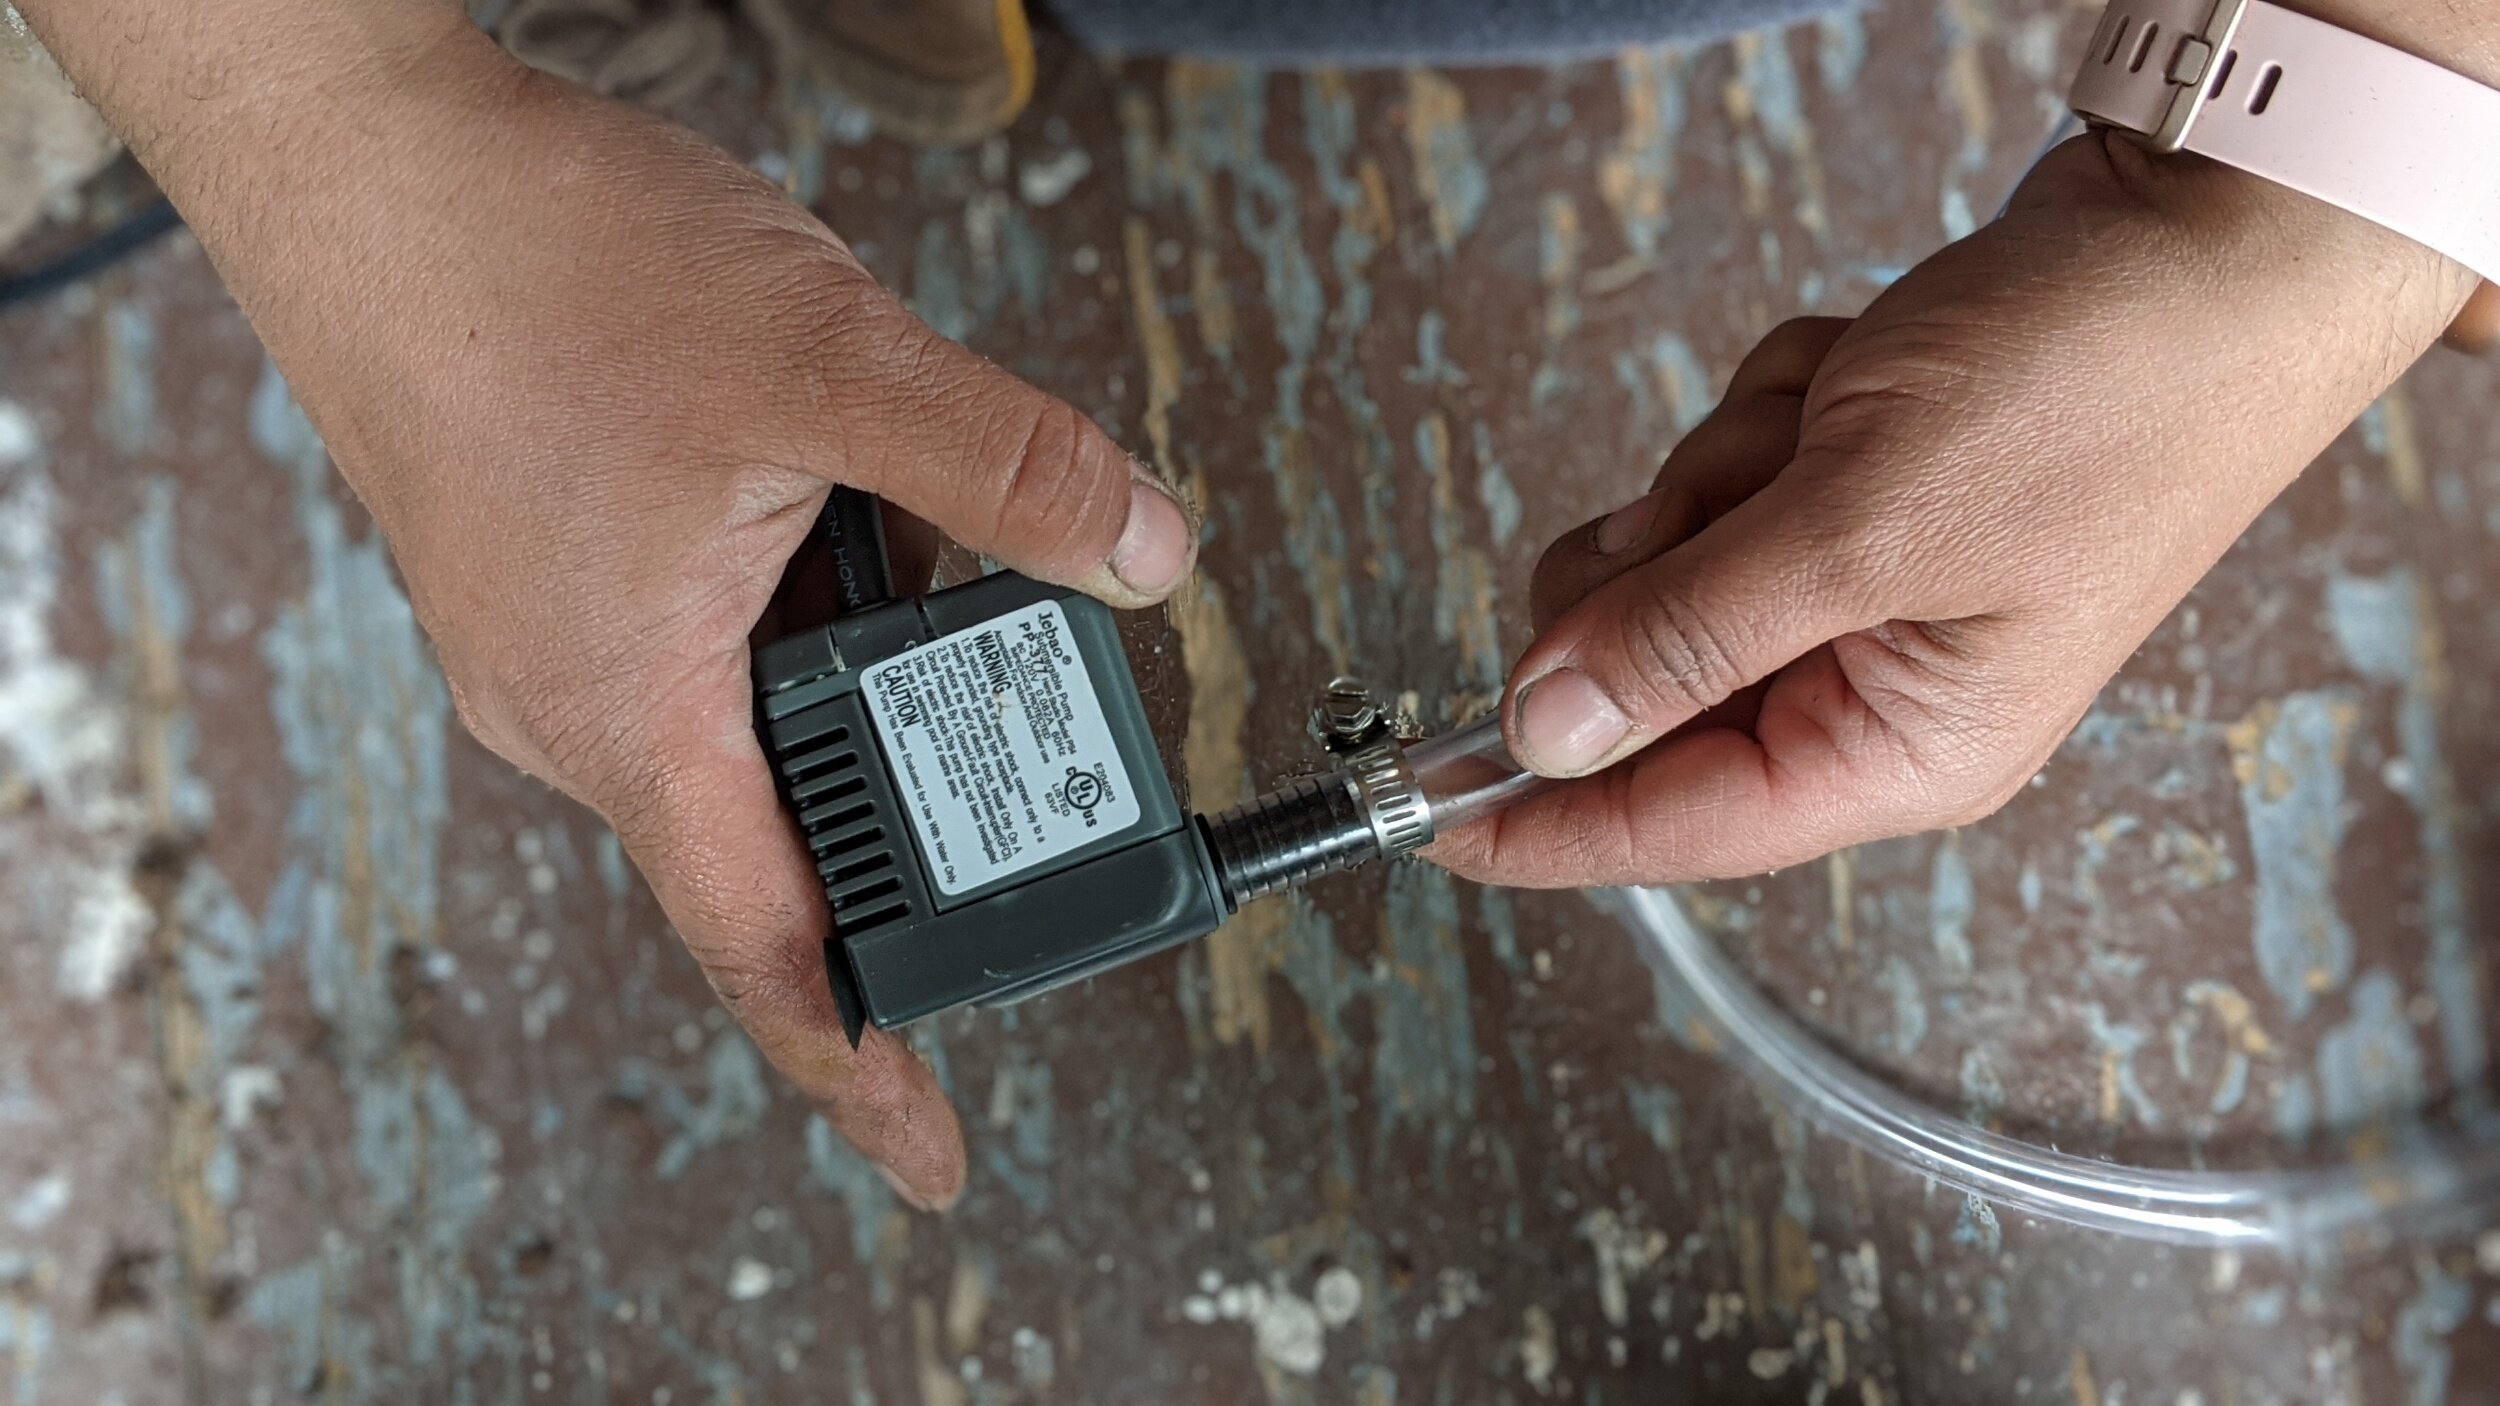
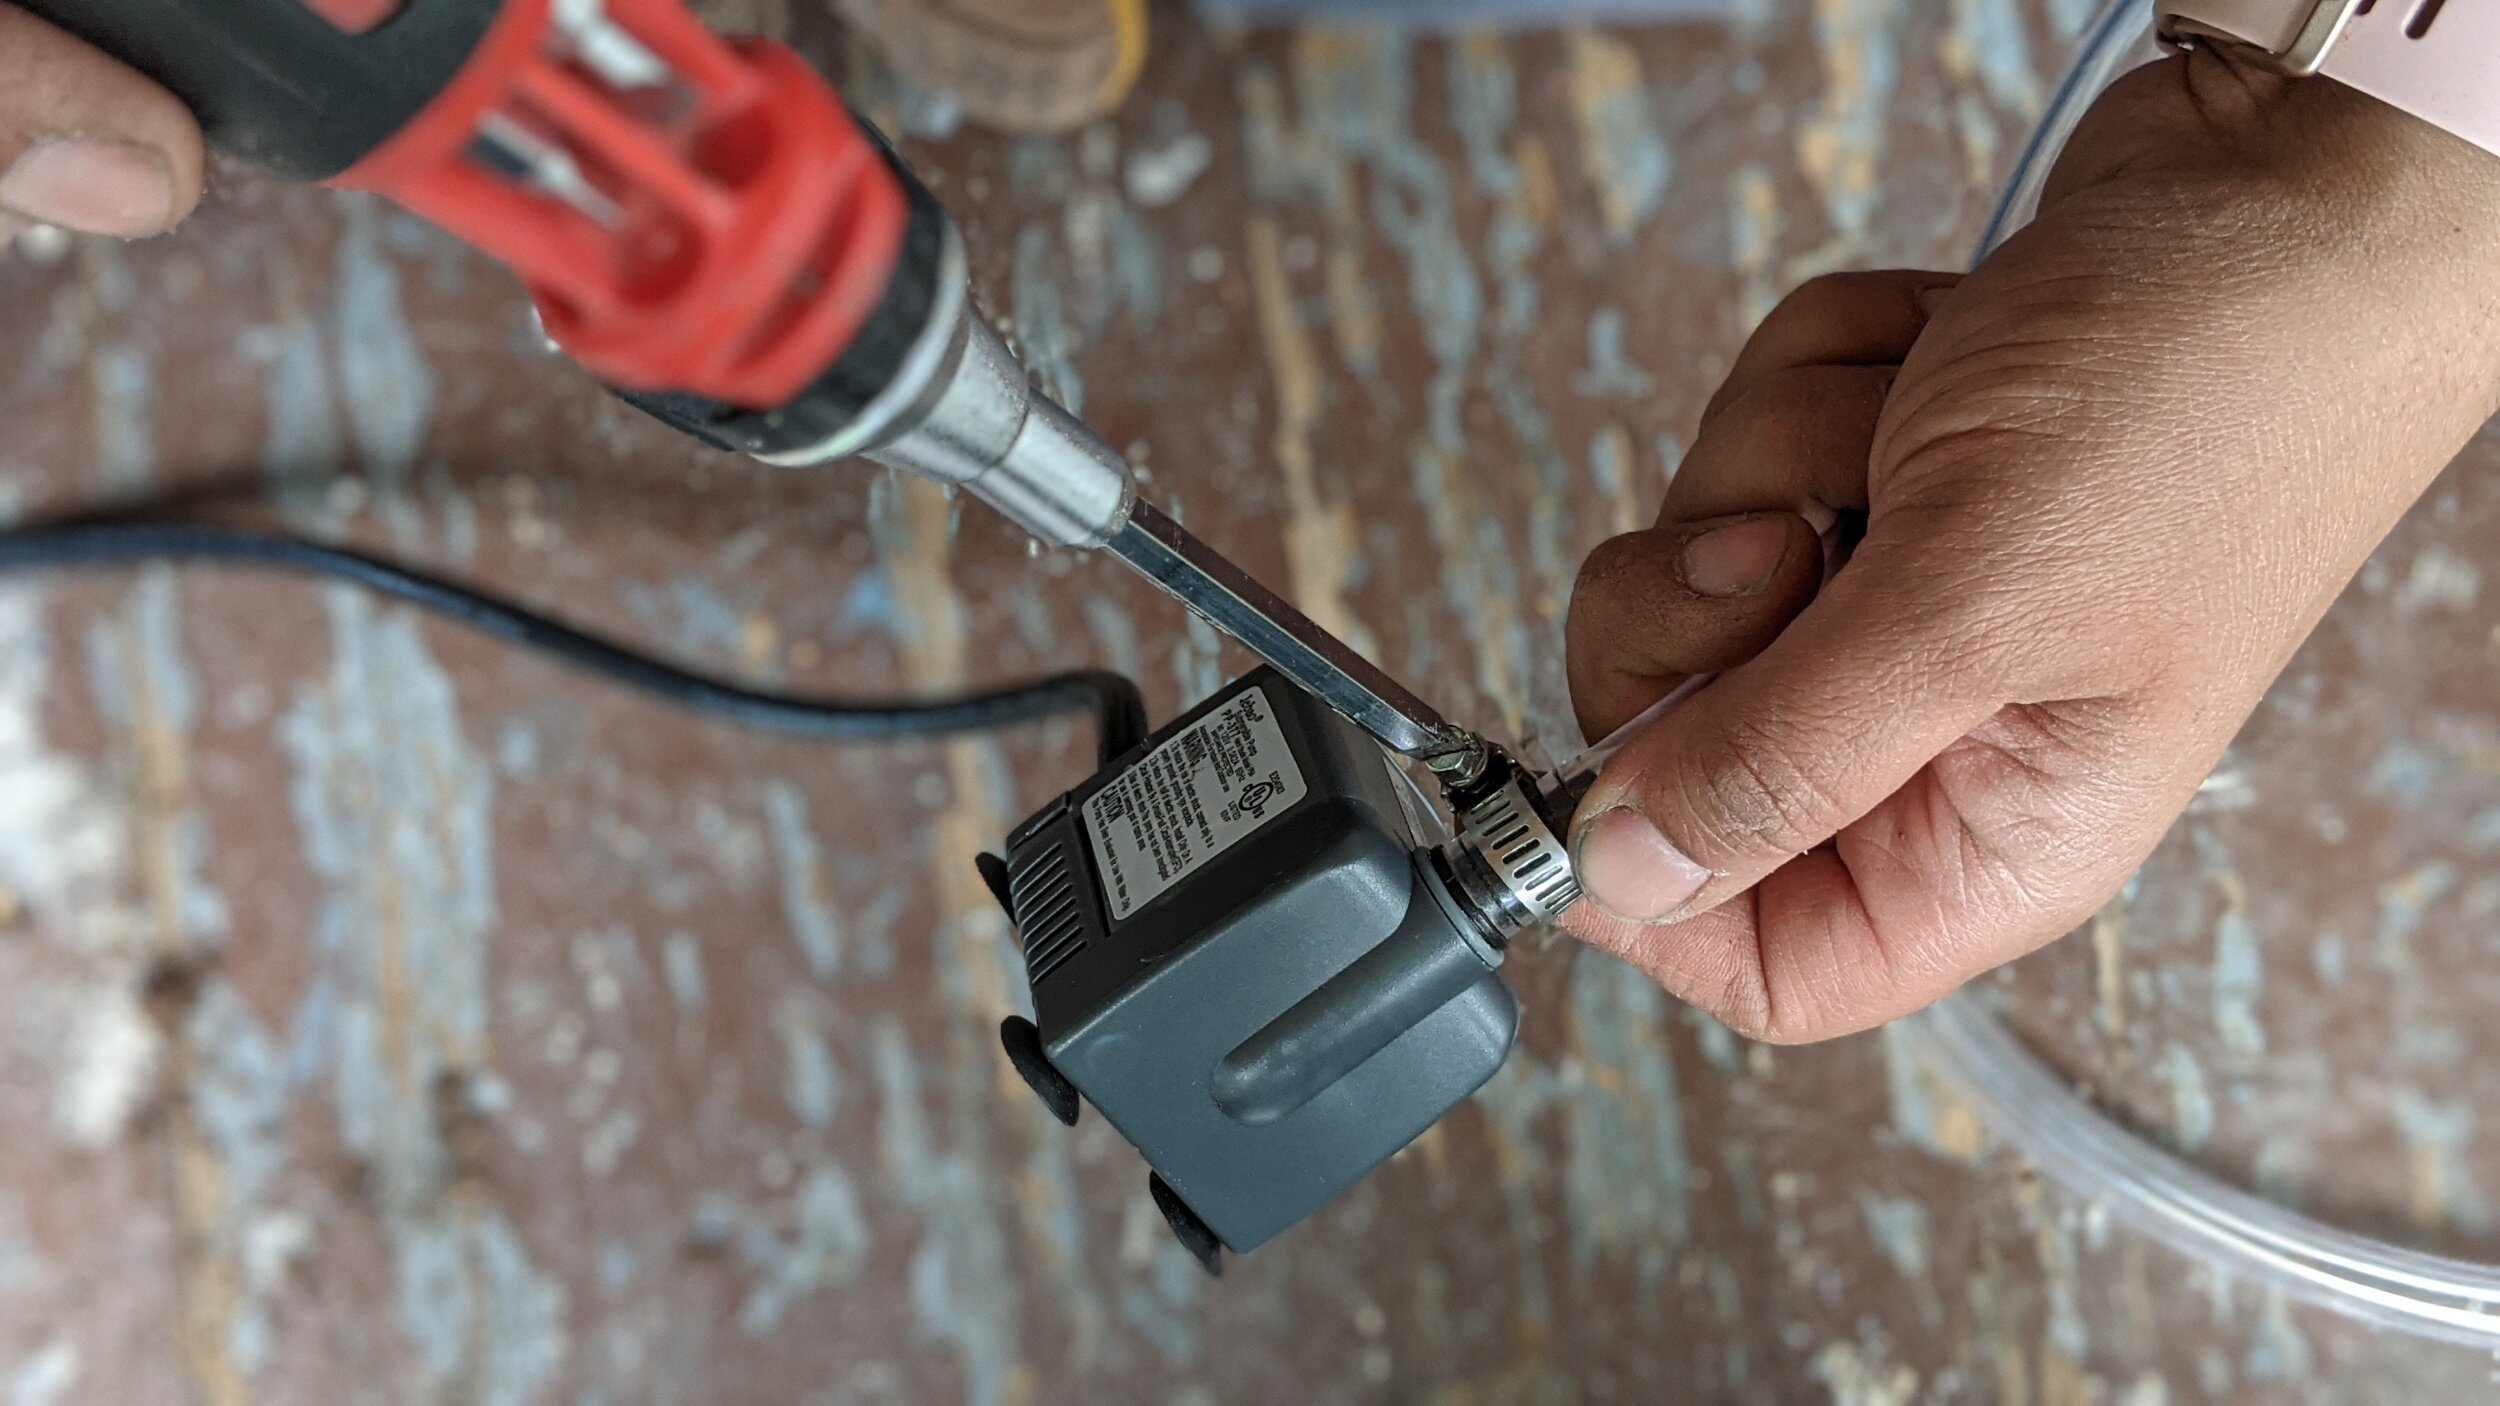
Next, I assembled the pump, tubing, and jug that was going to be bubbling with water. First, I pushed the tubing over the pump outlet. Then, I slipped the ring clamp onto the tubing. I tightened the clamp around the section of the tubing installed around the pump outlet. Not too tight, since the outlet is made of plastic. Just tight enough to ensure the force of the water through the pump doesn’t dislodge it. (BTW. Excuse my hands. If there was ever I doubt I don’t do all this work myself, these mitts should put it to rest.)
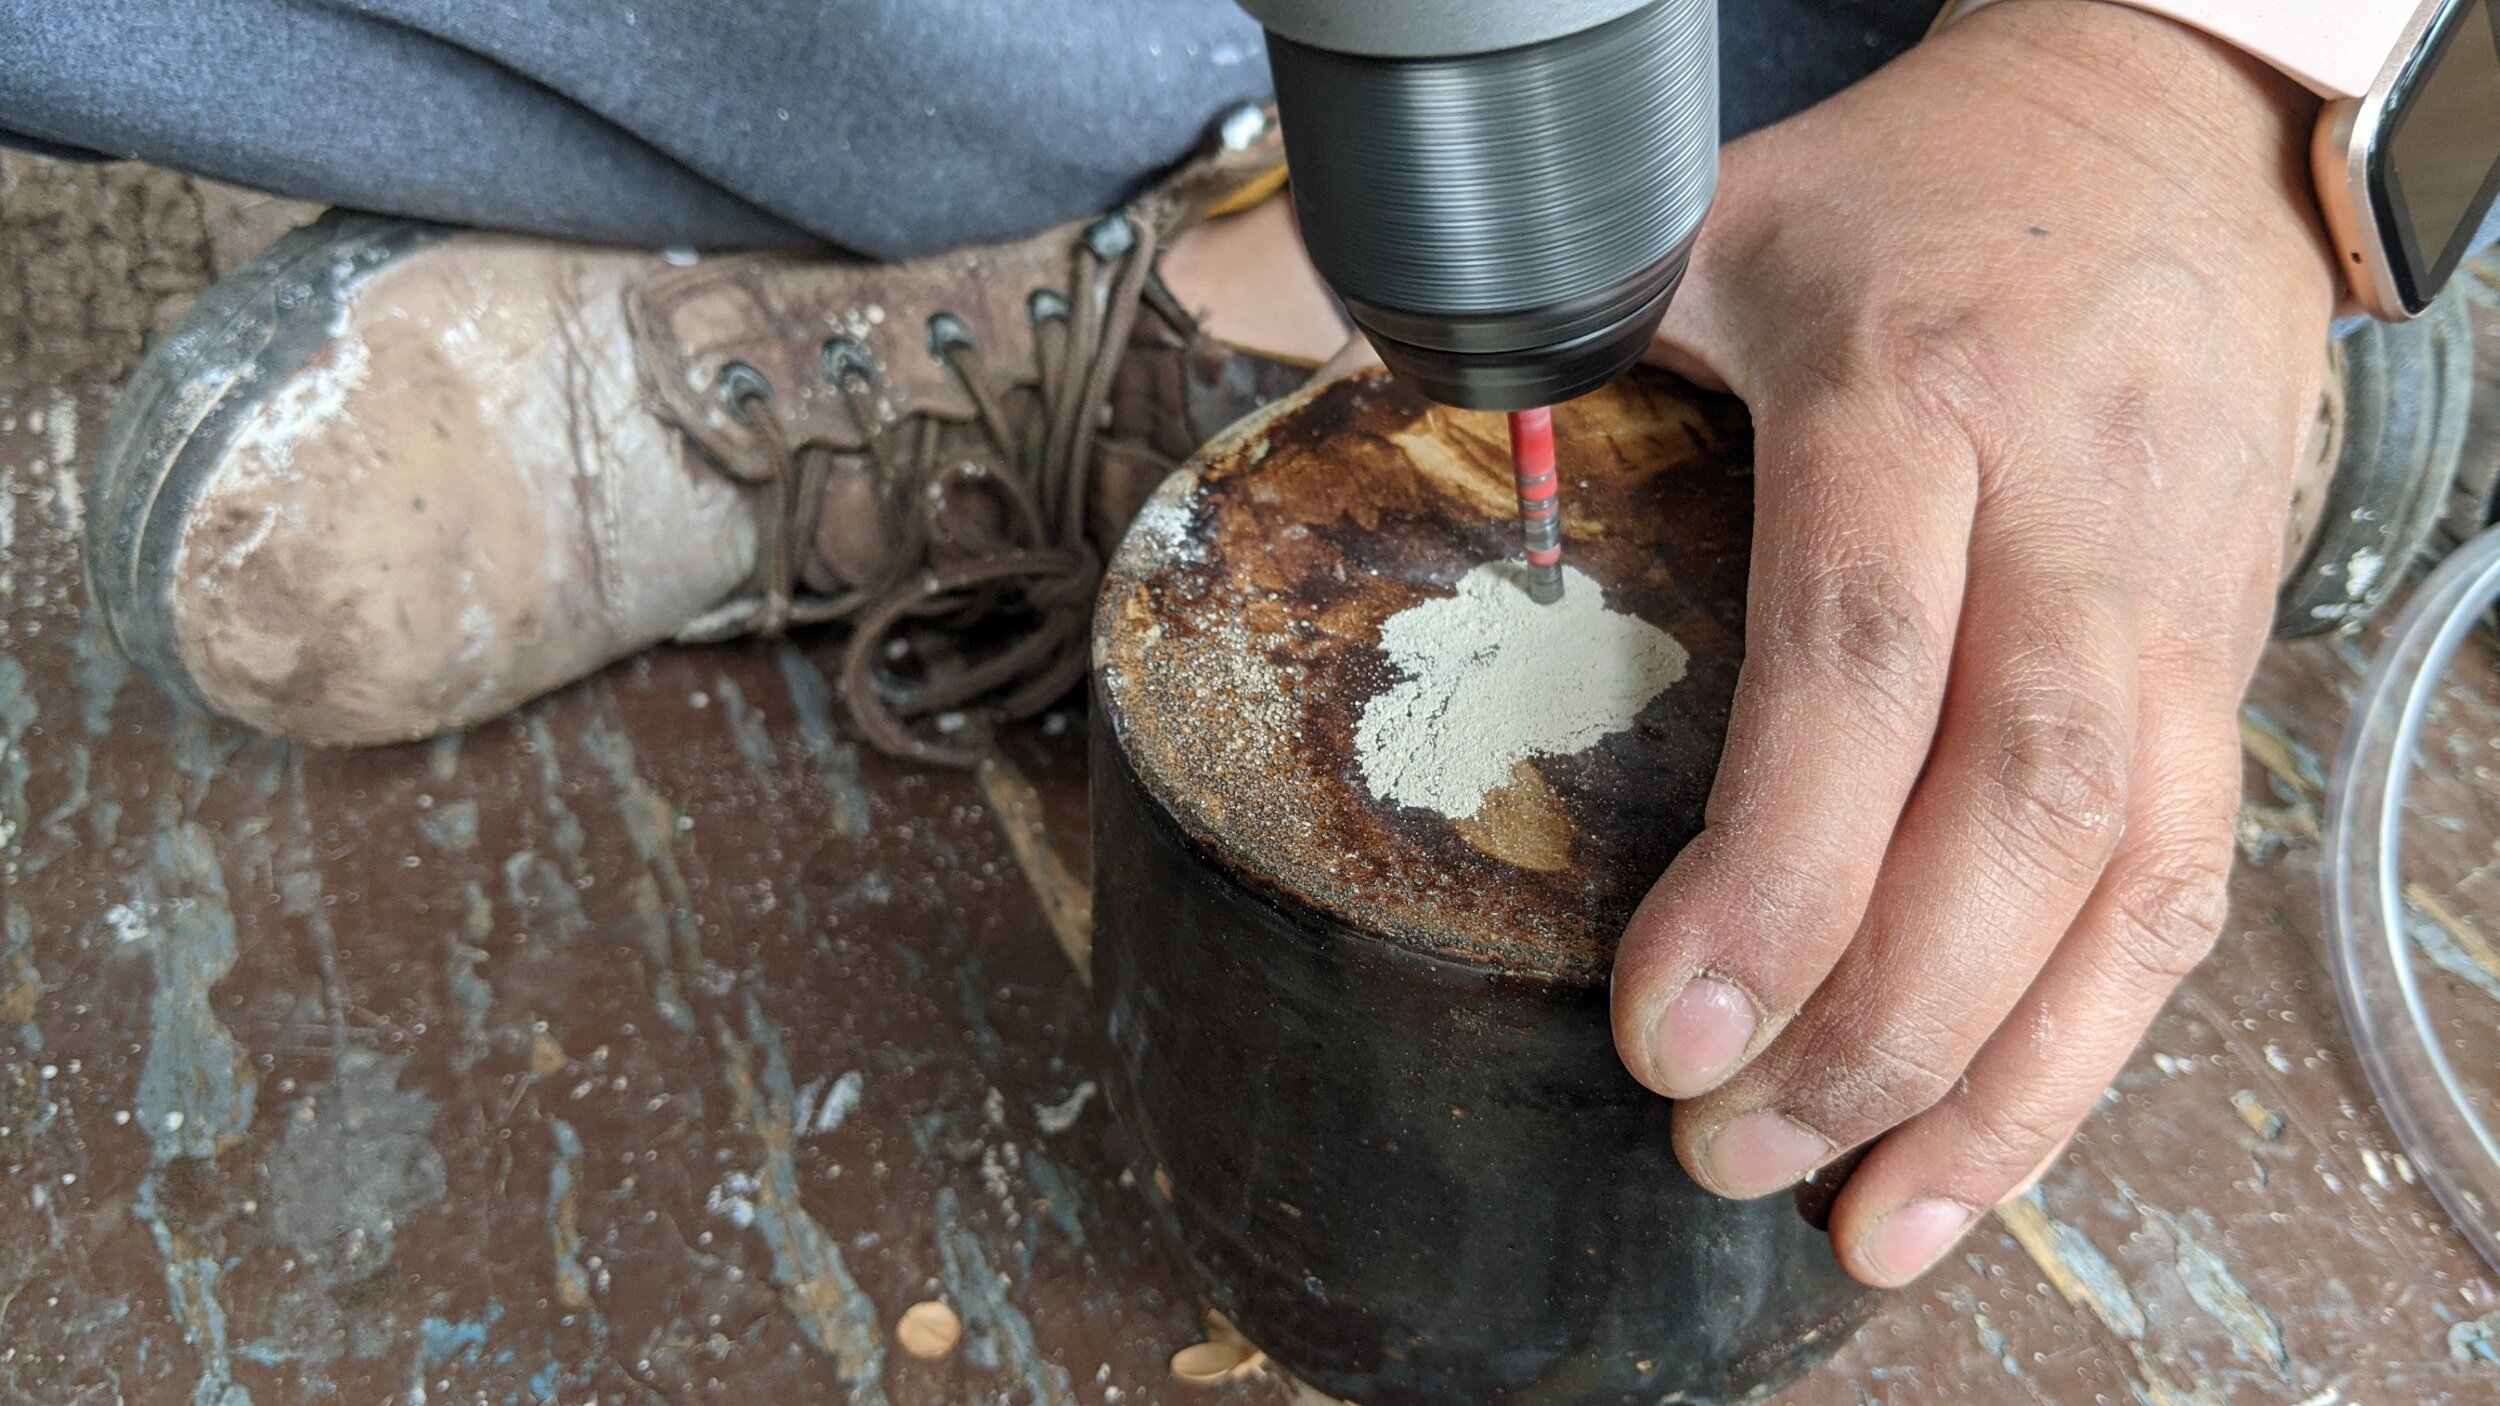
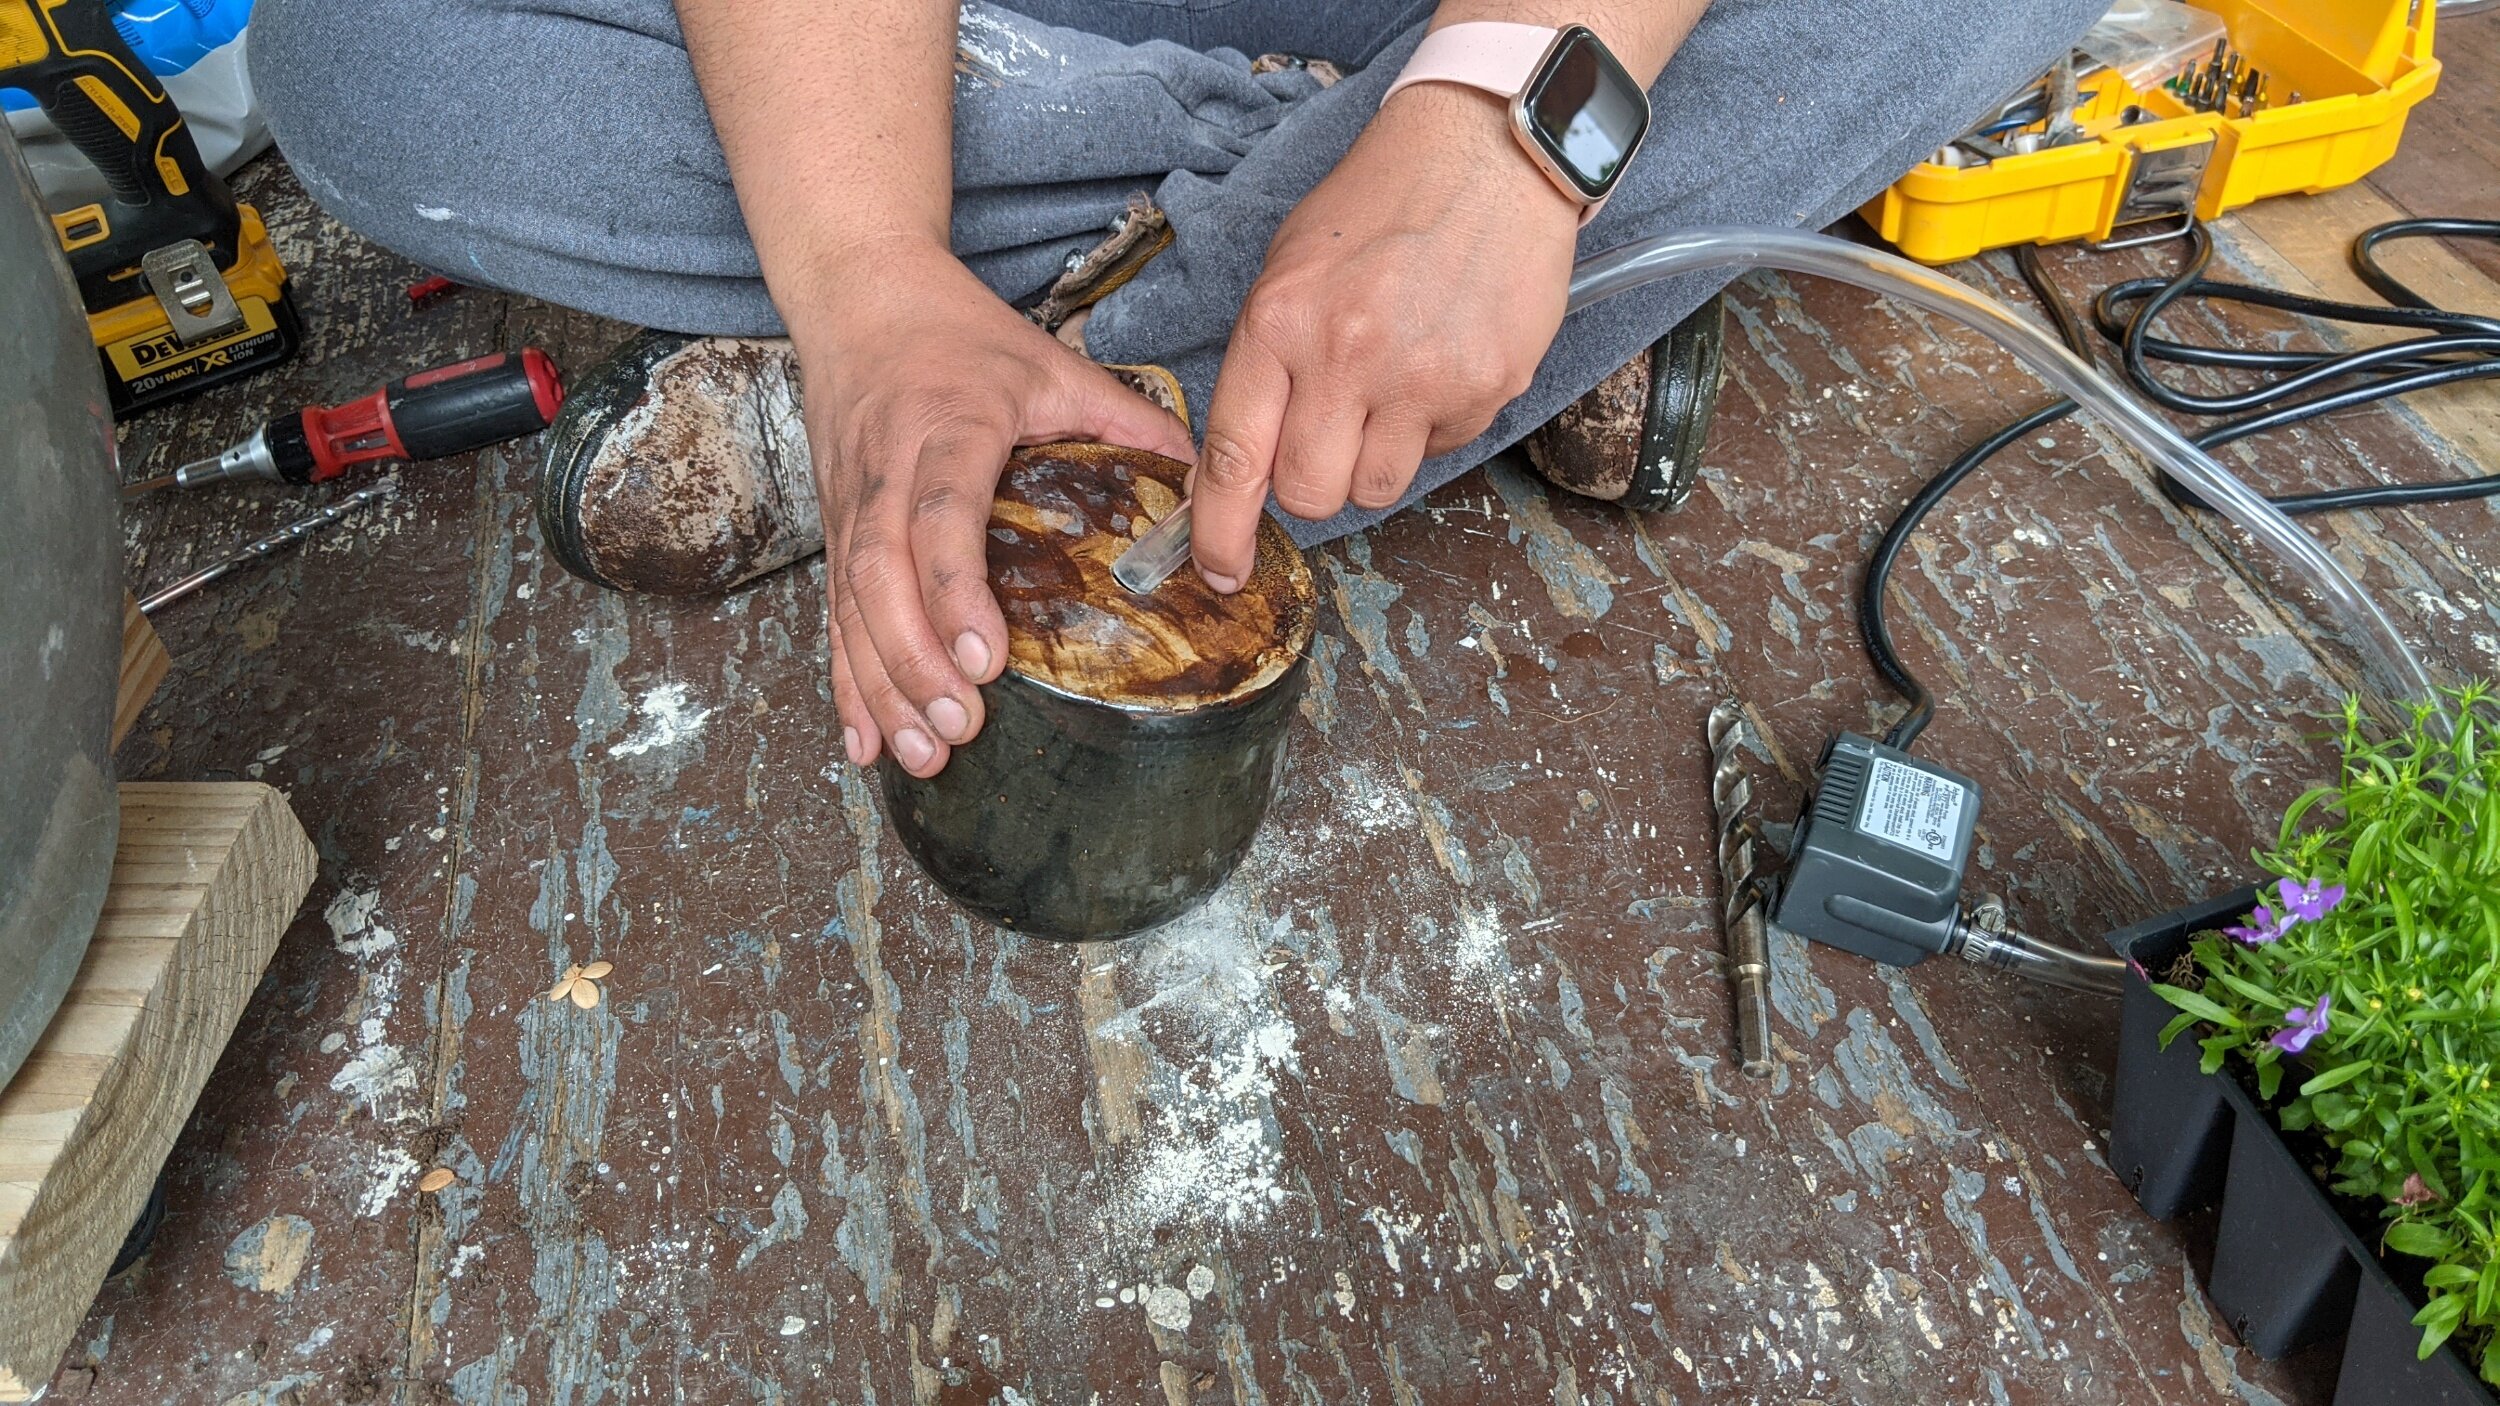
Now for the other end of the system. I wanted the water to bubble up out the top of the jug, so I needed the other end of the tubing to go in at the bottom. I started drilling the hole on into the bottom of the jug (pic. 6). I started with a small ceramic drill bit and then used progressively larger bits until the tube had a very snug and leak proof fit in the hole. Before I inserted the tube through the hole at the bottom of the jug (pic. 8), I fed it through the mesh that was going to keep the stones out of the water (pic. 7).

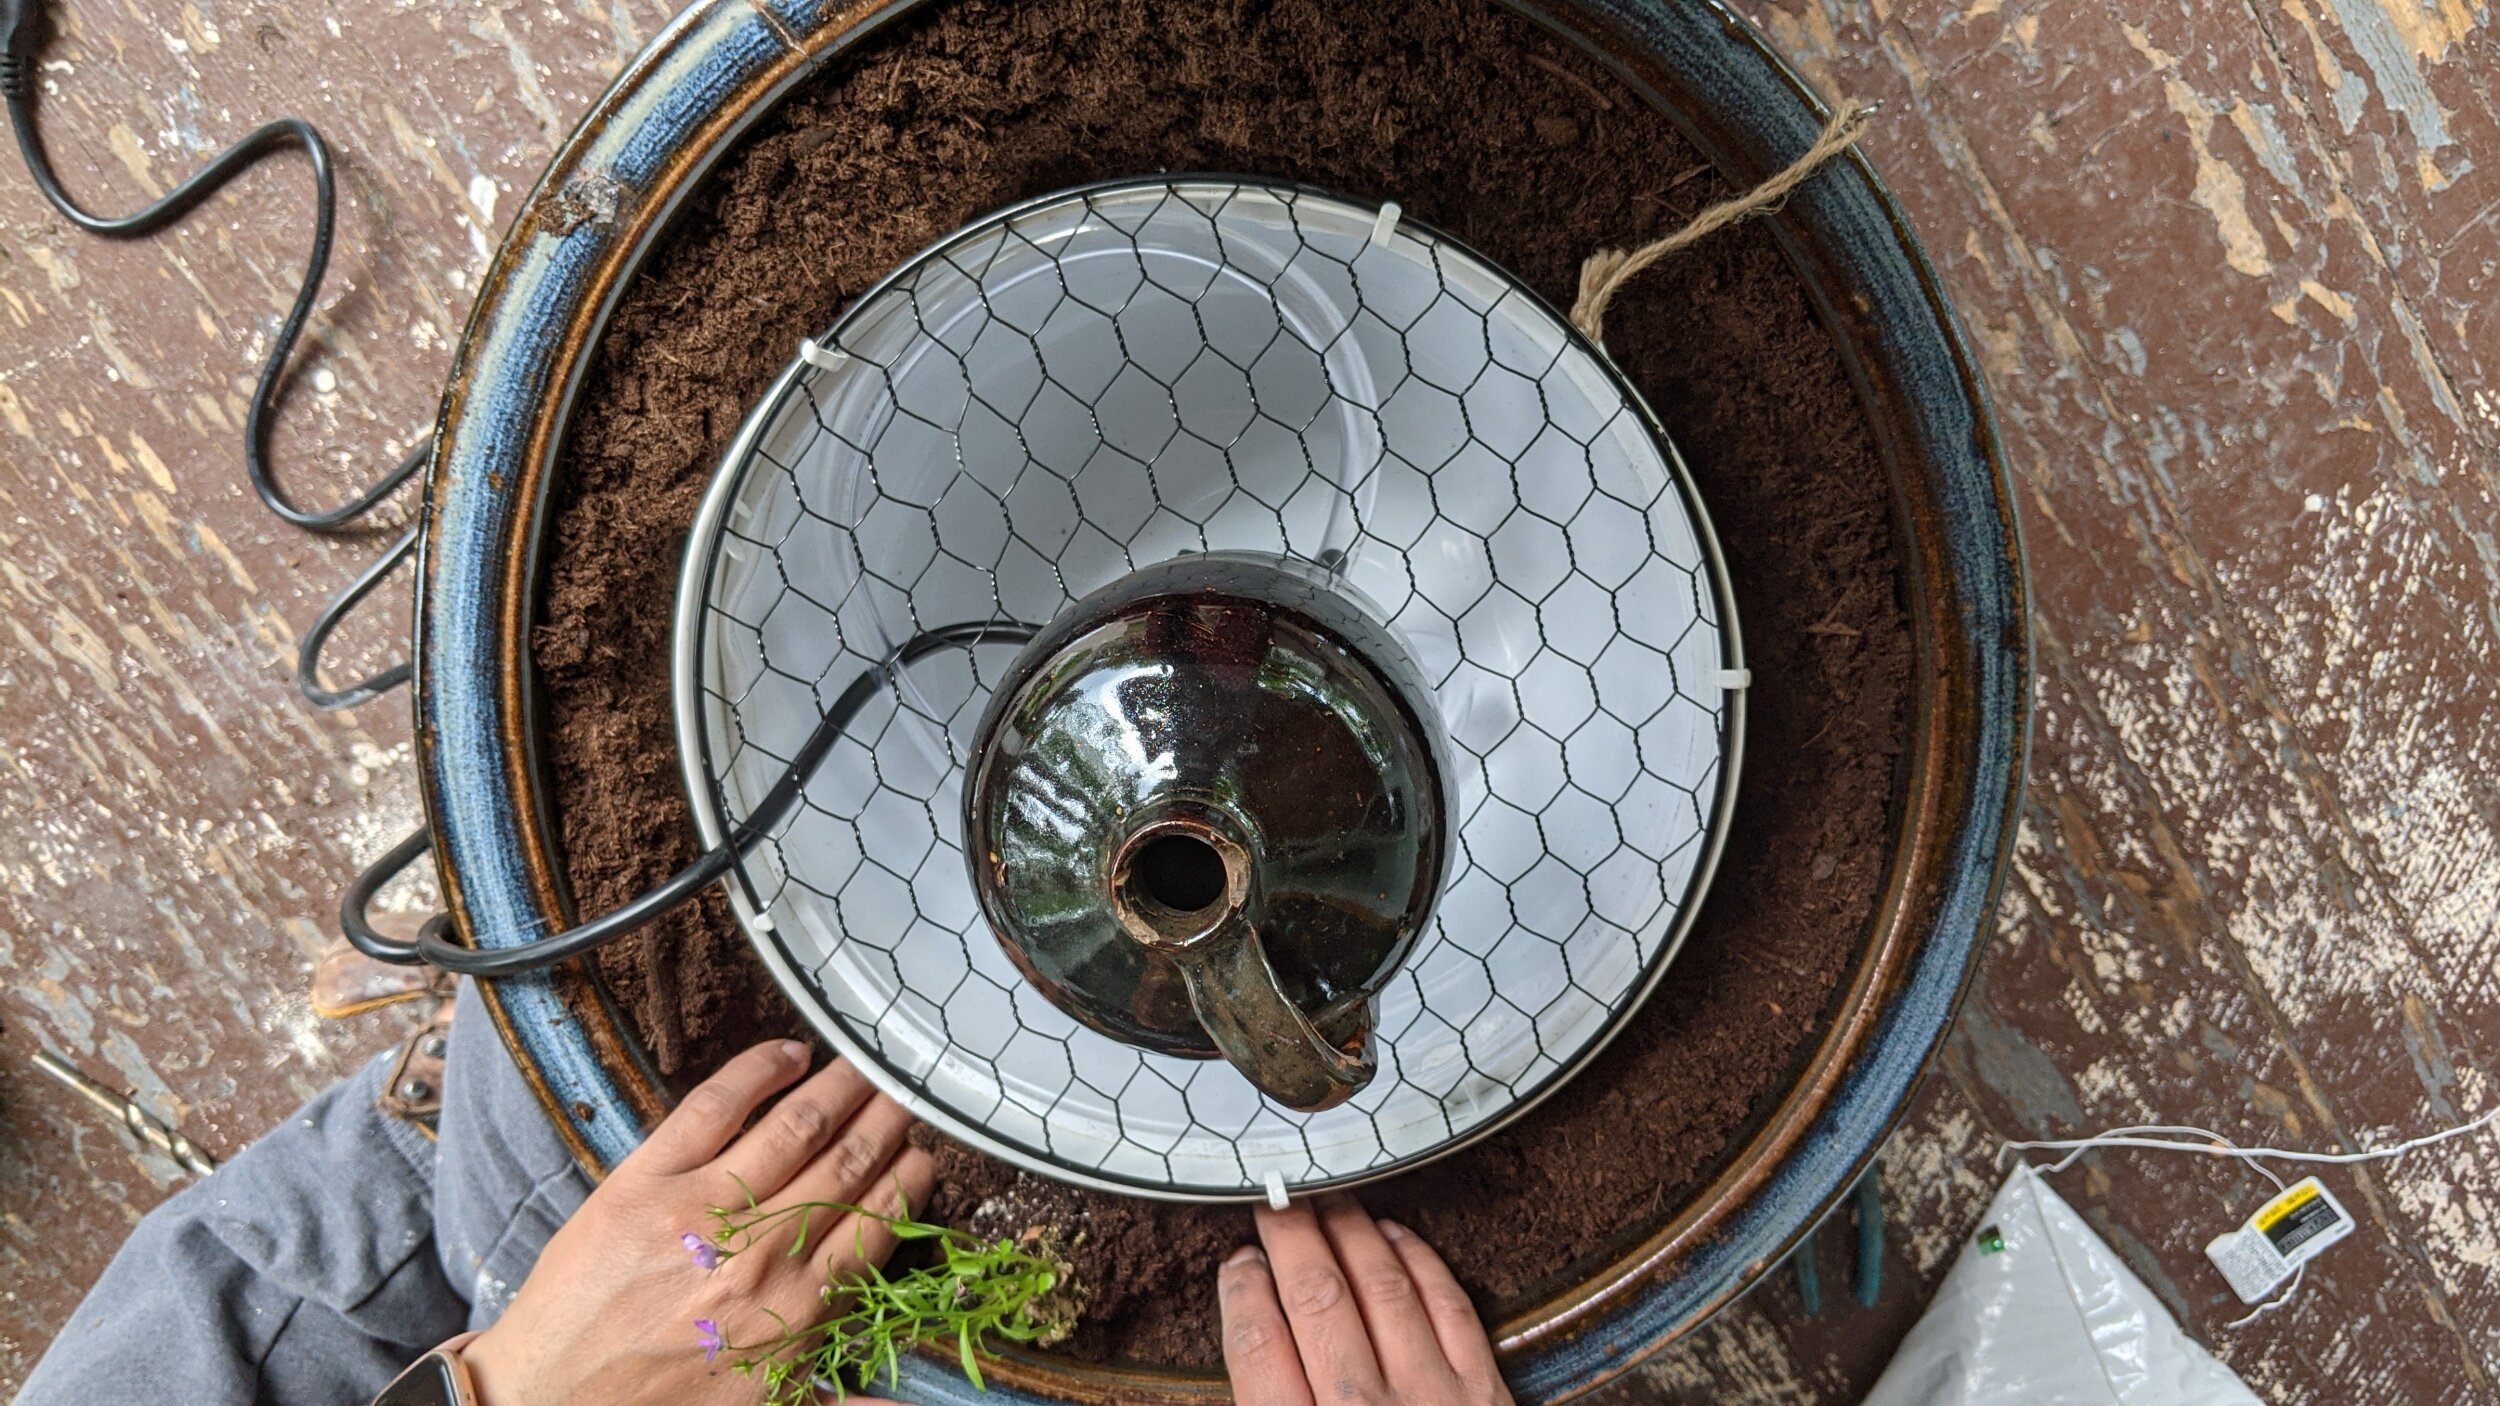
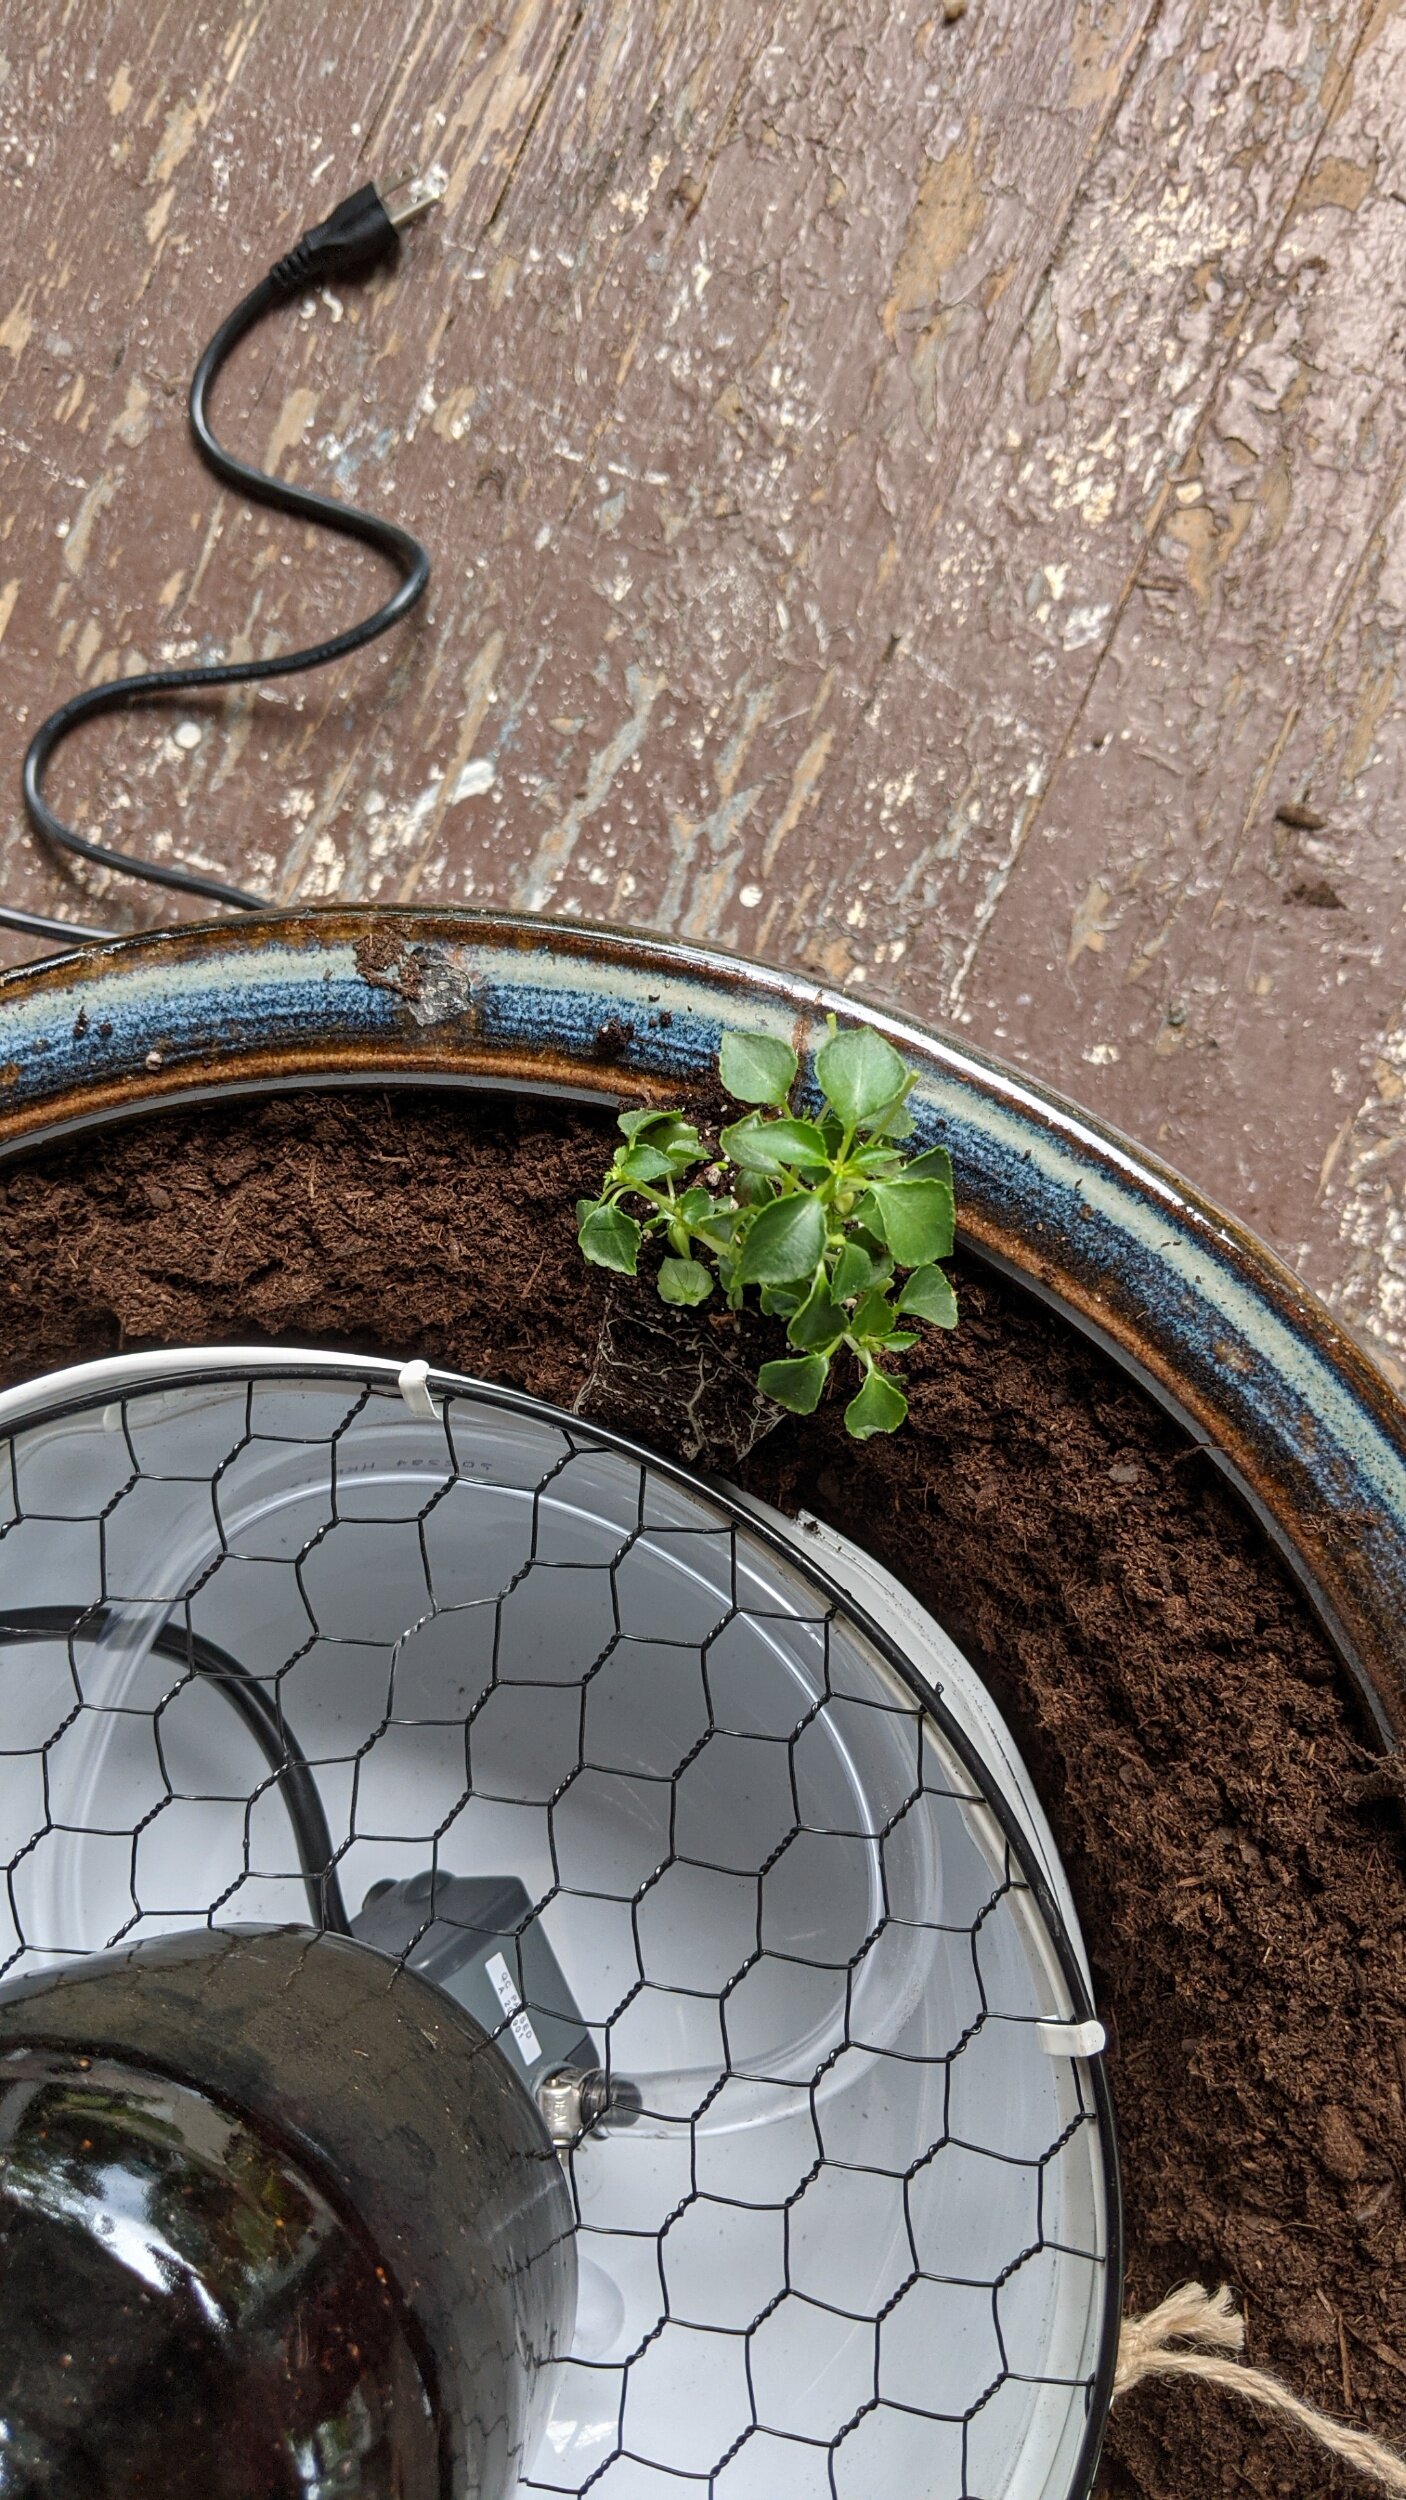
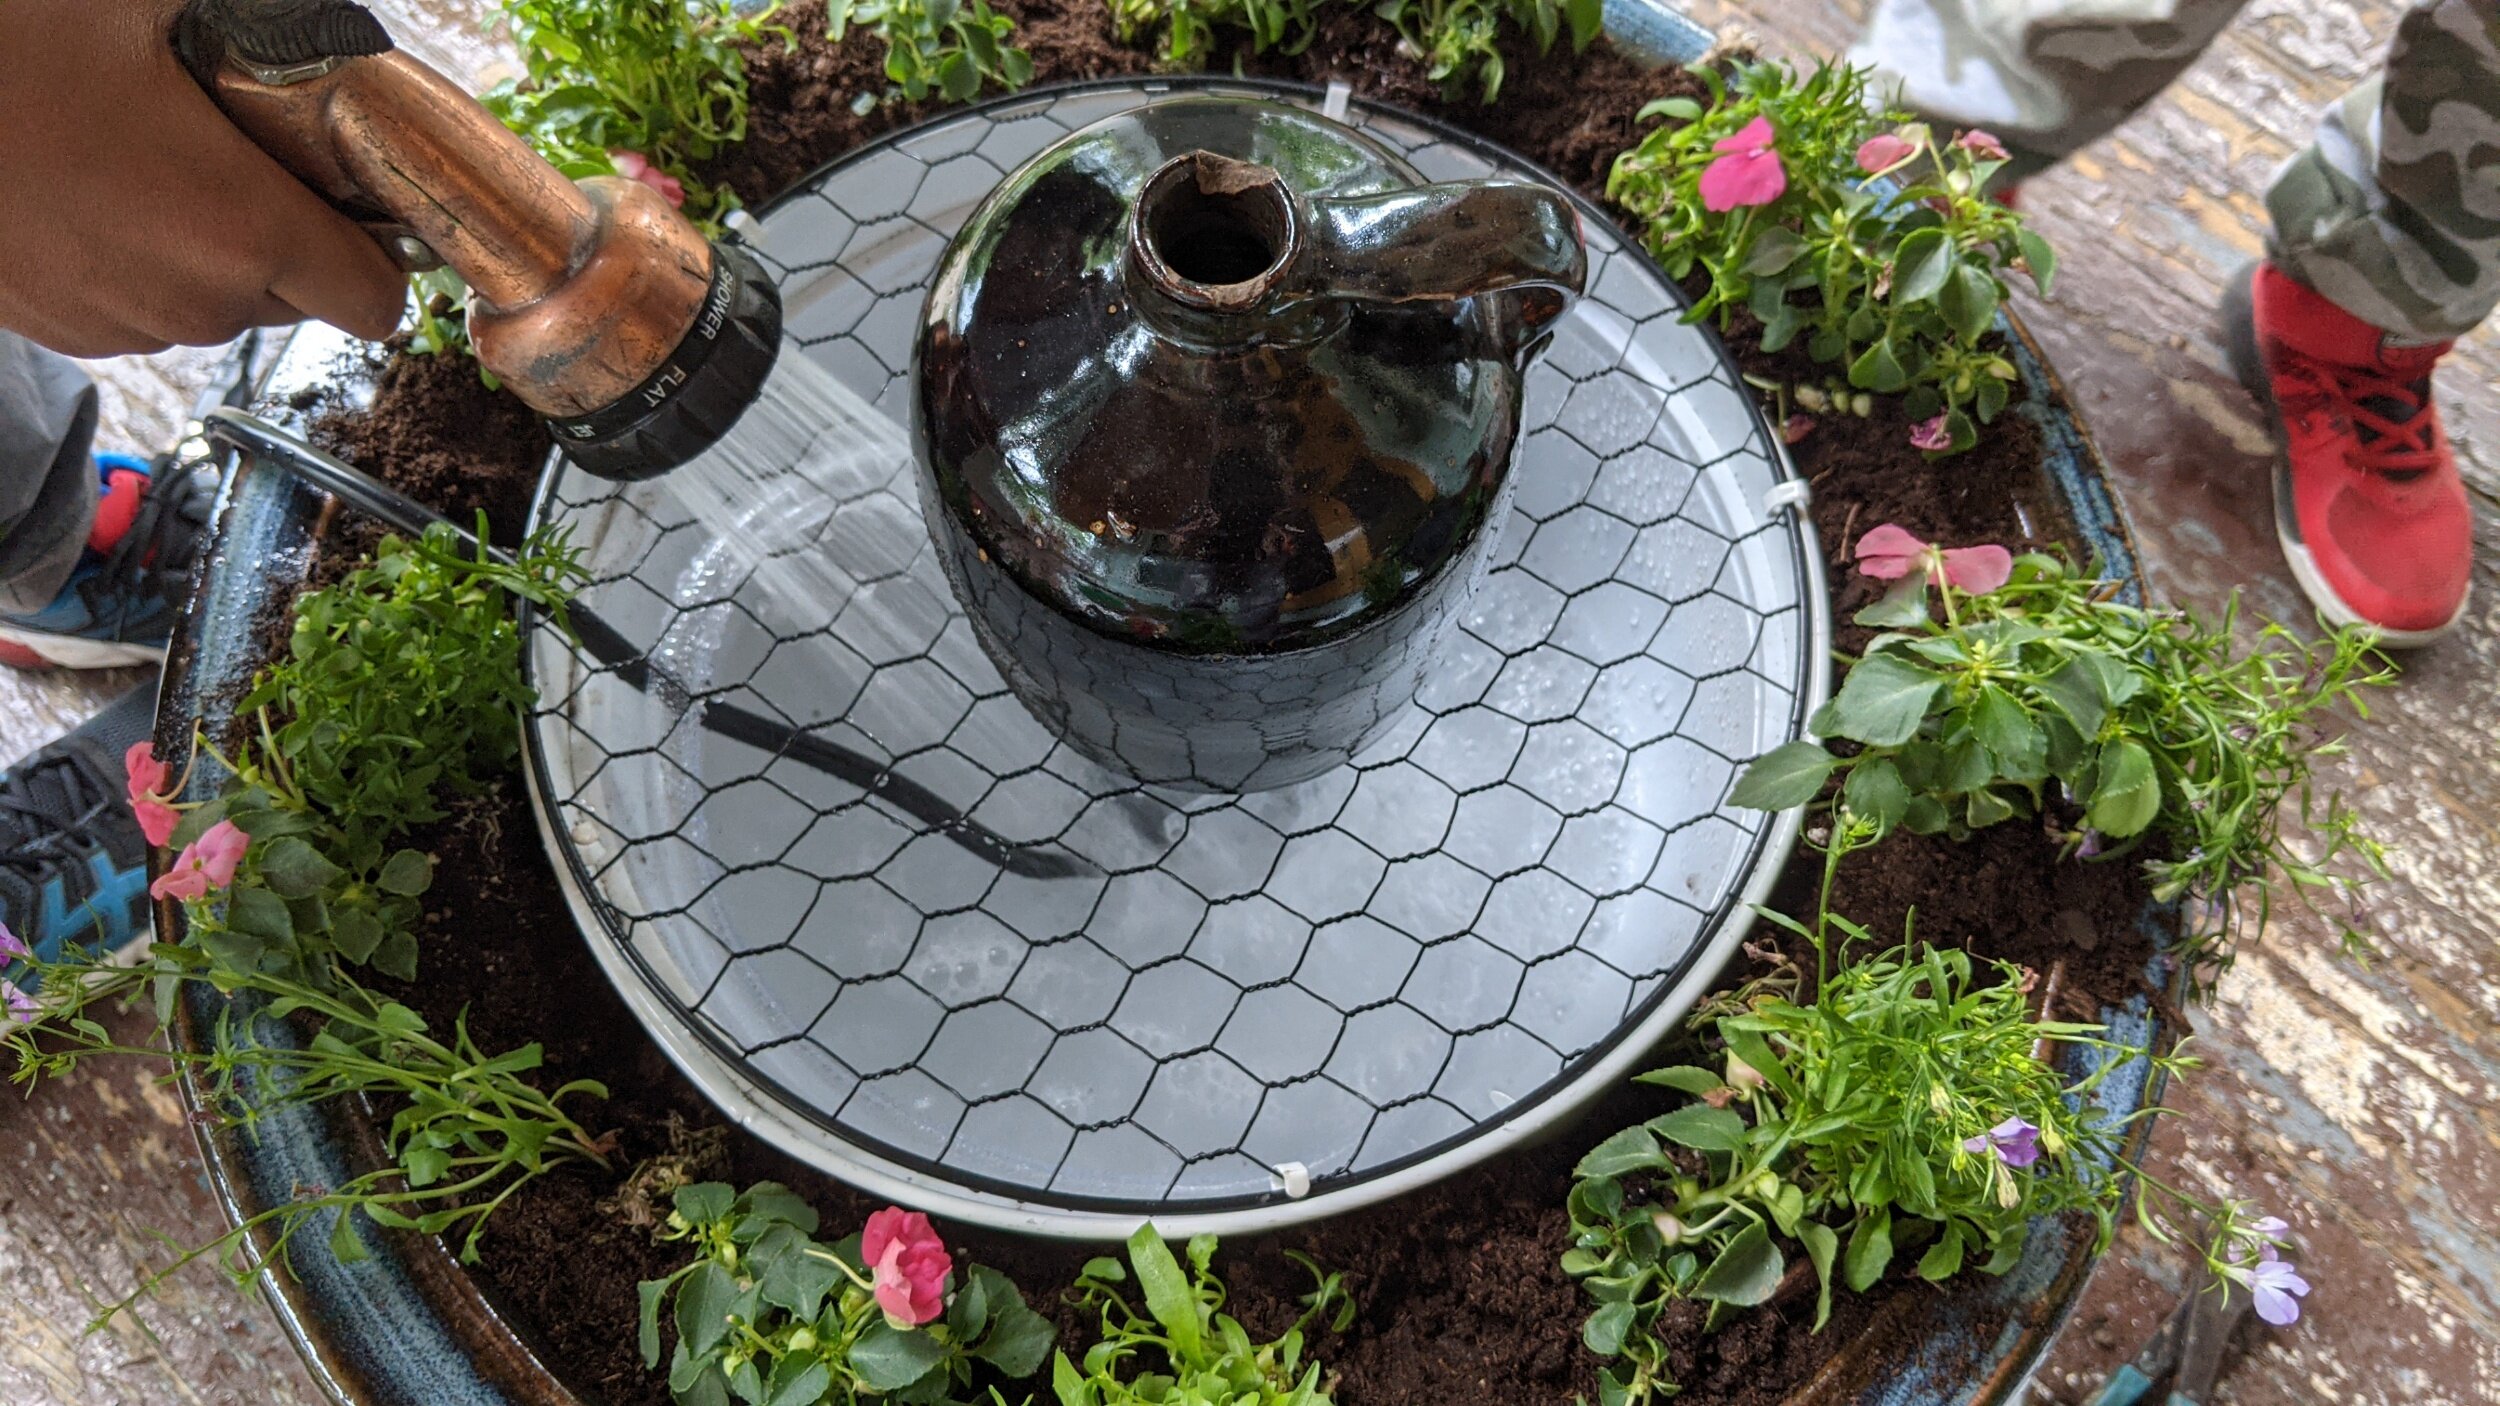
I splashed a bit of water at the bottom of the bowl before pressing the pump’s little suction cup feet into the bottom of it (pic. 9). One thing you’ll need to keep in mind is the pump needs to be completely immersed in water while in operation which is why you have it sitting in a waterproof bowl. Once the pump was in place, I affixed the mesh to the top, placed the jug where I wanted it, and started planting flowers around the edges of the bowl being careful not to get any soil in it (pic. 10, 11, 12).

Once it was all set up, I filled the bowl with water until the pump was completely immersed (pic. 13), plugged it in, and gave it a test run to make sure everything worked before I added stone on top of the mesh to hide the pump. (pic. 14)
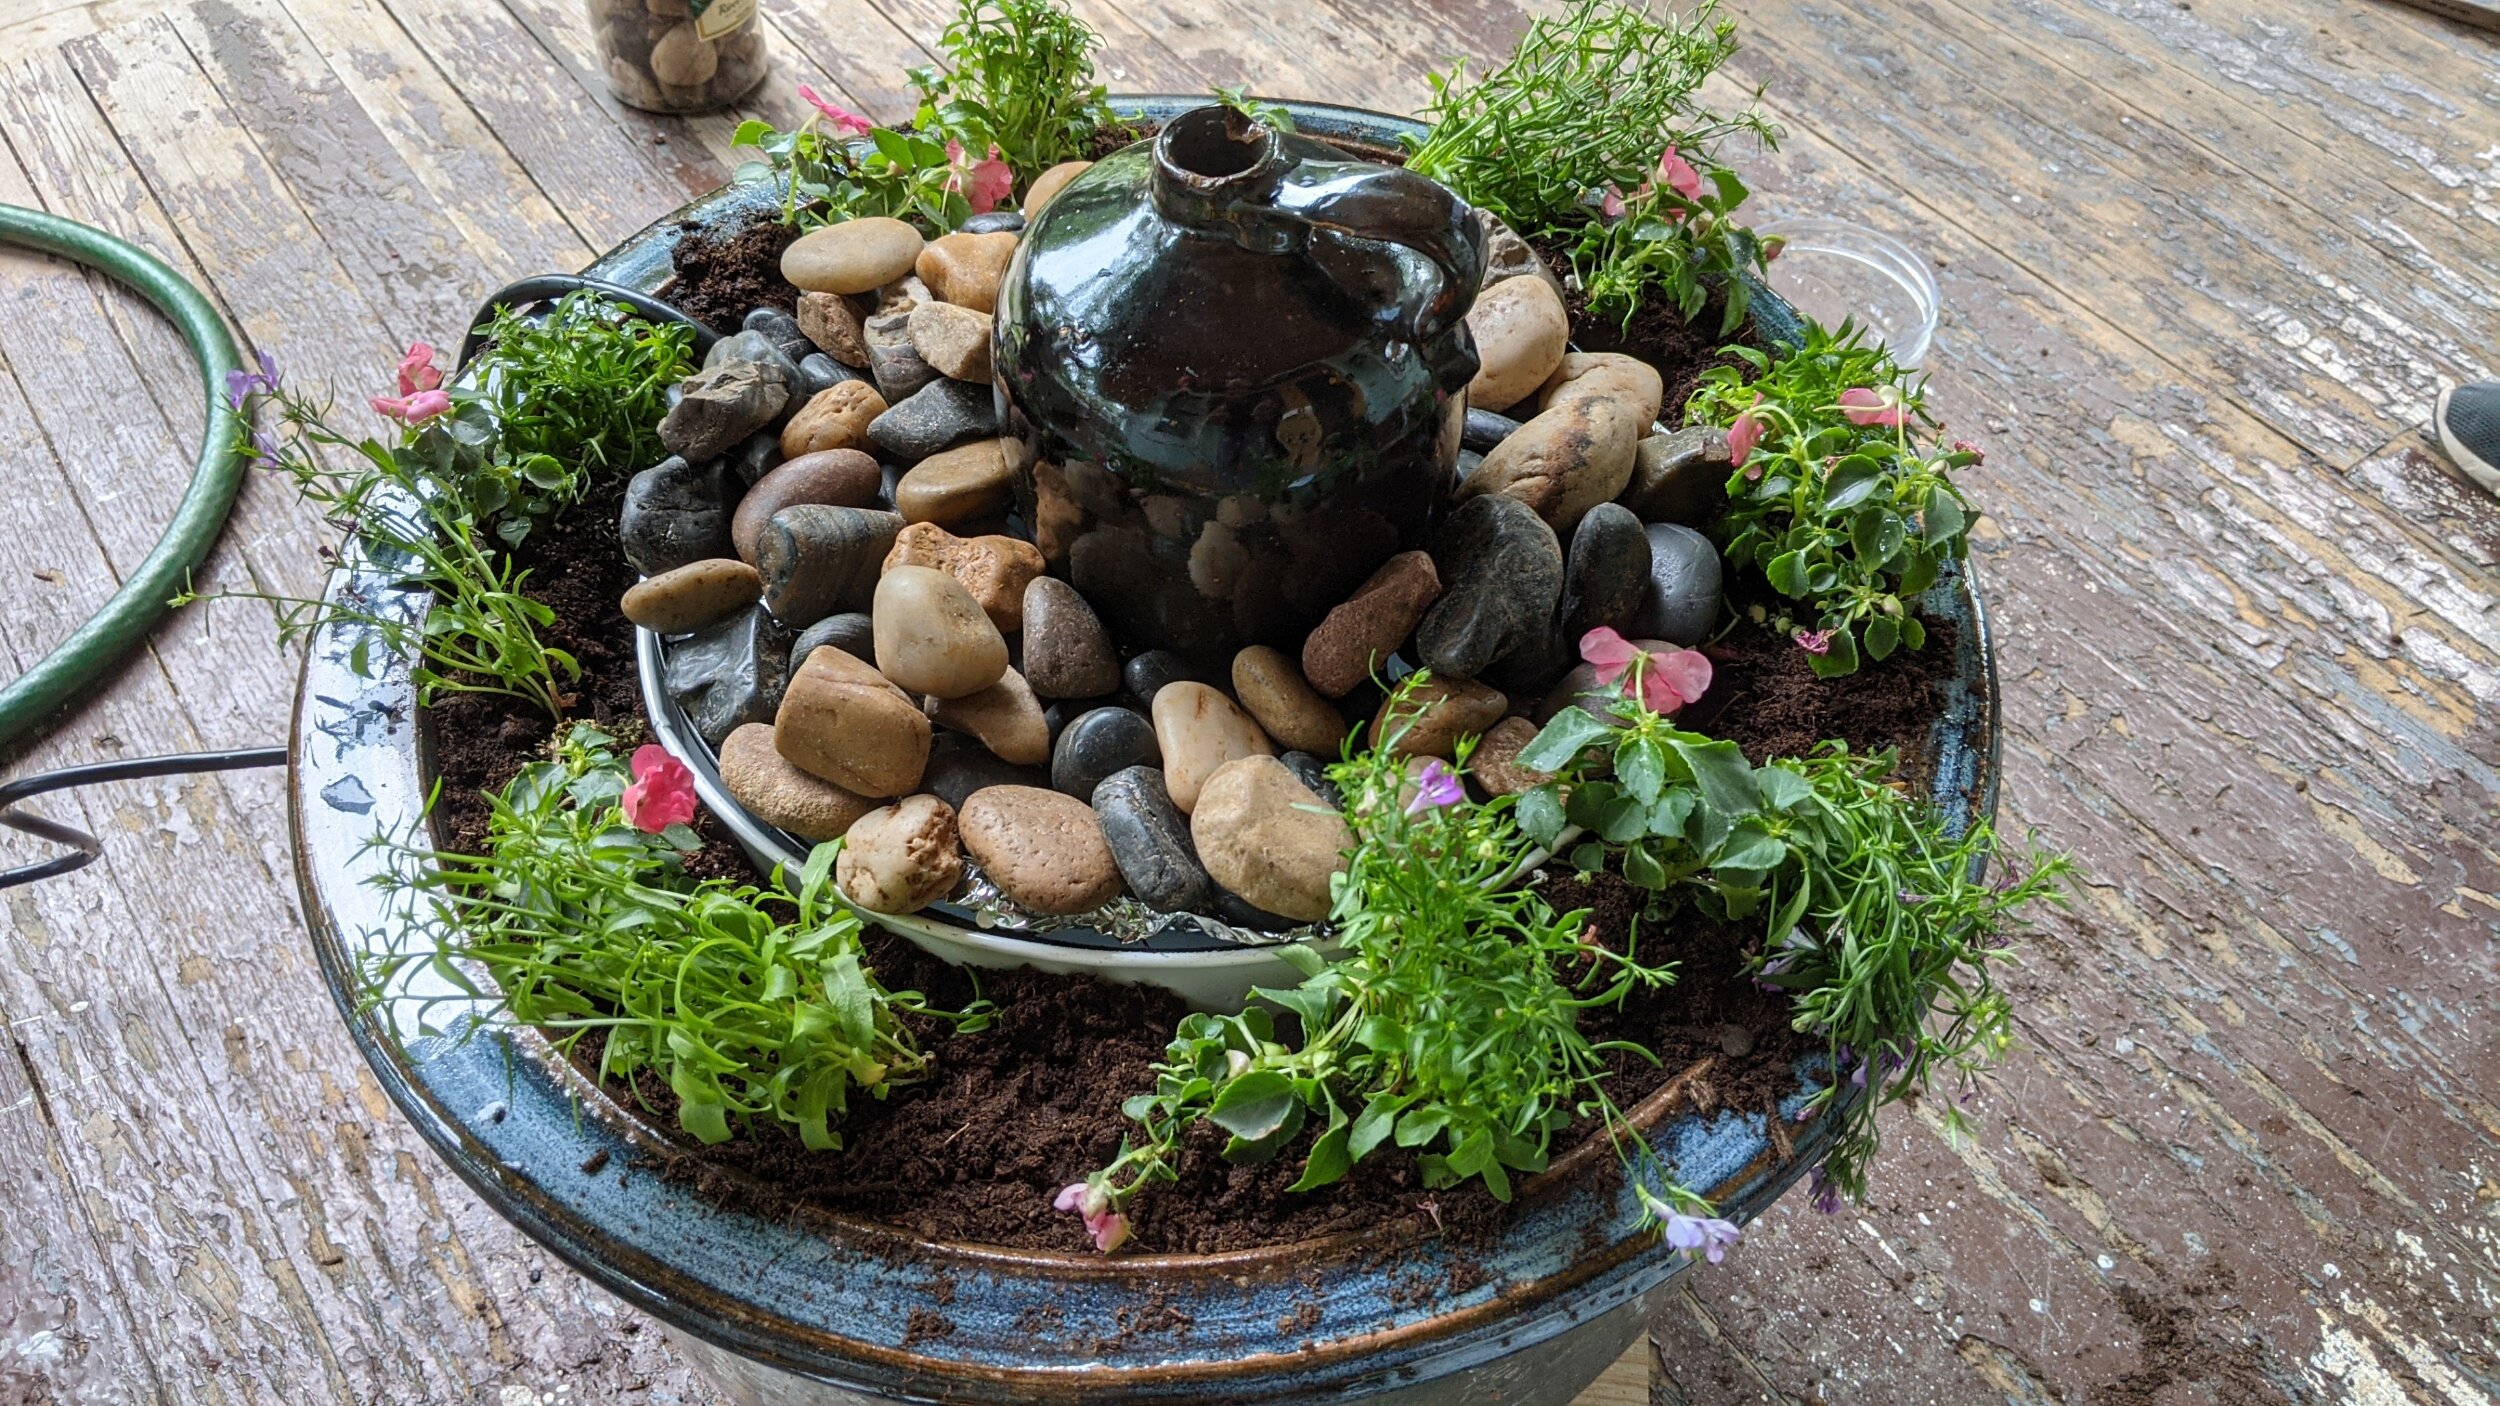
I’m really looking forward to these annuals to fill out around the feature to give it a lush border. Every time I water these flowers, the fountain automatically gets a top-up of it’s water levels too!
Don’t put down you’re device after reading just this blog! Go back to the One Room Challenge Blog and check out all the other talented featured and guest designers for an overload of inspiration!