A Back Deck Story: Chapter 2 | Patio and foundation installation
So, let’s see, about a week ago we ended the story at the demolition of the old deck and sunroom. If you missed it, click here to catch up. Now we are moving on to my favorite part. Most people would think that taking a sledge hammer to the decrepit and useless would be THE best part of any project, but not for me. That would be my least favorite. I like building and creating. That’s the part that brings me the most joy and satisfaction. Envisioning something and then forcibly bringing it into reality. Forcibly because, let’s be honest, no project in the history of the universe has ever gone without a hitch. Things always seem to get worse before they get better. Always.
The “hitch”
Once everything was torn down, we realized how big the yard actually was. That deck and three season room was taking up so much visual space, so deciding on a ground level patio was an easy choice. This way, the large yard would keep it’s open feeling. Concrete was our material of choice for it’s low maintenance. We hired this part out and we couldn’t move on the small porches/landings from the two back doors until that was done. We got an estimate in the fall of 2017. They scheduled us for the spring of 2018. They came and did one walkway on the side of the house, said they’d come back, and then… do you hear crickets?
Just like we couldn’t move forward with our back patio and porch plans, you don’t get to fast forward to that part of the story either…. muuuaahaaahaahaaa! Don’t worry, there was plenty of interesting stuff going on while we waited, and waited, and waited…
It’s not like we were at a complete standstill. I never am. Someone might have even uttered the phrase “you’ll never let the grass grow under your feet” once or twice… or ten times. Having said that, there was much to accomplish and accomplish it we did. We continued to trudge along on the outside of the house. We hired someone to remove the vinyl siding on the third floor dormers and peaks (heights are not my jam), fill the blown in insulation holes left by whoever did that work, scrape the old paint, and prime and paint it a soothing blue color. The vinyl siding was up for 20+ years so it was a shot in the dark that the clapboard behind it was going to be any good. However, we lucked out and only needed to replace about 10-15% of the boards. The vinyl did a good job of protecting it. Below you see the images of the place after the vinyl was completely removed.

Here you can see the completed dormers. You can see the blue that we picked in these dormers and on the peak in the picture below. It’s the ‘Yanny’ or ‘Laurel’ of colors. No one can agree on whether it’s Blue or Green. Whatever the color, I’m really happy with it.

The white boards are the replacements. Don’t mind my stunning garden with all it’s “native” plants.
Enter stage left… Hitch #2
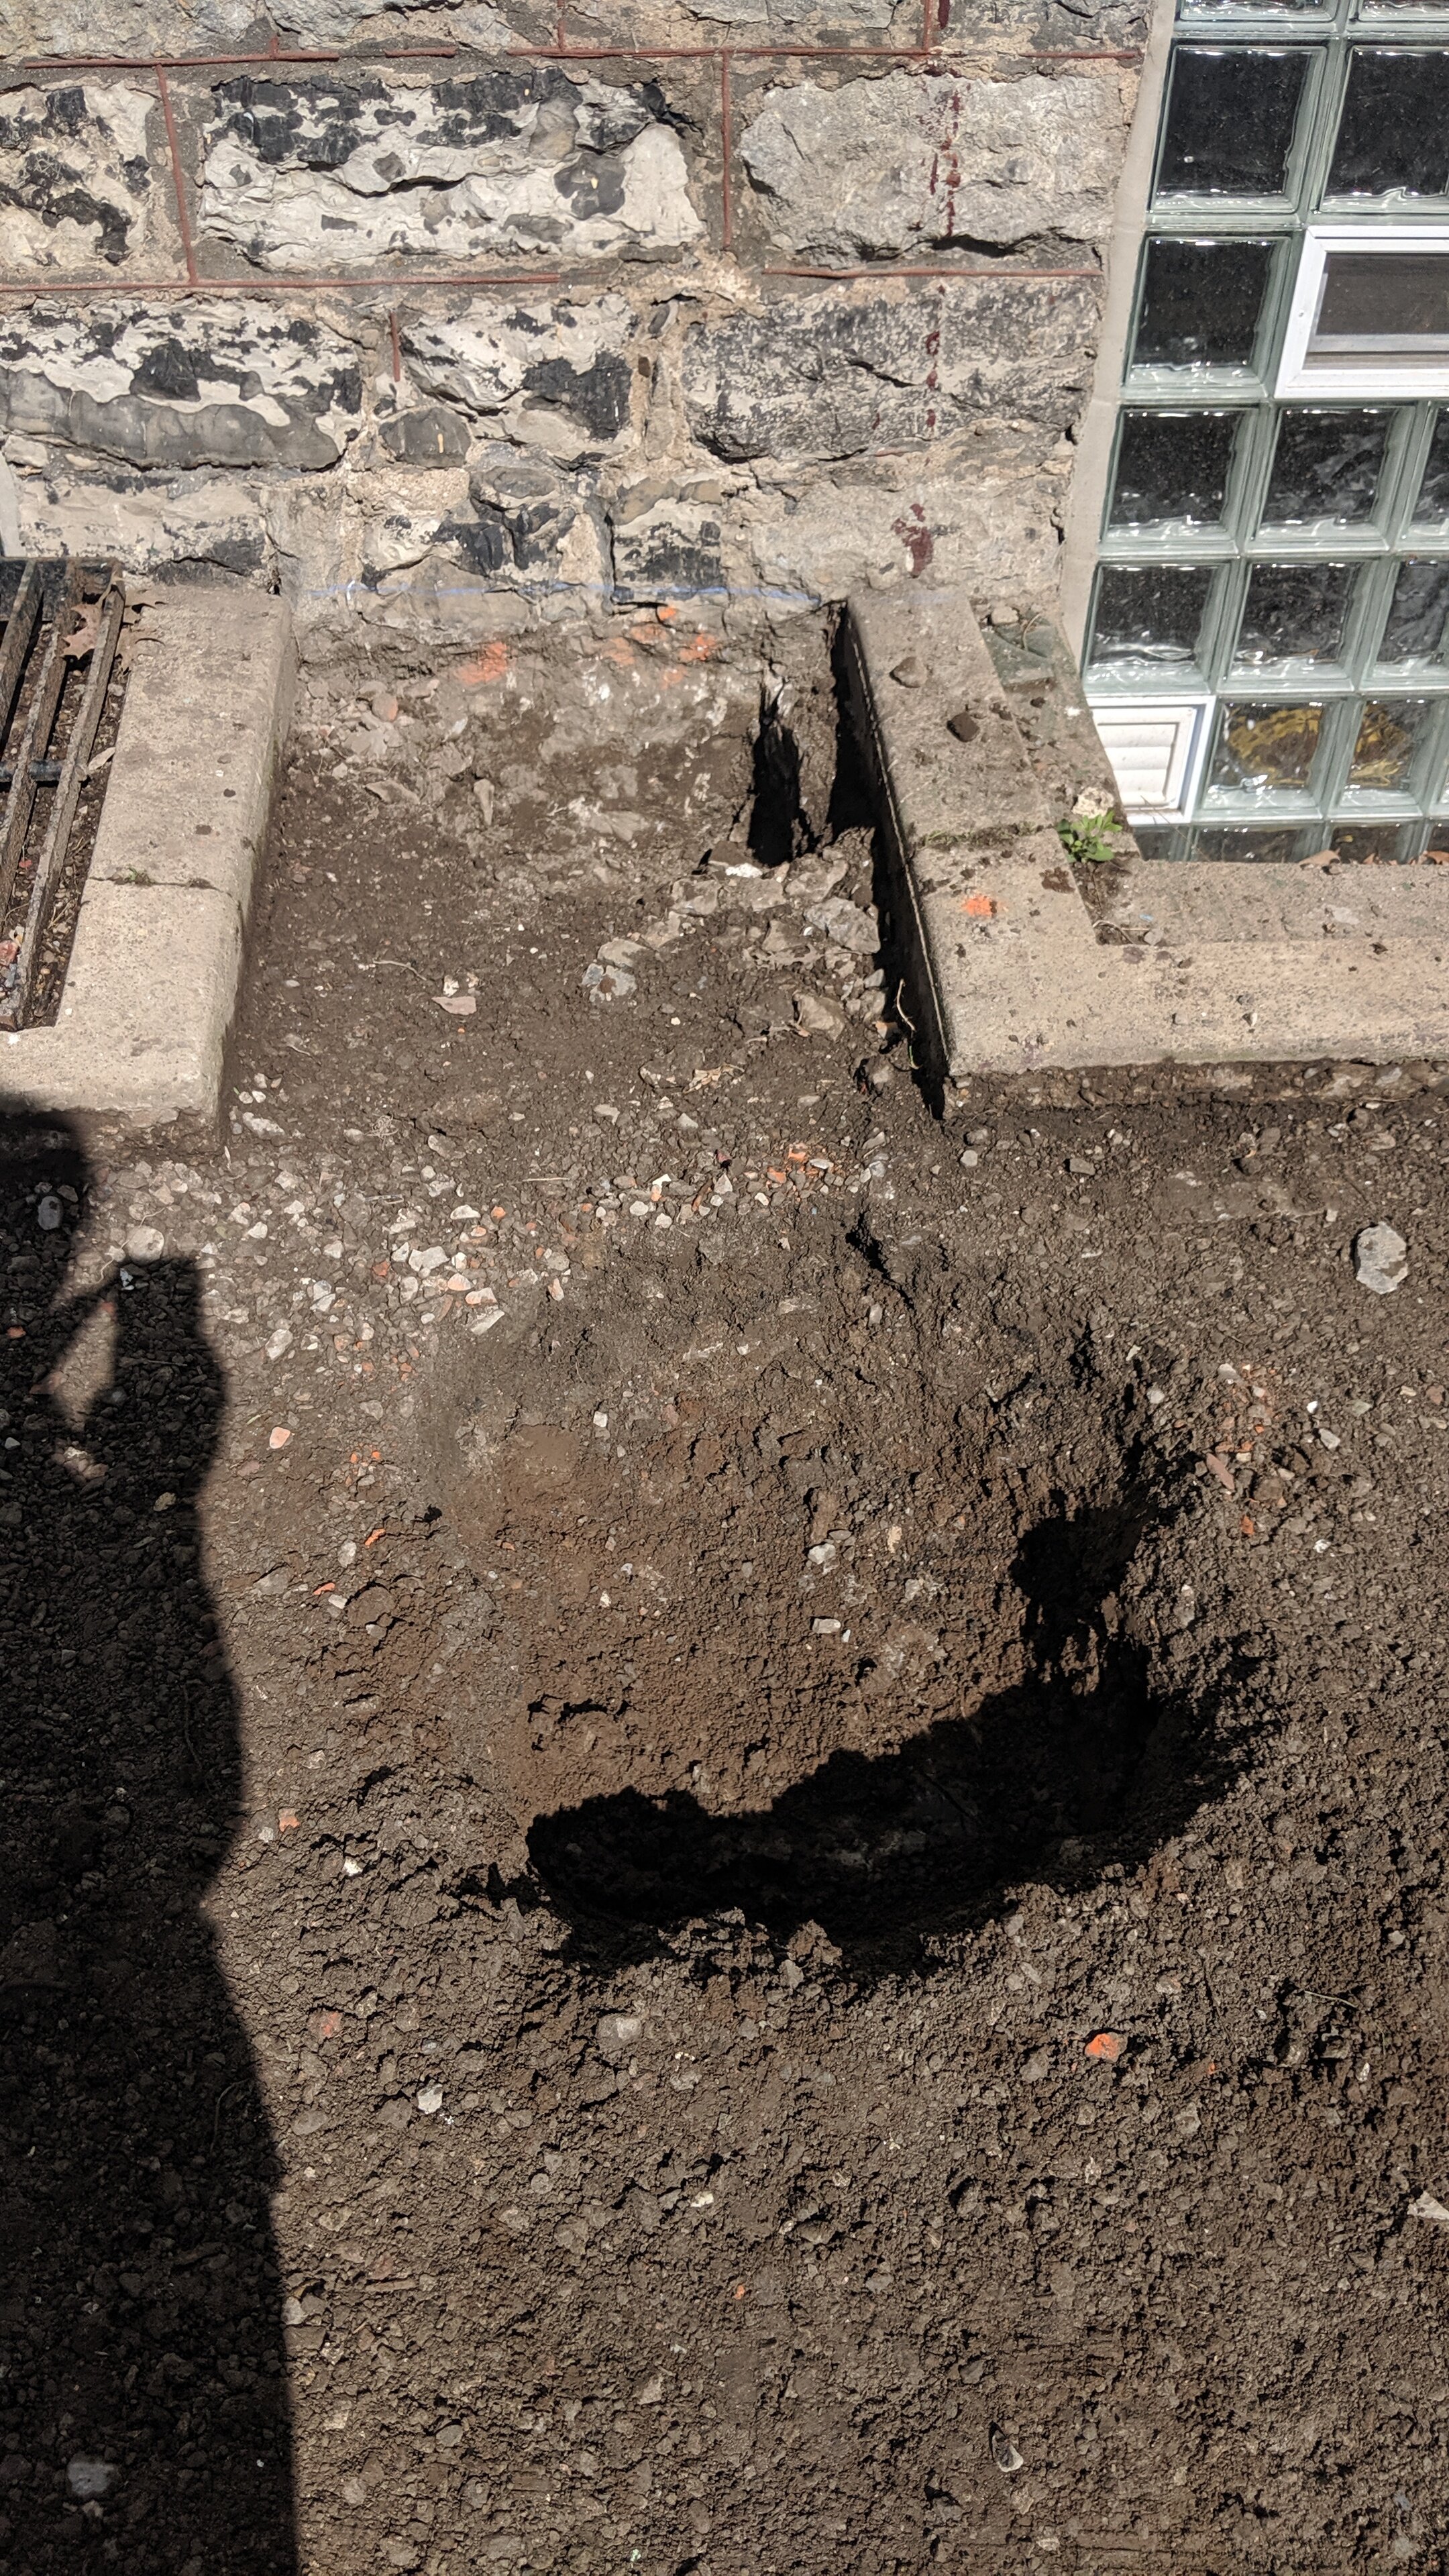
Where we lucked out in clapboard condition, we were snakebit with all the decorative woodwork that had been hacked off at the time of vinyl installation. The complete lack of consideration for these historic details has me dumbfounded. These details, along with other features, are what set these old homes apart from their 20th century “counterparts”. In addition to the aesthetics of these trim pieces, they also served a practical purpose. For example, the drip caps above the windows would divert water out and away from the window trim. The drip edge found below the last clapboard (the fresh strip of wood seen running horizontally above the basement windows in the previous image), would serve the same purpose of diverting water away from the sill and foundation wall. There was a purpose to most everything and one which is still beneficial today. One hundred and twenty years later!
We didn’t fret for long and set out restoring the historic features long lost to careless “updating”. Enter stage right, our friend Jim. A master craftsman who knows a thing or two about old homes, a thing or two about wood species, and a thing or two about making things out of wood. He truly is amazing at his art. Since all the details were gone and we had nothing to reference what might have been there, he did some research, took a walk around the neighborhood, and came up with what would have most probably been there when it was first built. He made the drip caps for the windows and the trim below, the window sills that had been chopped off on either end to fit the aluminum trim over top of it, the column caps, and all the rest of the missing pieces. If I weren’t to point out which features are new you’d never know. You’ll just have to wait for a future post to see pictures since I don’t have any that don’t reveal details I have yet to write about!!!
Spring. 2019.
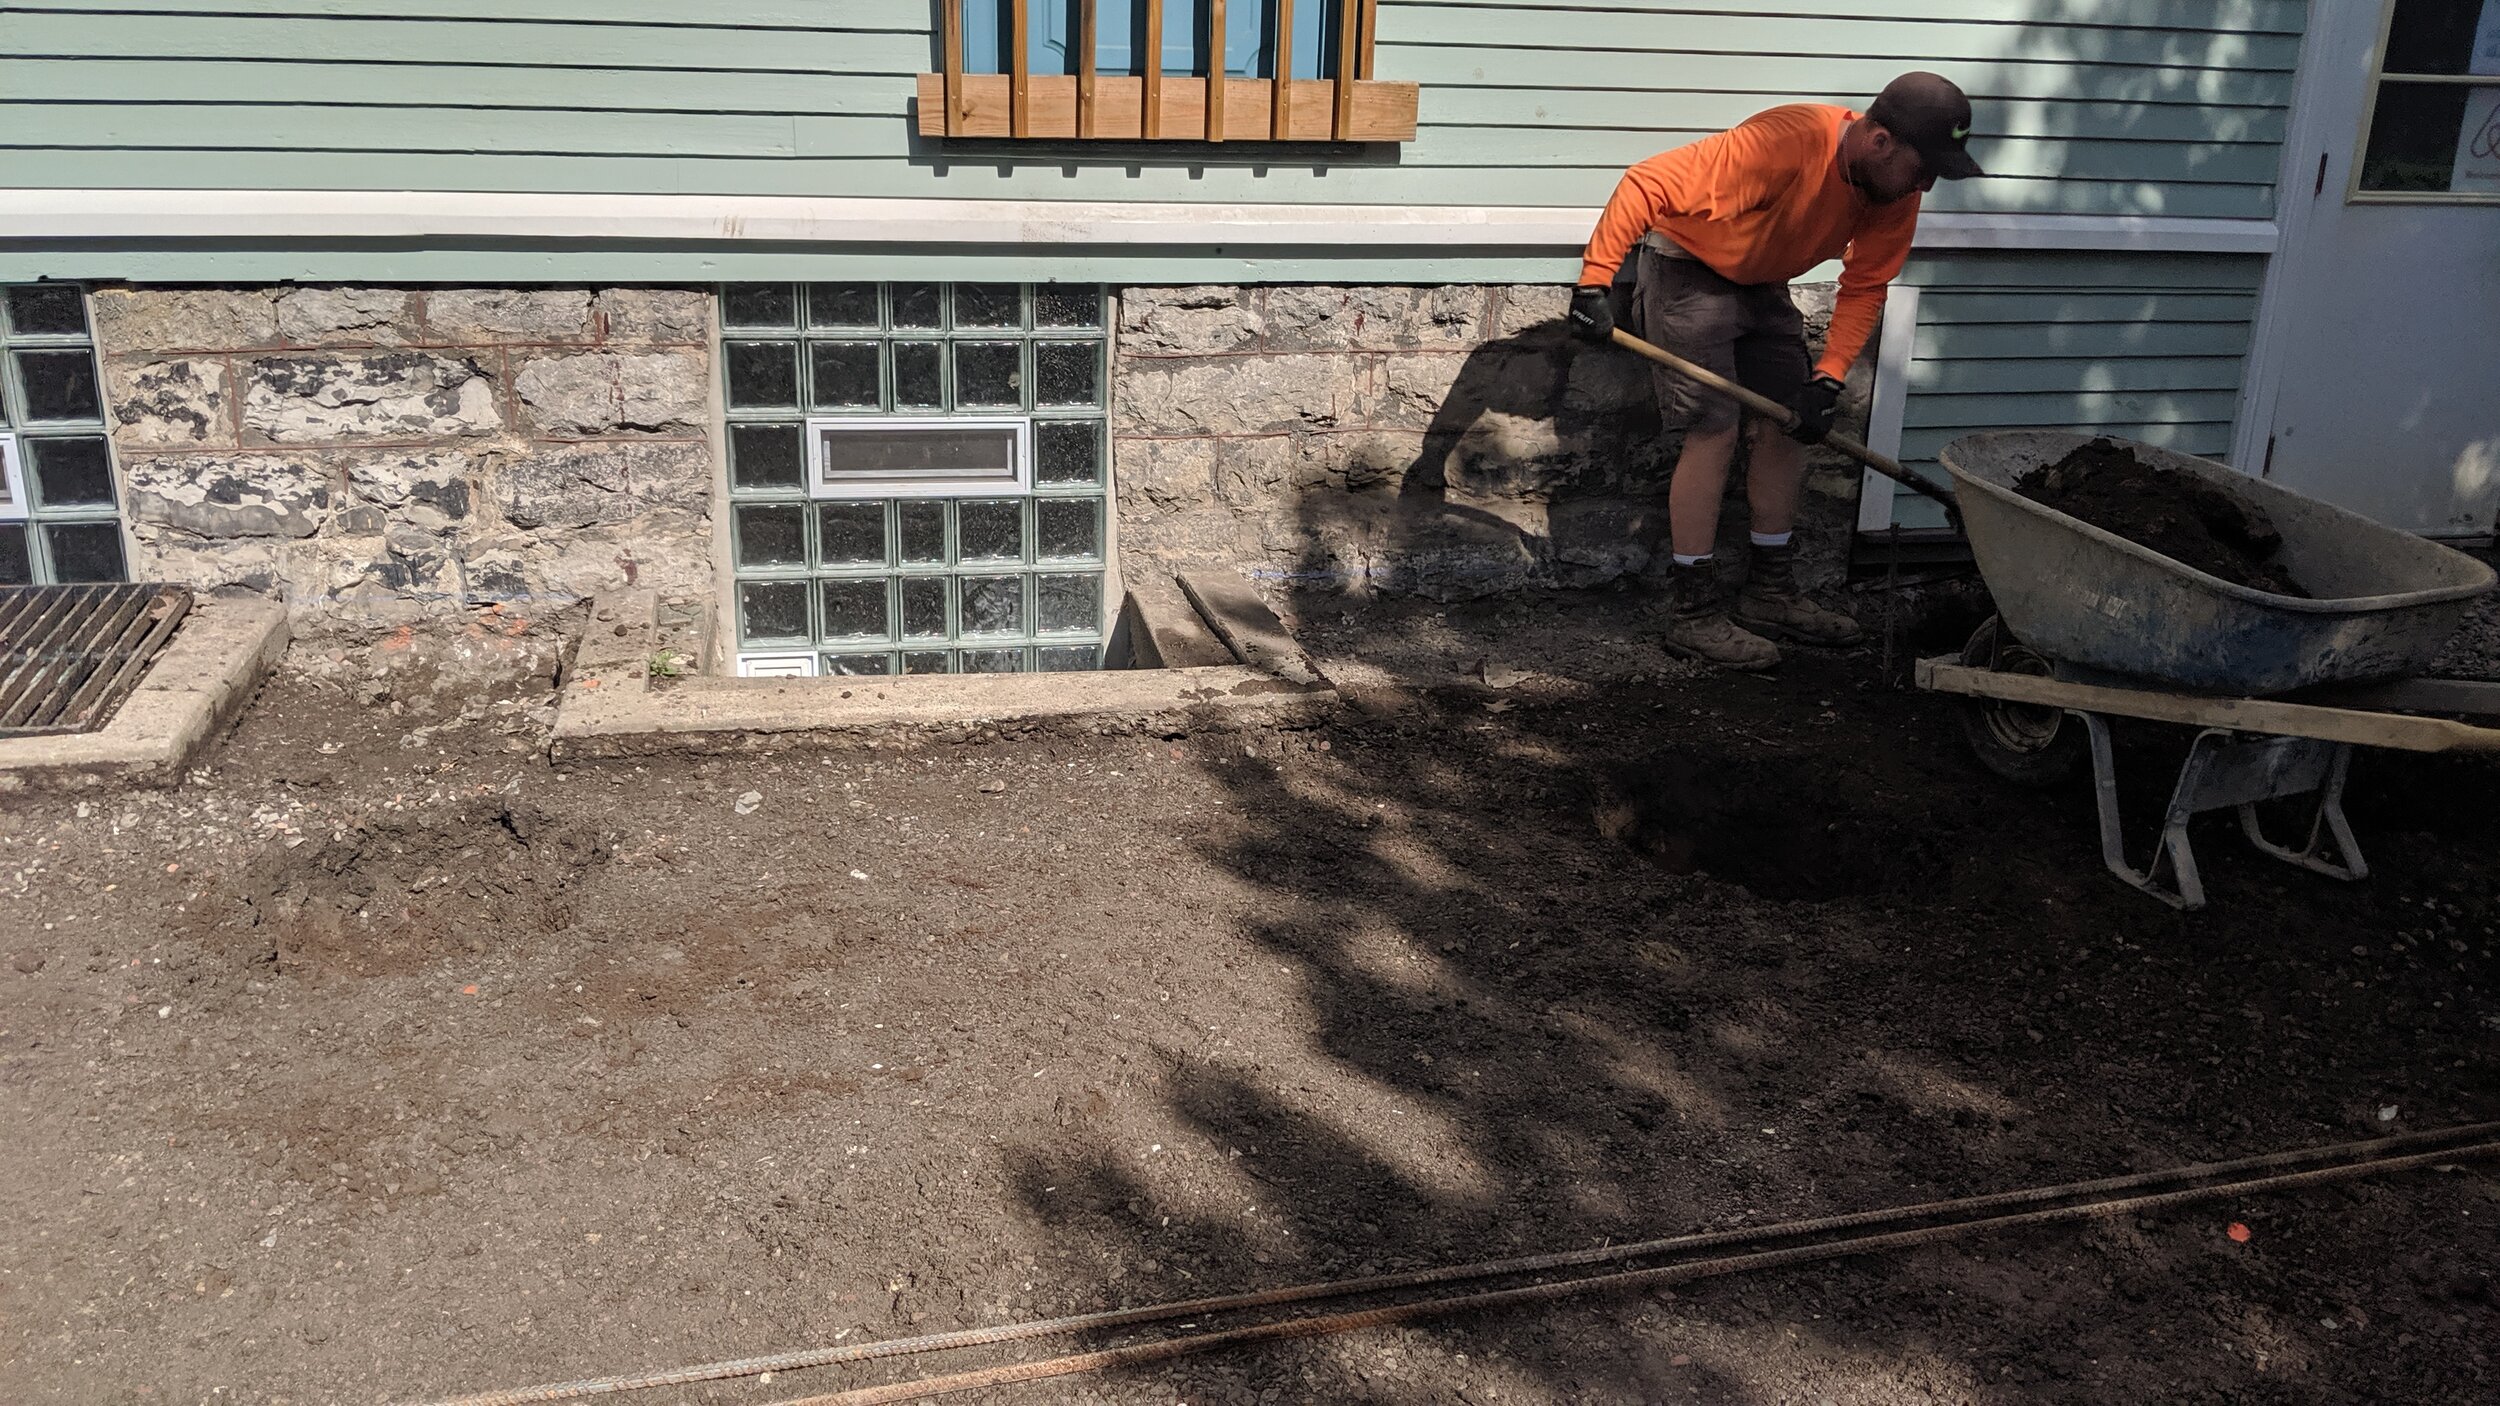
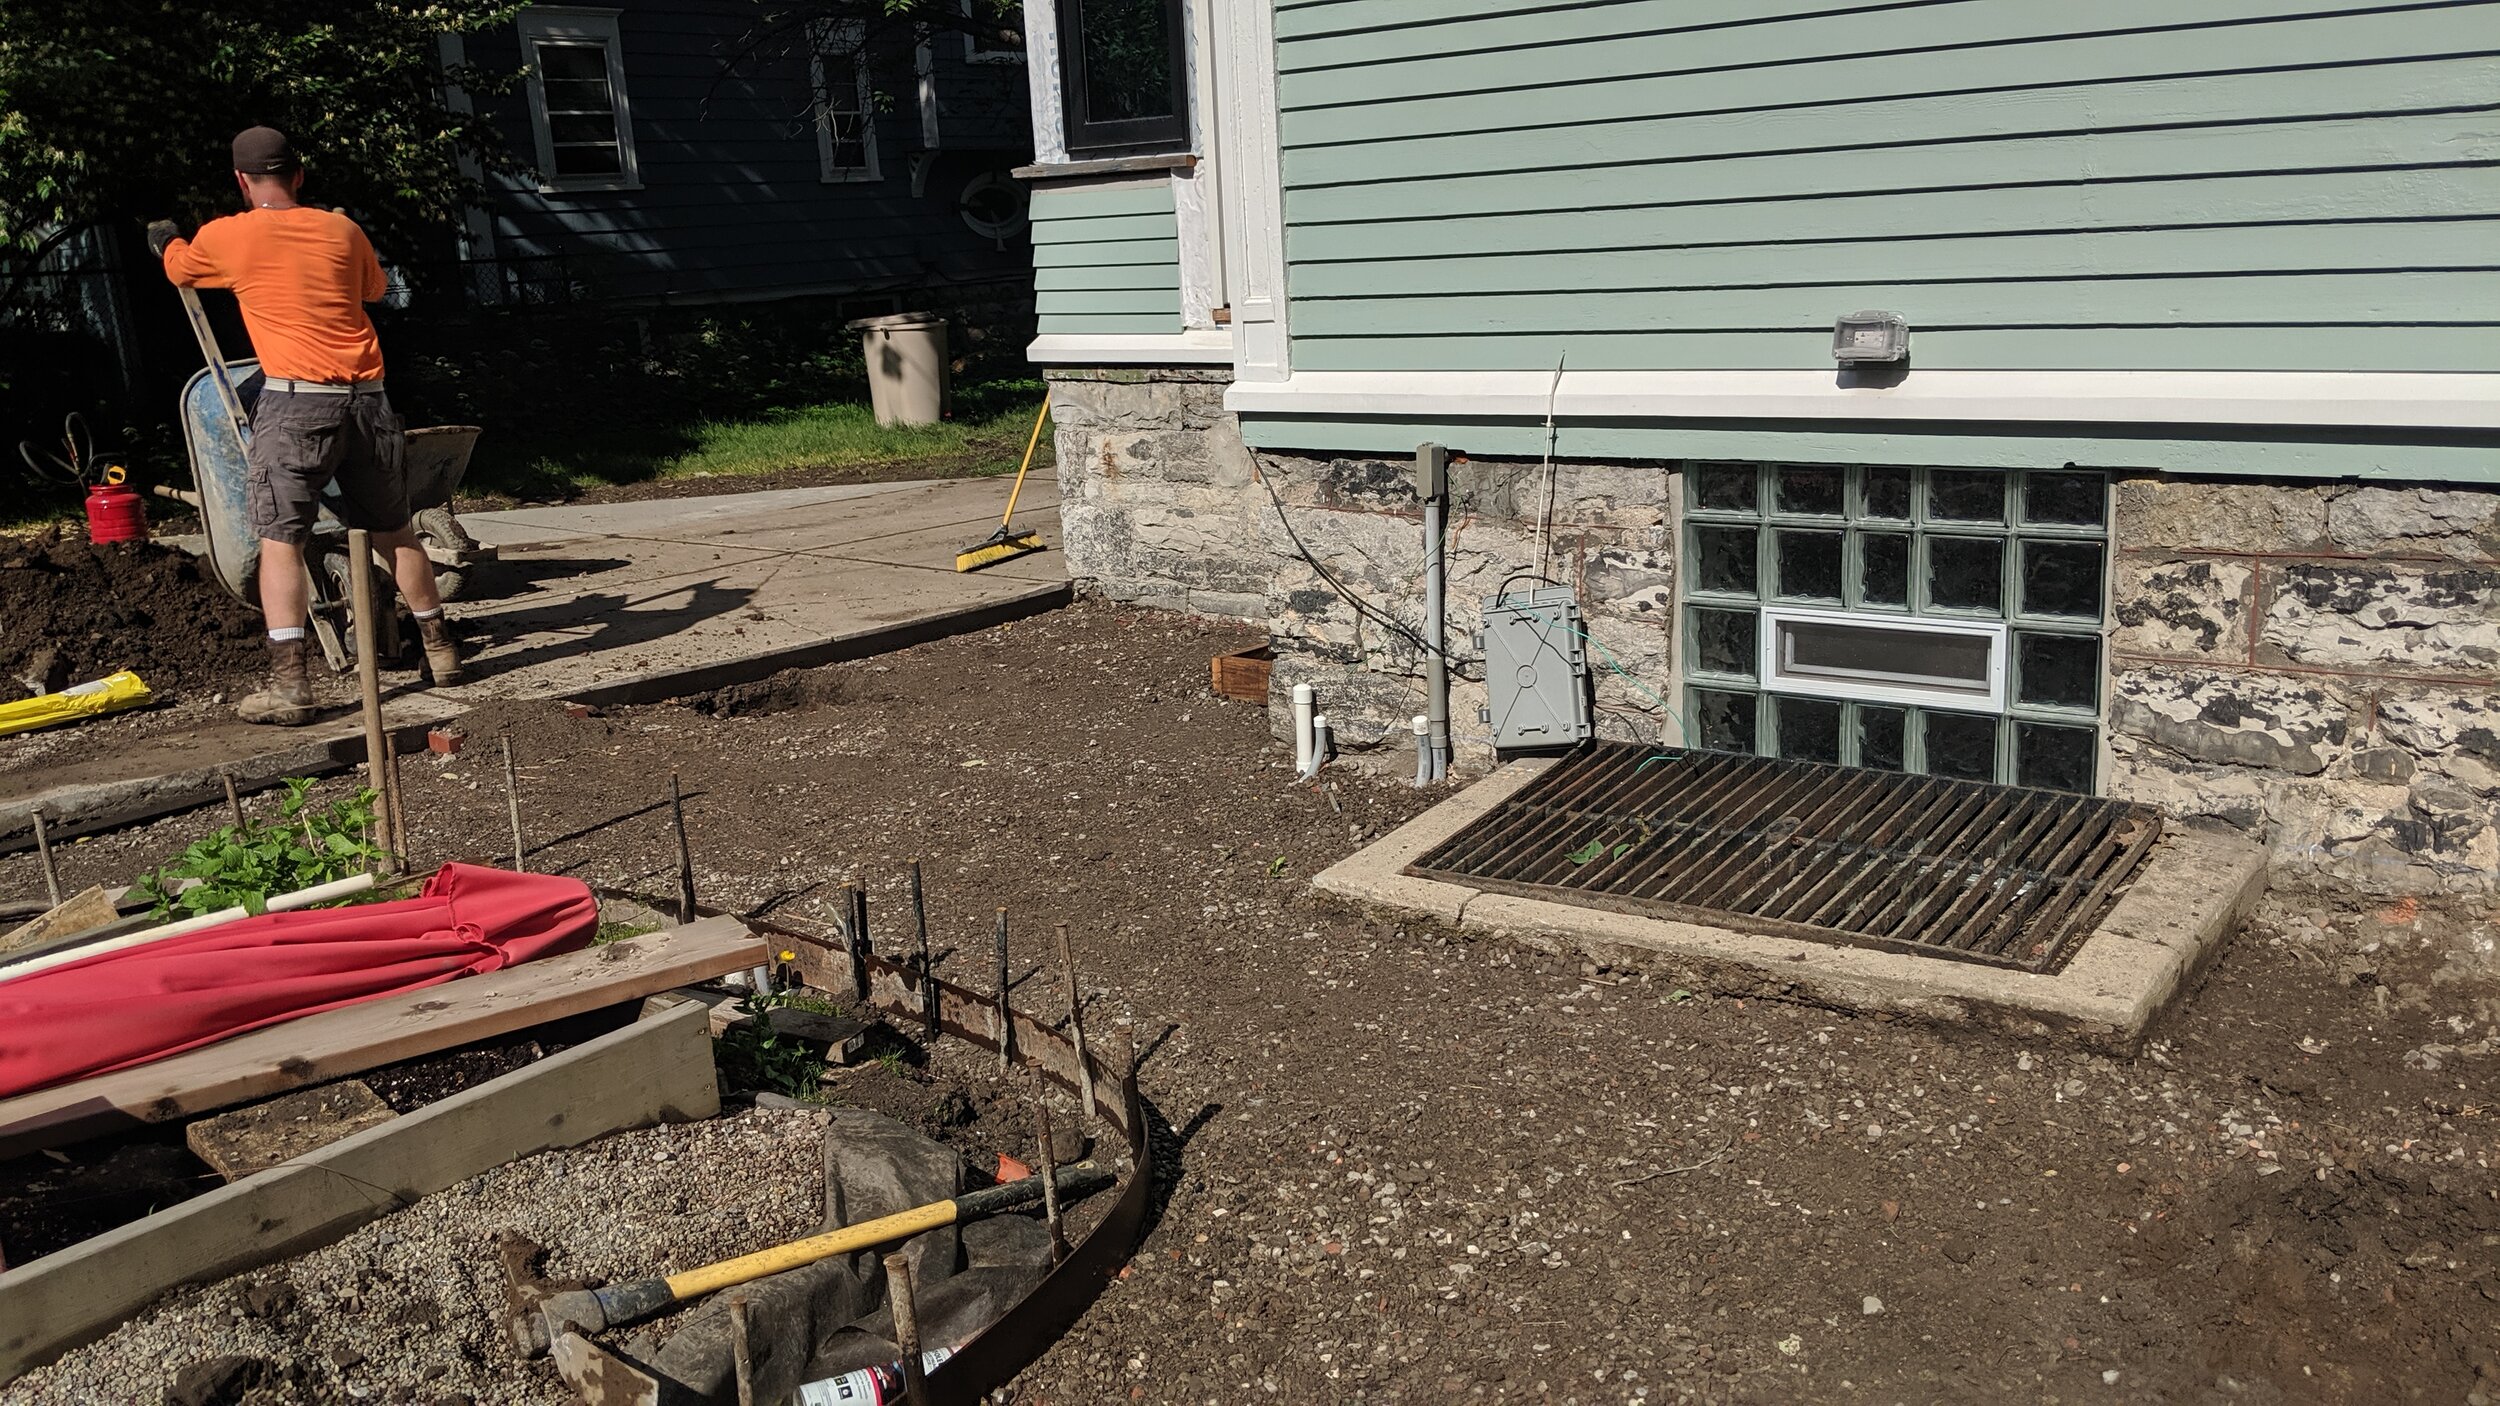
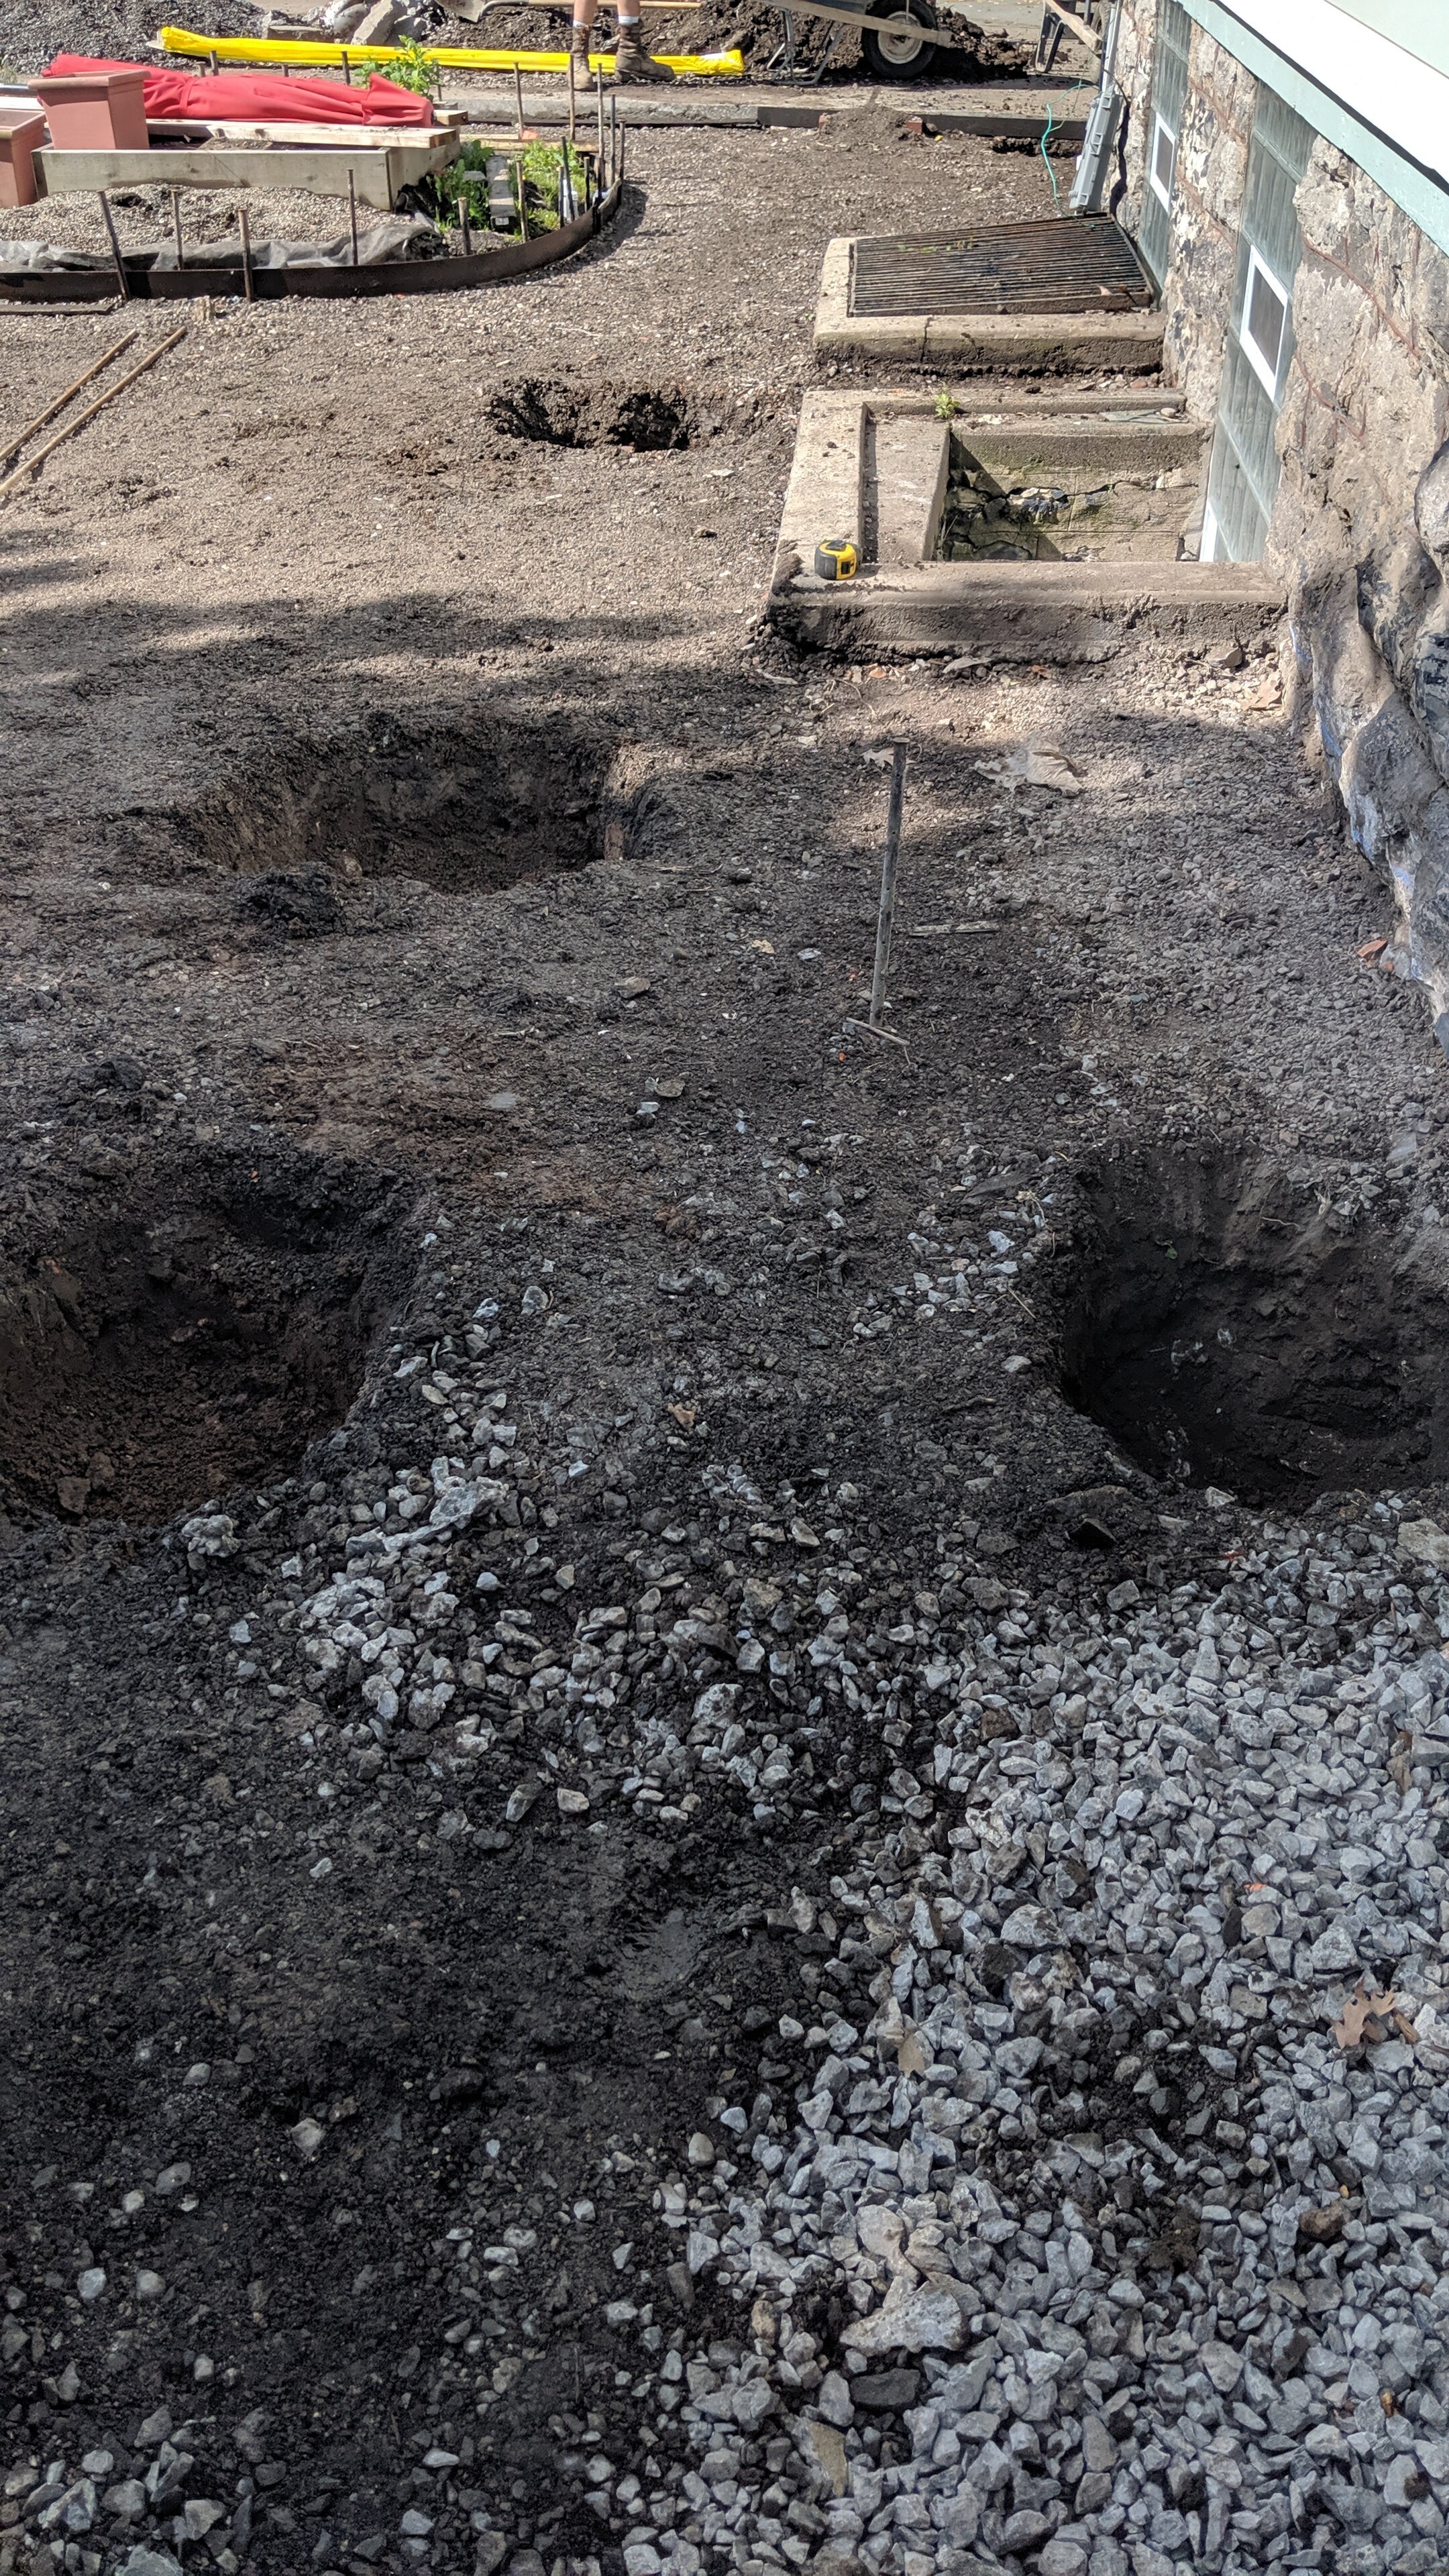
The original concrete guys never came back. We got another estimate late fall of 2018. They showed up a couple of months later than originally promised, but they showed up!!! They widened the driveway at the back of the house, put in a path from the driveway to the front door, a parking pad on the south side of the garage, a walkway on the North side of it, and finally, the part that was stopping us from moving forward on the landing and stairs from the back doors, the patio!!!
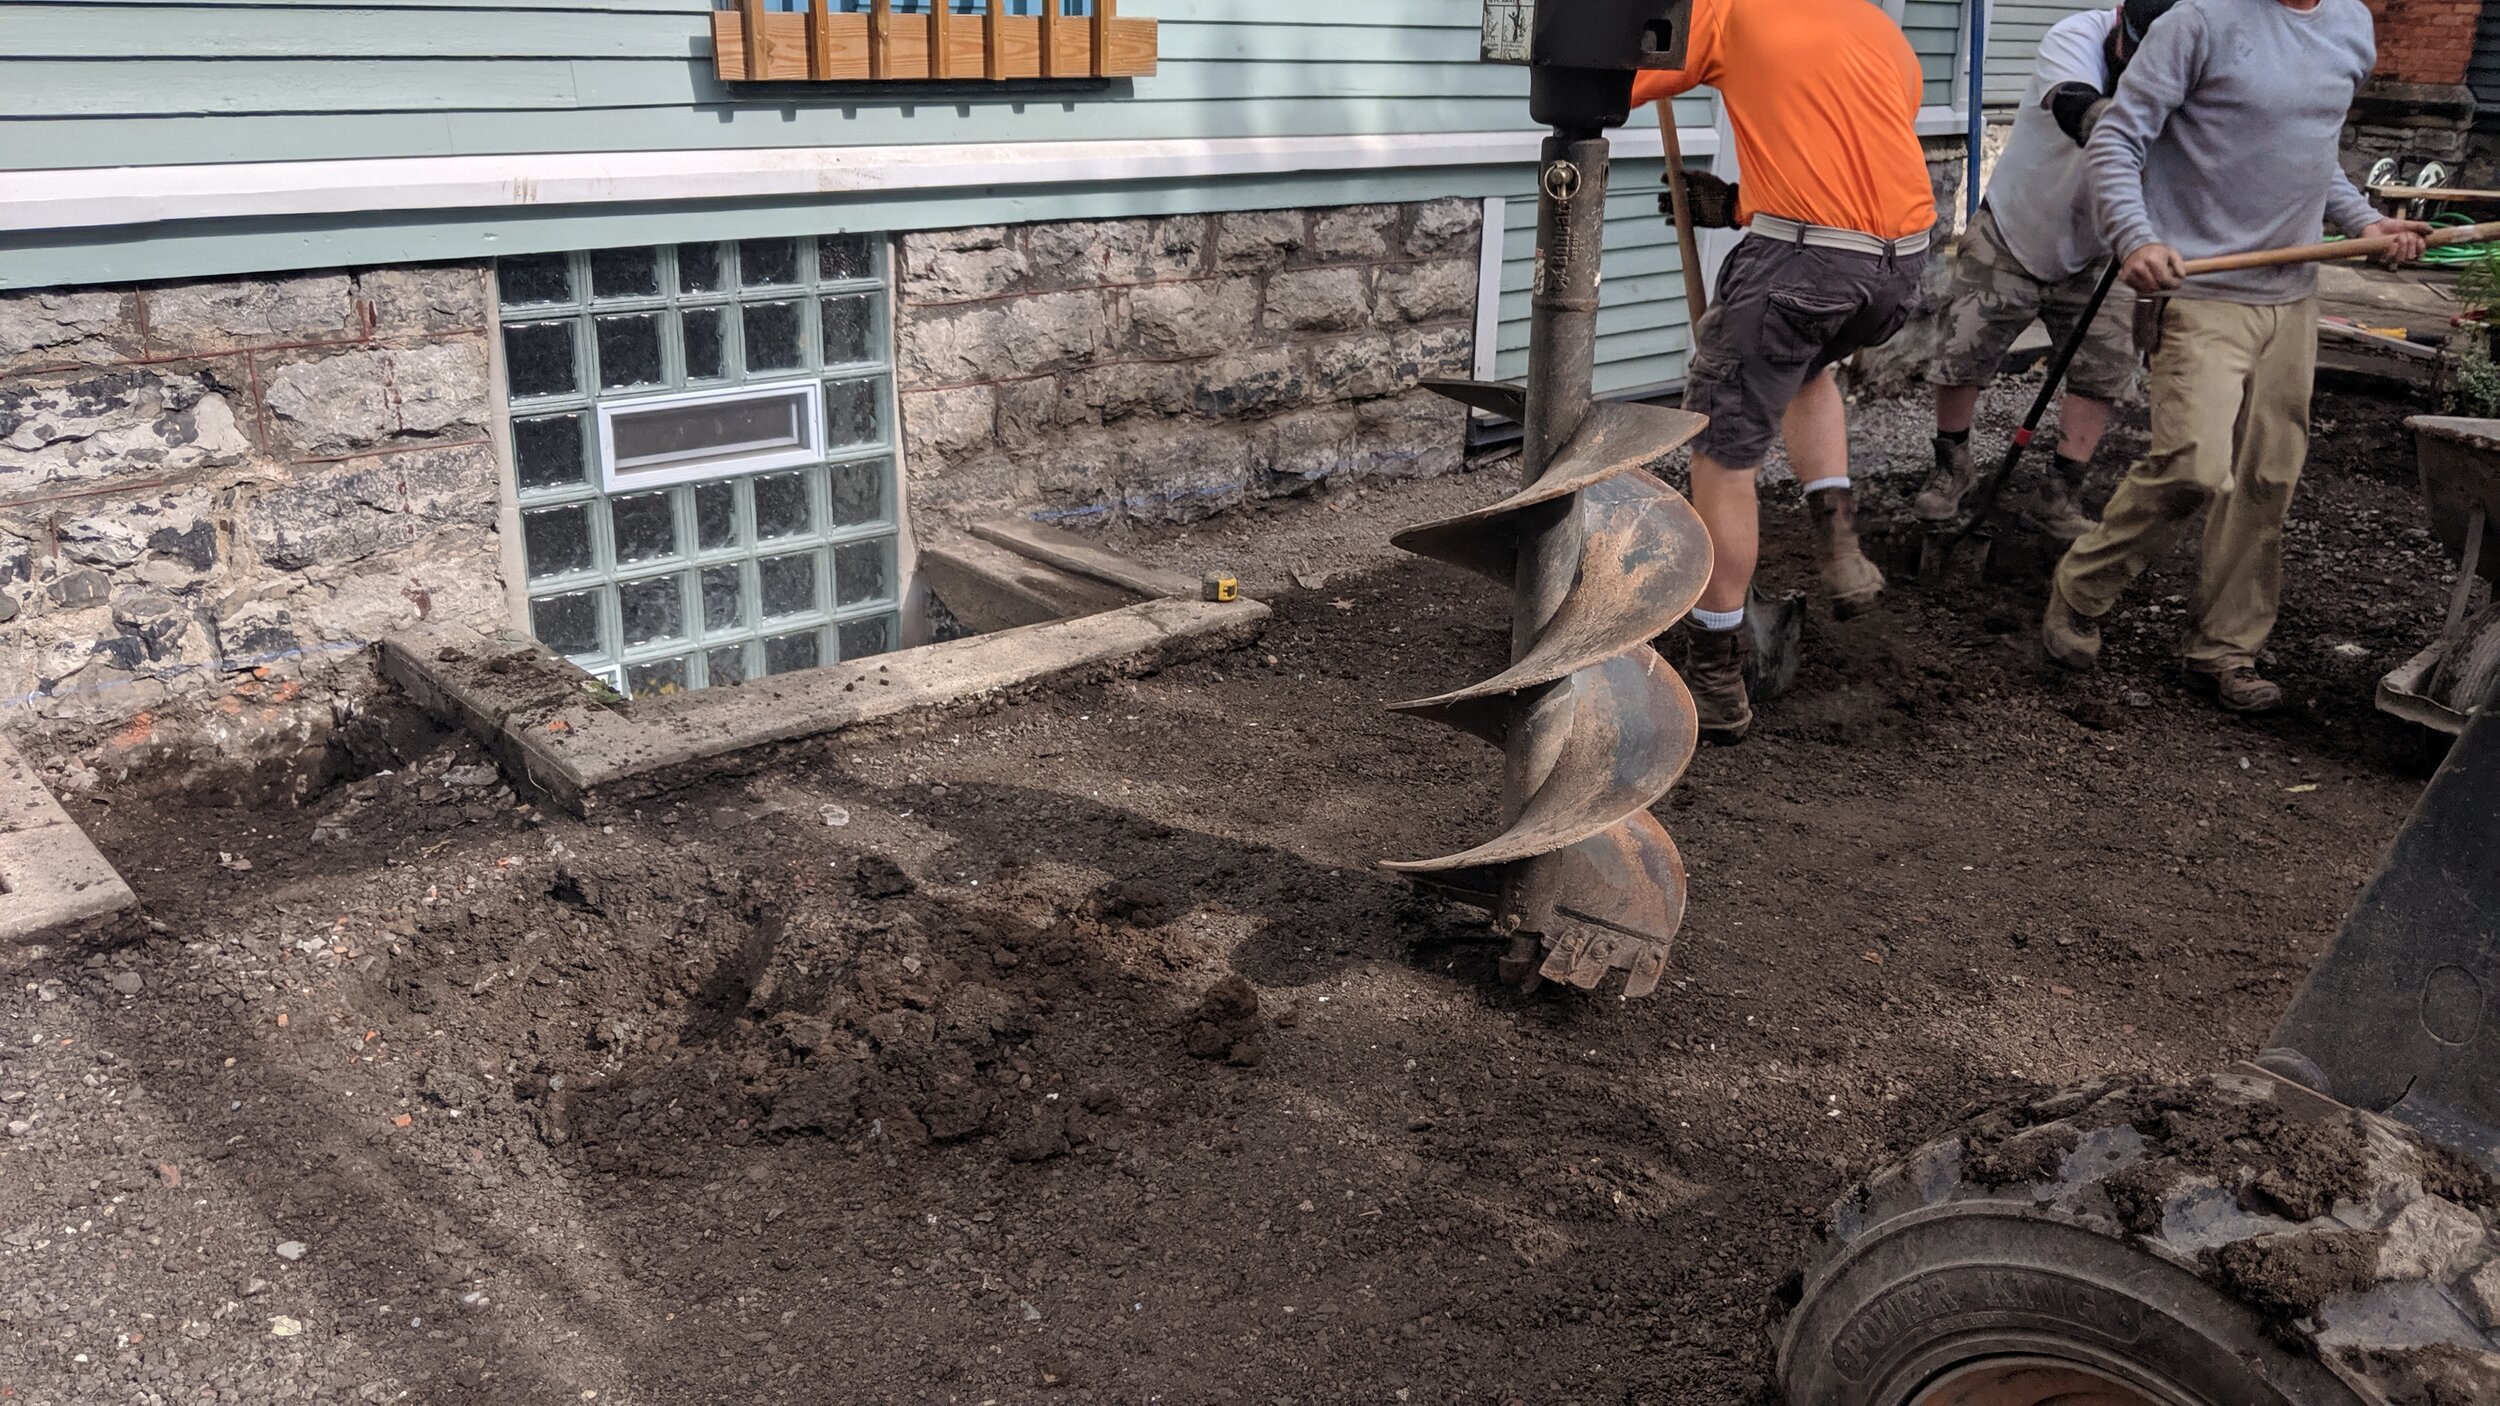
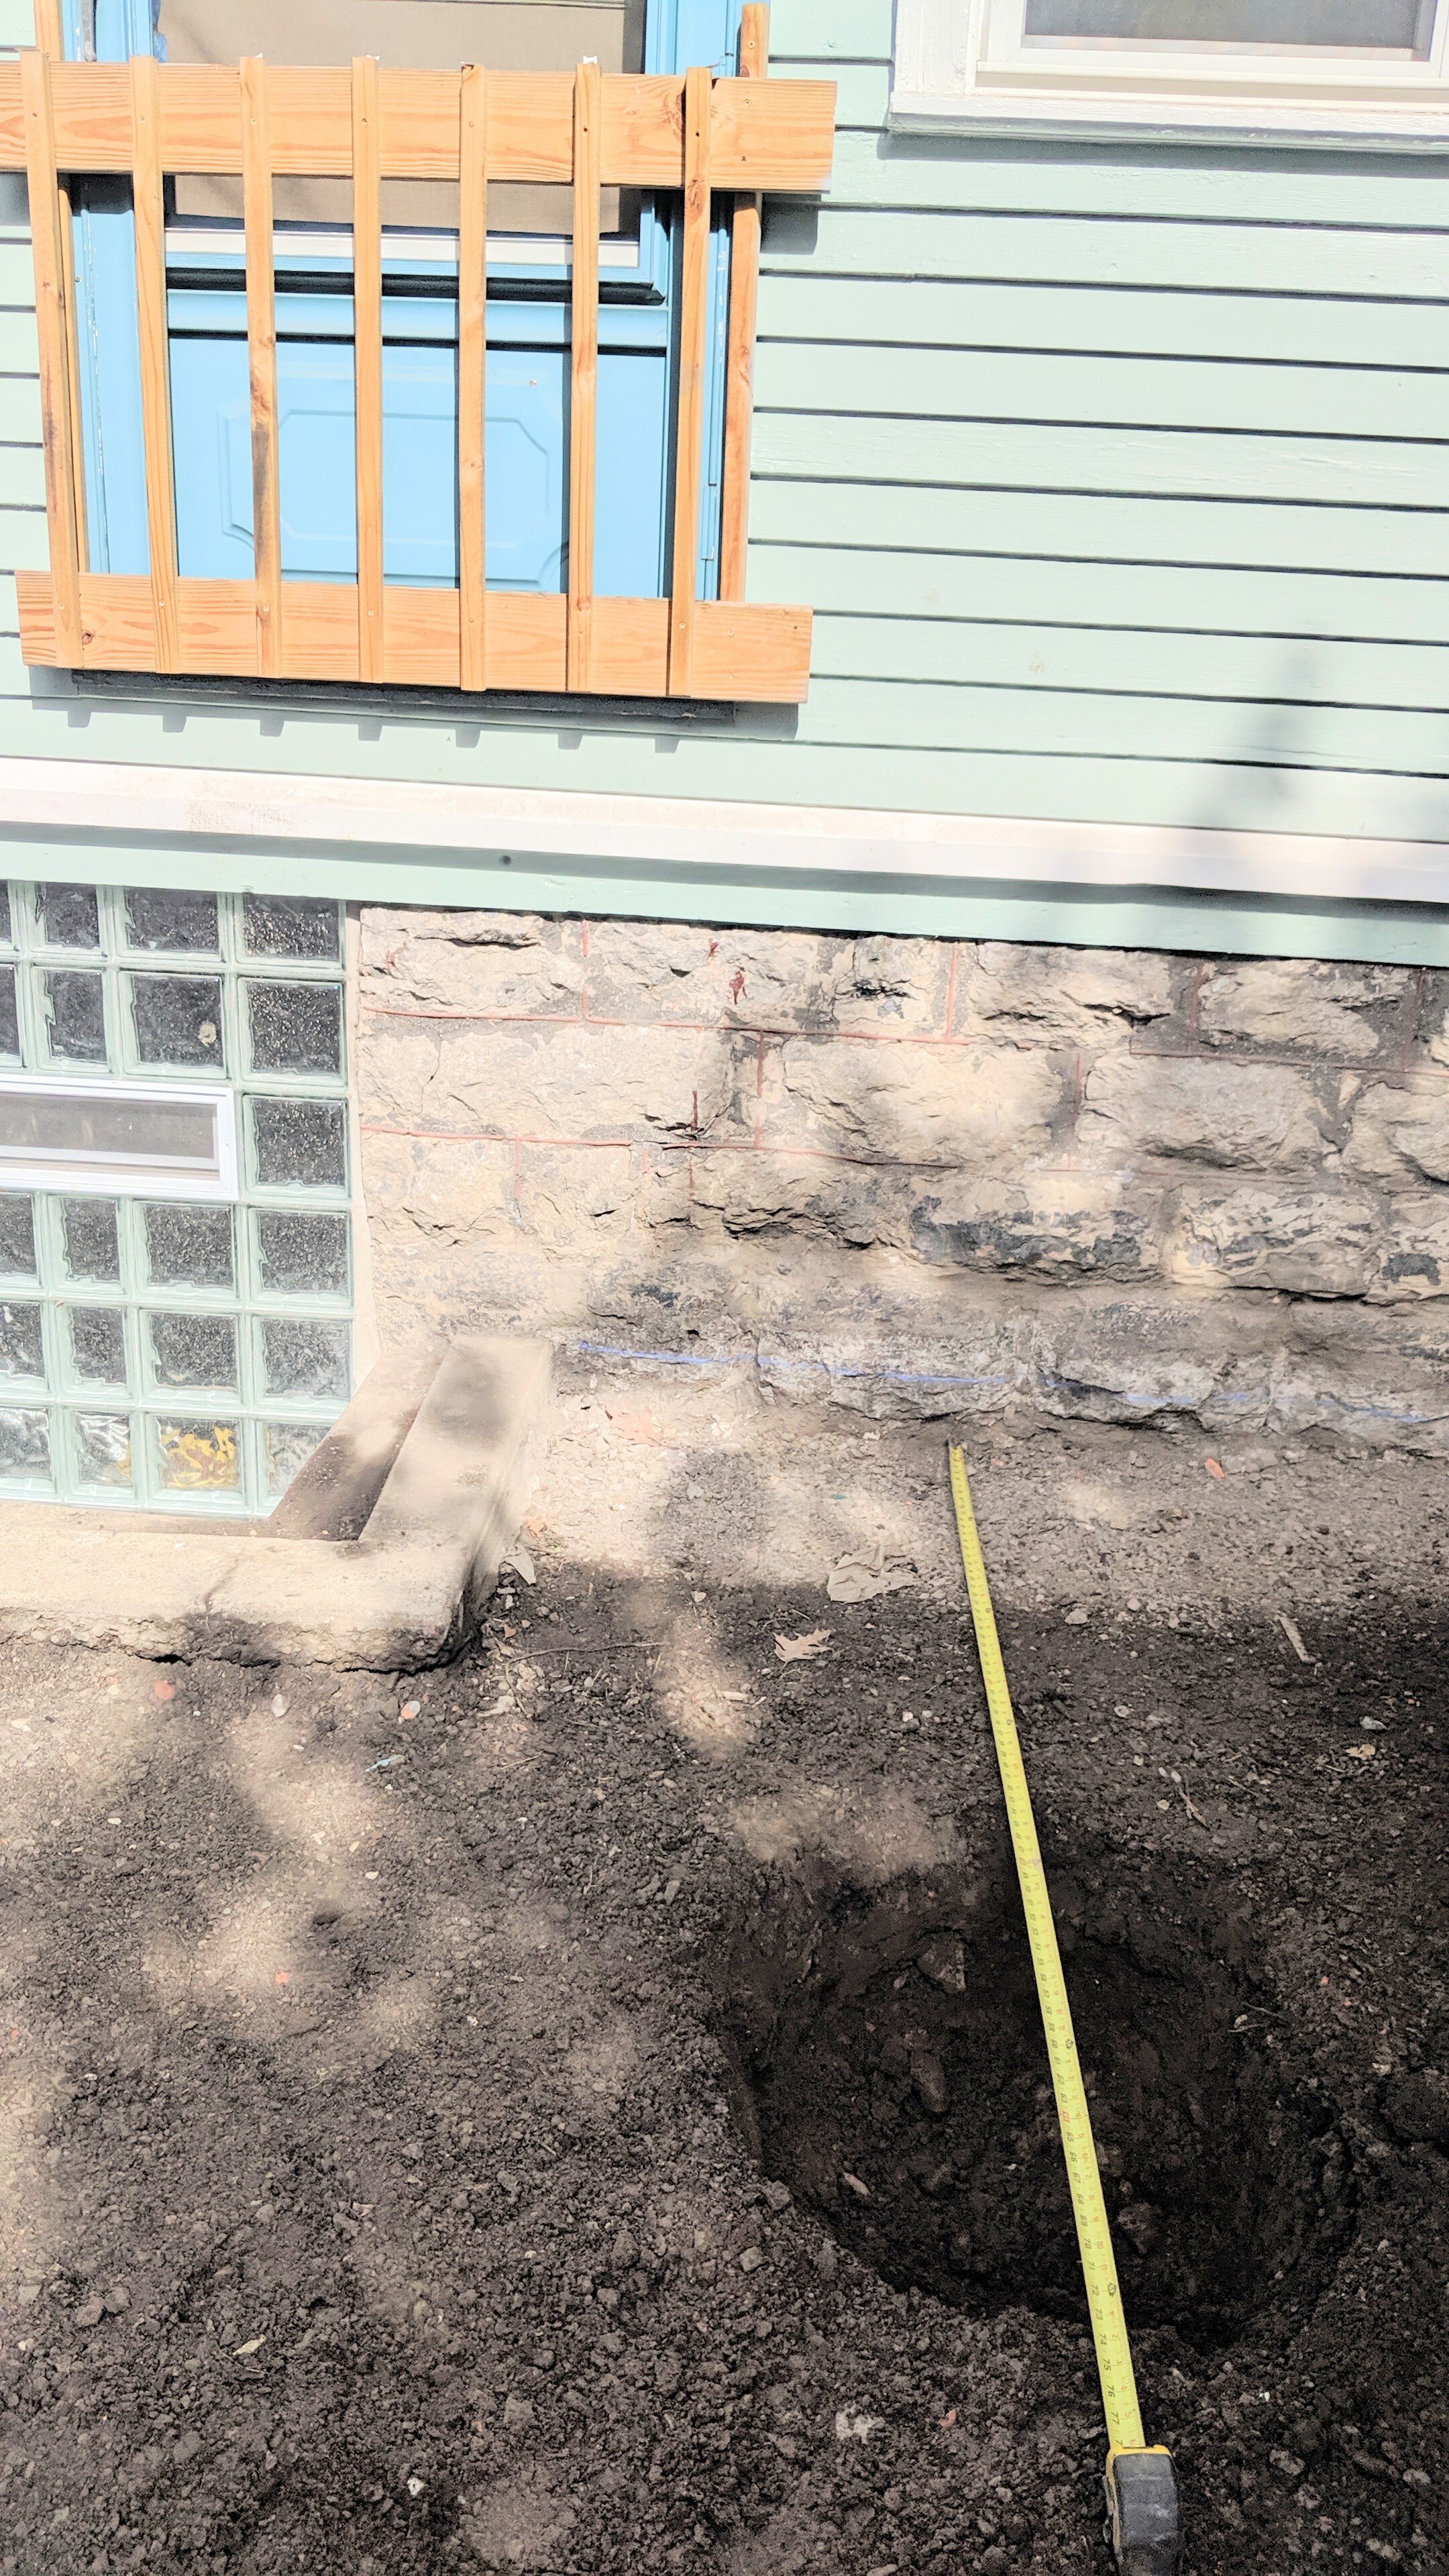
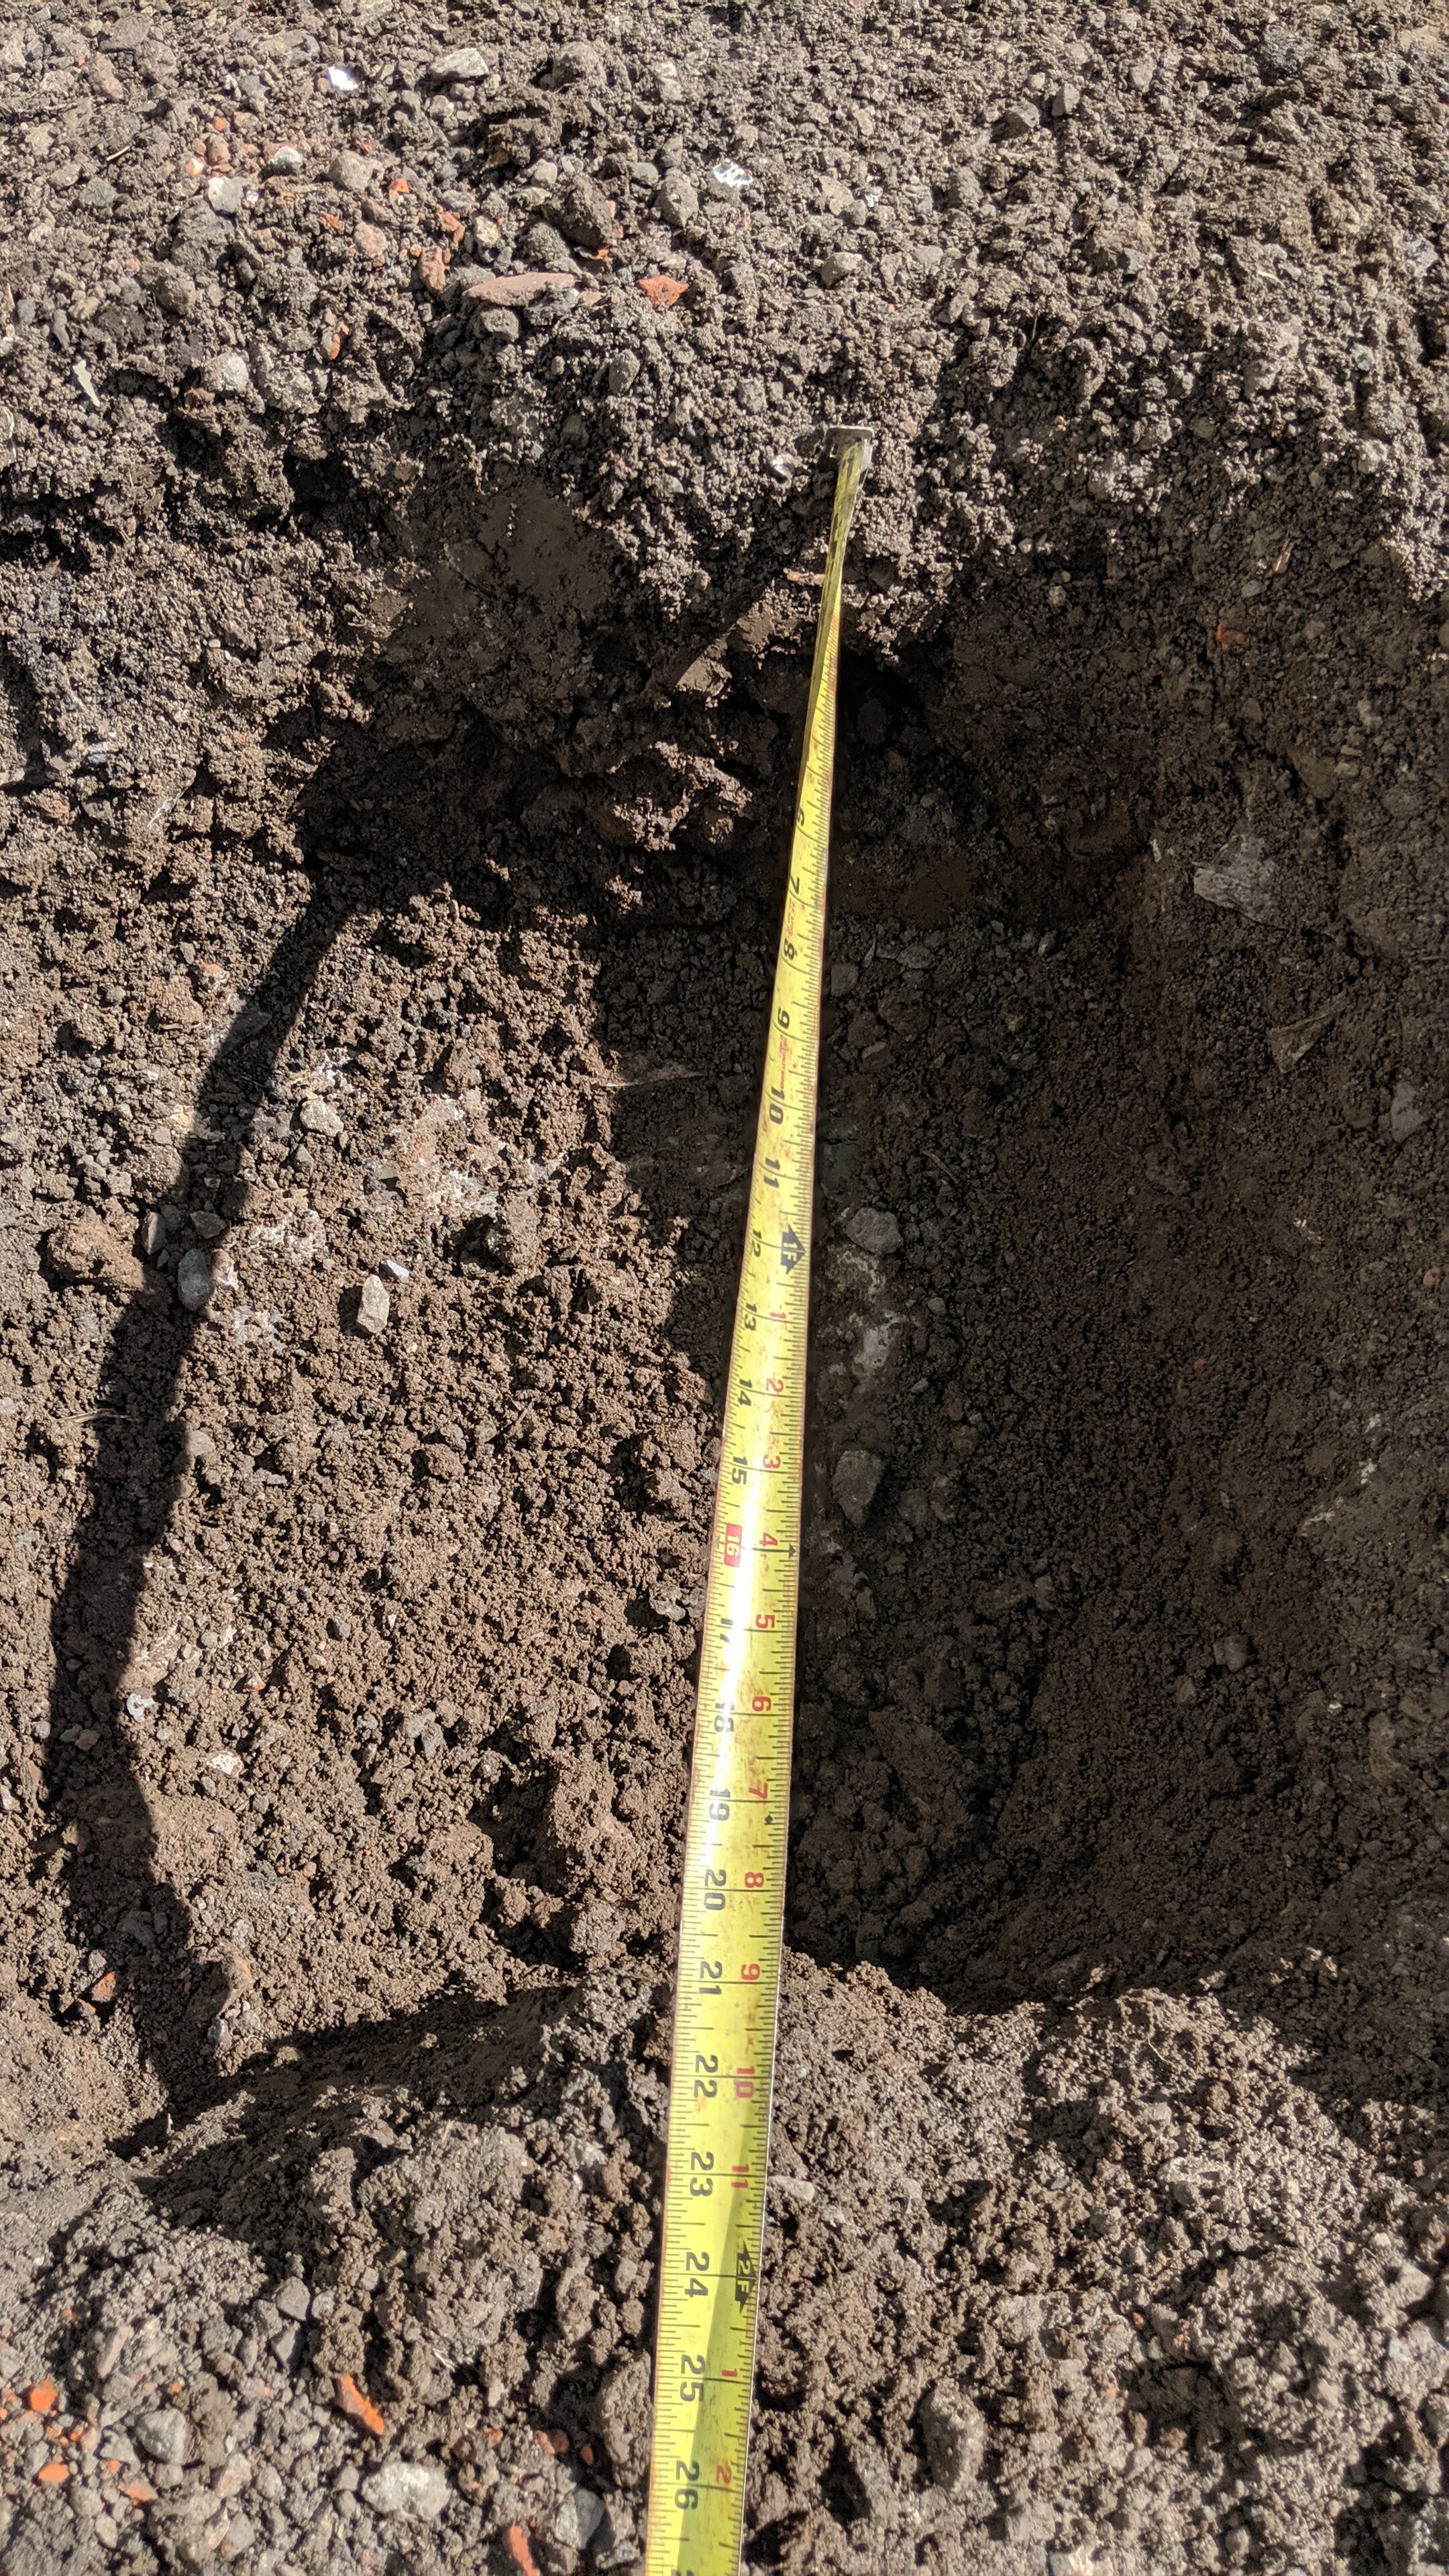
When they were digging the foundation for the patio, I had them dig holes where I wanted to put the posts for the stairs and landing. In our climate, it’s recommended that you dig at least 42 inches down from the soil surface, below the frost line, so that the piers don’t heave with the freeze thaw cycle. They were able to get down as far as bedrock which was shy of the required depth, but it’s bedrock. Can’t get much sturdier than that. They also reinforced the holes with rebar and made the diameter of the holes much bigger so I’d have some wiggle room when it came time to designing and building. I took plenty of pictures of this part while also documenting measurements. I knew when the concrete was poured and I finally got around to building the porches, I wasn’t going to remember where those foundations had been dug. You also get to see the pretty blue (or is it green?) clapboard against white trim.
This is where we’re going to end this chapter.

Here we are. July 2019. We are looking so much better, are we not? What a difference from where we were just a year earlier.
You’ll have to stay tuned for the next chapter in this saga. There will likely be less reading and more video since, after 11 years of doing this, it occurred to me that I could record the work being done. A video is worth paragraphs and pages of words (smh).
Thanks for reading and if you want a notification the minute a new post is up, follow me on Instagram @onerestlessmother, or sign up for the newsletter [below].